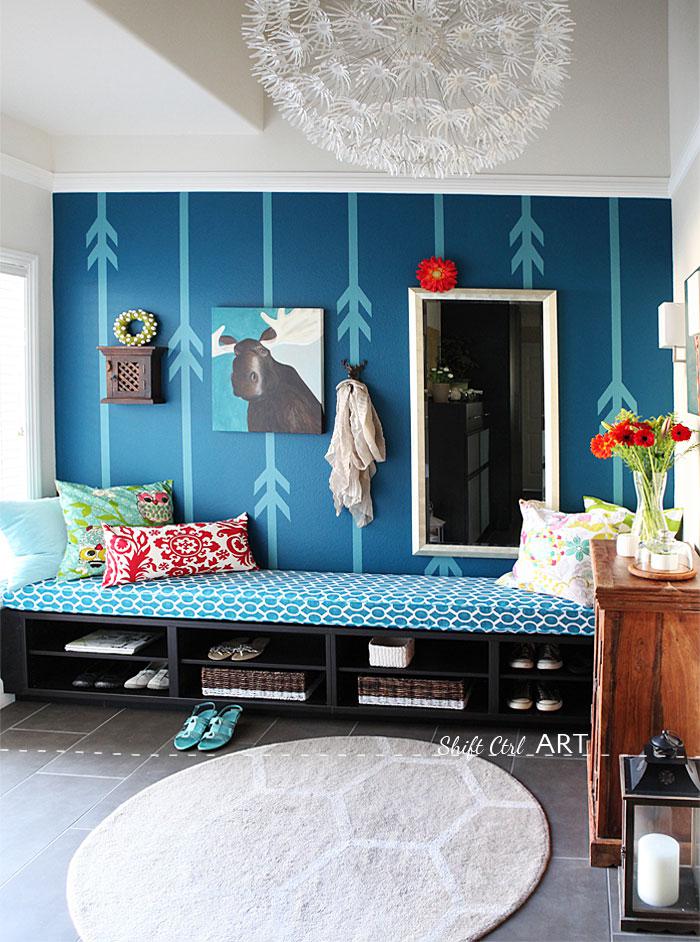
Let's get Frog Taping! Entry hall reveal!
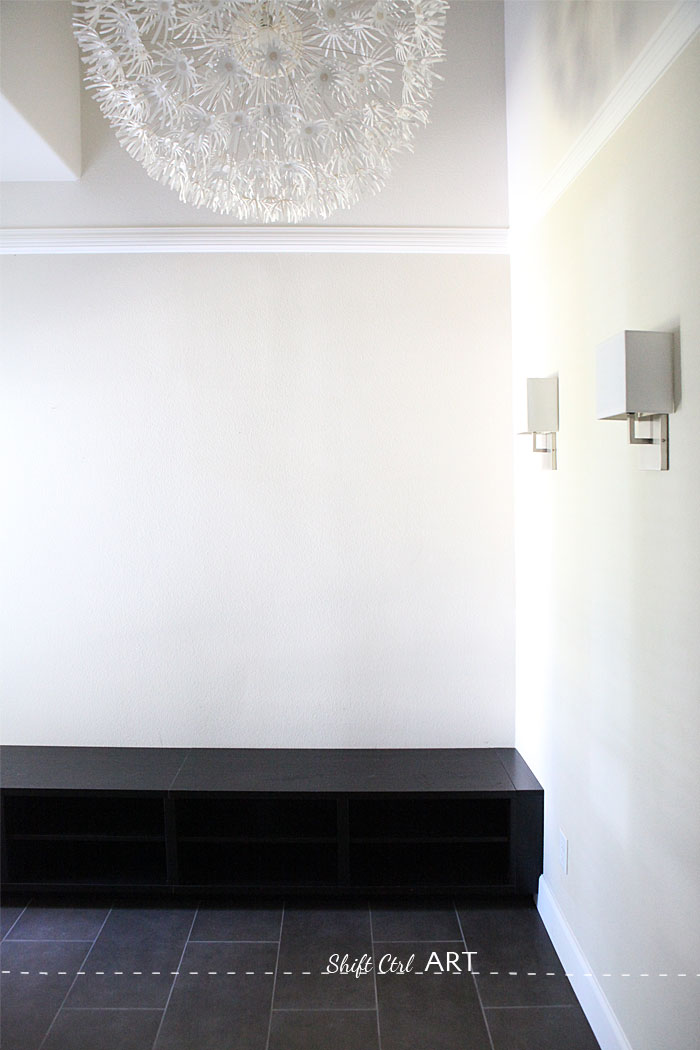
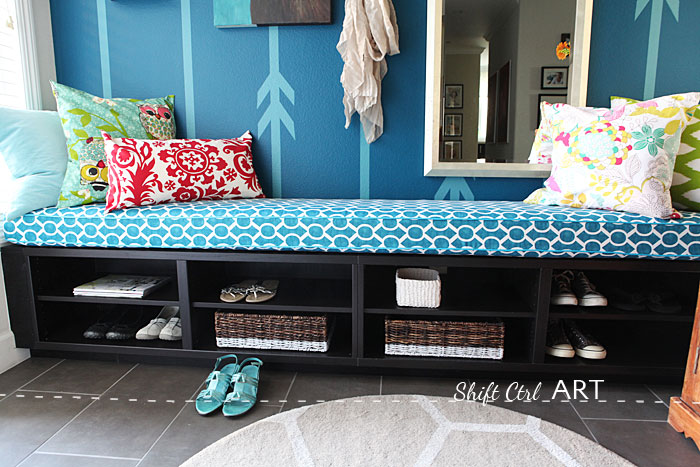
This is what our entry hall way looked like this Monday. There is of course a story of how we got to that, because it started out as a yellow box, like all the other areas of our home, but that is for another day. Including the built-in you see there, which to the surprise of probably no-one is made of IKEA cabinet frames.
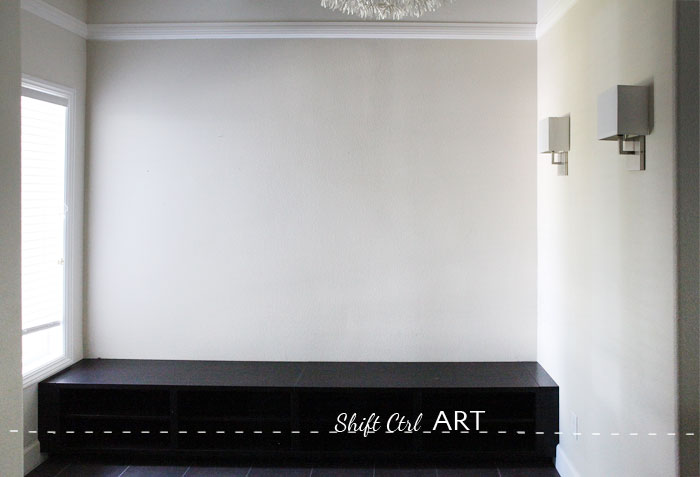
We had that crown-chair-ceiling molding added during the remodel. Also the wall on the right hand side is new-ish. It's part of the wall that we put up around the old living room, which is now our guest/game room.
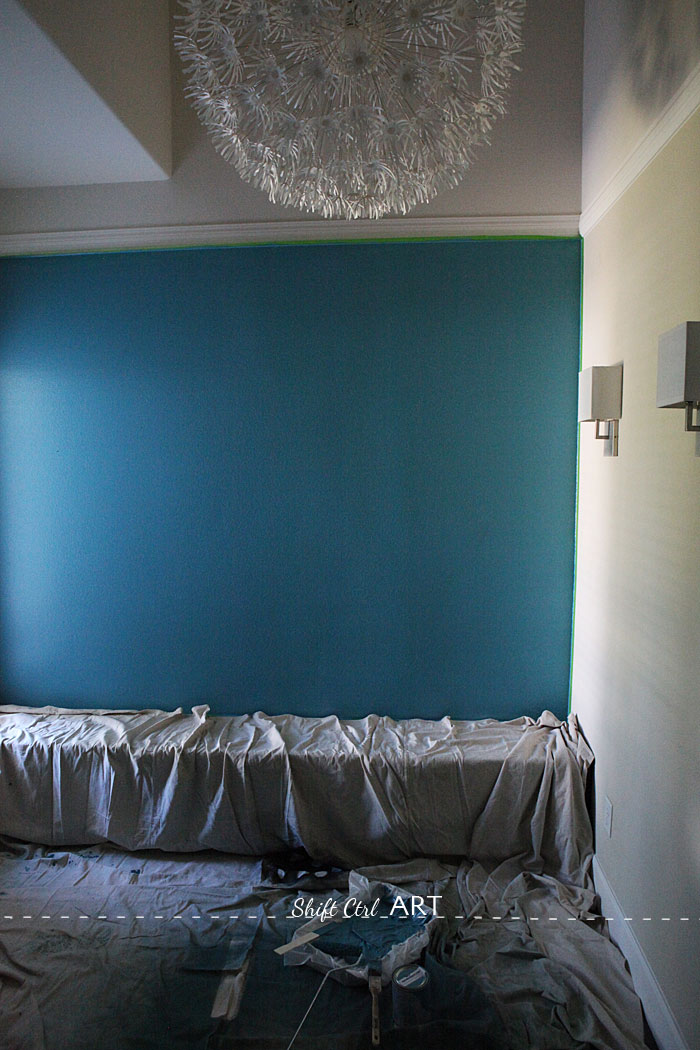
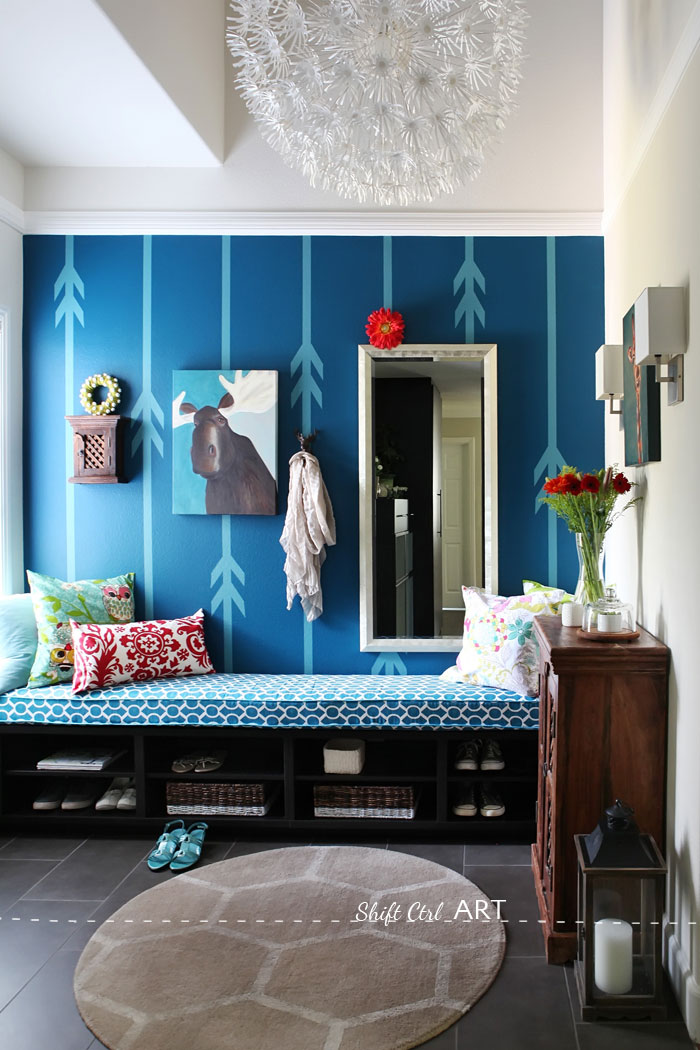
This week I painted that wall turquoise.

These baskets are from World Market. I use them to hold spam mail from the companies that don't obey the "do not mail" lists. There are quite a few and it is quite annoying.
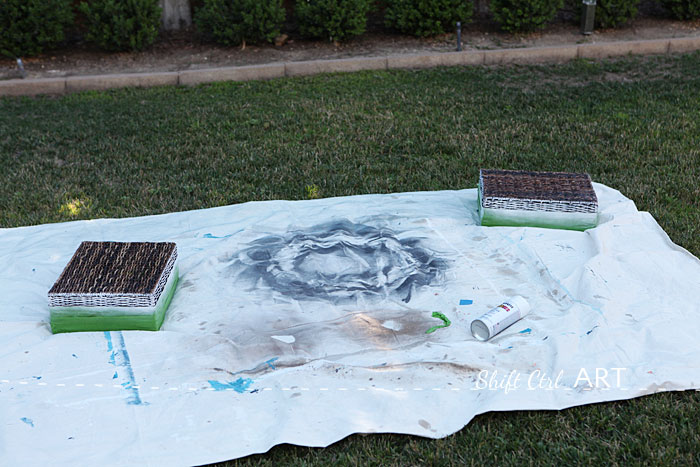
I added some Frog tape to the baskets and gave them a couple of quick coats of white spray paint yesterday to give them that kind of "dipped" look.
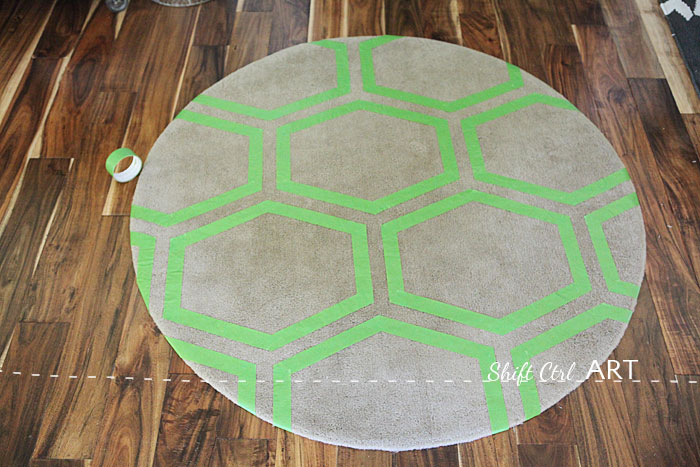
The rug, I already told you about earlier today. Full tutorial on how I made this pattern.

Then I painted it with fabric paint. The painted part made the hairs a little stiff.
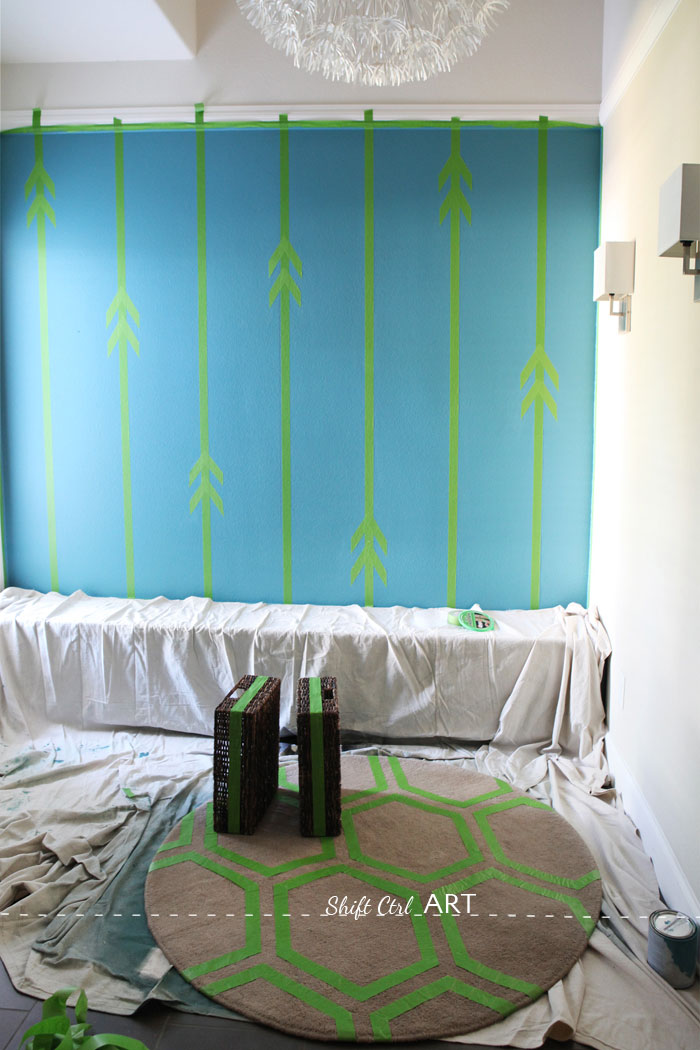
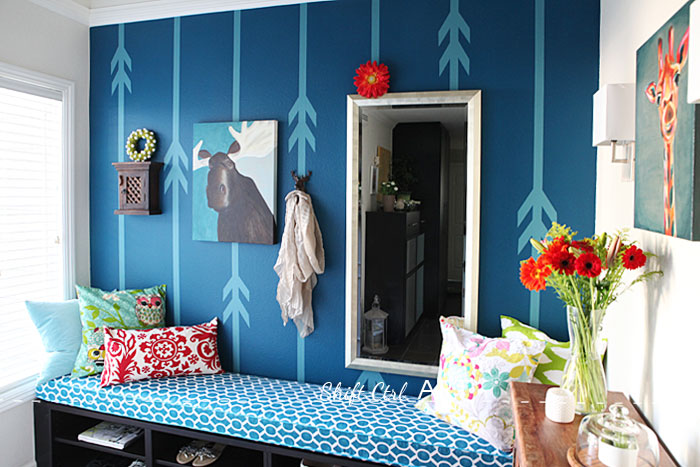
After I painted the wall turquoise using Valspar's Ocean Voyage, I made some arrow stripes with green tape.
To get the stripes plumb (lodret), I put a length of tape on the wall. I measured and put marks every 14 inches at the top and bottom. Then I used my foot to hold the bottom of the tape while I loosened the tape, straightened it and fastened it to the top. I used a piece of string with a weight at the end to check if it was plumb and adjusted when it wasn't.
The arrow points I kind of free handed so they are not totally the same all over. I cut a piece of Frog tape at an angle and stuck it to the stripes.
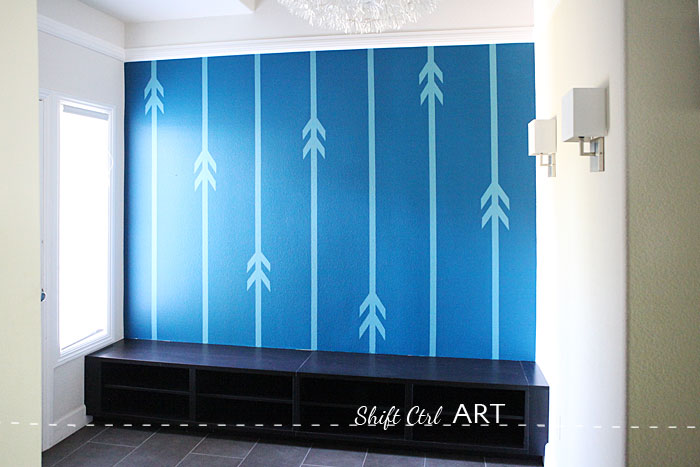
Then I painted a darker turquoise over the whole thing. I used Valspar's Shaded Lake and immediately pulled the tape off after the second coat.
I had put the arrows in the spaces where I imagined they would not be covered by the mirror and artwork later.
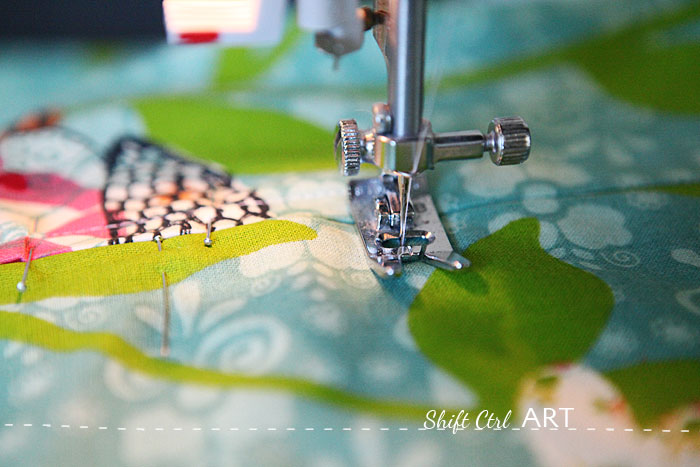
Then I sewed a bunch of pillows.
Got some flowers, hung the art and mirror.
I bought all the fabric at Fabric.com - except for the owl fabric, which I bought in Denmark a couple years ago. I got the foam and batting at a local store and I had another local lady sew the cushion cover. I bought piping and grosgrain ribbon to cover the piping and I just love how that looks. I picked up the cushion yesterday afternoon and I just can't believe how well it's made. I could not have done the cover nearly as well myself.
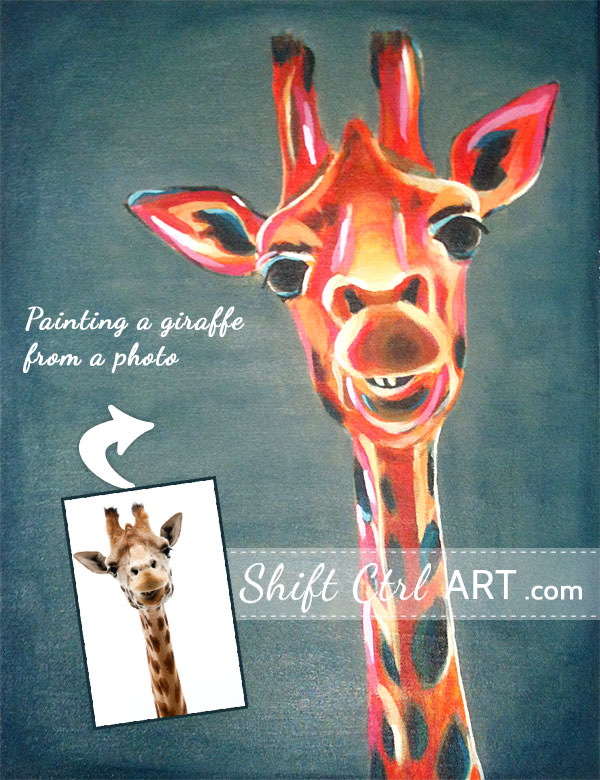
The giraffe painting on the right is an acrylic I did a while back. You can read more about it here
The moose is a work in progress. It's a little garage-y, but I kind of like it at this part-way finished state.
The wreath on top of the wall cabinet was one I made for Christmas last year, but I have it up all year long.
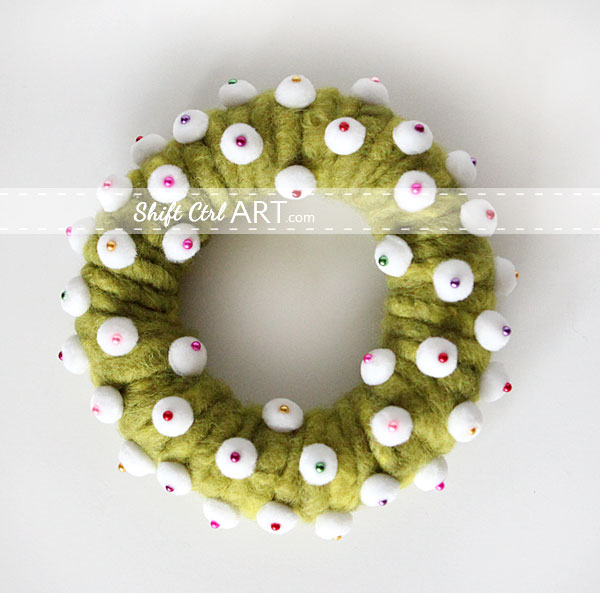
You can read all about the wool wreath here.
I really like how the baskets have that light bottom now. And of course I love my new Giraffe rug.
So there you have it. My little mini project from this week.
Have you ever made patterns with green Frog tape before? I am always amazed at how much better it works than other types of tape.
Sharing at It's Overflowing
Have a great weekend!
Edited: Woohooo my entry in the Frog tape contest placed!! A frog and a moose walk into a hall ... 2nd place winner of the Frogtape contest 2013

About Katja Kromann
I am a Danish American decorating life in Seattle. I love all things design and DIY.
I can’t think of anything more fun than coming up with project, making it, photographing it and sharing it with you on my websites.
Since 2018 I have been making Ceramics, nearly full time.
AHomeForCeramics.com AHomeForDesign.com AHomeForCrafts.com AHomeForFood.com My Portfolio
Categories
Let's get Frog Taping! Entry hall reveal! is posted in the category Before & After | Decor | How To | Reveals


