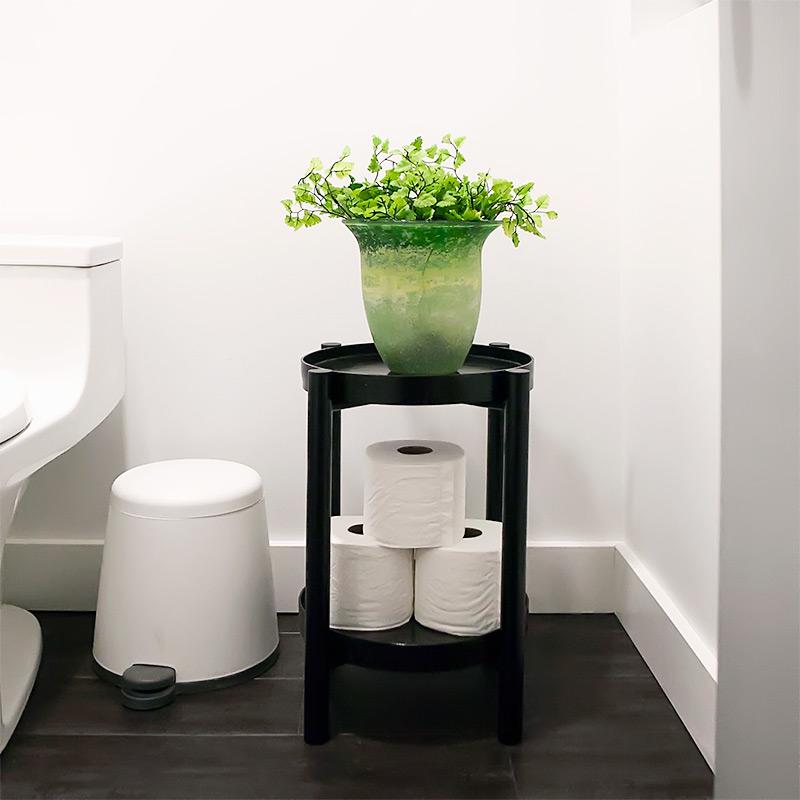
How to: build a black side table with bent wood edges
We recently tried out a bent wood technique to see how it would work out and used it to build a small side table.
Here is how that went.
We used 1 inch dowel for the four legs and 5/8 dowel for the cross support under each table top. I got the inspiration from this table from Why don't you make me.
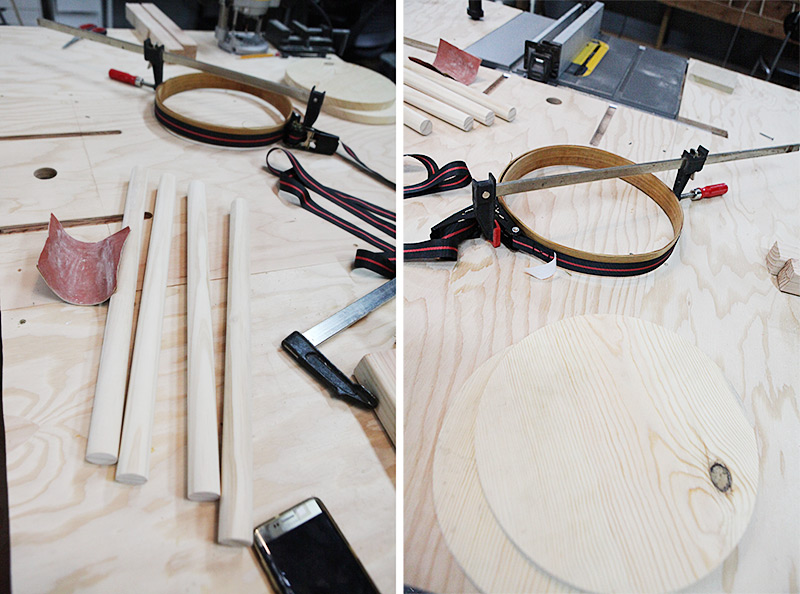
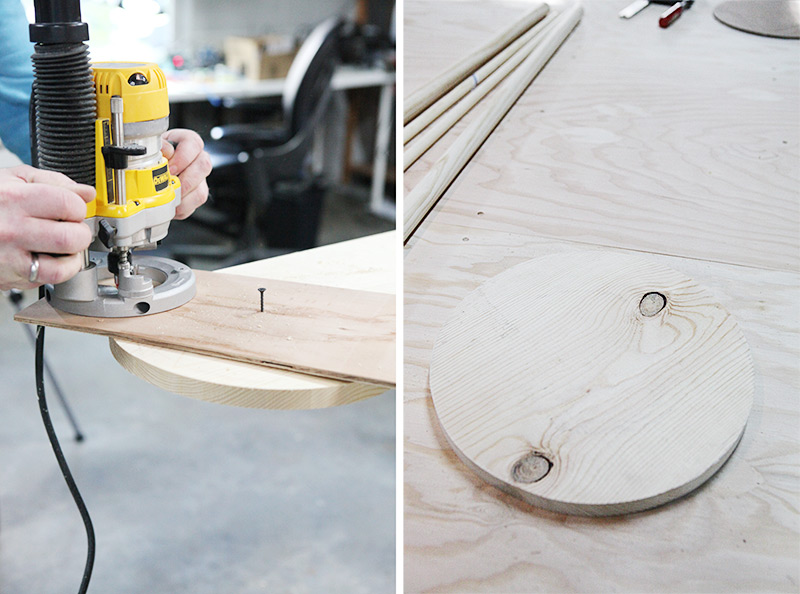
We made the two round table tops out of scrap 3/4 inch plywood which we cut into circles using a quick jig that we rigged together out of some thin plywood. We attached our router with screws to the thin plywood and then attached the thin plywood to the table top material with a screw and then routered out two circles. I am not showing all the details because it didn't end up working as well as I would have liked, so when we make our next round table we will try and come up with a better method and show you then. You can easily skip this step and just buy two ready-cut wooden circles. Our circles are 11 inch in diameter, but 12 inches would work really well for this project too. Going smaller would not leave enough room for two rolls of bath tissue.
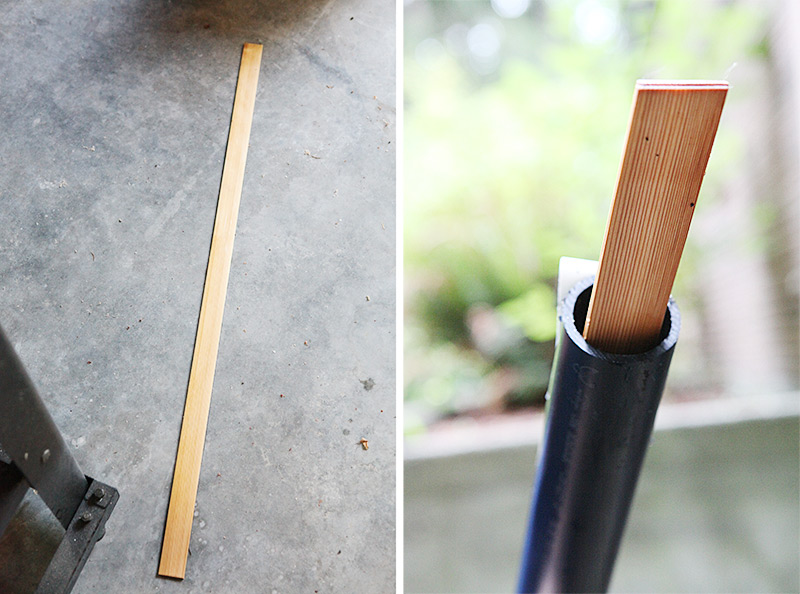
For the bent wood, we got an eight foot piece of 2 inch pluming pipe and end-cap which we put together and filled with water. Then we put our thin wood strips inside and covered with duct tape and leaned into a corner of the house outside. We let it soak for a full day or two. The thin strips were some that a handyman had cut for us years ago out of some left over Cedar wood. It's 1/8s thick strips, or there about, cut off a 2x6 piece of lumber.
After the strips were soaking wet we bent them s-l-o-w-l-y around the wood circles and held them in place with some clamps. We did not cut them to length while they were wet because they shrink as they dry.
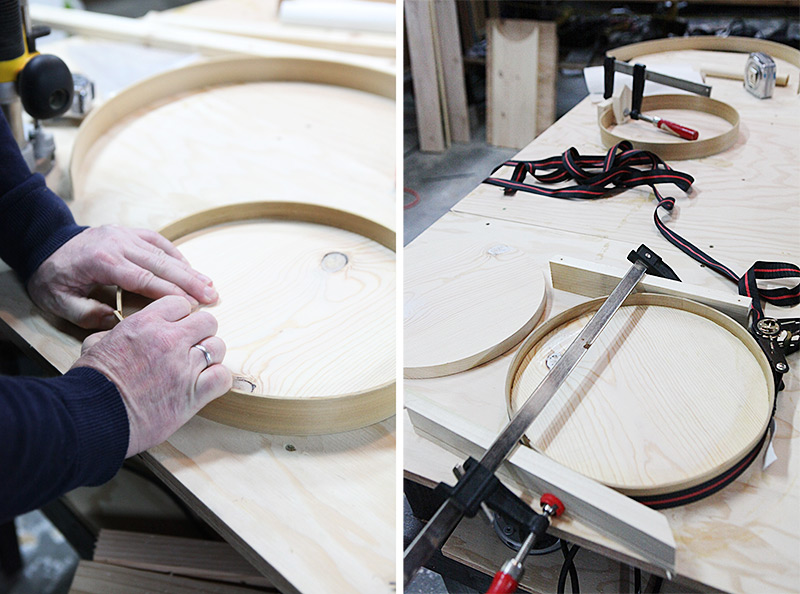
After they dried, we cut them to fit and then glued and nailed them to the wood circles. We used a strap clamp (similar) for this Then we assembled the dowel legs.
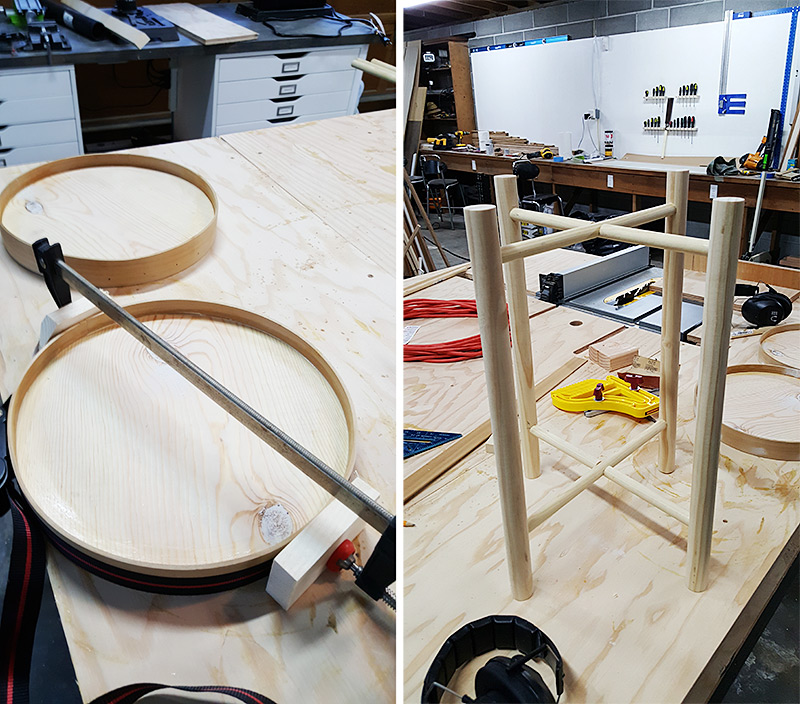
The one inch dowels were cut at 19 inches for each leg. The 5/8 dowels were cut to fit the table tops snugly between the legs, at around 12 inches. About 1/4 inch was inserted into the legs for stability leaving a little over 11.5 inches for the two tops which came out at 11.5 inches in diameter after the bent wood was attached.
Frank made a cut-out in the crossing dowels on the table saw like so.
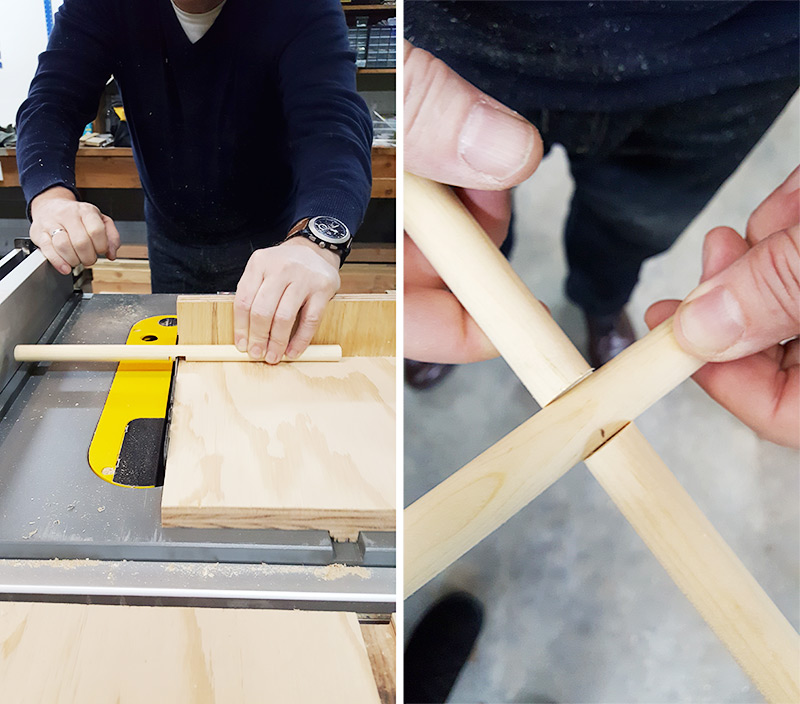
And I drilled some holes into the 1 inch dowels to attach the legs together with the crosses. We used wood glue to put it together.
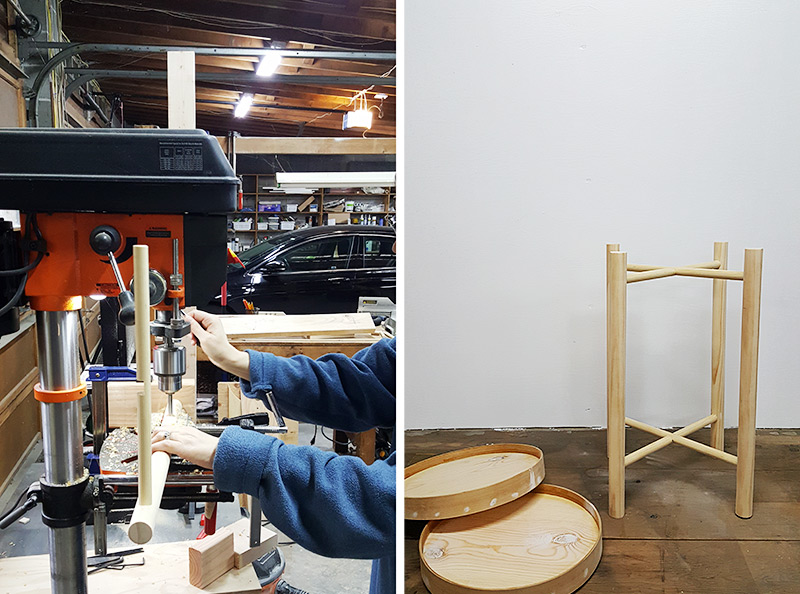
I used wood filler for all the imperfections and nail holes and ran a bead of acrylic along the inside of the circle and bent wood for a smooth transition.
Then I painted the table black with Sherwin Williams semi-gloss Tricorn black paint.
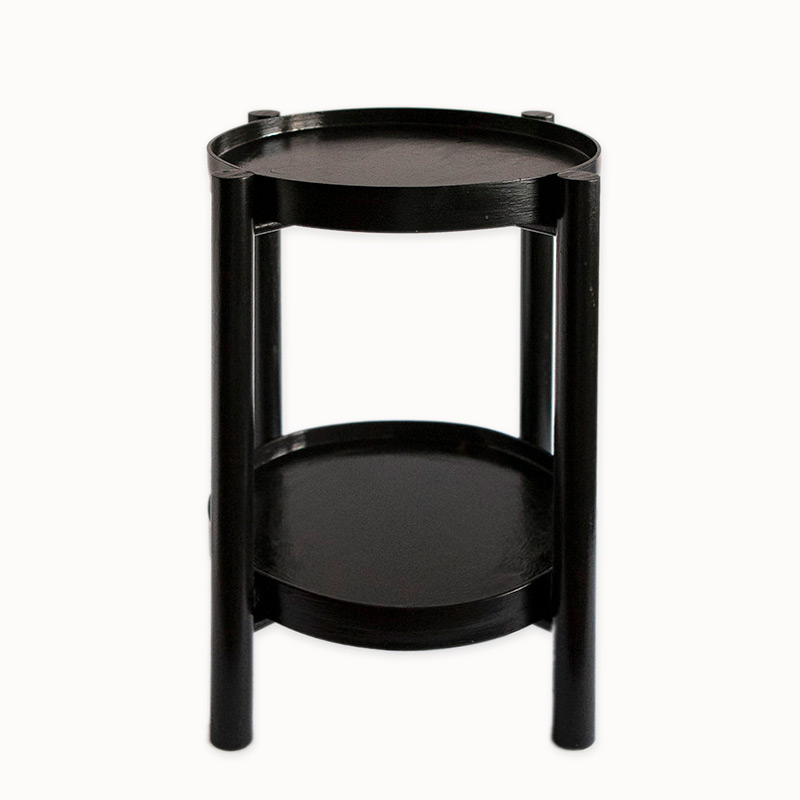
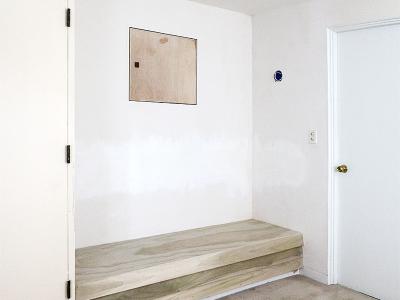
We sized this table to specifically house 2-3 rolls of bath tissue on the lower shelf. We are using this table in our newly re-drywalled powder room.


I am a Danish American decorating life in Seattle. I love all things design and DIY.
I can’t think of anything more fun than coming up with project, making it, photographing it and sharing it with you on my websites.
Since 2018 I have been making Ceramics, nearly full time.
AHomeForCeramics.com AHomeForDesign.com AHomeForCrafts.com AHomeForFood.com My Portfolio