How to make a tufted headboard
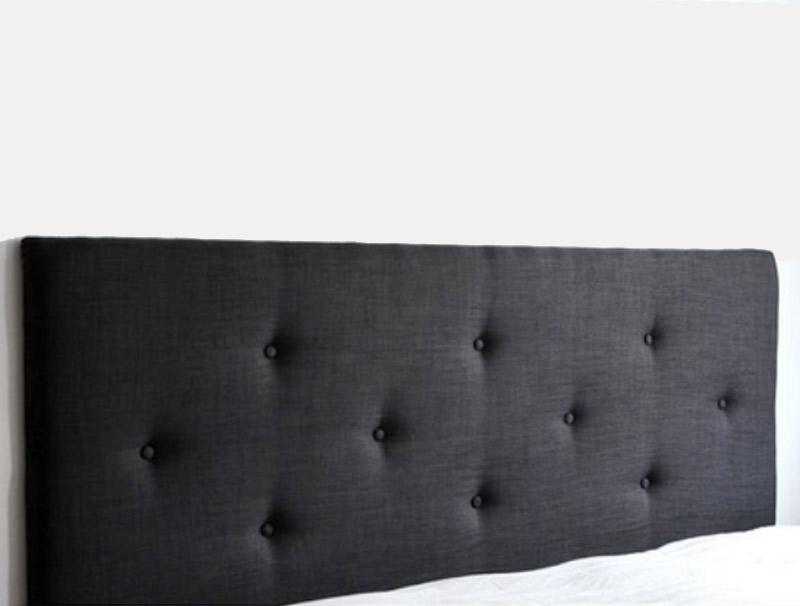
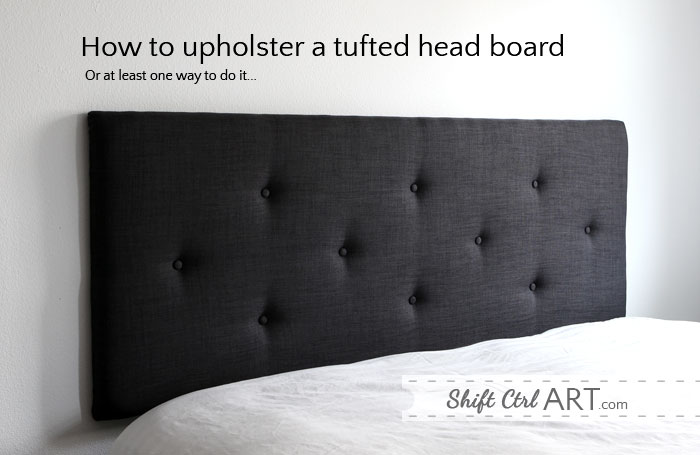
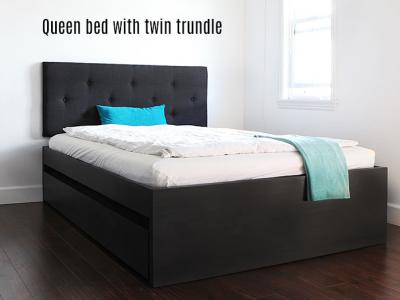
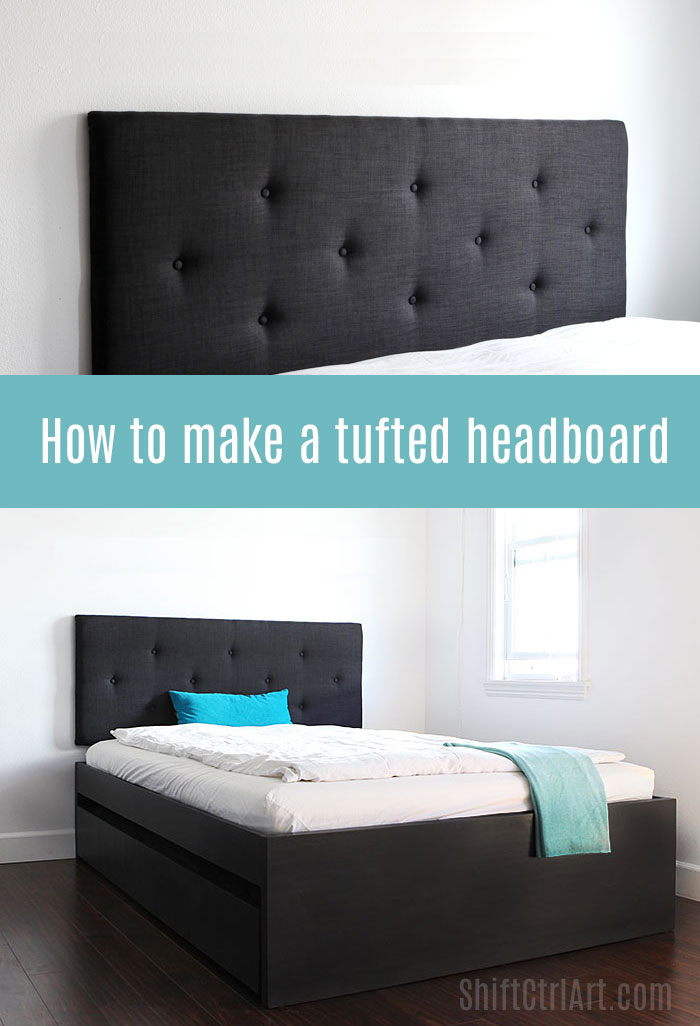
I showed you yesterday how we built a bed for B and then improved upon some issues such as extending the height. That's not all I was busy with this weekend. I also re-upholstered his headboard.
I bought some real upholstery fabric in Denmark the year before last. It is strikingly similar in color to the fabric that I put on his old headboard that you see here.
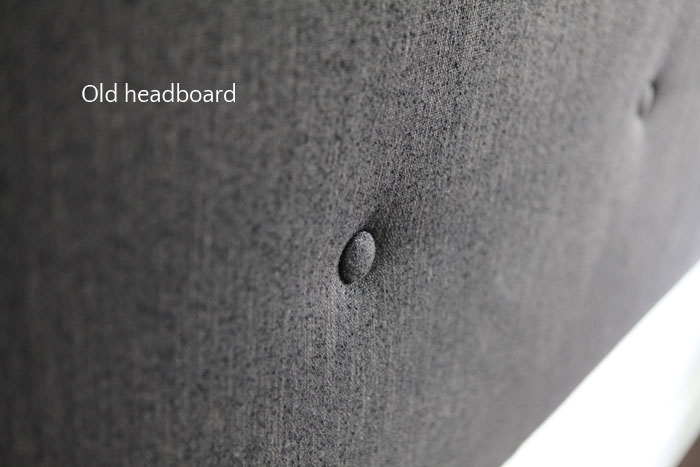
There is a huge difference in the texture, quality and the new fabric has backing on it that makes it really sturdy. Most of all I like the slight sheen and weave of the new fabric.
Also I wanted more tufting and smaller buttons. Is that reason enough to re-upholster? Yes it is ![]()
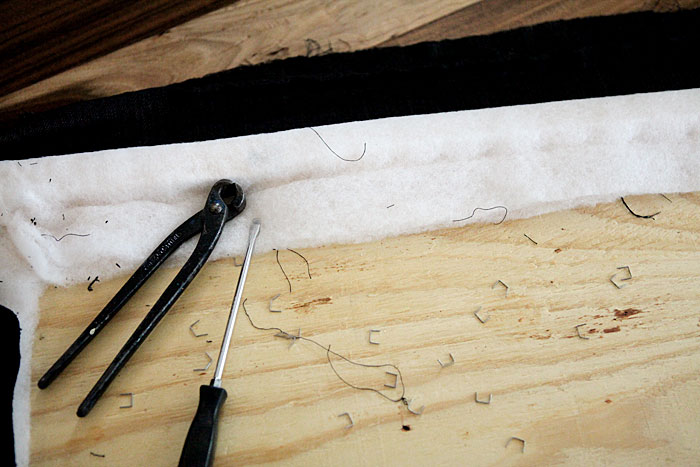
I removed all the staples with a screw driver and pliers.
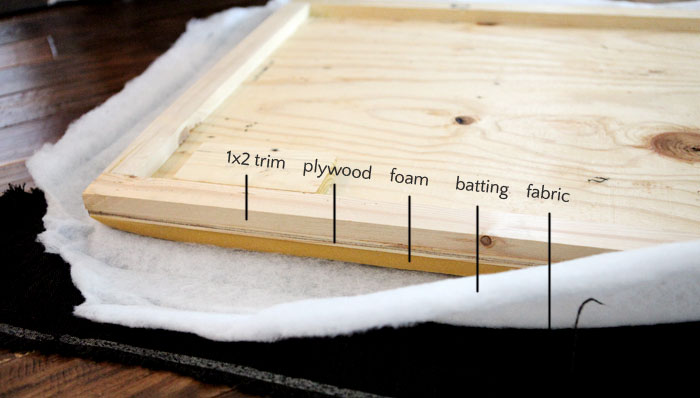
Here you see how we built the wood frame for the headboard. We used 1/4 inch ply and added some 1x2 around the edges to give the headboard more depth. This also keeps cost down in that you can get thinner foam without sacrificing the look of a nice deep headboard. I got the form at eFoamstore.com where you can customize your shape, depth and size and firmness. I got a 1 inch medium foam sized at 61" x 24". I got the batting at the JoAnn's.
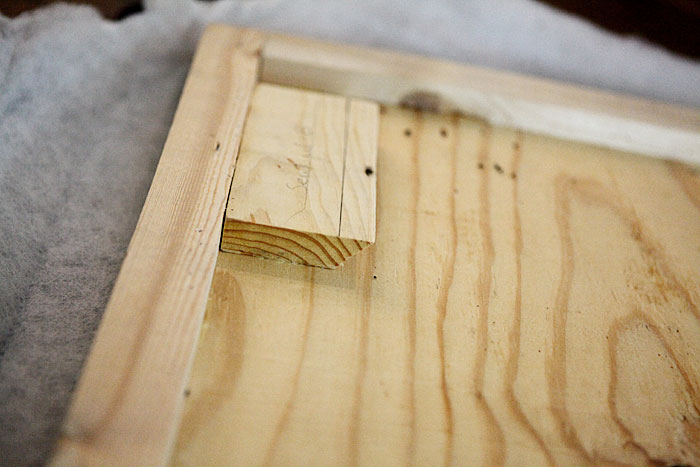
We made and attached these cleats to hang the headboard from. A pair in reverse were installed on the wall. You can see them in the pictures from when I was painting the walls.
Next I made the new buttons. I used Dritz Aluminum Cover Button Kits-Size 30 3/4'' from JoAnn's to make them. My fabric was really thick, so I had to cut the fabric just a tiny bit smaller than the template suggests to make the fabric fit inside the button. And I had to use pliers to assemble them. I didn't have to do that with the old fabric, but then the fabric was thinner and the buttons larger.
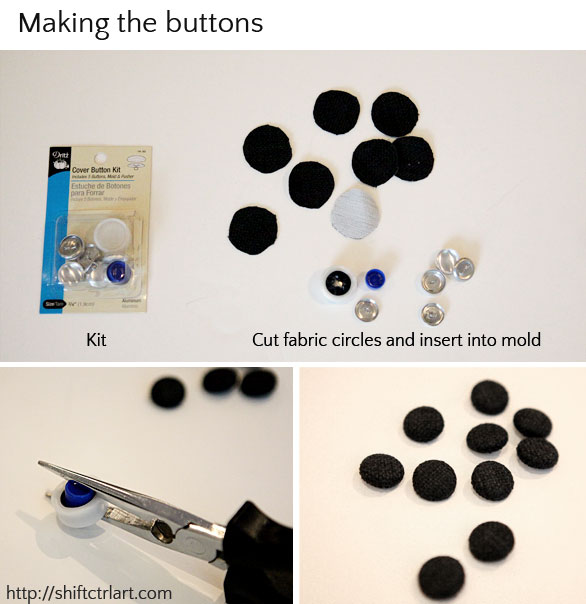
I used two kits to make my 10 buttons.
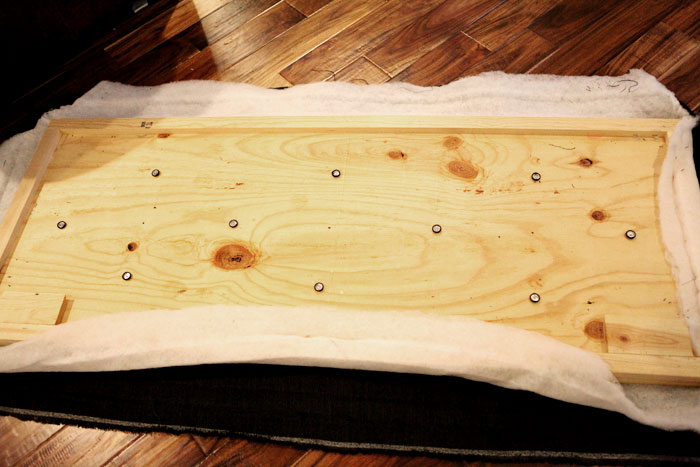
Next I figured out the new placement of the buttons. The headboard measures 24 by 61 inches. I placed the top and bottom rows 6 1/2 inches from the edge as well as the two outer buttons in the center row. Then it worked out that the two buttons in the center row were exactly 48 inches apart. I divided that by 3 to get 16" (I know, ... math ![]() ) Then I placed the two center buttons 16" apart. Then for the top row I spaced those 16 inches apart as well, just moved over 8 inches (aka half of 16"). Then I had the placement for all my buttons.
) Then I placed the two center buttons 16" apart. Then for the top row I spaced those 16 inches apart as well, just moved over 8 inches (aka half of 16"). Then I had the placement for all my buttons.
I did a dry fit where I laid out all the buttons on the back of the board on top of my pencil marks and good thing too, because I had made a measuring error, so I quickly fixed that. ![]()
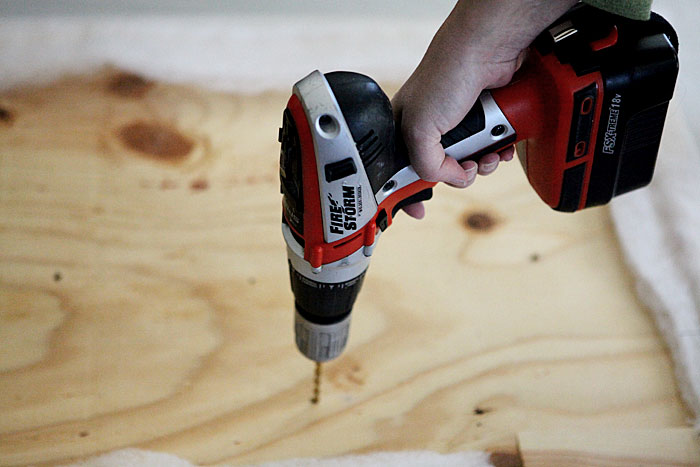
Then I drilled holes for the buttons.
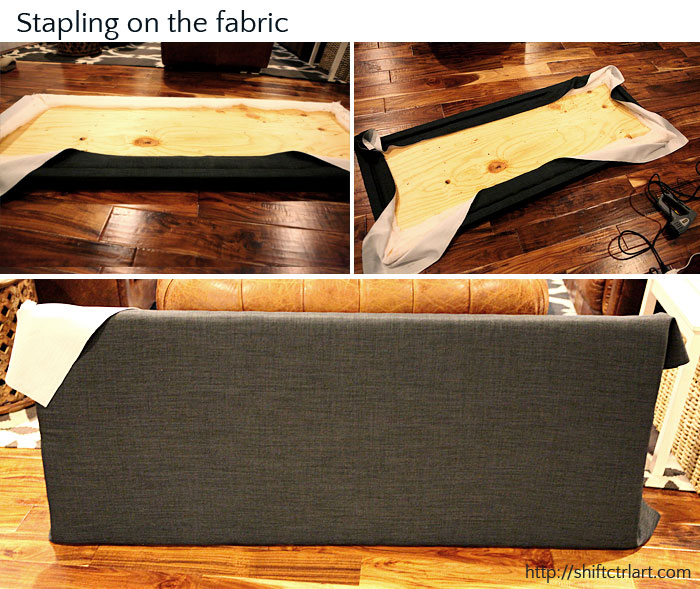
Next I stapled the fabric onto the frame. First I stapled along one side, then on the opposite side, then on the ends. All the way to the corners. Then I turned it over to see if that looked good before I did the corners. Less staples to remove again if there is a problem. But I liked it and continued with the corners.
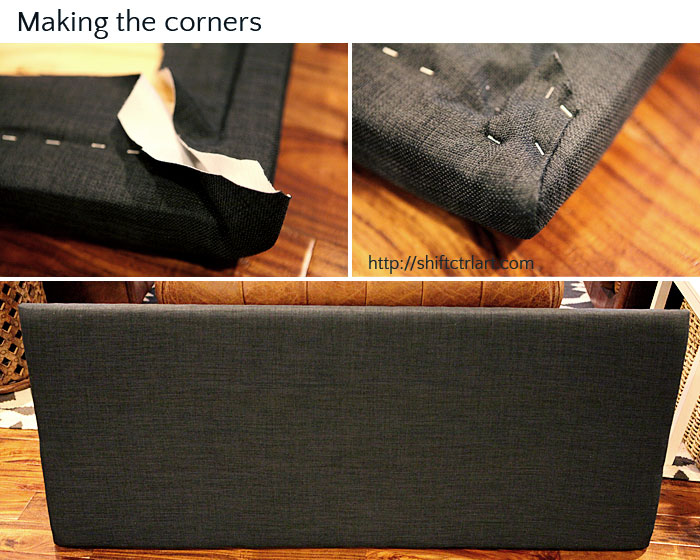
The corners were one of the more difficult things. I experimented with a few ways of doing them. There was a lot of rolling of fabric and fiddling and cutting off bulk. I like it where there is just one pleat exactly in the corner like what you see on the picture. Today I came upon a blog, The Painted Hive who has great photos of two different ways of stapling corners.
After I made the corners I moved on to the tufting.
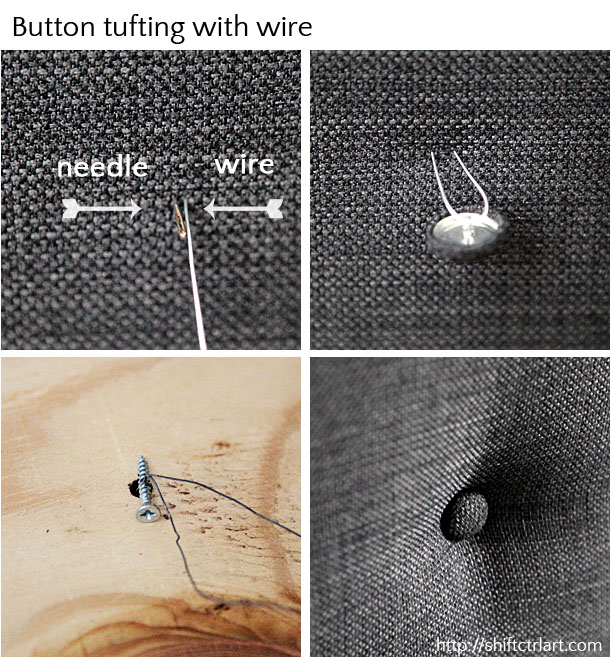
I know that other people prefer to use upholstery thread for this step. I, however, used wire last time and that worked well, so I did that again. Also I had wire, I didn't have upholstery thread ![]() .
.
1. I stuck a needle through from the back to see where the hole was in relation to the fabric. Then I pulled the needle through and inserted it the other way to get a feel for where the hole was. Then I took some craft wire. I think it s gauge 24 or just there about. I poked it through a couple of times until I hit the hole. This was a bit difficult in the beginning, but I soon refined the technique. Did take a while to get some of them though.
2. Then I put a button onto the wire and poked the other end of the wire through the fabric.
3. Then I used a screw to tie the wire around. I held the screw with one hand over the hole and pushed on the button with the other hand. B twisted the wire. - Family project!
4. The finished tufting.
Want to see the back of the headboard after all that? Head over to the website for that image:
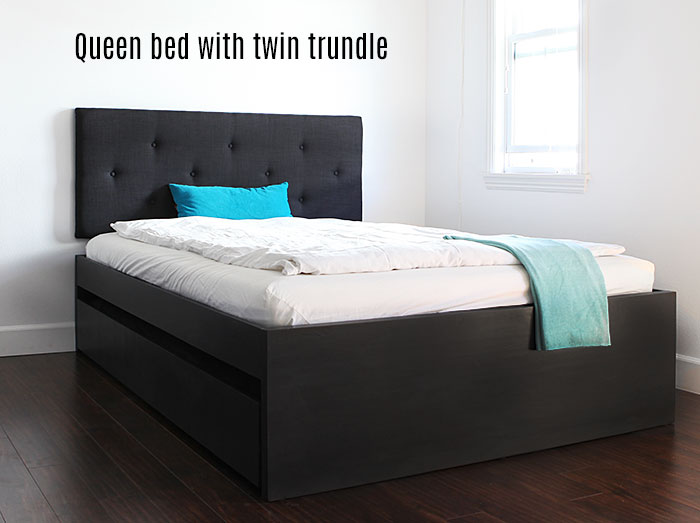
Then we hung the headboard back up and snapped a picture.
The bed is so dark and on a dark floor that I had to bounce a light onto the wall so you can actually make out the bed in the shot.
Here is my awesome work lamp set-up. Head over to the site to see that behind the scenes photo:
The lamp has yellow light so that is why the bed looks like it is a different color than the headboard, but they are very similar in color. I will show you that next time when I give you my review of a new (to me) painting technique I tried on the bed.
Read all about how we made the bed here.
And here is the finished headboard again.

And here it is with a bit of styling:
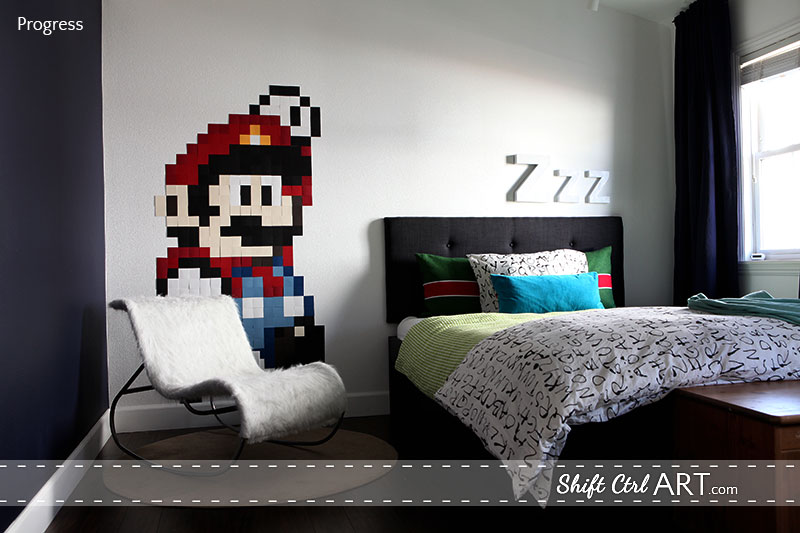
Read more about our super sized Mario pixel art and how I recovered the white fur chair.
Have you upholstered a headboard before? Do you want to? It's fun. I would love to try diamond tufting something. Have you tried that? That is where the holes are so deep that you need to fold the fabric between the buttons and you do the tufting before you staple the fabric on the frame. That sounds like fun... Maybe on my hall bench?
Visit my home tour page. I have put all the links to this room make-over under B's bedroom there.
Next: B's room - lights, curtains, action - and bedding and a rug

I am a Danish American decorating life in Seattle. I love all things design and DIY.
I can’t think of anything more fun than coming up with project, making it, photographing it and sharing it with you on my websites.
Since 2018 I have been making Ceramics, nearly full time.
AHomeForCeramics.com AHomeForDesign.com AHomeForCrafts.com AHomeForFood.com My Portfolio
