Ikea Ringum rug receives fabulous Frogtape pattern
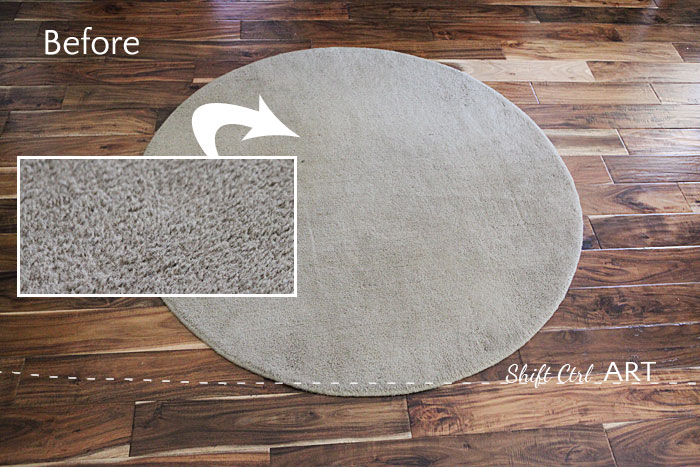
You may remember this rug from B's bedroom. It's the Ringum rug from IKEA. I got it a few years back and it's been hanging out in various locations around our house.
I have been thinking about giving it a pattern for a while and a couple of days ago, I got to work on just that.
I had considered many different patterns, but in the end, I landed on the hexagon shape, just to try it out.
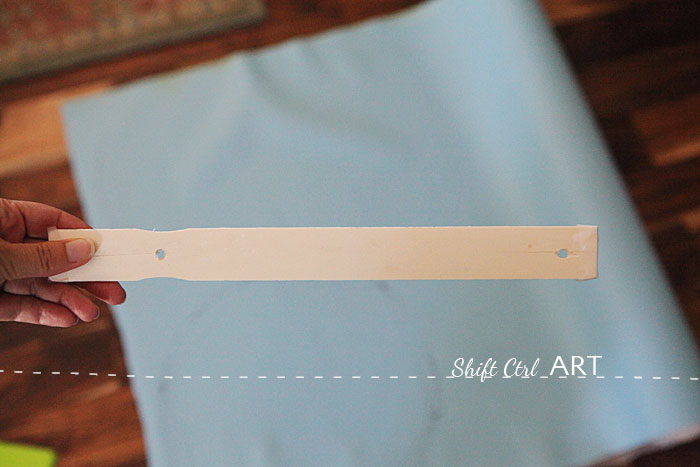
First, I made a template for my shape using some leftover floor padding - the kind you install under a hardwood floor. It's made of some sort of rubber and has a bit of thickness to it, so it worked really well for this.
I used a paint stick and drilled two holes into it. (That was after I tried a pen and a nail tied together with string and it didn't work at all, called dh to brainstorm. Do you do that too?)
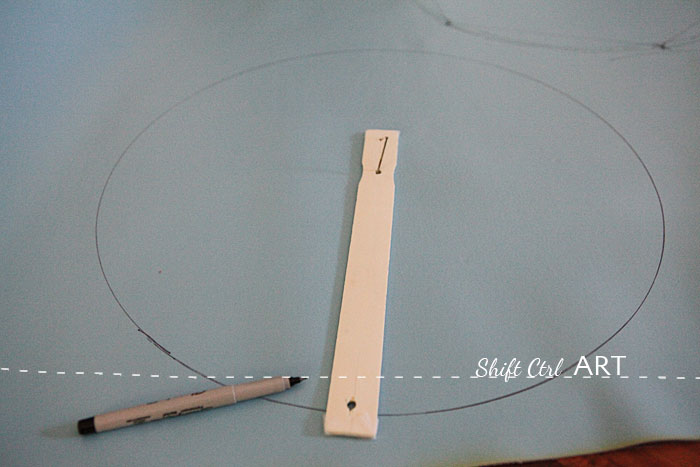
I used a nail to hold the paint stick to the center and a Sharpie to make my circle. In the back you can see my first failed attempt that I described above.
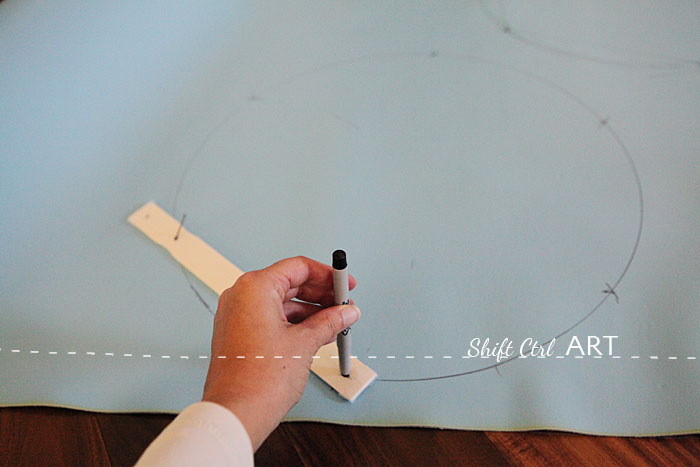
To make a hexagon, you use the same distance and pick a spot, any spot, on your circle and make two markings. Move your nail to that marking and repeat. Repeat, repeat, repeat. If you end up at your first marking on top of the last, it stands to reason that your hexagon turned out great and even. If not, try again.
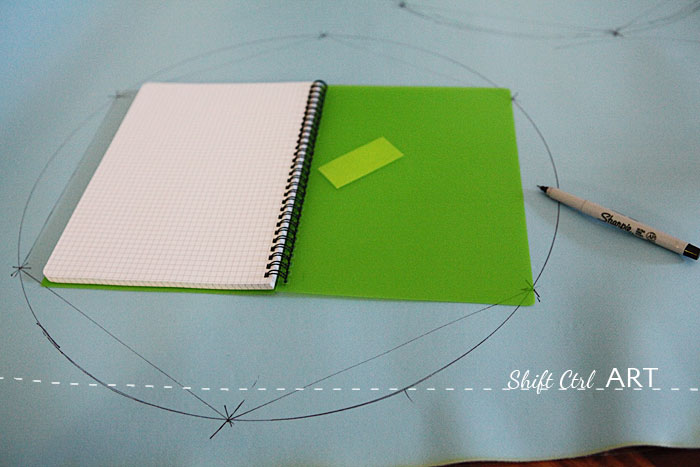
Connect the 6 markings to make the hexagon.
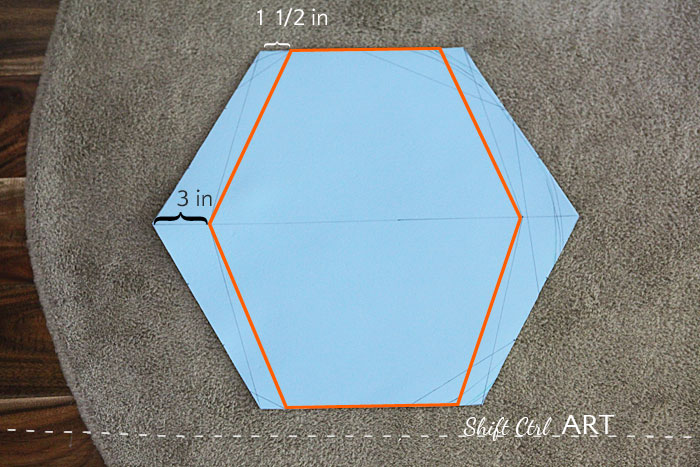
I looked at that shape for a while and thought it looks way to soccer-ish (fodboldagtigt), so I drew a line between two of the opposite points, then measured three inches in from each side and 1 1/2 at the top. Connected the new points and liked that hexagon much better.
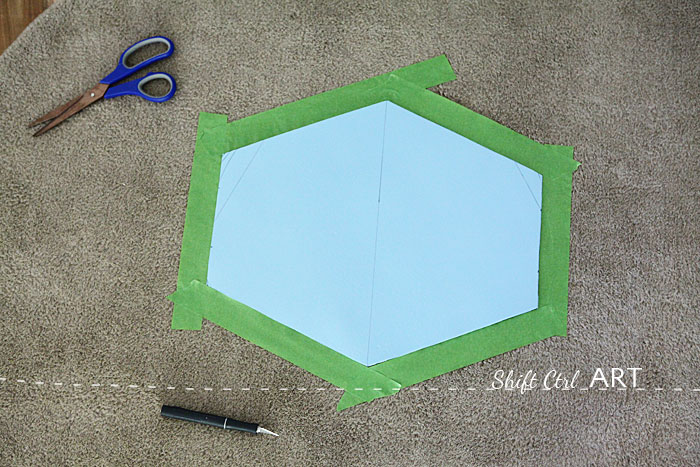
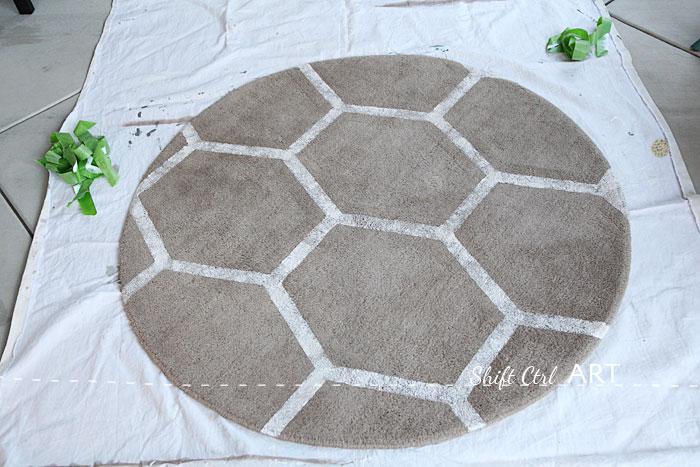
I did not want my pattern to be symmetrical on my rug, so I off-centered the first tile when I put it down. I used green Frog tape to outline my shape, overlapping the tape at the points.
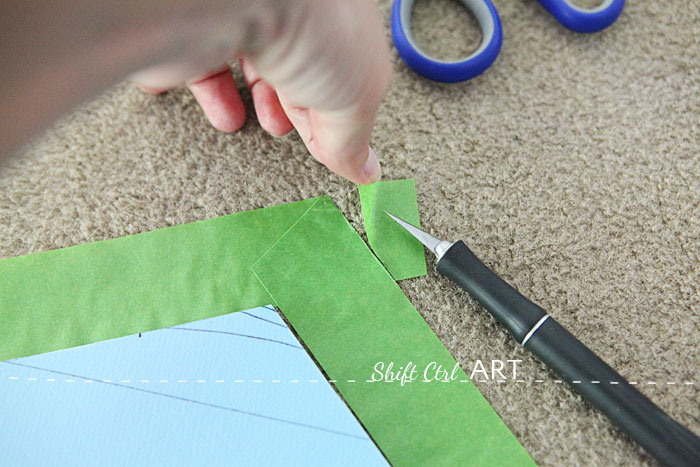
Then I put a fresh blade in my Exacto knife and carefully cut off the excess. I used the paint stick as a guide (not pictured).
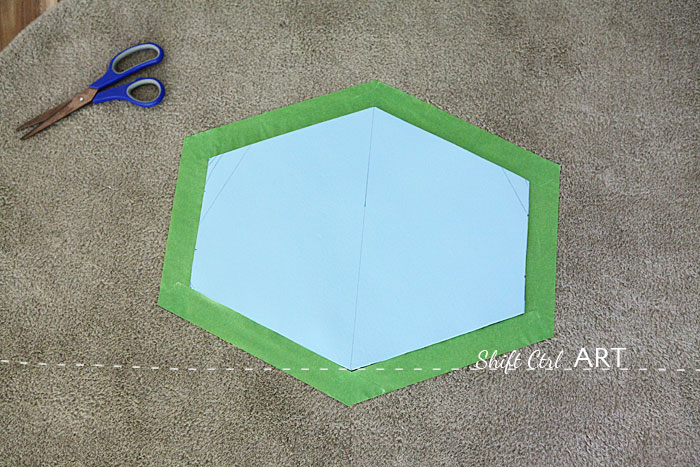
Repeat, repeat, repeat.
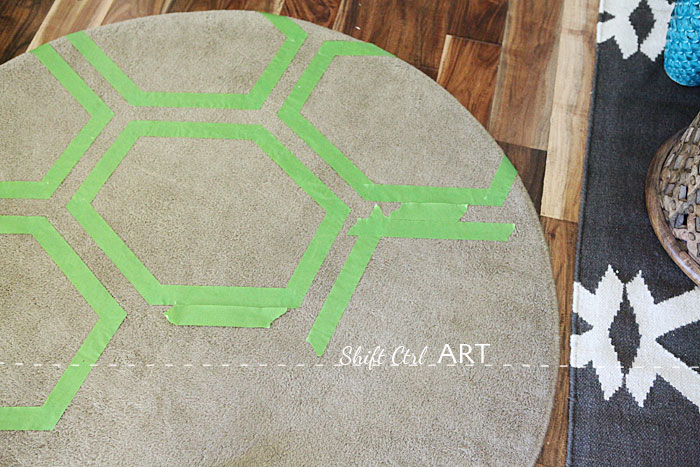
To get the next shapes to line up, I used a piece of tape as a spacer, then lined up another piece of tape to that.
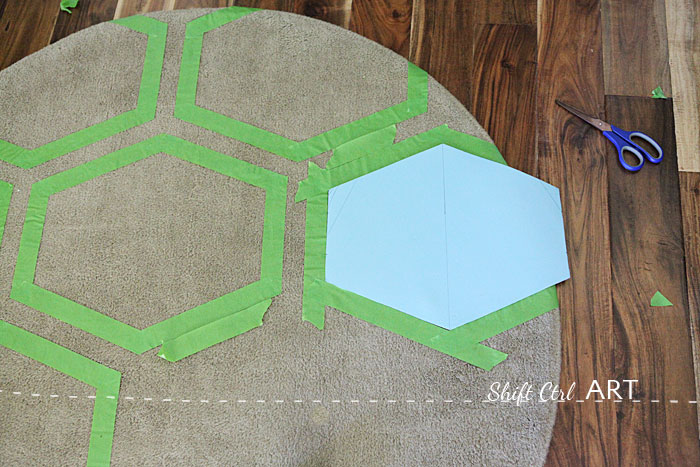
Then I put my template up to those taped lines and finished the shape.
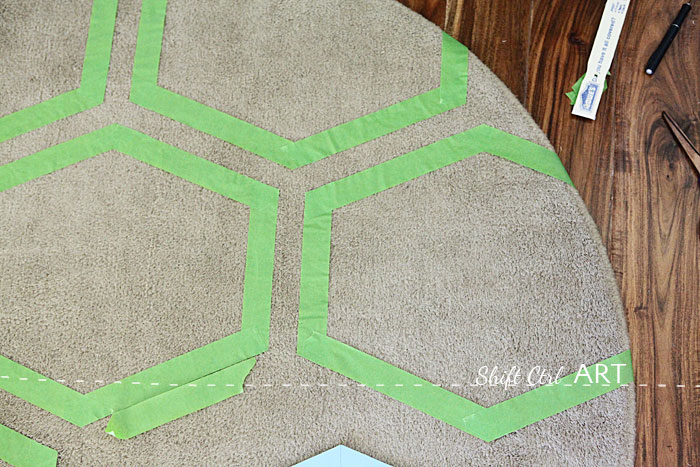
And cut off the excess.
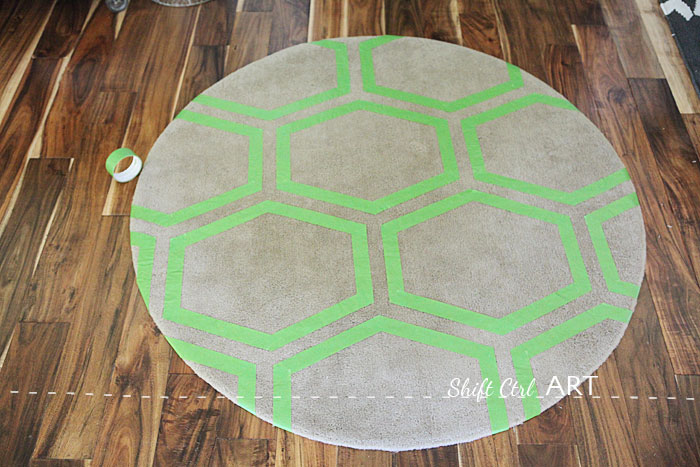
Repeat, repeat, repeat. It took about an hour or so. But hey, time files when you are having fun, right?
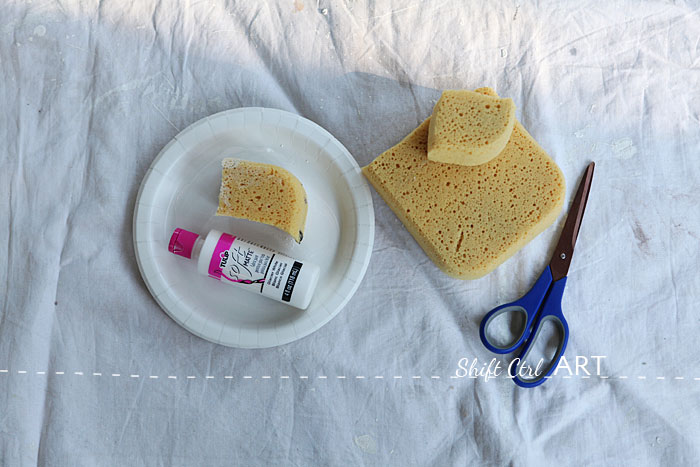
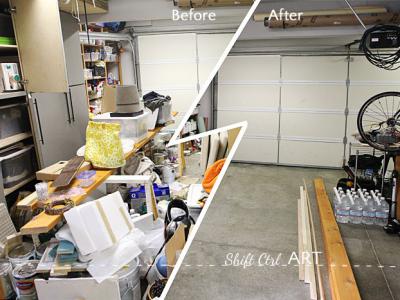
Then I cut a corner of an old sponge I had in my garage. It was so easy to find because we just cleared it out. and grabbed some white fabric paint I had bought at JoAnn's for this project.
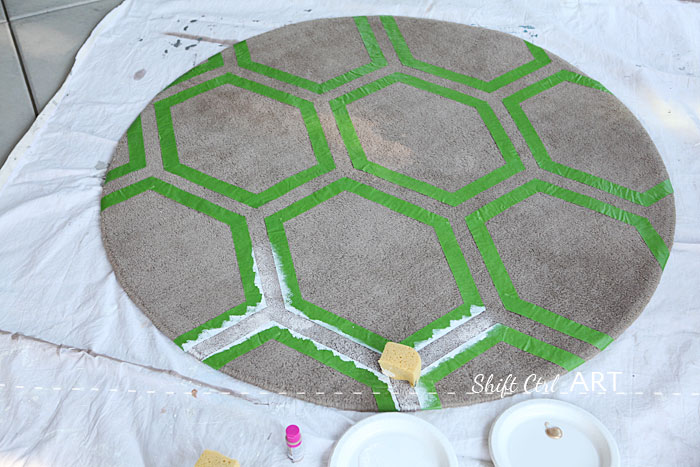
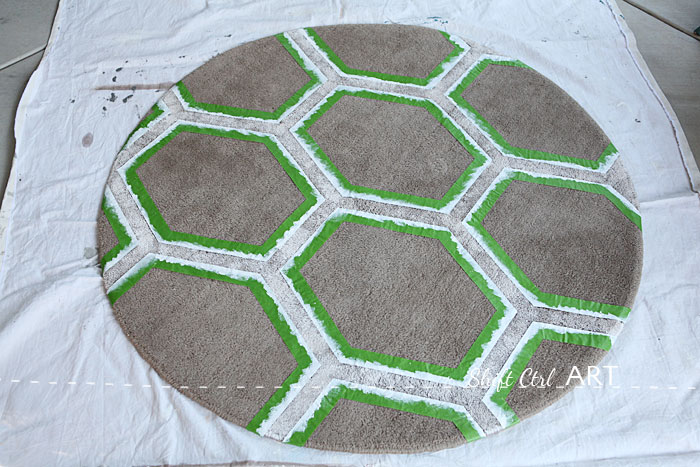
Then, I dabbed white paint with the sponge between my taped lines. I made several passes, but I was going for a bit of a distressed, subtle look, so I didn't put too much paint on the sponge at any time.
Edited: As Amber lovingly pointed out, this is of course for our pattern challenge

*Pling*
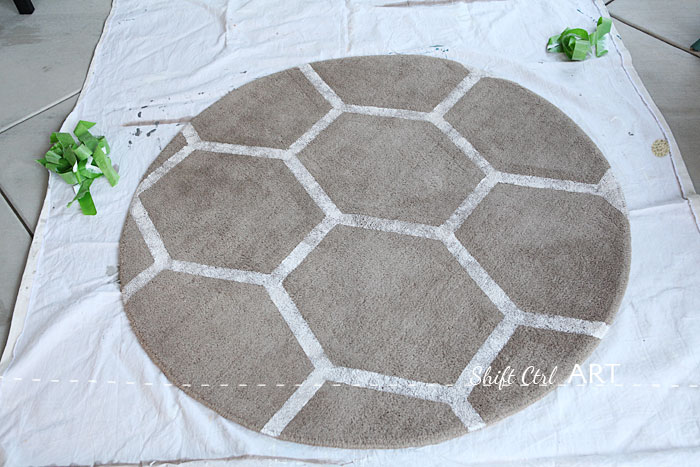
Then I removed the tape. Ta-daaa. Doesn't it look like a giraffe a little bit? You know, a giraffe who has its stuff together?
So where is this going? Well.... surprise, I have another post coming where I will show you just that. It has to do with the turquoise wall I showed you on Instagram earlier this week.
I just need to get some flowers and snap a few pictures and I will be back with that post later today! Stay tuned!
Next: Let's get Frog Taping! Entry hall reveal!

About Katja Kromann
I am a Danish American decorating life in Seattle. I love all things design and DIY.
I can’t think of anything more fun than coming up with project, making it, photographing it and sharing it with you on my websites.
Since 2018 I have been making Ceramics, nearly full time.
AHomeForCeramics.com AHomeForDesign.com AHomeForCrafts.com AHomeForFood.com My Portfolio
Categories
Ikea Ringum rug receives fabulous Frogtape pattern is posted in the category Before & After | Crafts | Decor
