Easy abstract art - in 3 steps
There is an update on our master bath progress at the bottom of this post.
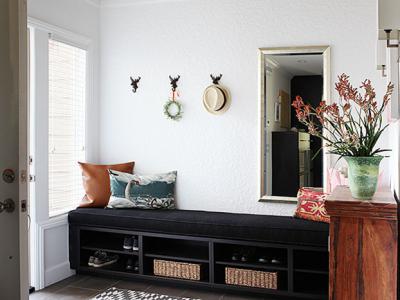
Let me tell you about the new abstract painting I made for over the bench/tower combination in our master bathroom that Frank and I built in there. Here is the bench I am talking about.
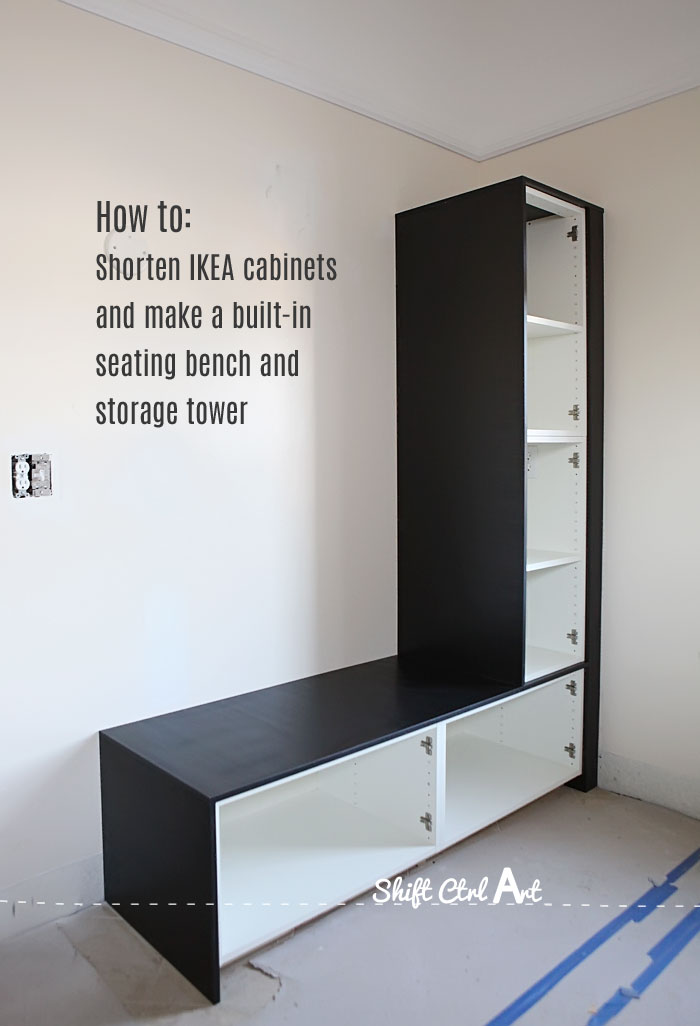
Yes, yes, yes, that was back in March. Of 2014. And here we are in March again. of 2015. What?
But you are probably not even noticing that because that bench situation is screaming so loudly for some artwork. #AmIRight?
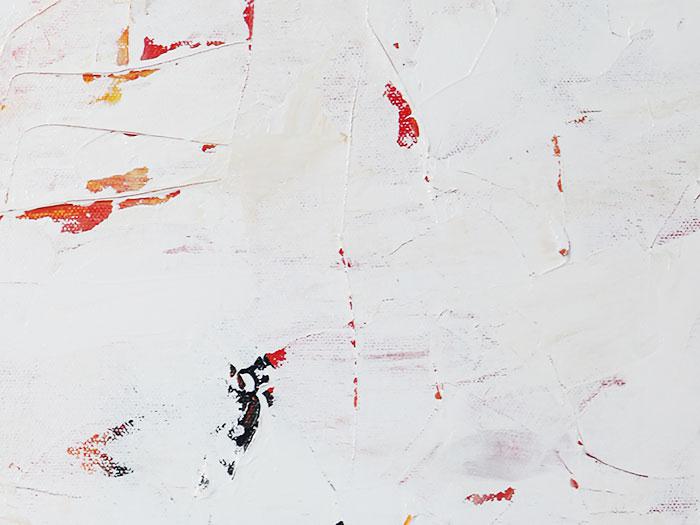
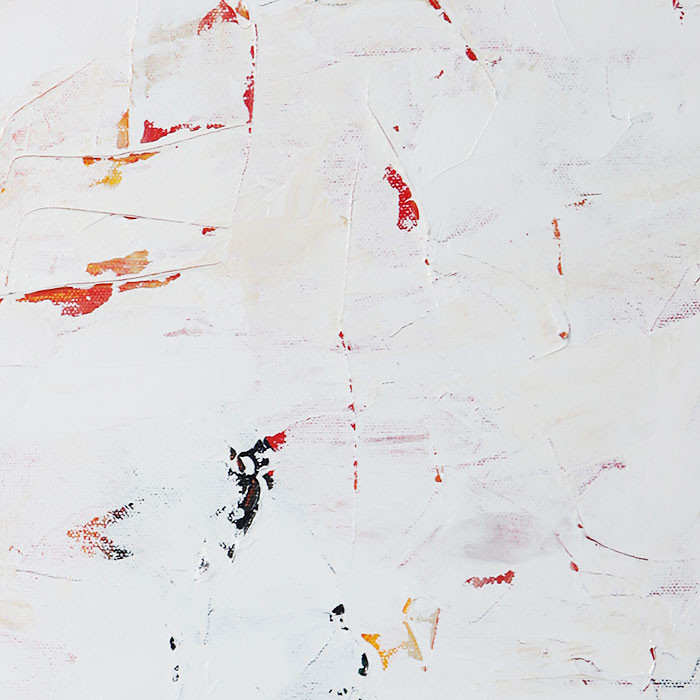
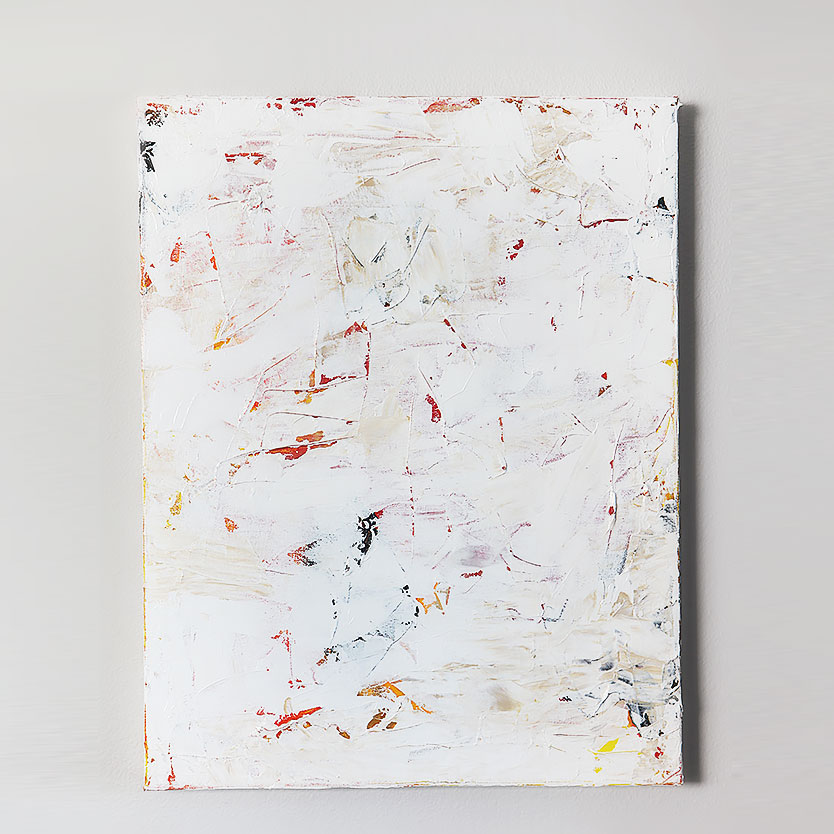
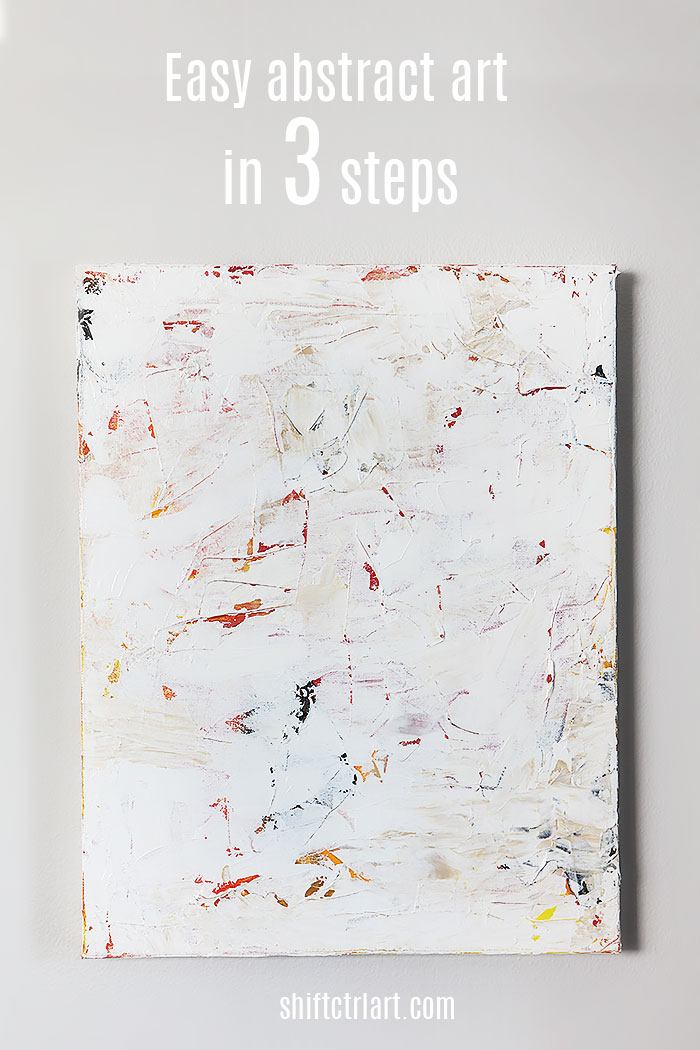
So that is what I have been working on this week to get this room ready for the reveal. Among other things. Here is the painting I made:
Here are my supplies: a spatula and some paints. + a tube of Liquitex white, not pictured.
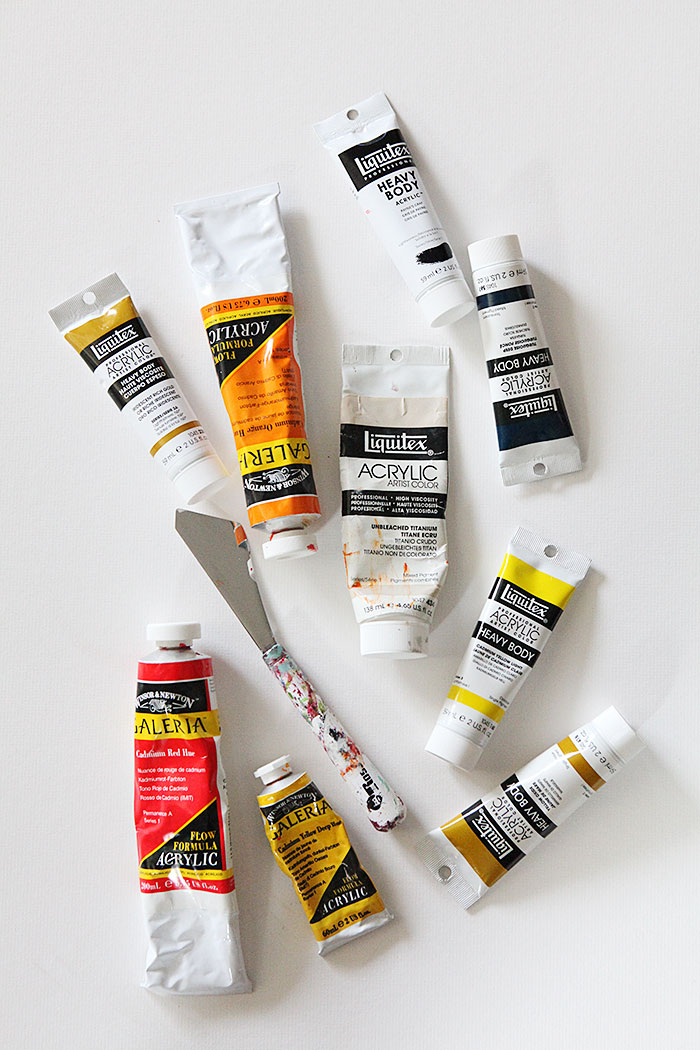
The Liquitex paints are my favorites because they have the most body to them, which work well for this technique. I got mine at JoAnns and Aaron Brothers. I also got the stretched primed canvas from one of those two places. This canvas is 16 x 20 inches.
Step 1
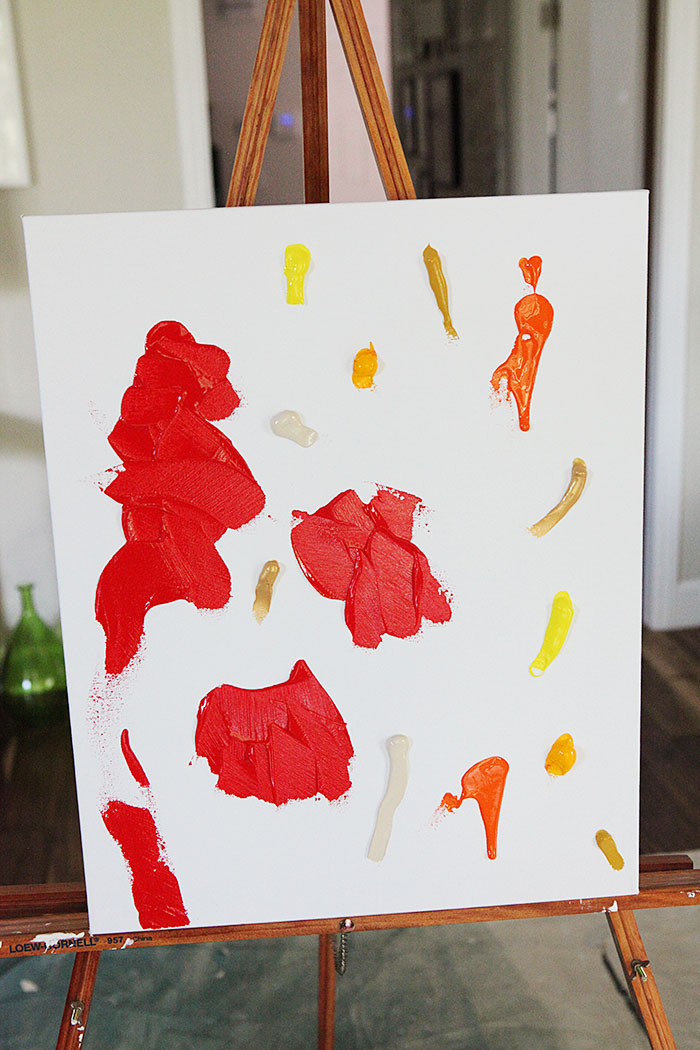
For the first layer I put all sorts of strong colors in the red/warm family together. I dabbed each paint onto the canvas as you see above and started smearing them around and with the spatula.
Two things I was concerned about during this step were to not smear the colors into each other too much. I wanted each color to have sort of distinct areas, but with a little overlap here and there, and I wanted to create a lot of little ridges and textures of paint throughout the painting.
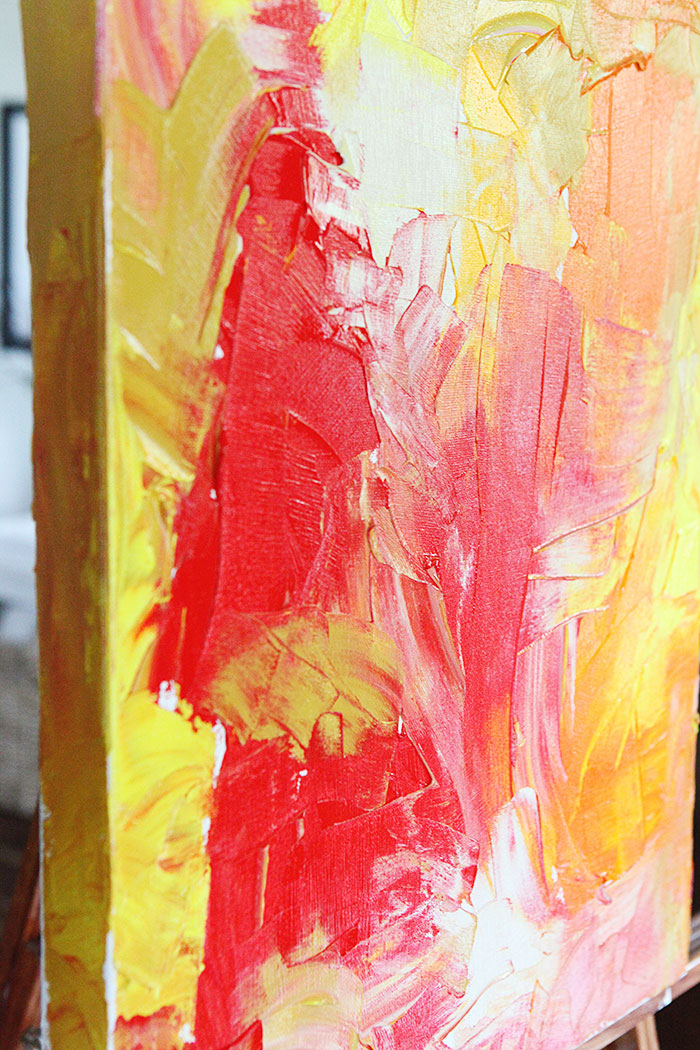
Above you can see the ridges created by sliding the spatula through the paint.
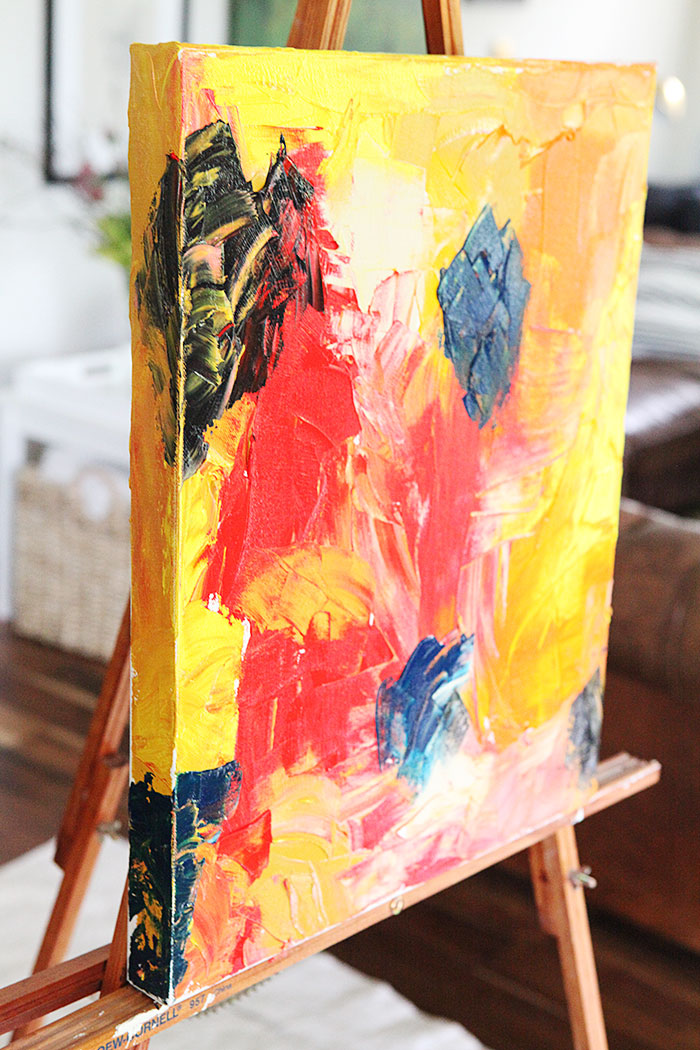
Without waiting, but you certainly could, I added a few areas of
Then I let it dry. The texture of the paint needs to be dry before you can do the next step. I usually wait until the next day. I did turn the canvas on a different side before then and painted the fourth edge.
Step 2
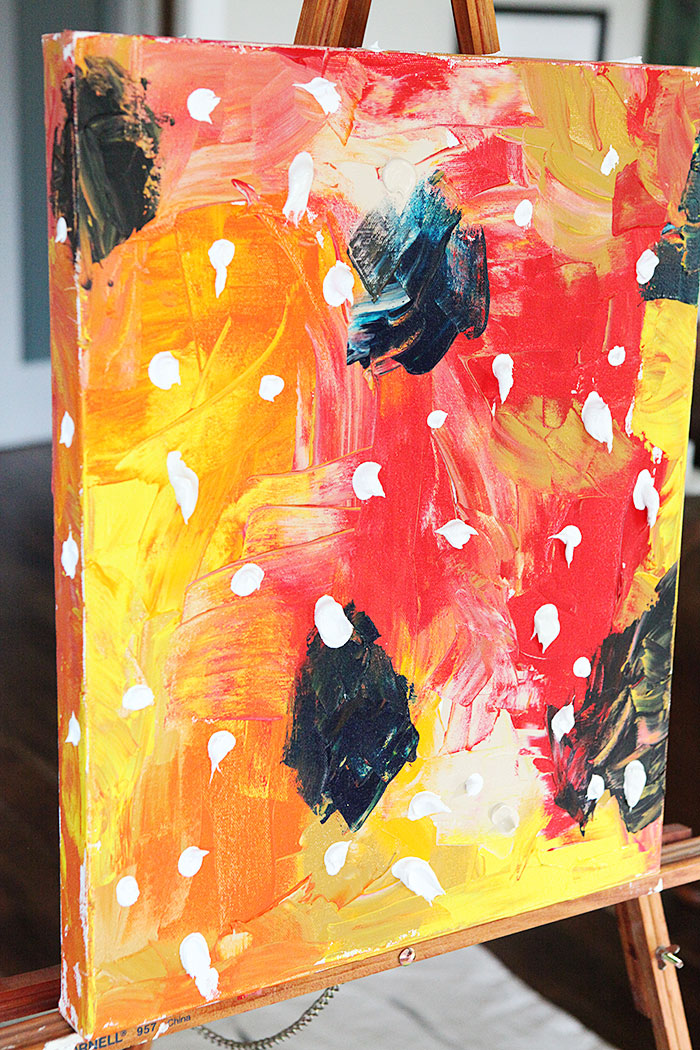
The next day, I dabbed small amounts of white paint all over the canvas.
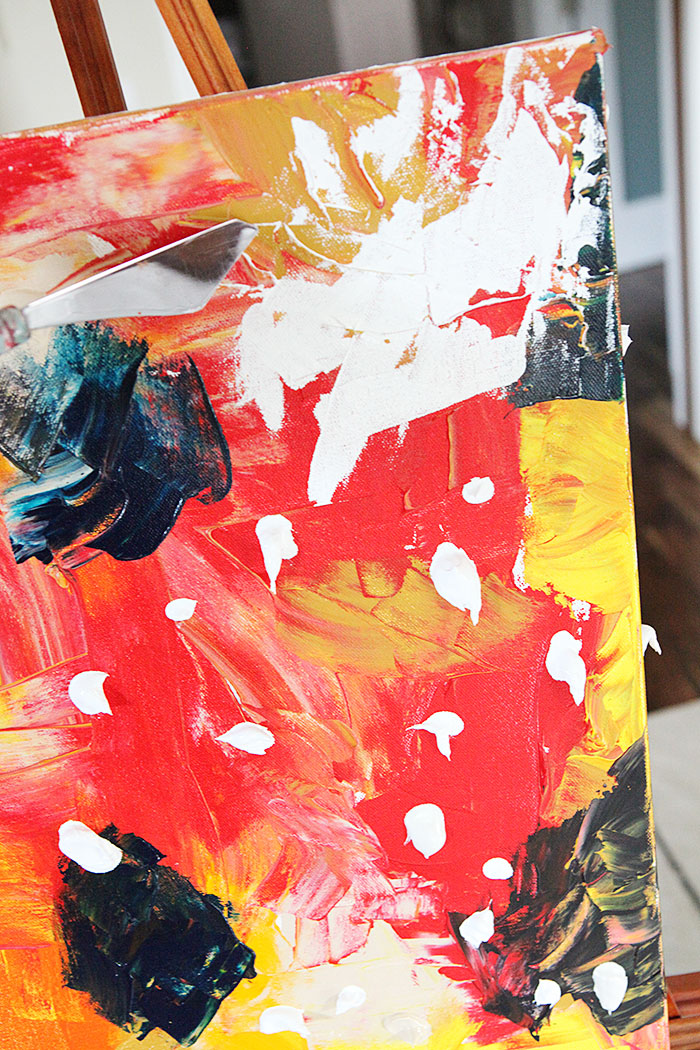
Then with a light hand I smeared the white over the first layer, while trying not to push the paint into the crevasses left behind by the texture and ridges of the first layer.
Two of the dabs were beige. I dabbed them over the already beige areas of the canvas from layer one, as seen above. Maybe that is hard to see.

Above as I was almost finished with this step except for the lower left corner. I added more white as I went along. You can see the two areas of beige slightly mixing in with the white, creating a bit of interest.
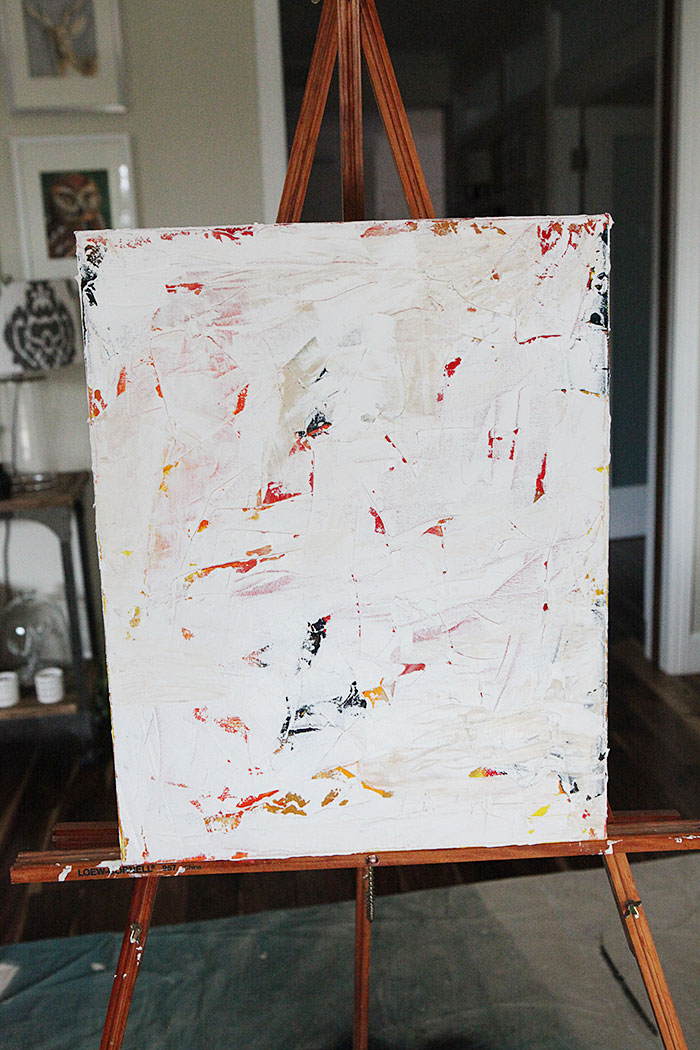
This is after the first pass through of the second layer. You could totally call it done here, let it dry and flip it around to finish the bottom edge.
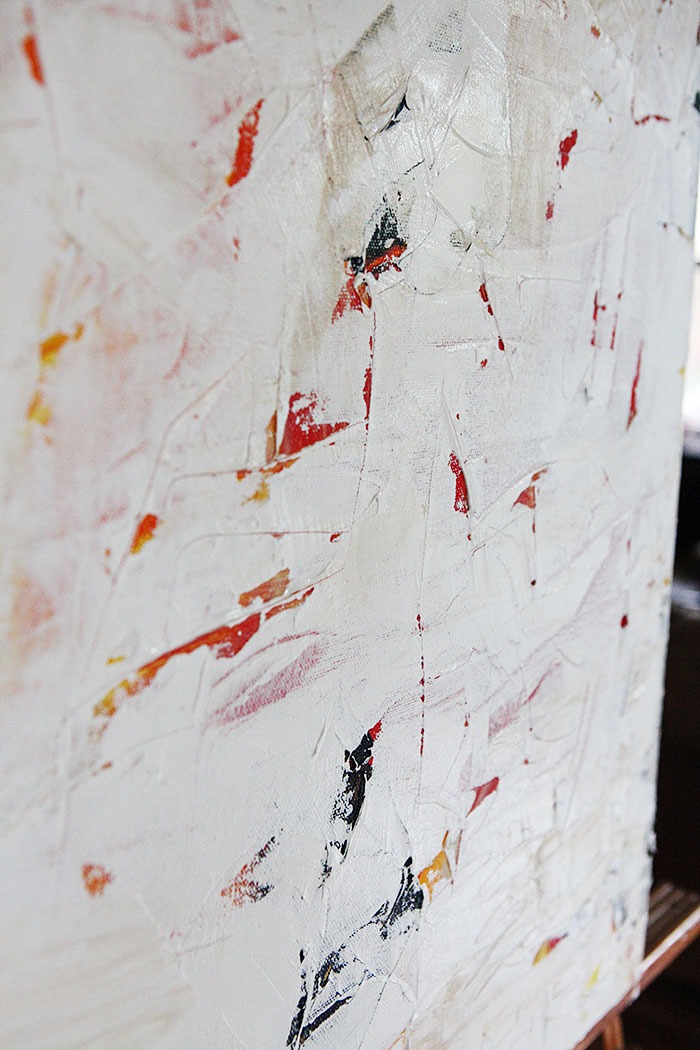
Here is a close-up side view.
Step 3
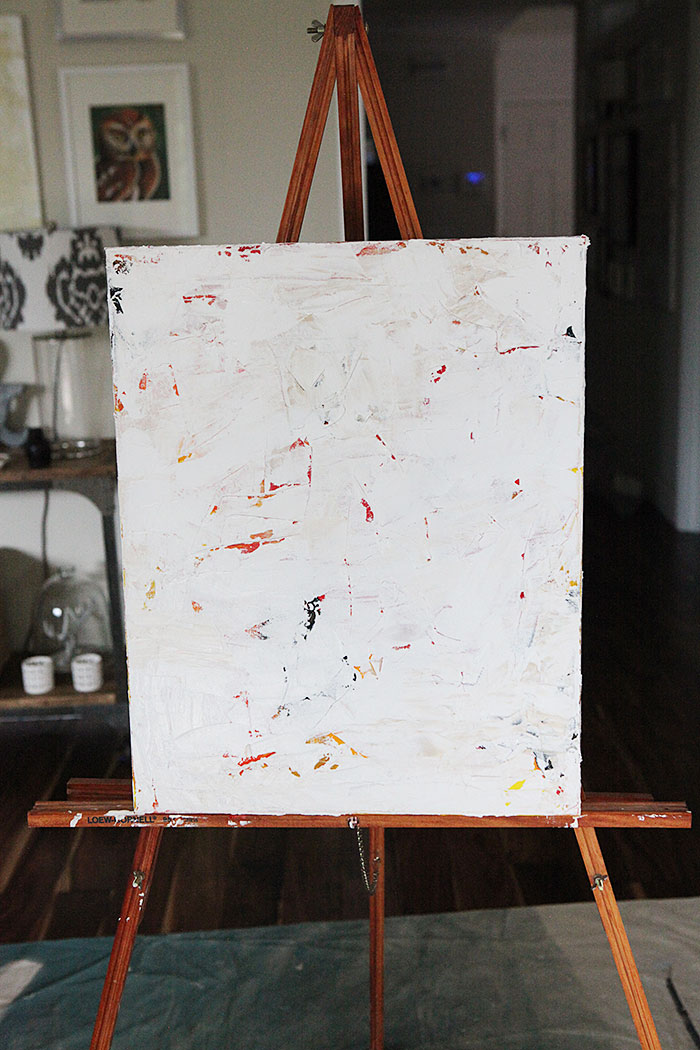
I wanted mine to have a very white appearance, so I went over it one more time after it dried, with more white. And a very light hand.
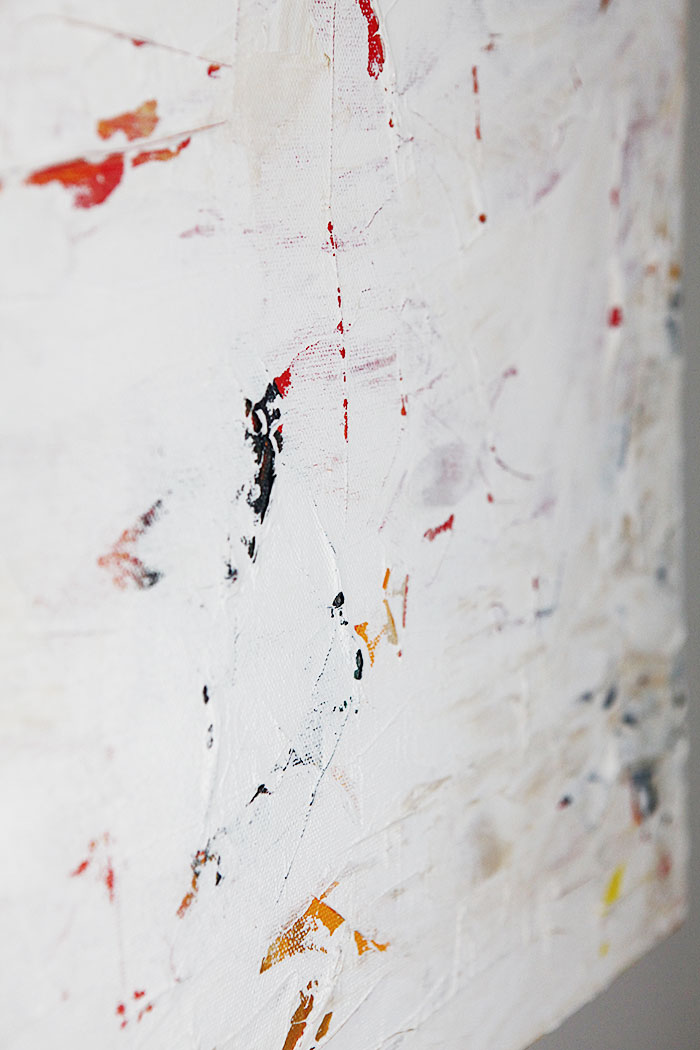
Here is a close-up of that. You can see how the first layer is peeking through in different spots, creating some interest.
This morning I hung my new abstract art piece over the bench in our master bathroom.

The green painting in our living room is made in the same way, only instead of adding white on top, I added dabs of three green paint colors instead, the lighter green more towards the middle and the darker more towards the edges, creating an overall green painting, but with lots of red and orange showing through. I panted the green painting back in 2007 sometime. It is 36 x 36 inches.
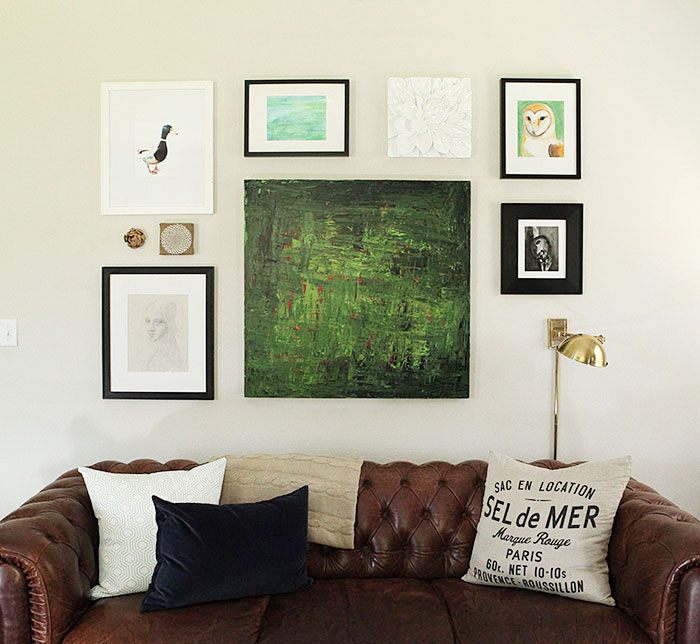
Here are two more vignettes in our dining room, with abstract paintings also using the same technique.
Update on our master bathroom.
Last time we talked about the master bath, I showed you the tile work on the back wall. Since then, the marble guy has been here a few times to finish up. Last week the glass door and window for the shower were installed, then this week on Monday, the plumber came and installed all the fixtures as well as the bathtub and yesterday the marble guy was here to do the last caulking and cleaning.
Frank and I put in the last baseboards over the weekend and cut some trim for around the tile. I finished staining and poly'ing it yesterday, so it is ready to go in this weekend.
This weekend I am going to cover the two pelmet boards for the windows. The boards are already made, but one of them needs to be trimmed down an inch before I can cover it. It will be the same pelmet boards as the ones we made for our master bedroom.
Then towels, accessories and some greenery in some way ...
Can you feel it? The master bath reveal is just around the corner.

About Katja Kromann
I am a Danish American decorating life in Seattle. I love all things design and DIY.
I can’t think of anything more fun than coming up with project, making it, photographing it and sharing it with you on my websites.
Since 2018 I have been making Ceramics, nearly full time.
AHomeForCeramics.com AHomeForDesign.com AHomeForCrafts.com AHomeForFood.com My Portfolio

