IKEA hack: how to build a white desk with a miter saw and a kreg jig
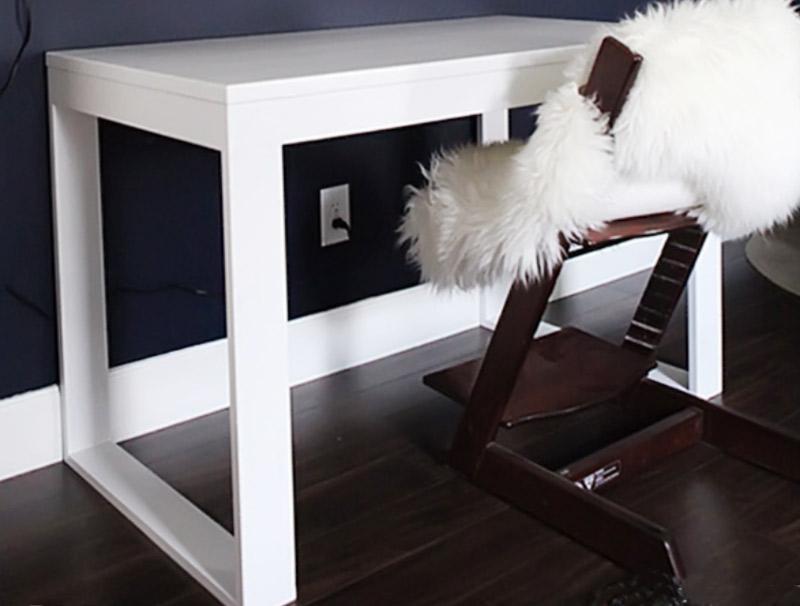
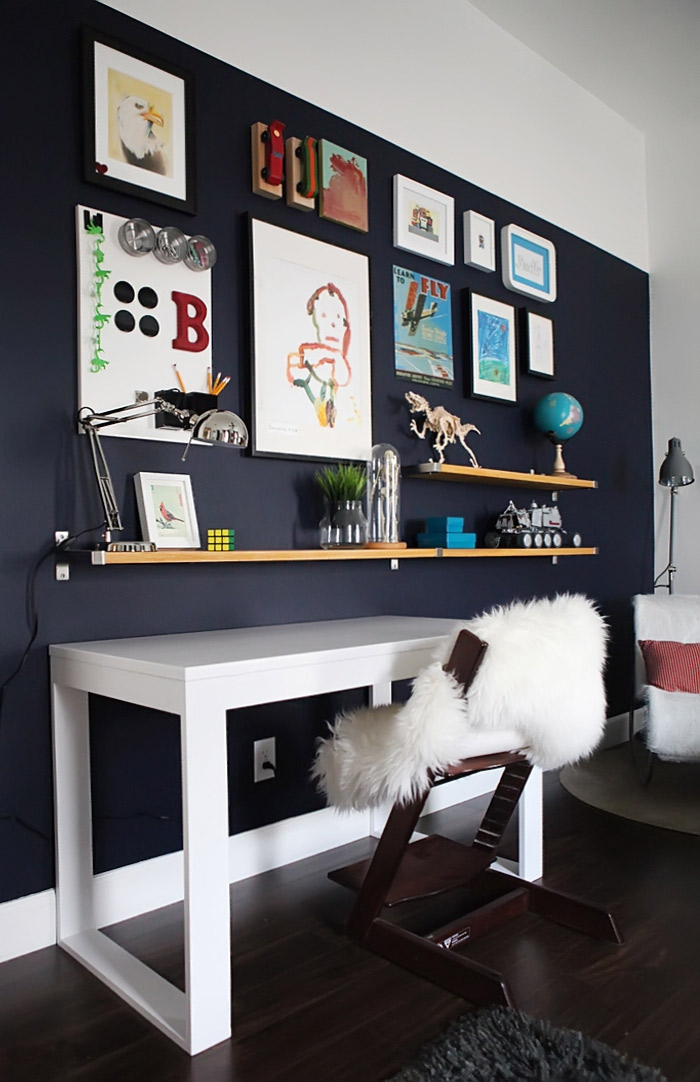
Yesterday, I showed you the finished blue wall with the new desk and some shelves and a gallery wall.
Today, I am back to share our tutorial for how we built the desk.
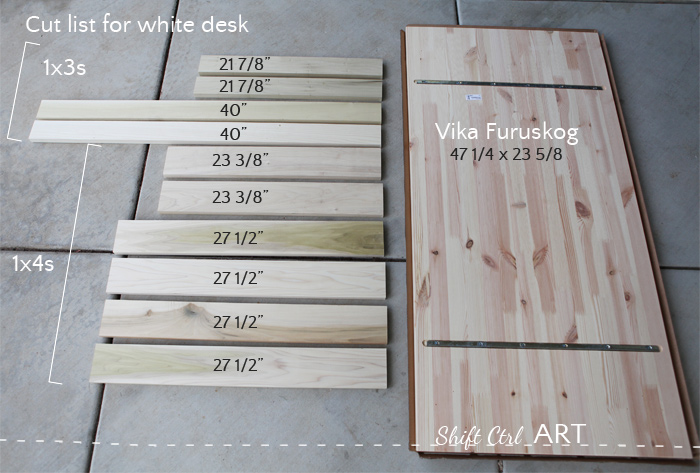
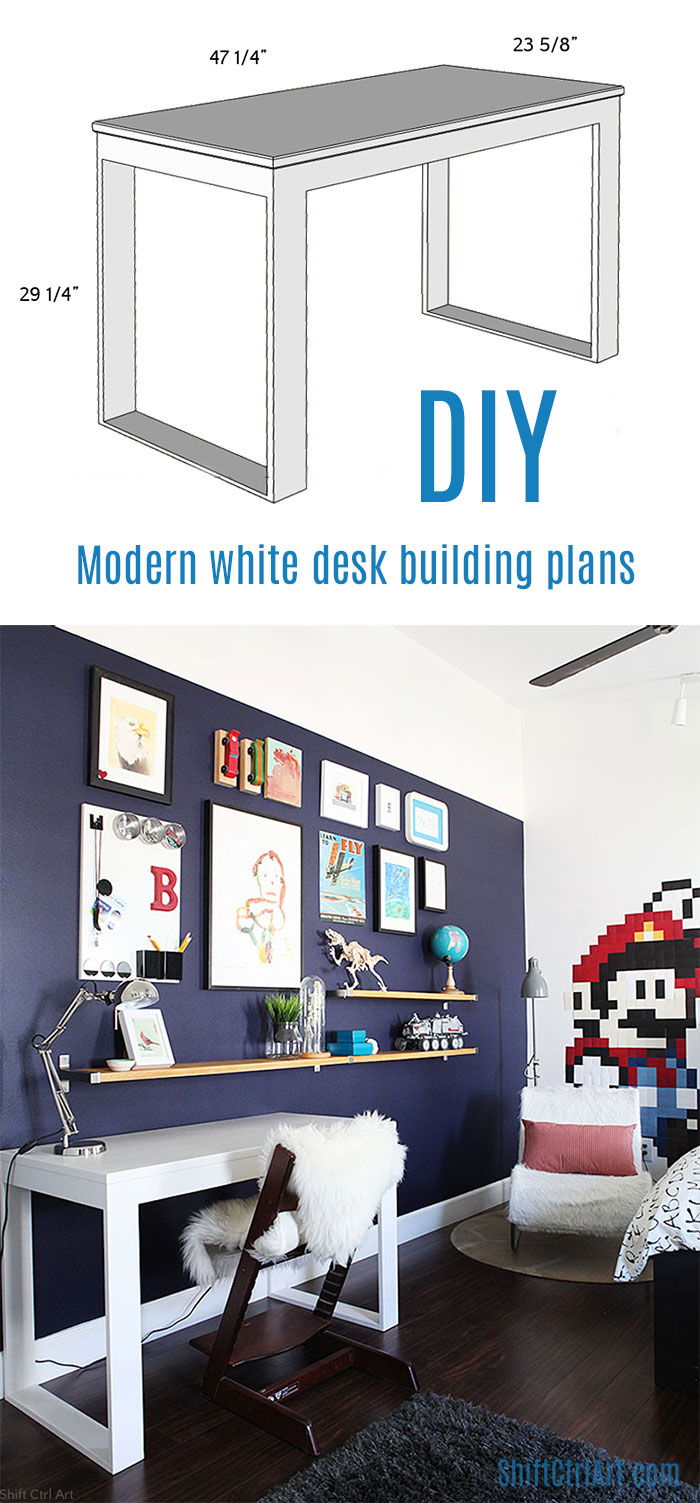
We used 1x4 for the legs and 1x3 for the frame under the desk top. From the top: the first four boards will create the square frame that is screwed into the table top. The next two boards are the bottoms of the legs, the last four are the table legs themselves.
The desk top we got at IKEA. It's the Vika Furuskog. It's made out of solid pine and has two metal brackets inlaid on the back of it to avoid warping. We got the smaller of the two tops which is just shy of 4 ft long. It comes in a 5 ft version as well.
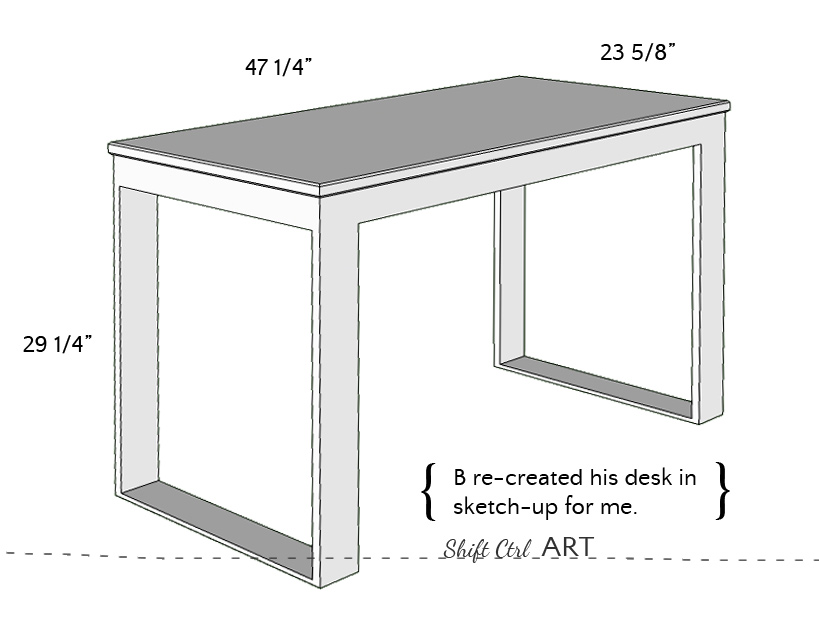
As I mentioned the other day, I have been looking for a floor planner tool and happened upon Google Sketch-up which is free. It wasn't exactly what I was looking for, but B got all fired up and watched a couple of tutorials, installed it on his PC and went to town. He ran back and forth measuring his new desk and added all the measurements to this sketch-up and figured out how to use all the tools. He later sketched up another idea of mine for a coffee table, which I showed on Facebook yesterday.
Back to the building of the desk...
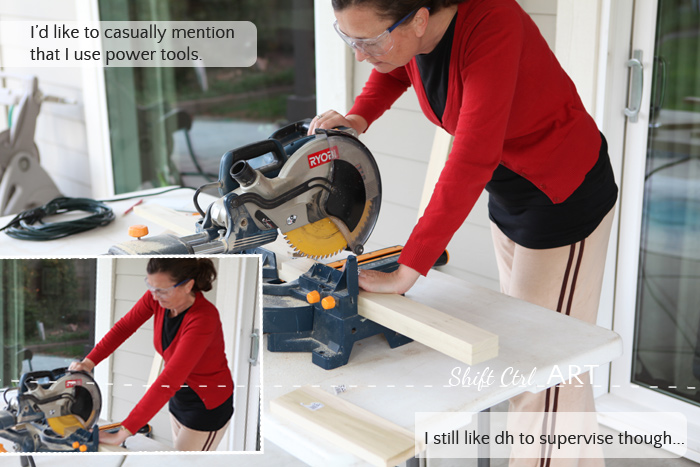
Ok, funny story... Remember when I showed you the house we built in the 90s? This is important history in understanding why there must be pictures of me using very MANLY tools when we build something. You see, back then, I took nearly all the pictures which makes it look like dh built that house all by himself. So I now make it a point to have him take pictures while I do power tool-y stuff.
We cut the boards that were the same length at the same time so they were exactly the same length. Check out my squint while sawing. It's required!
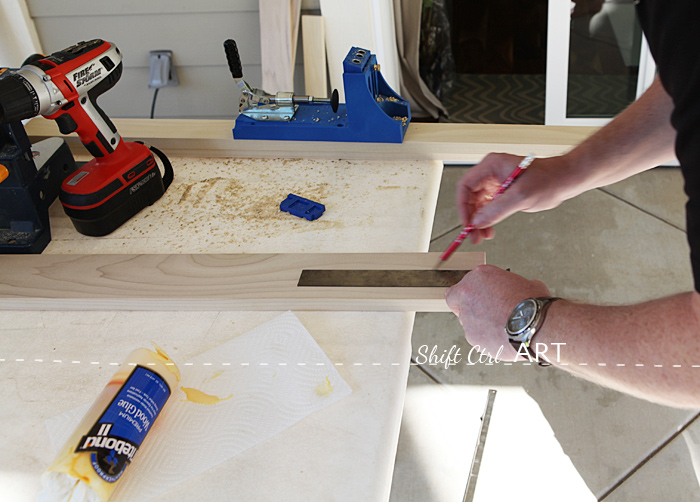
Dh get's to be photographed measuring. ![]() See.... He marked out where all the Kreg Jig holes were going.
See.... He marked out where all the Kreg Jig holes were going.
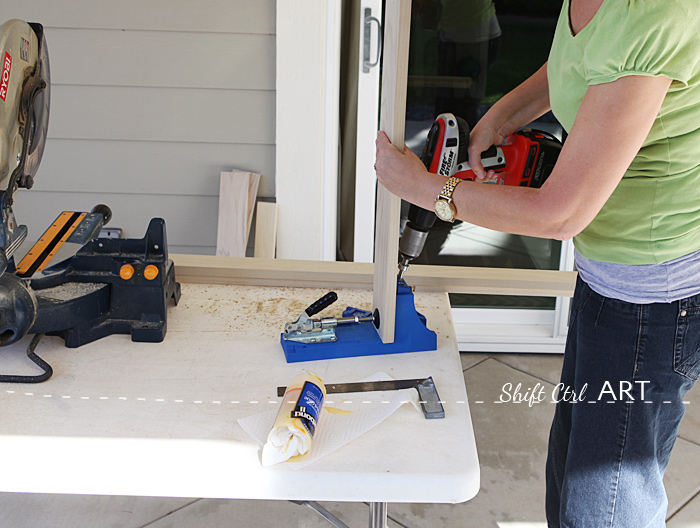
Notice the change in outfit? Another funny story. On the day that I was wearing the red cardigan, we cut all the pieces and then dh and B went to a boy scout troop meeting back in March. I Kreg Jigged all the boards while they were gone using the setting from the instructions, then started screwing everything together only to have the first three legs split. Uarggggg.... I then did some research - which helped a little and then we did our own trouble shooting. Then we sawed some new boards - hence a new day, a new outfit. I will share our trouble shooting for the Kreg Jig in a separate post. Edited: Here is the link on trouble shooting with the Kreg Jig to avoid split ends.
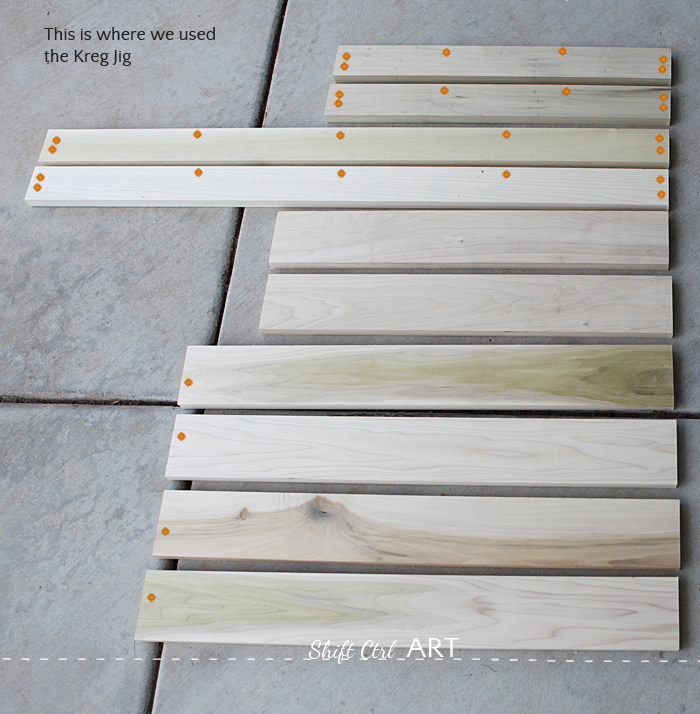
Here I added some orange dots so you can see where we put the Kreg Jig holes.
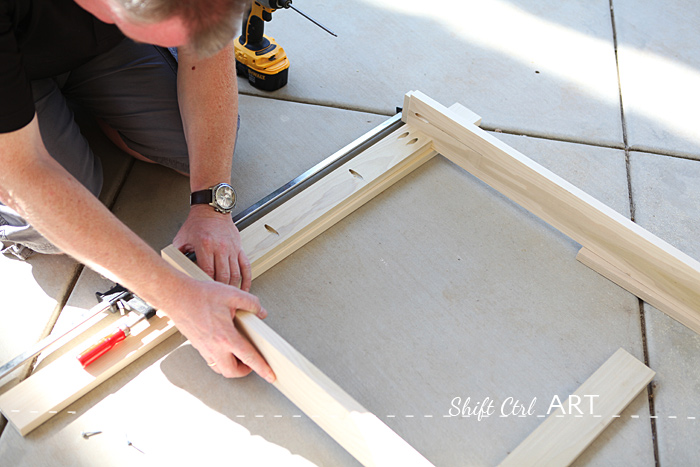
Dh clamped the wood together.
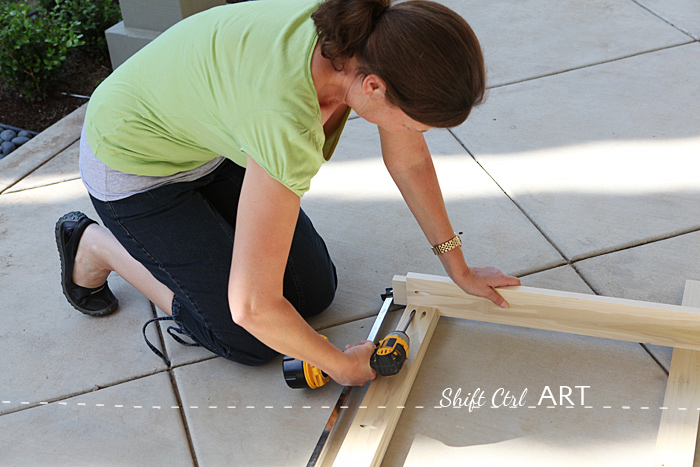
I screwed it together. <---- power tool user!
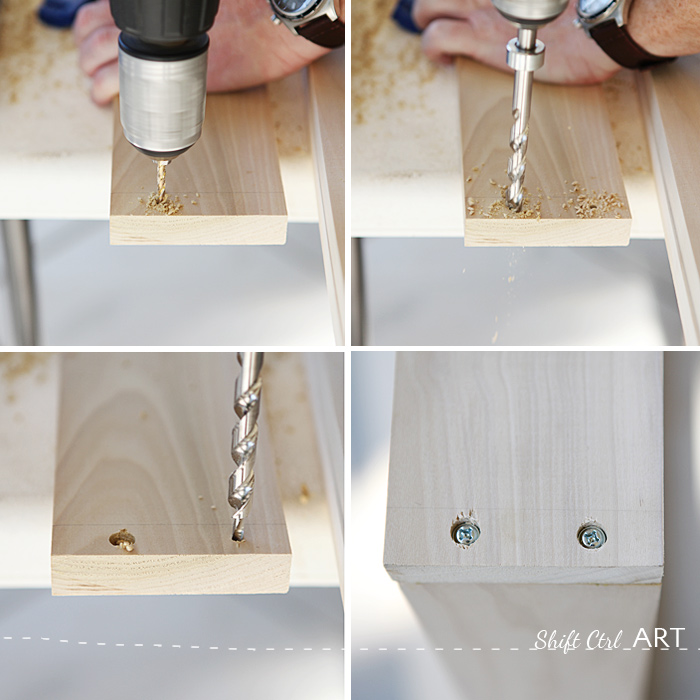
Ok, ok, dh also used the power tools ![]() I'll confess: he did most of the sawing and about half of the kreg-jigging.
I'll confess: he did most of the sawing and about half of the kreg-jigging.
The above picture shows you how we attached the bottom boards to the legs. First dh drilled a small hole for the screw to go through. Then he free handed with the Kreg Jig drill (That was not easy - it would be easier if you used a regular counter sinker tool, but we were too lazy to search for ours). Then we screwed the bottom boards to the legs.
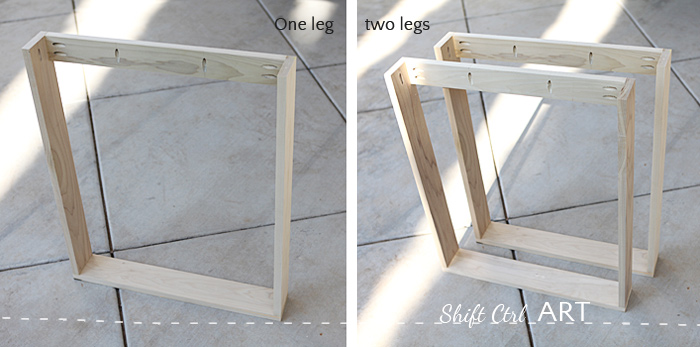
Then we had one leg, two leg, red leg, green leg... wait that is something else...
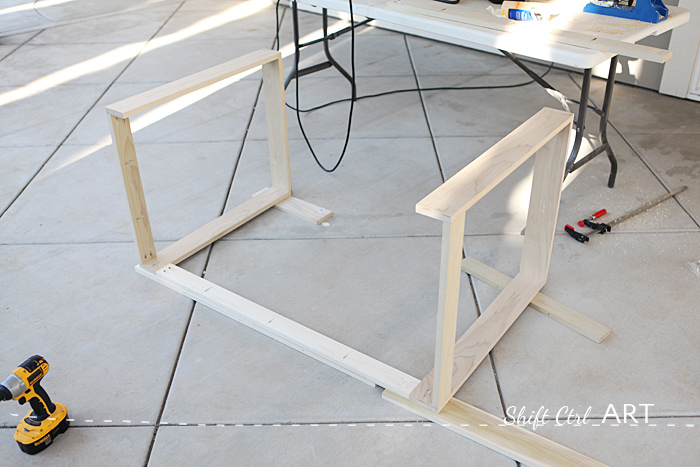
Then we attached the two legs to the long 1x3s that would be secured to the top.
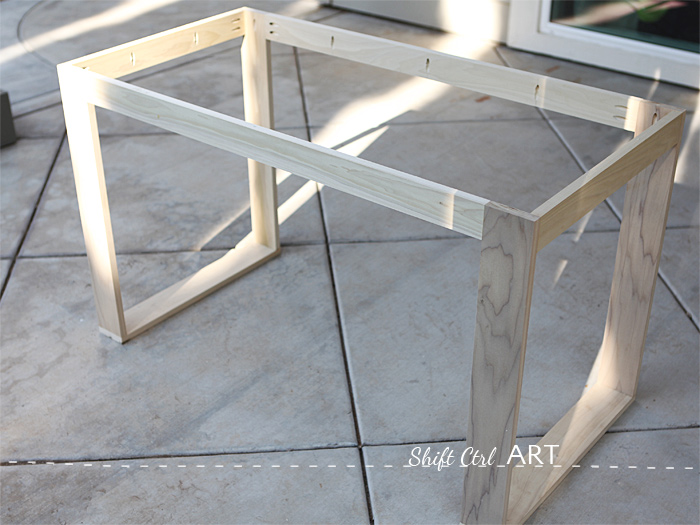
On both sides. Here is the finished frame with legs.
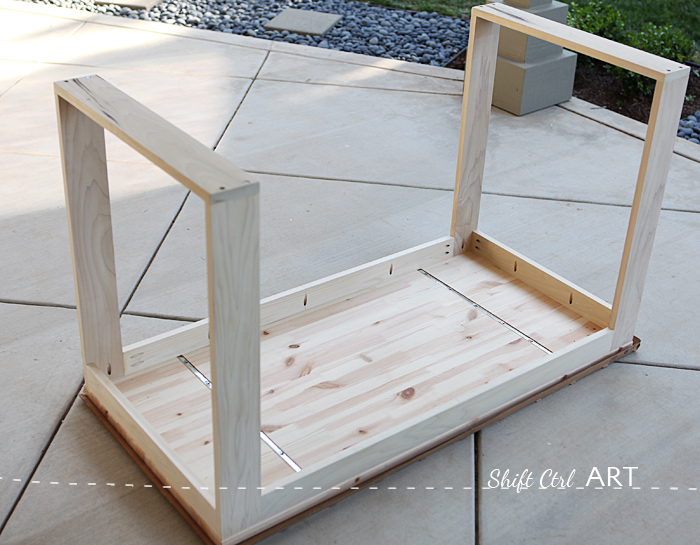
Then we attached that to the table top. All in all, we built this desk, while I was wearing the green shirt, in about 2 hours.
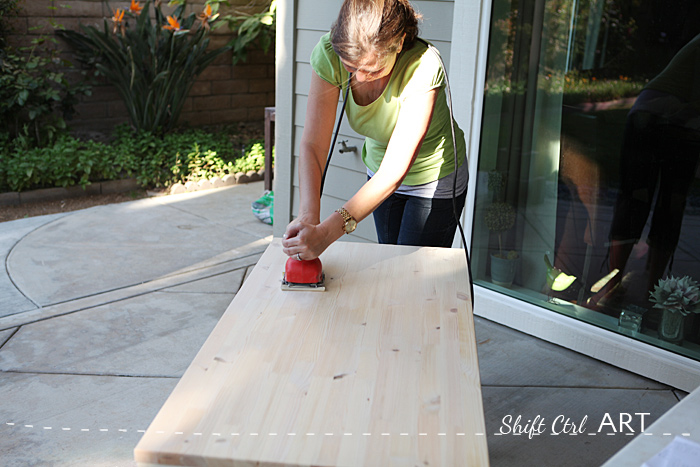
I sanded it with my power sander! 220 grit.
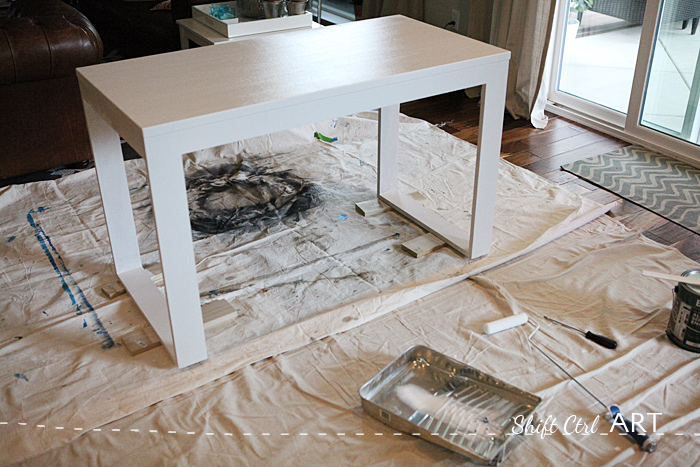
Then last weekend, while the boys were out on a 20 mile hike! (gunning for a boy scout badge), I set up shop inside as there was so much pollen in the air outside. I put the table onto some blocks and painted the whole thing with a foam roller. I gave it two coats of Zinsser oil primer and two coats of Behr Alkyd paint in white white!. Love that combination. It looks and feels like a factory spray finish. I am going to let the paint harden a bit longer and then I will finish it off with some furniture wax next week. The surface feels very tough and not sticky at all.

Here is the finished desk again. There are a lot more pictures of it here. The wall color is Valspar's Blue Coal.
We love to hack IKEA stuff. Here are some other IKEA hacks we have done:
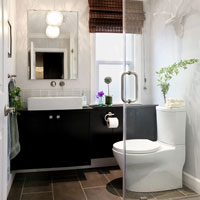
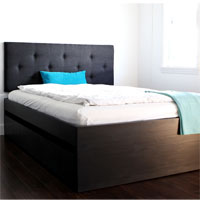
Entertainment center Bathroom vanity Queen bed with twin trundle
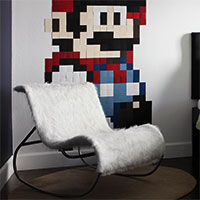
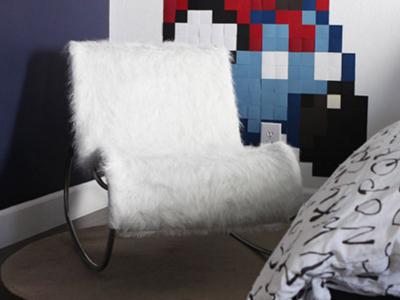
Chair recovered with fur fabric
I just have to sing the praises of the Kreg Jig. Such a fun tool. The desk was the first piece of furniture where we used it. Do you have a Kreg Jig? Have you built something with it? I can see us doing many more projects with it.
Next: Kreg Jig: At your split's end? trouble shooting ideas to avoid wood splitting

I am a Danish American decorating life in Seattle. I love all things design and DIY.
I can’t think of anything more fun than coming up with project, making it, photographing it and sharing it with you on my websites.
Since 2018 I have been making Ceramics, nearly full time.
AHomeForCeramics.com AHomeForDesign.com AHomeForCrafts.com AHomeForFood.com My Portfolio
