How to hang a flush mount shelf or cubby
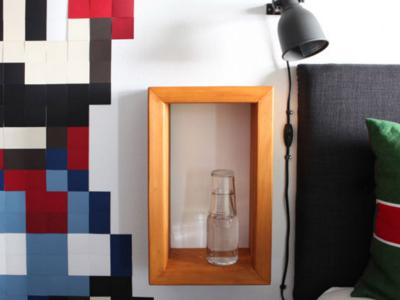
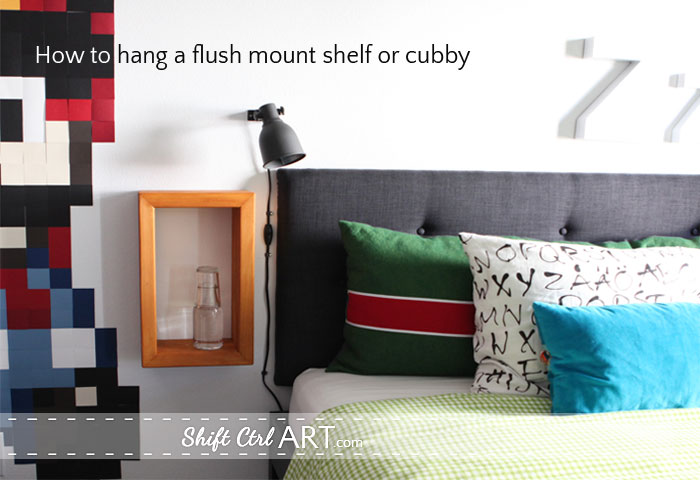
You have been wondering how I hung that cubby in B's room, haven't you? I can feel it...
No worries. Here is myover well photographed, over explained tutorial on how I did it!
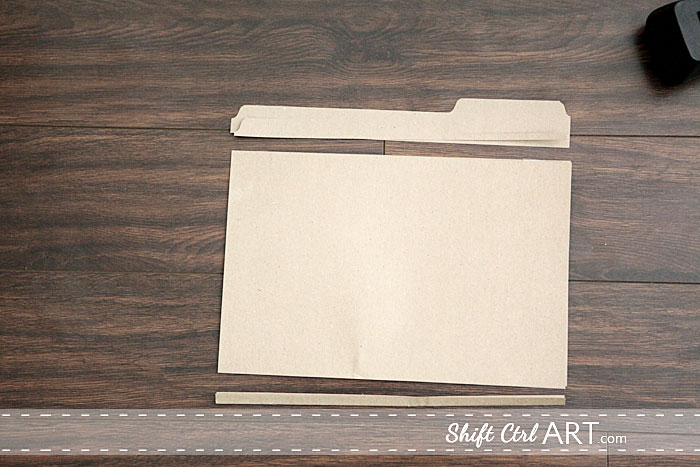
I used some card stock from an old file folder. I cut it straight using my trimmer.
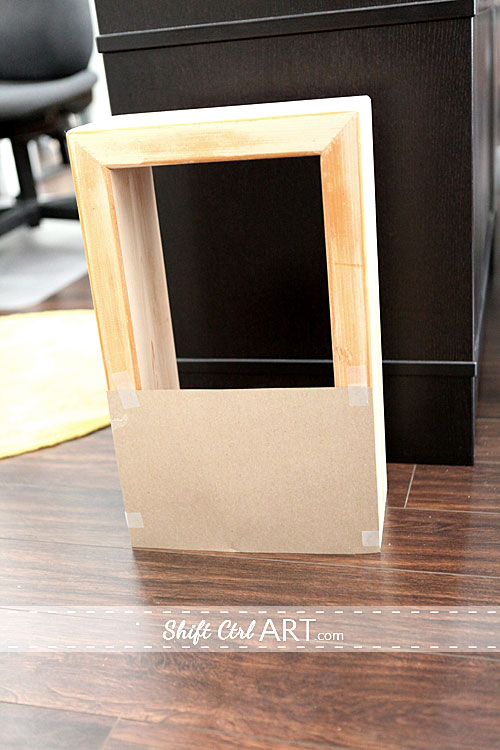
Then I trimmed the side so it was the same width as my cubby and taped it upside down so the card stock would be level with the top of the cubby, using the floor to make it level with the top.
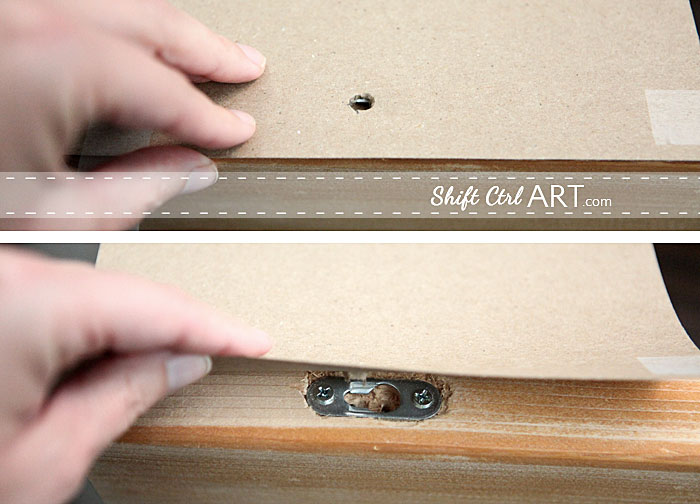
Then I used a pencil and poked through the card stock where the key hole fasteners are. I made sure that the holes were at the narrow end of the key hole fasteners, where the screw will eventually sit, when I poked my hole. See here how I counter sunk the key hole fasteners in the cubby even though I did not have a router.
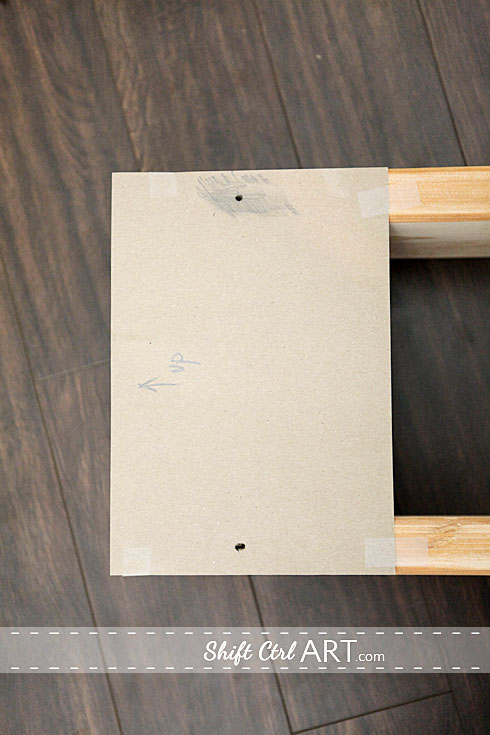
Remember to mark your template so you know which side is up (and towards the wall)
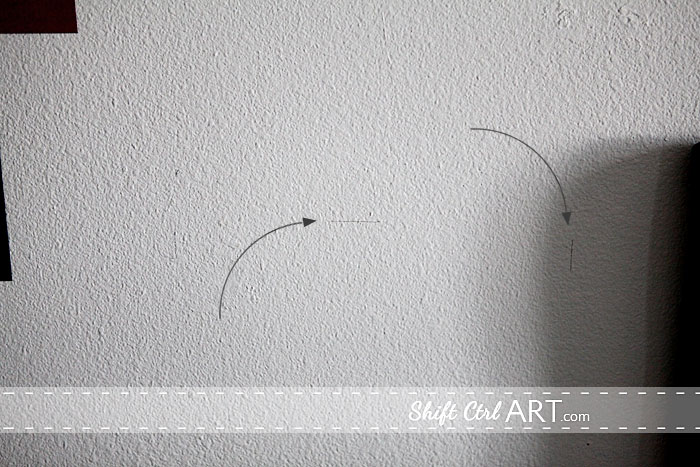
On the wall where you are going to hang it you can now use the card stock to gauge the position of the cubby or shelf. Make two lines - at the top and one side like this.
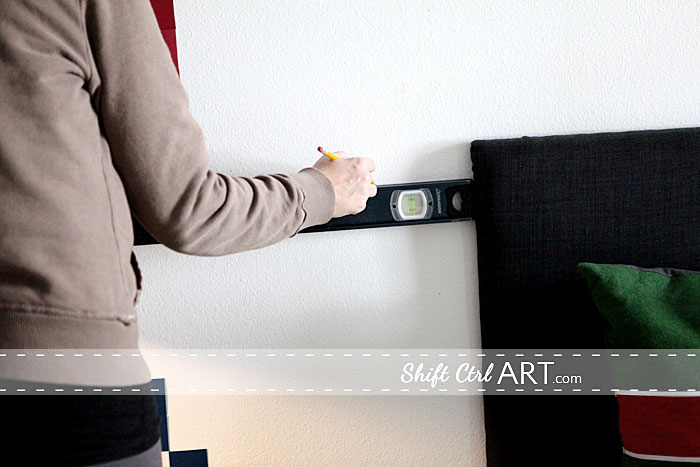
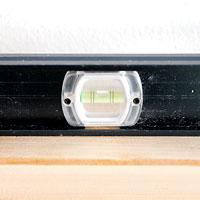
Then use a level to make a level horizontal line using your mark from before for the right height.
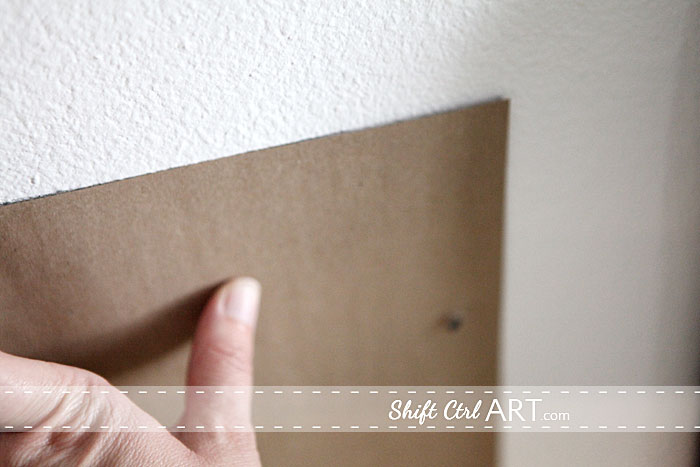
Then, line up the card stock with your horizontal line and mark the two holes with pencil.
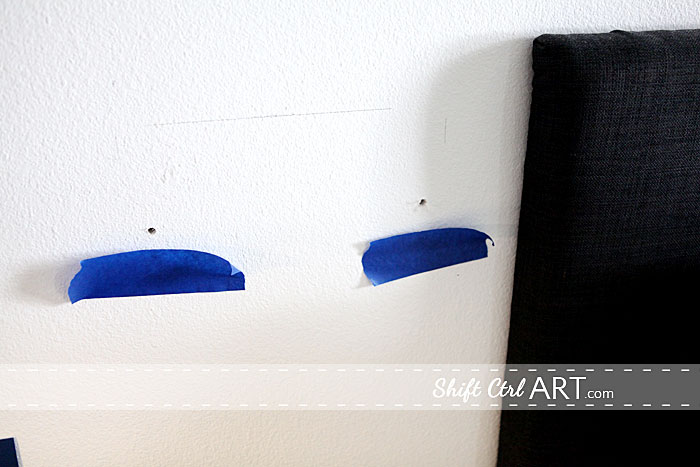
I used some masking tape to catch the bits from drilling. I used a 1/4 inch drill for my wall anchors. It says on the box which size to use.
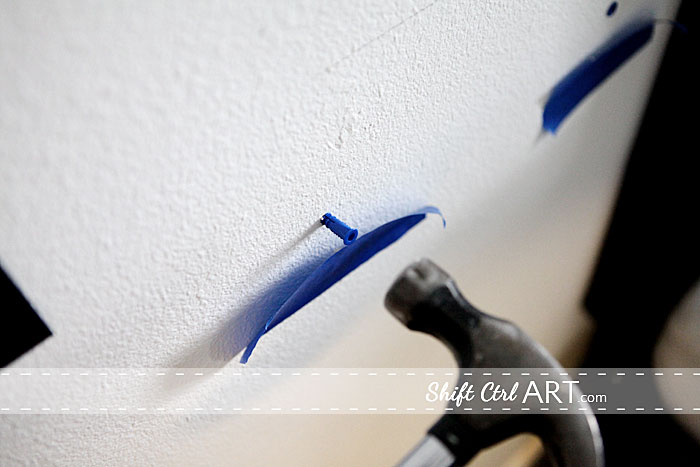
Then I used a hammer to sink them into the wall.
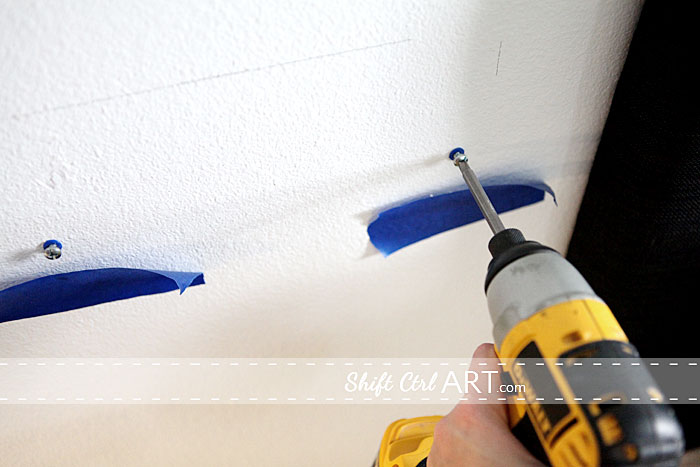
And then I added my screws. You have to fiddle with how much the screws should stick out. This will depend on how deep your key hole fasteners are attached into the cubby. Erase your pencil lines as these will otherwise be visible after you hang the cubby. I used a soft white eraser and that worked really well.
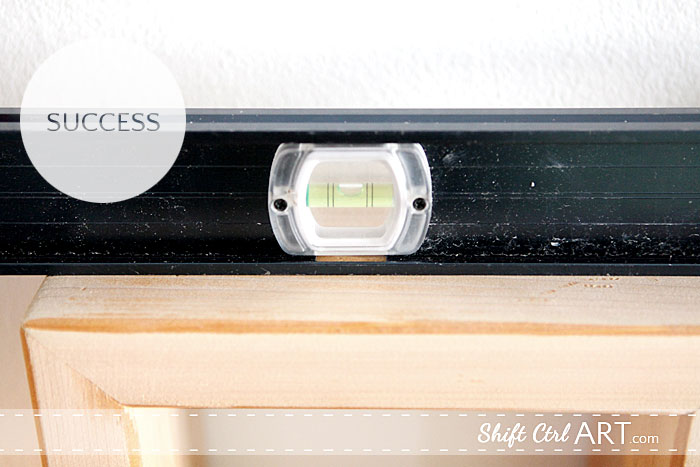
Then you push the key hole fasteners over the screws and check that your shelf is now level. It if isn't you can adjust it a tiny bit by tightening or loosening the screws, but there is not much forgiveness, which is why you did all the steps with the template, right?

Here are all the links to B's room so far.
B's bedroom - before and original reveal 2009 - building a bed.
B's bedroom - mood board 2012
B's room - a do over - mood board 2013
B's room - dyeing for some navy curtains - how to dye curtains
B's tween room update - painting a crisp line on textured walls
IKEA hack: B's bed with trundle
How to make a tufted headboard
B's room - lights, curtains, action - and bedding and a rug
Pixel wall art - Mario gets SUPER sized
Pinterest Challenge - IKEA hack - Emmabo chair with new cover
Use what you have: build a bed side cubby and 7 other DIY projects for a tween room
Oh and before you go, you probably heard that Google Reader closes in July, right? I hooked up my blog to bloglovin' yesterday and at the bottom of this post I put an icon - purple dot with white "plus" in it - where you can subscribe to my blog with Bloglovin. I already sent them some suggestions over there and it is a real person (Thanks Johanna) sending a real response back to you, really fast over there. That is so awesome. No canned nonsense. Love it!
Any plans this weekend? I hope to get one or two projects done, but mostly I am just going to work. What about you?
Share
No worries. Here is my


I used some card stock from an old file folder. I cut it straight using my trimmer.

Then I trimmed the side so it was the same width as my cubby and taped it upside down so the card stock would be level with the top of the cubby, using the floor to make it level with the top.

Then I used a pencil and poked through the card stock where the key hole fasteners are. I made sure that the holes were at the narrow end of the key hole fasteners, where the screw will eventually sit, when I poked my hole. See here how I counter sunk the key hole fasteners in the cubby even though I did not have a router.

Remember to mark your template so you know which side is up (and towards the wall)

On the wall where you are going to hang it you can now use the card stock to gauge the position of the cubby or shelf. Make two lines - at the top and one side like this.

Then use a level to make a level horizontal line using your mark from before for the right height.

Then, line up the card stock with your horizontal line and mark the two holes with pencil.

I used some masking tape to catch the bits from drilling. I used a 1/4 inch drill for my wall anchors. It says on the box which size to use.

Then I used a hammer to sink them into the wall.

And then I added my screws. You have to fiddle with how much the screws should stick out. This will depend on how deep your key hole fasteners are attached into the cubby. Erase your pencil lines as these will otherwise be visible after you hang the cubby. I used a soft white eraser and that worked really well.

Then you push the key hole fasteners over the screws and check that your shelf is now level. It if isn't you can adjust it a tiny bit by tightening or loosening the screws, but there is not much forgiveness, which is why you did all the steps with the template, right?

Here are all the links to B's room so far.
B's bedroom - before and original reveal 2009 - building a bed.
B's bedroom - mood board 2012
B's room - a do over - mood board 2013
B's room - dyeing for some navy curtains - how to dye curtains
B's tween room update - painting a crisp line on textured walls
IKEA hack: B's bed with trundle
How to make a tufted headboard
B's room - lights, curtains, action - and bedding and a rug
Pixel wall art - Mario gets SUPER sized
Pinterest Challenge - IKEA hack - Emmabo chair with new cover
Use what you have: build a bed side cubby and 7 other DIY projects for a tween room
Oh and before you go, you probably heard that Google Reader closes in July, right? I hooked up my blog to bloglovin' yesterday and at the bottom of this post I put an icon - purple dot with white "plus" in it - where you can subscribe to my blog with Bloglovin. I already sent them some suggestions over there and it is a real person (Thanks Johanna) sending a real response back to you, really fast over there. That is so awesome. No canned nonsense. Love it!
Any plans this weekend? I hope to get one or two projects done, but mostly I am just going to work. What about you?

About Katja Kromann
I am a Danish American decorating life in Seattle. I love all things design and DIY.
I can’t think of anything more fun than coming up with project, making it, photographing it and sharing it with you on my websites.
Since 2018 I have been making Ceramics, nearly full time.
AHomeForCeramics.com AHomeForDesign.com AHomeForCrafts.com AHomeForFood.com My Portfolio
