Home office reveal - bookcase and new lighting installed
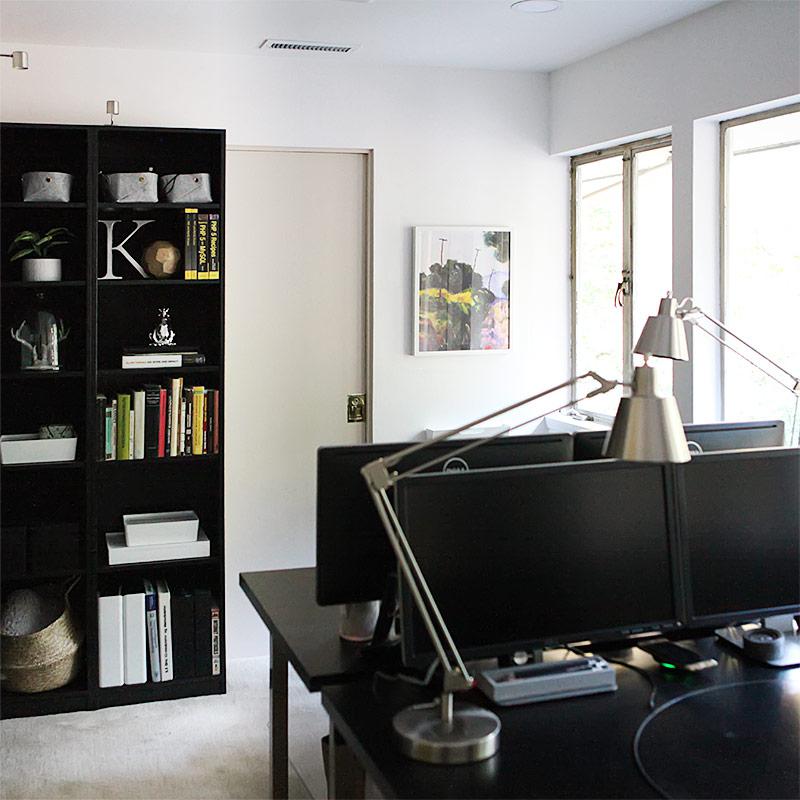
Welcome to the first room reveal of our new home. Yes I thought it was going to be the green bath make-over, but that project stalled for a while - a long saga for another time. It is back on track however and will be front and center on our project list during Christmas so that I can show you first thing in January.
So while the green guest bath has been on hold, we have tackled the office instead during the Thanksgiving holiday.
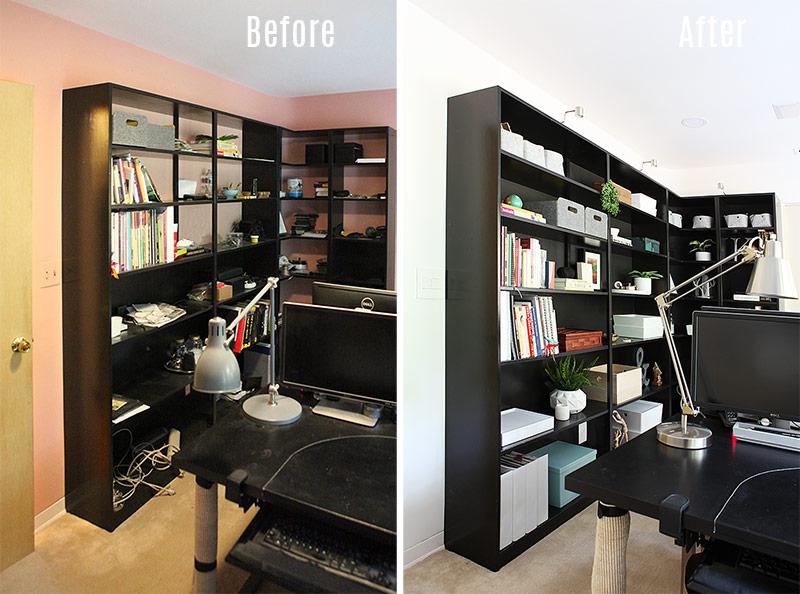
Here is the before - yes it was very pink:
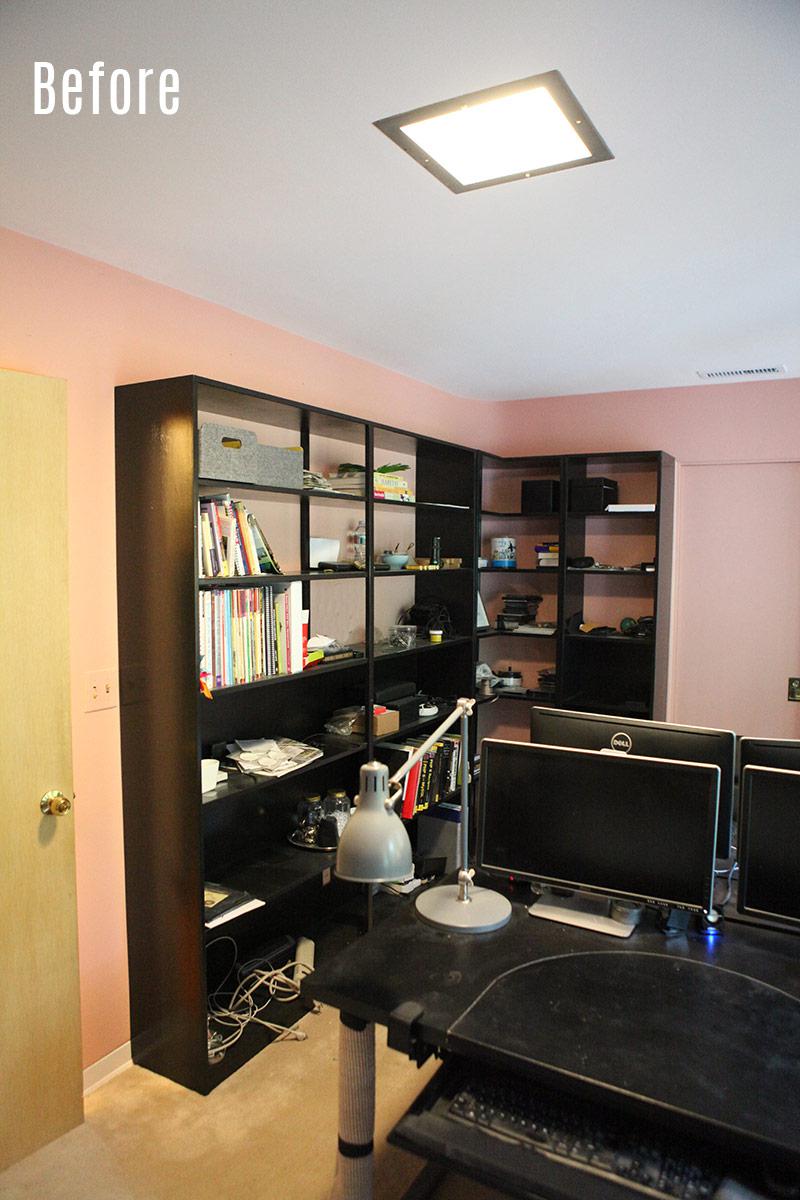
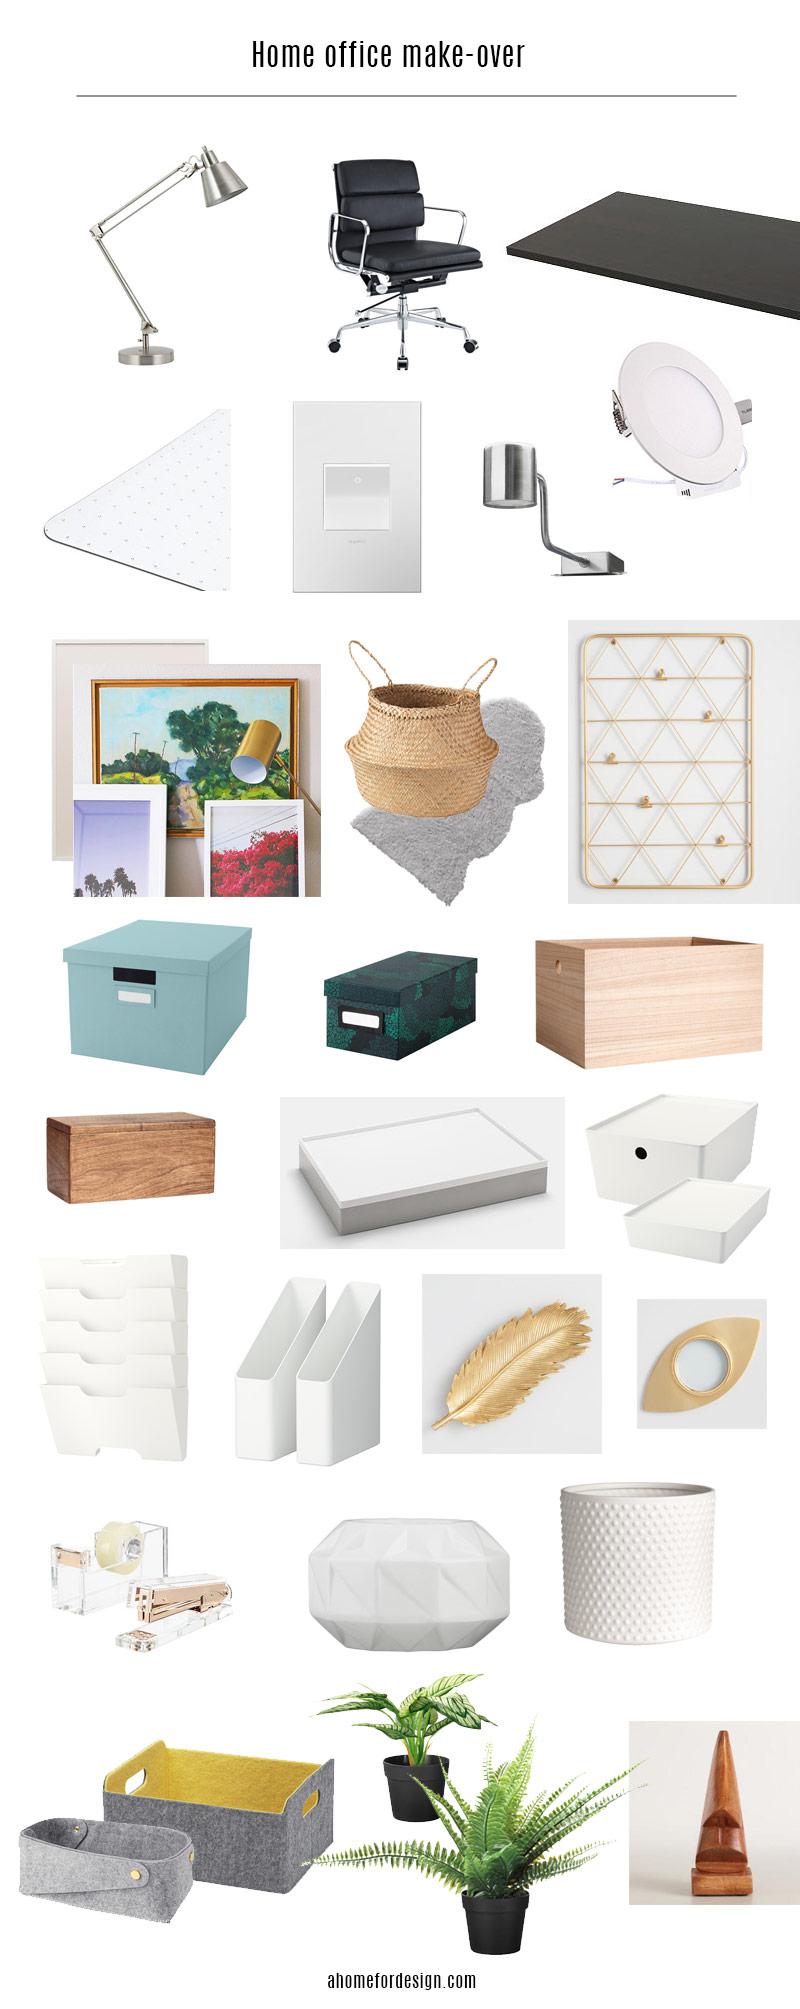
This is what it looked like just before Thanksgiving. The bookcase was there when we moved in and I had just thrown everything onto the shelves in a hurry when we were unpacking back in April. This office is quite a bit smaller than the one we had at our previous house, so I had to figure out new ways to store things. Luckily this bookcase has a lot of room. I normally tend to favor closed cabinet storage to open shelving like this, but I wanted to work with what we already had and it is original to the house and I actually love the way it looks. The issue with bookcases is that they tend to need a lot of knick-knacks aka dust collectors, before they look well put together and a lot of boxes to put away all the unsightly stuff. At the bottom of the post you can see that I had to buy a lot of boxes especially. I luckily found some really great inexpensive options and I chose a bunch of different ones so it looks more collected than if I had just chosen all the same kind.
Our new office has one rounded corner behind the bookcase and the bookcase is built to follow that curve. A detail that I really like.
One thing that I was not so enthusiastic about was that the bookcase only had backing on the bottom shelves and none on the top or in the corner. This paired with the pink color on the walls and peeking through the bookcase made it all feel a bit overwhelming.
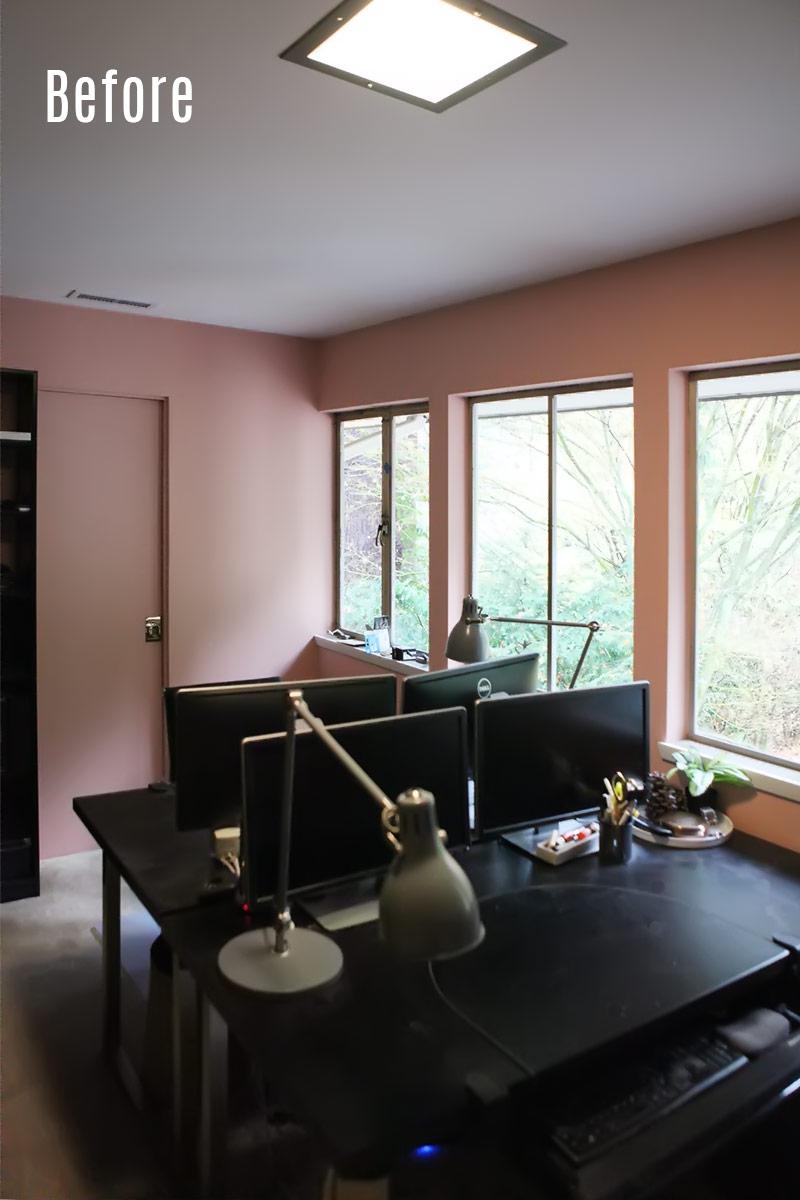
Even the pocket door to the green guest bath had been painted pink.
Another thing we wanted to address were the desk lamps. The screws to tighten these lamps, no matter how hard you twisted, were never tight enough to hold the lamps in place. The kept slowly drooping down as you can see in the picture whenever you re-positioned them. It was driving us a little nutty.
And speaking of lighting. Despite what these pictures might indicate - Photoshop and all - this room is quite dark, even during the day, so we desperately needed more light in here. Frank also bought a couple of speakers to install into the ceiling which has been such a nice addition. All sources are at the bottom of the post.
Before we move on I want to mention that the pretty 1950s square 'pot light' that you see in the above picture is still there, but the cover was removed yesterday because the dimmable! LED bulb we had put in there started making a lot of noises last night when we installed our new dimmer switch, so we are now on the hunt for another dimmable LED bulb that knows when to be quiet. But due to the missing cover, I cropped it out of the after pictures.
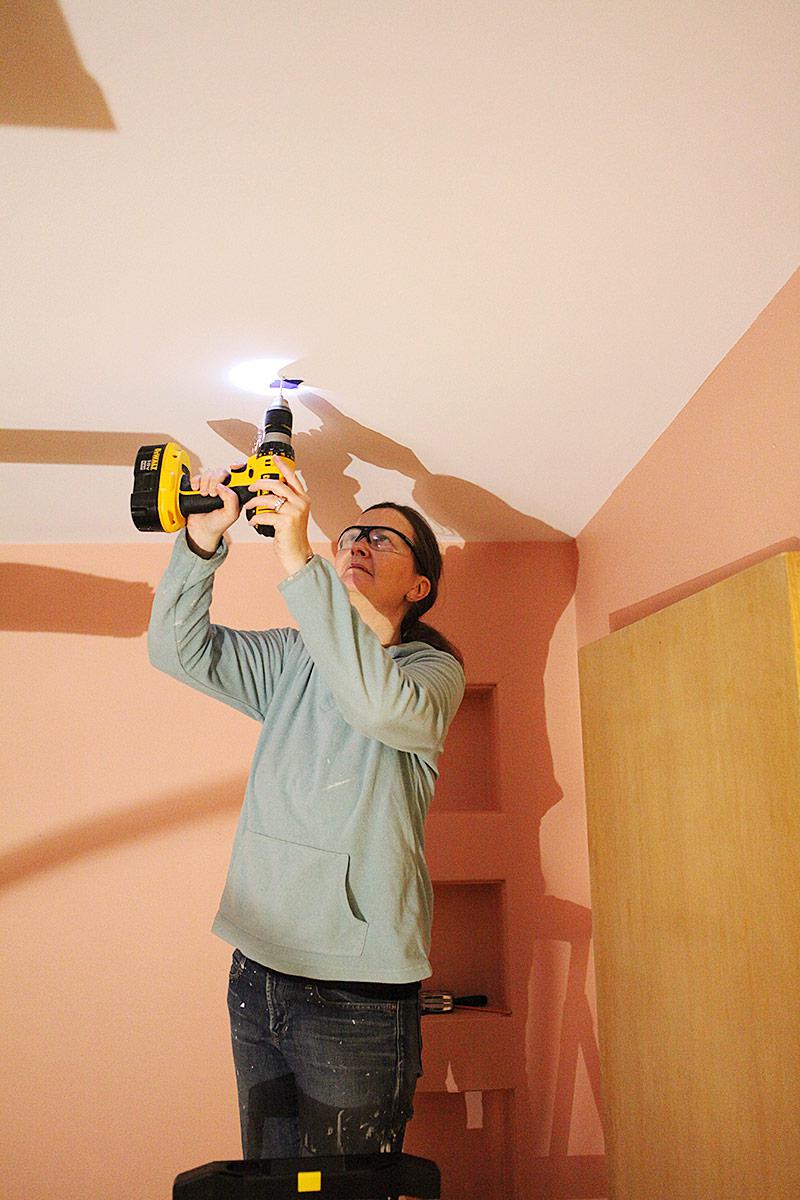
Here I am drilling the first pilot hole for one of the new LED pot lights. It's always good to drill a small hole first to see that you are not by a stud. Easier to patch a small hole if you are.
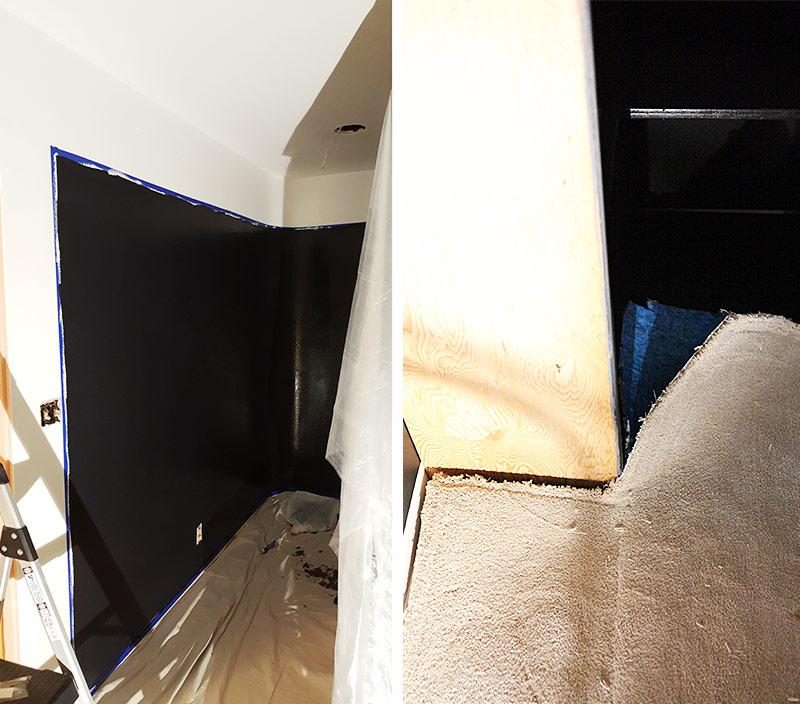
Before moving the bookcase out of the way so I could give the room a (3) nice coat of fresh white paint, I marked the perimeter of the bookcase and painted it black to give the bookcase a more cohesive look. Then, when we installed the bookcase we cut away some of the carpet and pad under it so it now sits totally flush with the wall - the picture below on the right. Before it was leaning a bit and not lining up with the hole cut out for the outlet on the bottom shelf.
We also took the time to screw the units together so they now line up perfectly at the top. And can't tip over.
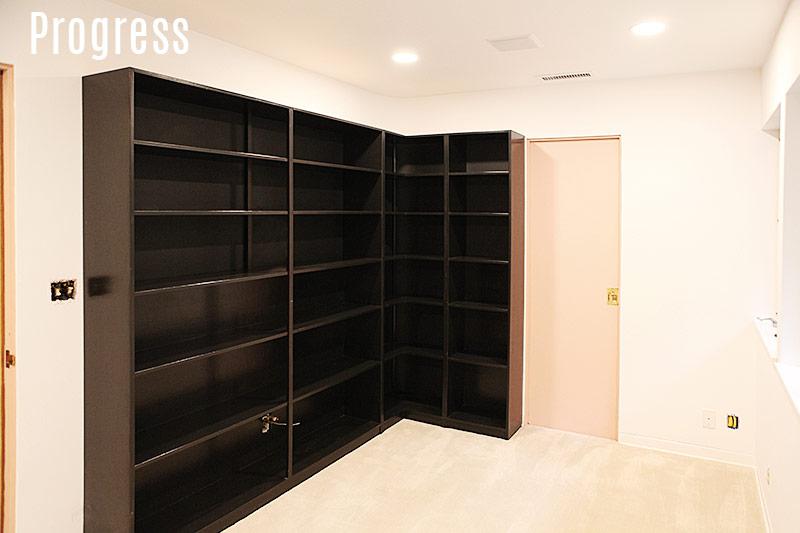
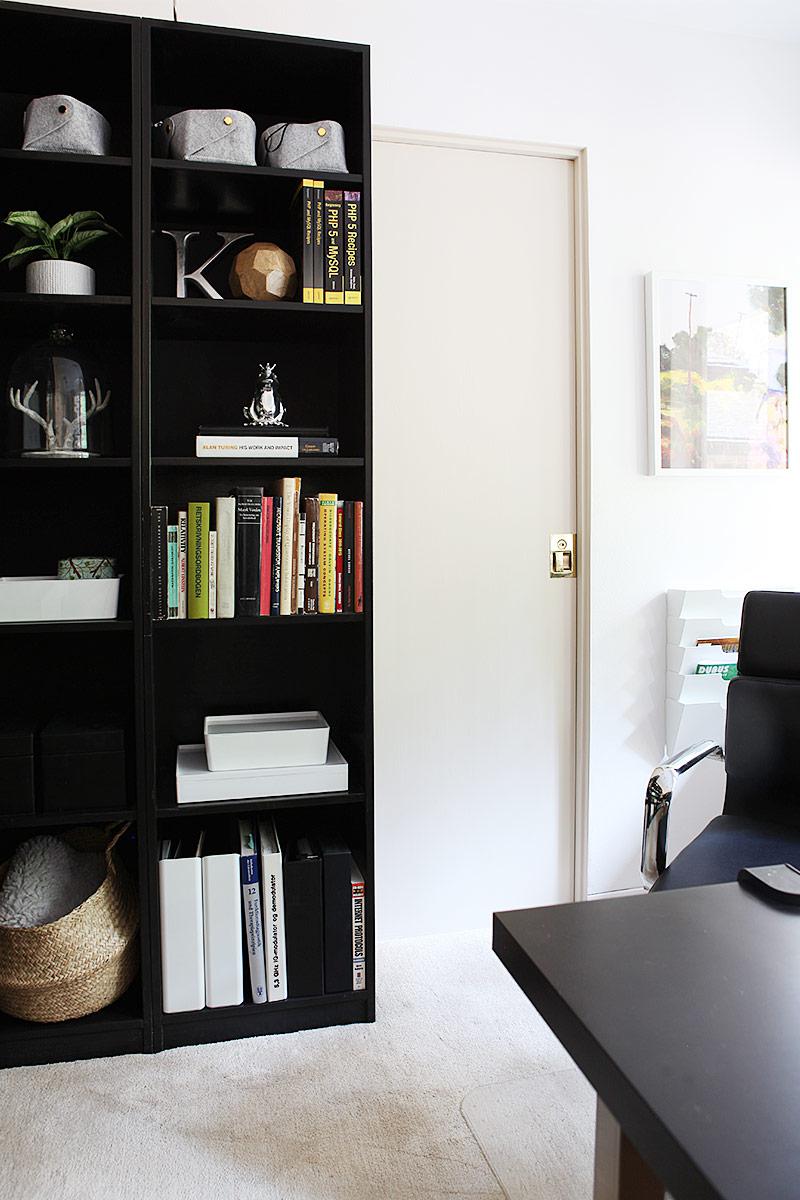
Here is a progress shot after the ceiling and walls were painted and the bookshelf was installed. I posted this picture on Instagram and my friend Julia mentioned that she actually liked the pink door. I agree with her when looking at the picture, but of course this is not the true pink that it was. It was more like the pink on the second and third image of this post. But I took her advice and did not paint the door white as I had originally planned. I painted it beige instead. #beigeisback
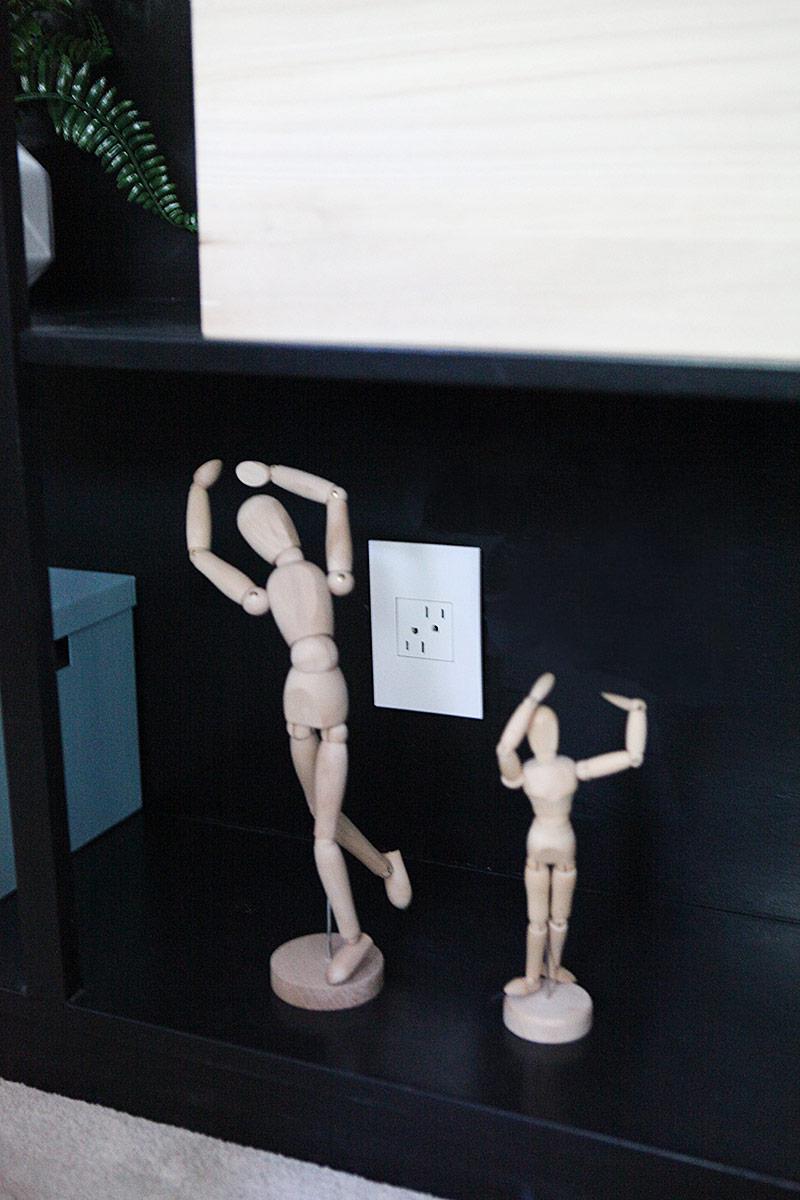
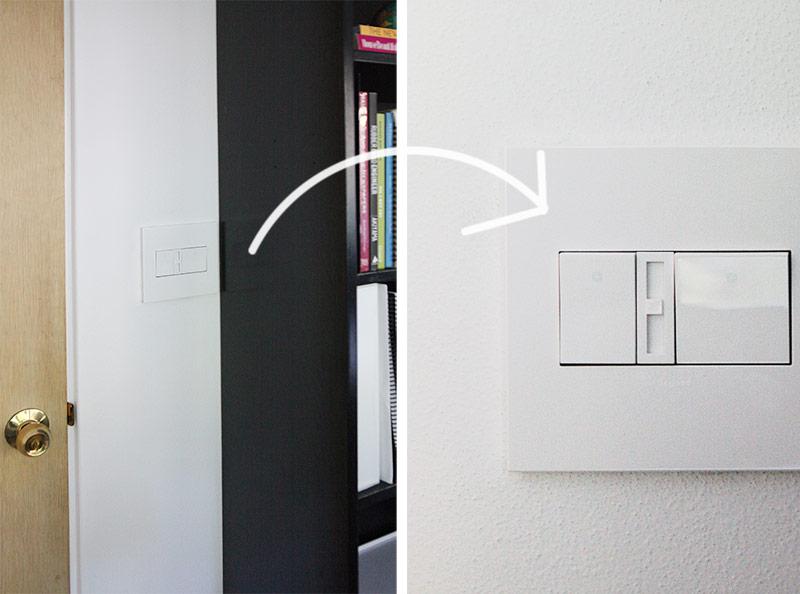
After the bookcase was installed we installed our first new Legrand Adorne outlet (not sponsored). Eventually we are going to change all the switches and outlets as most of them are very old and painted over just like here in the office. You can see below what it looks like with this new outlet installed. We also lined up the bookcase so the switch could be installed on top of the wood instead of like before where it was sitting half way behind the bookcase. Looks like this.
And we also installed our first dimmer and switch next to the bookcase. I love how it looks. I wrote more about some of the overall finishes like these outlets that we chose for the house here. We chose the new white on white Adorne cover plates which are white on both the front and back. The original ones, the ones you get at Lowe's have a dark gray back plate which you could see from the side and which we were not as enthusiastic about as the all white look.
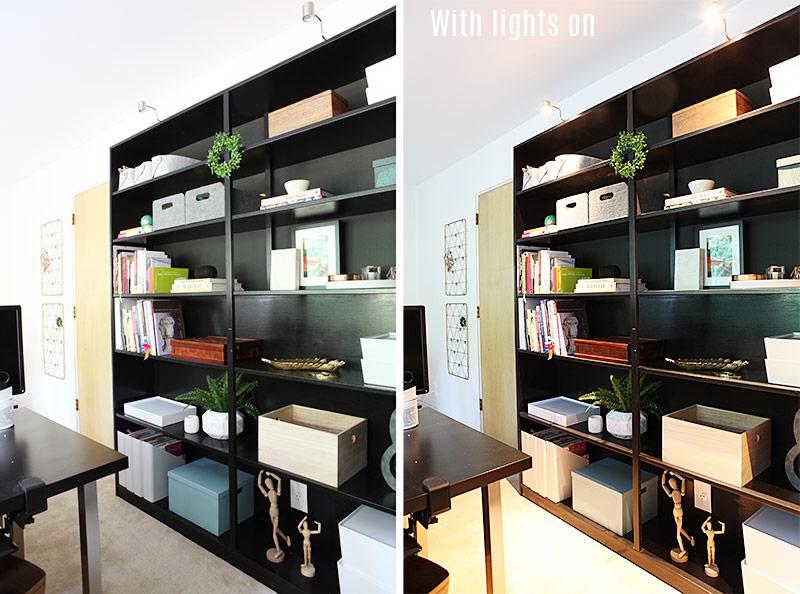
We installed some lights on top of the bookcase. These are turned on with the switch on the right that you see above, whereas the pot lights are turned on by the switch with the dimmer on the left giving us several options for ambient light as well as a good amount of work light when that is needed.
As mentioned earlier we are keeping the white oak doors in their wood state. I love how they look with everything else. I would love to give them all a light sanding and fresh coat of poly when we get to updating the door knobs.
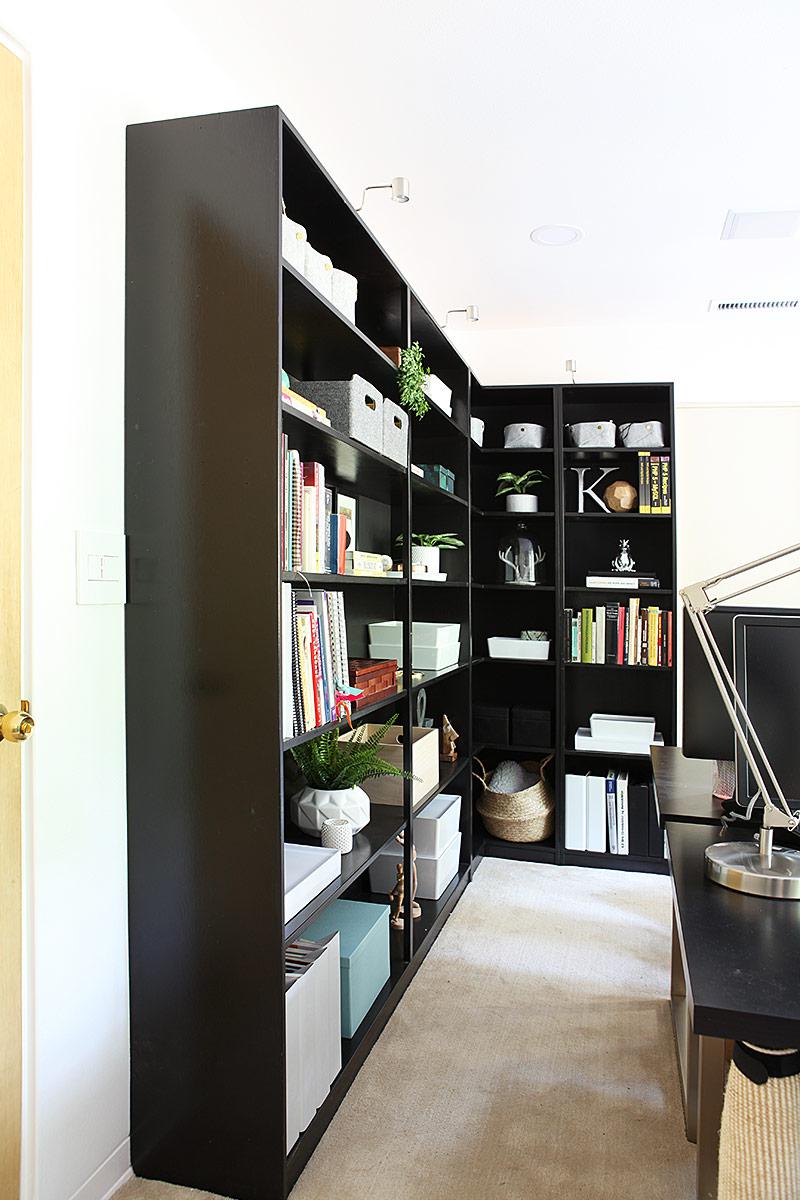
I am looking for a runner for this space in front of the bookcase because we have a bit of foot traffic here and the beige carpet is quite unforgiving. The runner can only be 2 feet or 2 feet 2 inches at the most and that is not a common size. At all. I have already spent way too much time looking for one.
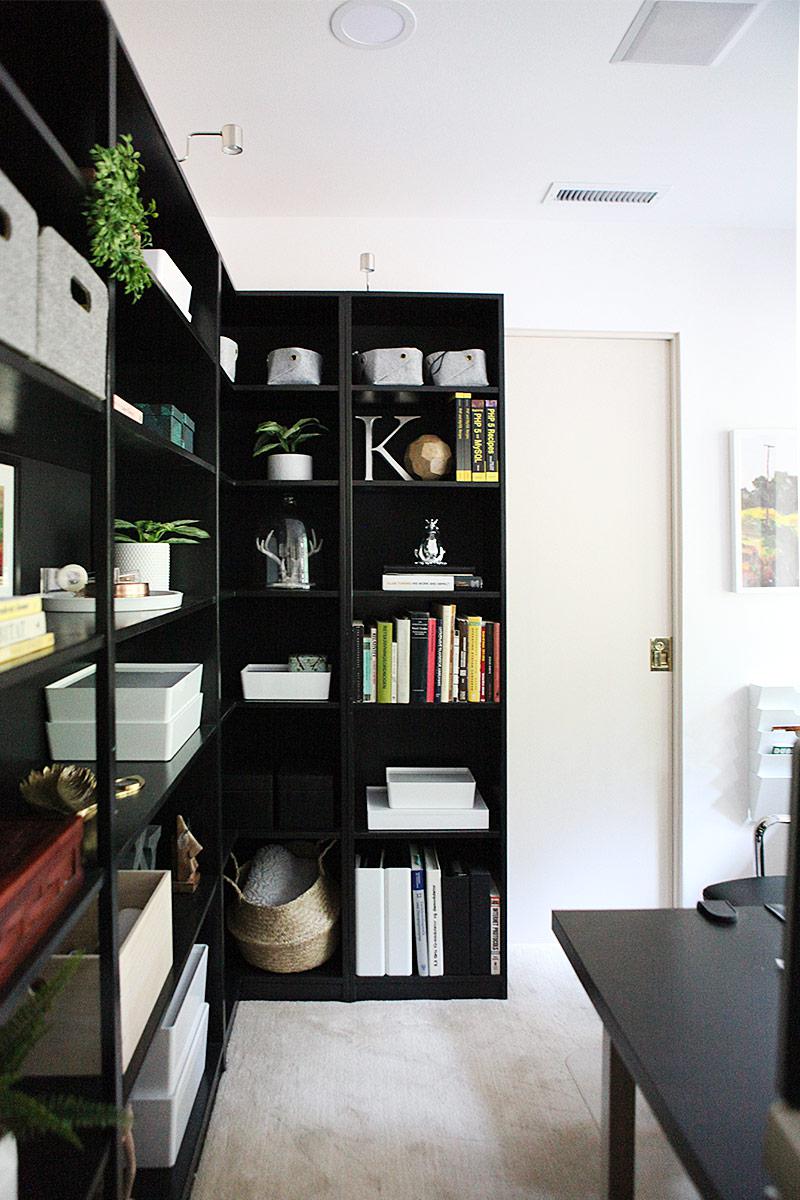
Here you see that I painted the door in a light beige color - Muslin by Benjamin Moore, I love that color between the white and the black. It really gives that spot some interest.
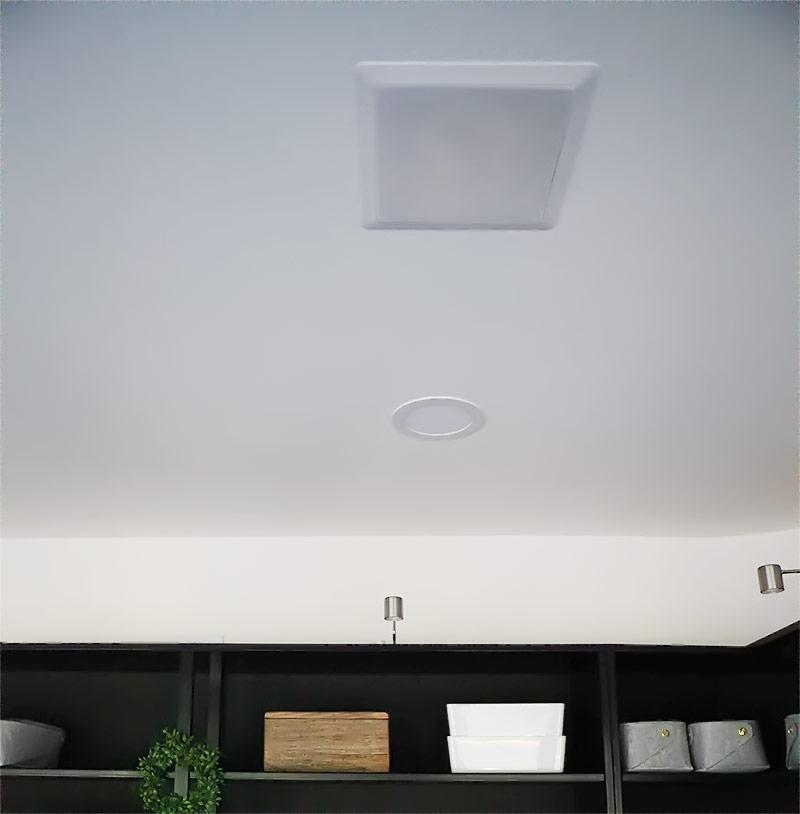
Below you see one of the two square speakers we installed into the ceiling. They are bluetooth speakers and work with an app where we have playlists with all our music. Three snaps for 'Last Chrismtas' coming out of the ceiling during ALL of December. RIP George.
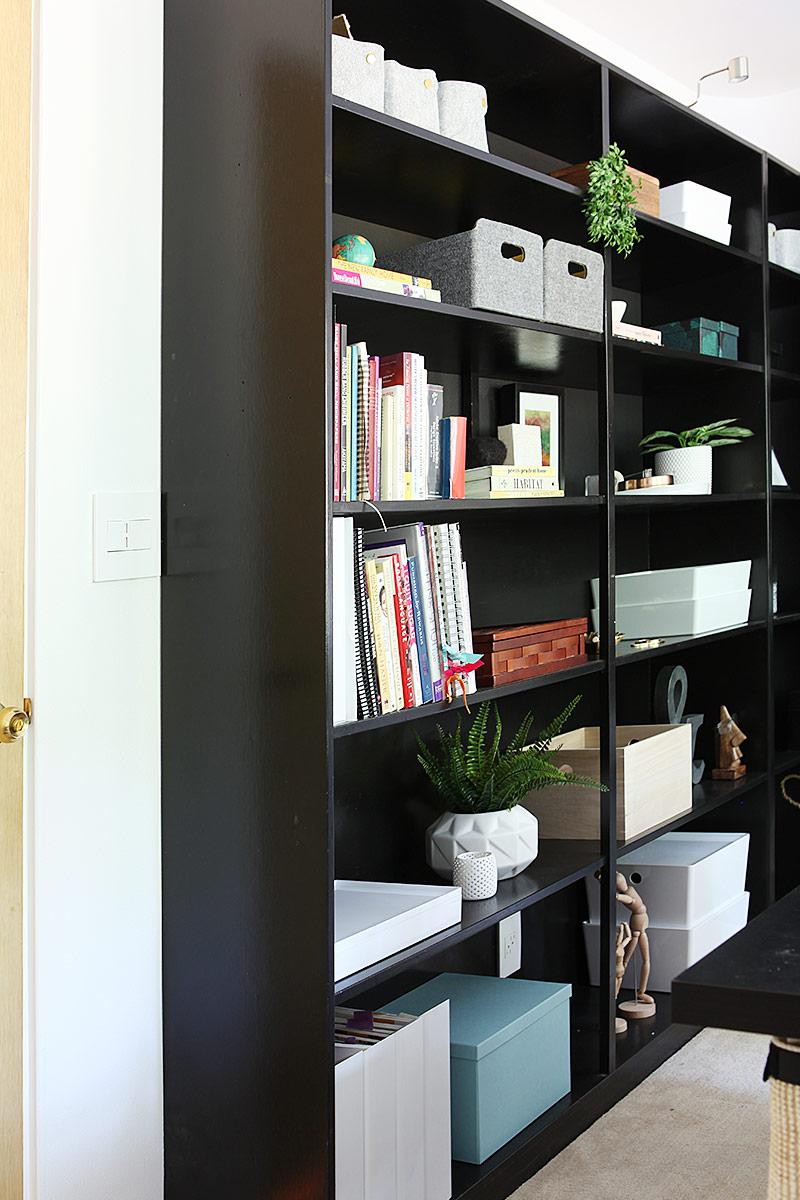
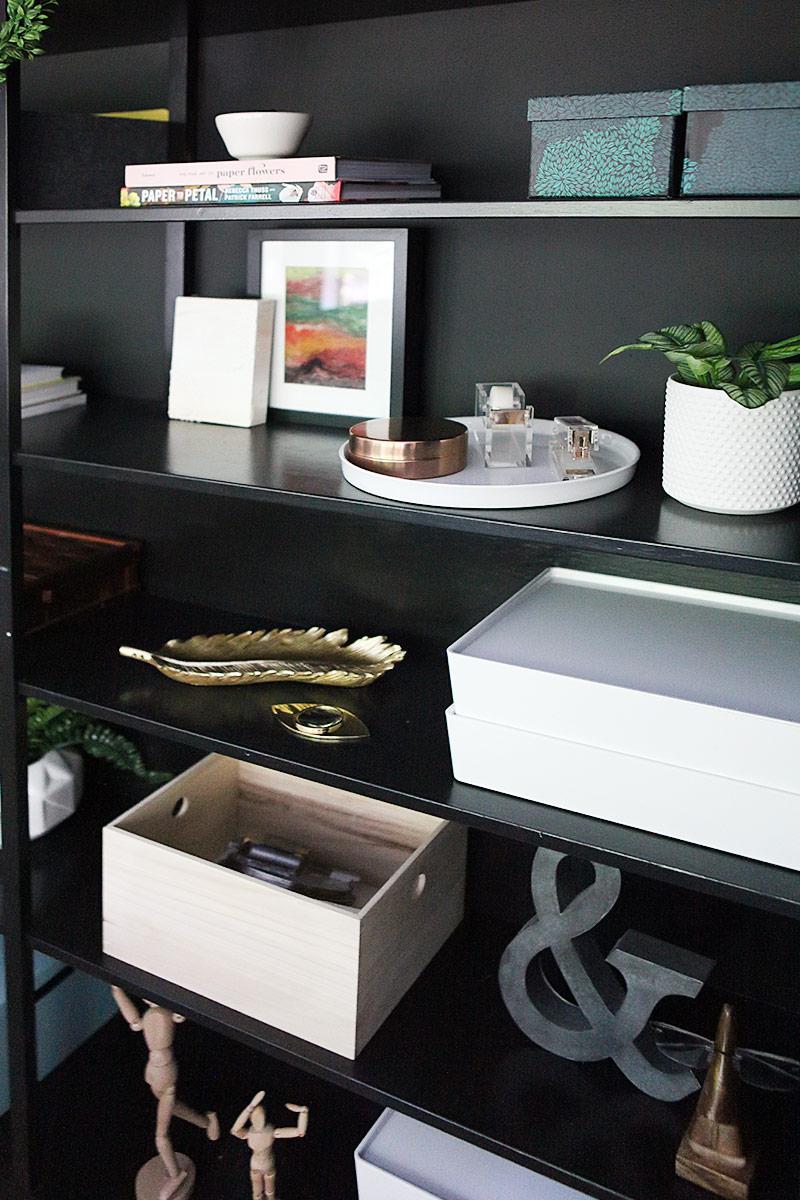
Here you can see the bookcase with the lights turned off and on.
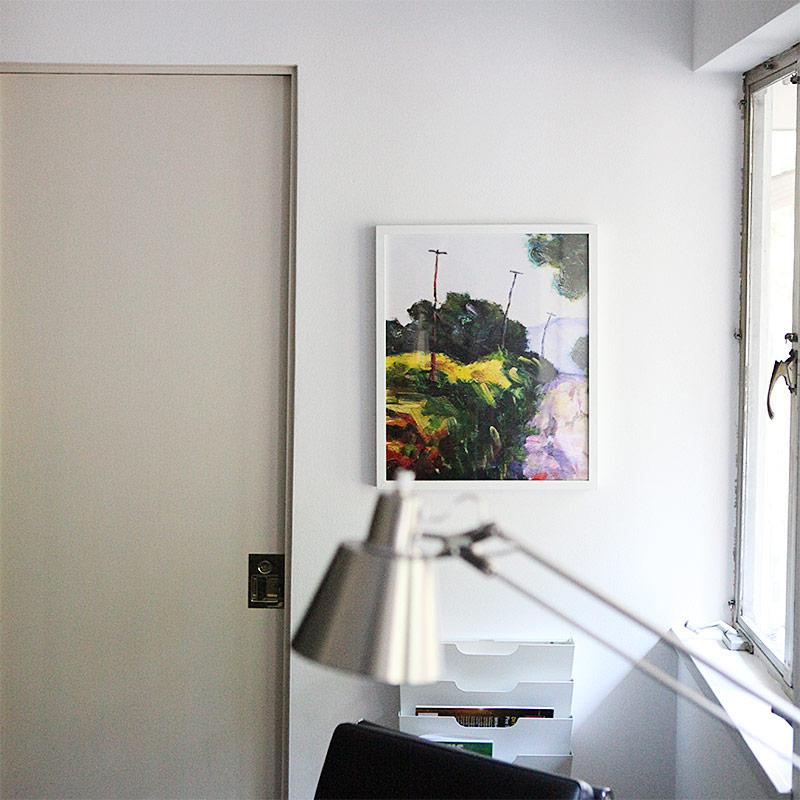
I framed a print for the wall behind Frank's desk. It was originally a horizontal print, but I needed a vertical so I cut it in half. The other half is mounted in a frame just like it and will probably be used in the adjacent green guest room which is next to the green guest bath. Our next two projects. I have a guest coming in the beginning of January, so those are our most important projects right now.
I really like that print and it is very affordable too. I had it printed at Costco's.
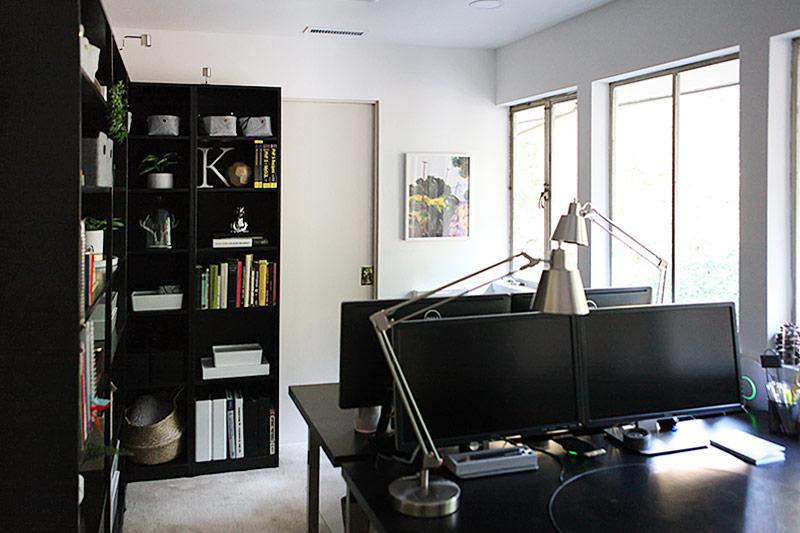
You may notice that the wall behind my desk closest to the camera is absent in this reveal. This wall is not yet finished. We are planning to install a bulit-in work surface there. This built-in will get its own post once we get to it. I also have some blinds coming and I have designed some pelmet boards for over the windows to balance that side of the room out with the bookcase opposite them.
But for now our office is finally put together and functional and we can find everything again which makes it so nice to work in here.
Ah yes, and here are our new desk lamps. The screws can be tightened much better on these. And they are much easier to reposition. The only thing I could wish for was a bit more weight in the bases, but they are definitely an improvement over the other ones.
Ben Moore Chantilly Lace in Aura matte. Door is a Ben Moore sample can in Muslin.
Office chairs(similar)
these table tops and legs (discontinued)
Office mats for thick carpets Love these. So thick and sturdy and clear. No smell and arrived flat and without any annoying stickers.
Speakers (not pictured)
Straight white box with lid
Slanted white boxes with lid and smaller version
White ceramic tray (discontinued) / tape dispenser / stapler in rose gold/acrylic
Ambersand (bought in denmark / not pictured)
* This post contains affiliate links.

I am a Danish American decorating life in Seattle. I love all things design and DIY.
I can’t think of anything more fun than coming up with project, making it, photographing it and sharing it with you on my websites.
Since 2018 I have been making Ceramics, nearly full time.
AHomeForCeramics.com AHomeForDesign.com AHomeForCrafts.com AHomeForFood.com My Portfolio
