Free Ferris wheel printable and our toilet room reveal
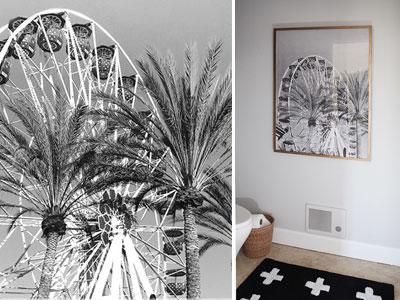
We are working our way to the finish line for the Master suite. I am here to tell you that the smallest room is finished. You can stick a fork in it. It is done. The smallest room is the toilet room in the bath room, if you were wondering.
I needed a big piece of art for the wall and I was trying to decide if I should paint something or print something. Printing won.
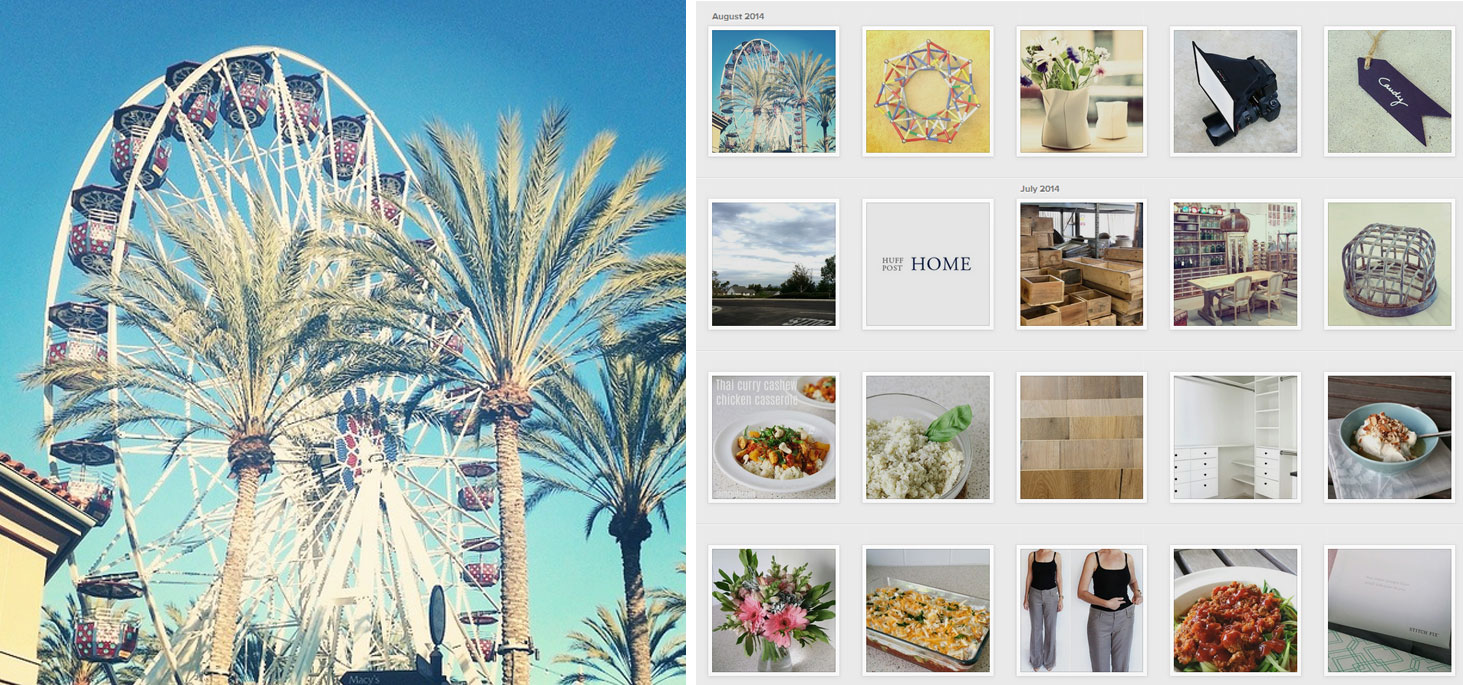
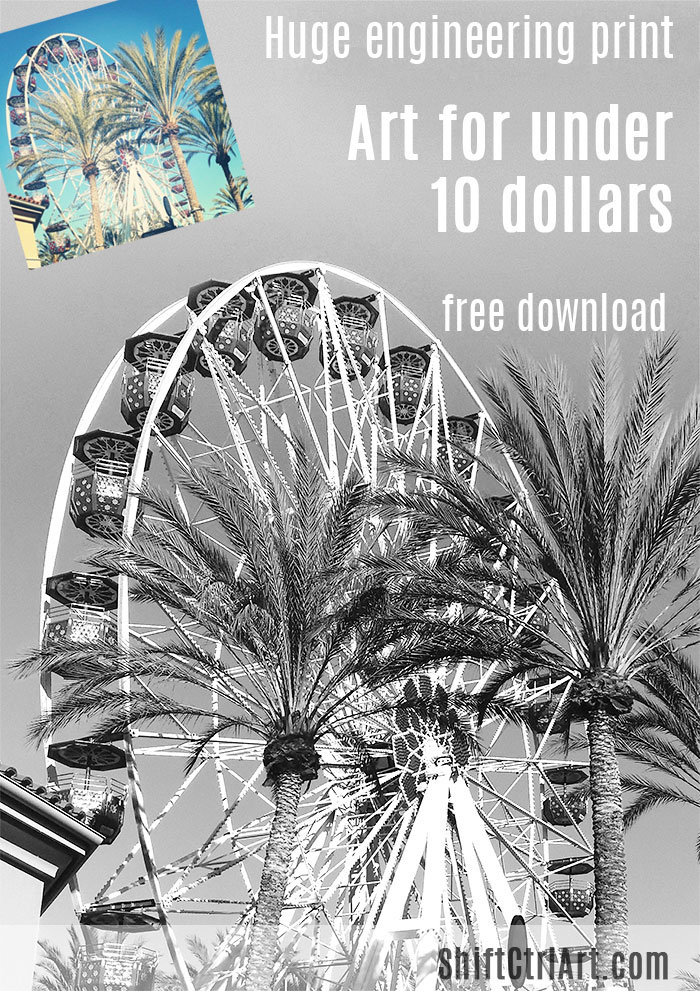
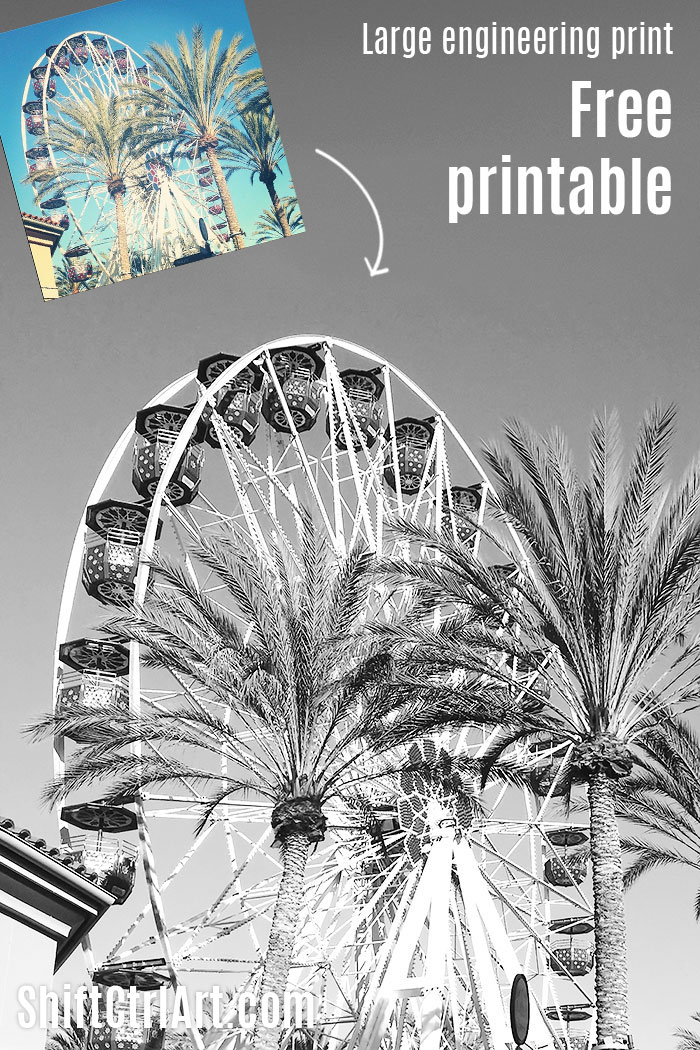
A while back, I was at Irvine Spectrum getting dinner with B. Afterwards we went for a stroll and we passed the Ferris wheel. I reached for my phone and snapped a picture and posted it to Instagram. Like any responsible blogger. You can find me on Instagram here.
Next thing you know, I thought that would make a great engineering print for the toilet room. So I ordered up a print at Staples, just to see what the quality was like.
It has a certain, uhm, rustic charm, to it shall we say. Upside: really cheap. Under 10 bucks for a huge print.
I decided to go ahead with it and measured a big IKEA frame I had laying around. It turned out not to have any standard dimensions. The big Ribba frame is 27 1/2 by 39 1/4 inches. The largest engineering available is 36 x 48 inches.
I sized my print for the frame and put it on a blank canvas the size of the largest Staples print. Then uploaded it to their website. That is why it has a white area around the edges.
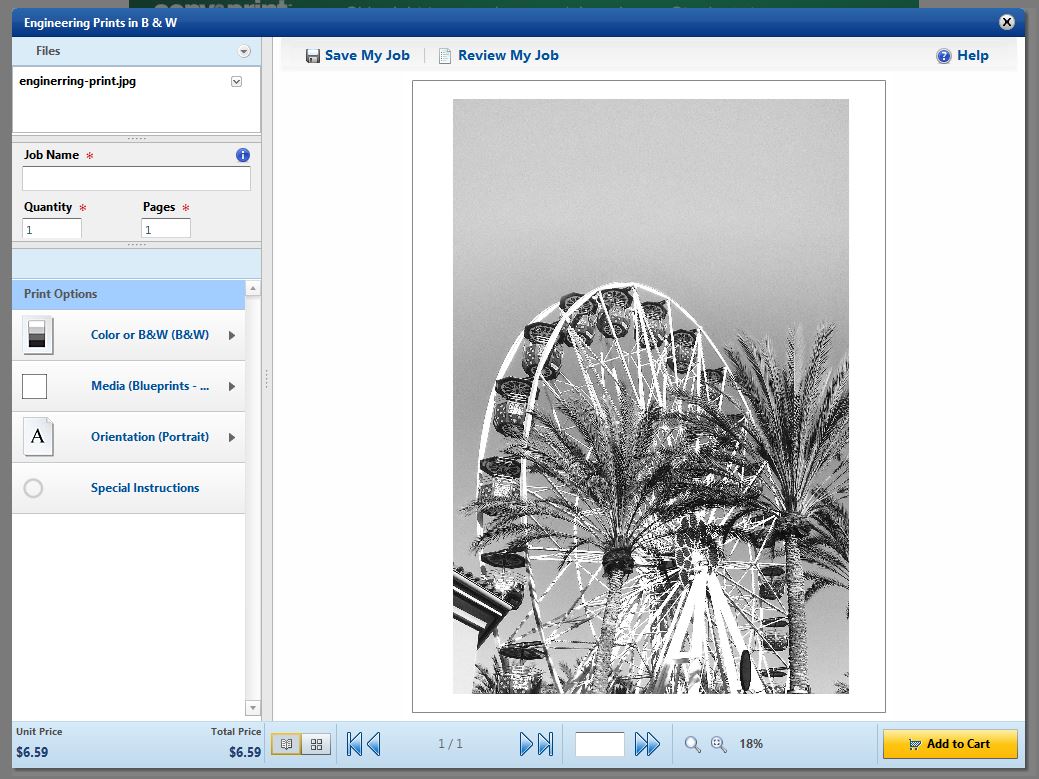
See - $6.59 plus tax. Great price for a large piece.
Already a couple hours later, I got an email saying the print was ready for pick-up.
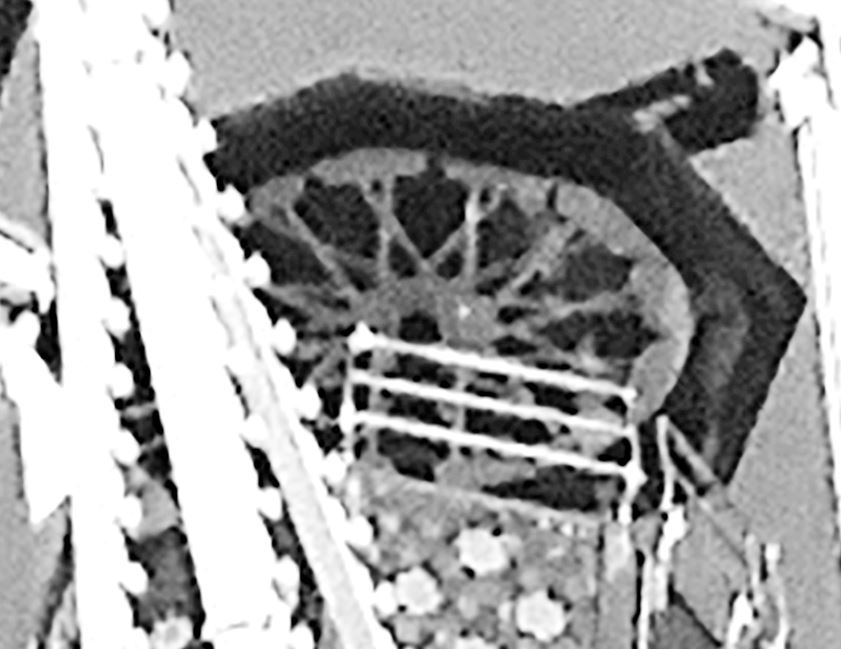
Here is an extreme close-up detail of the print where you can see the rustic charm of it. Once you put it up on the wall though, that is much less noticeable because you take the picture in as a whole. It's just worth noting that we are not talking crispness here.
Next, i spray painted the frame gold - I am a blogger after all - and mounted the print.
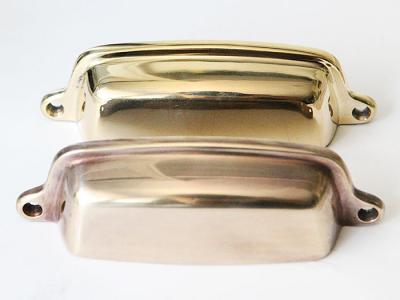
We added the brass hardware to the cabinet doors. I shared how I aged the brass hardware here. I reused the toilet roll holder. It was brushed nickel before. I sprayed it a glossy black. Then I hung the print along with two other pictures and added a few accessories.
This is what our toilet room used to look like.
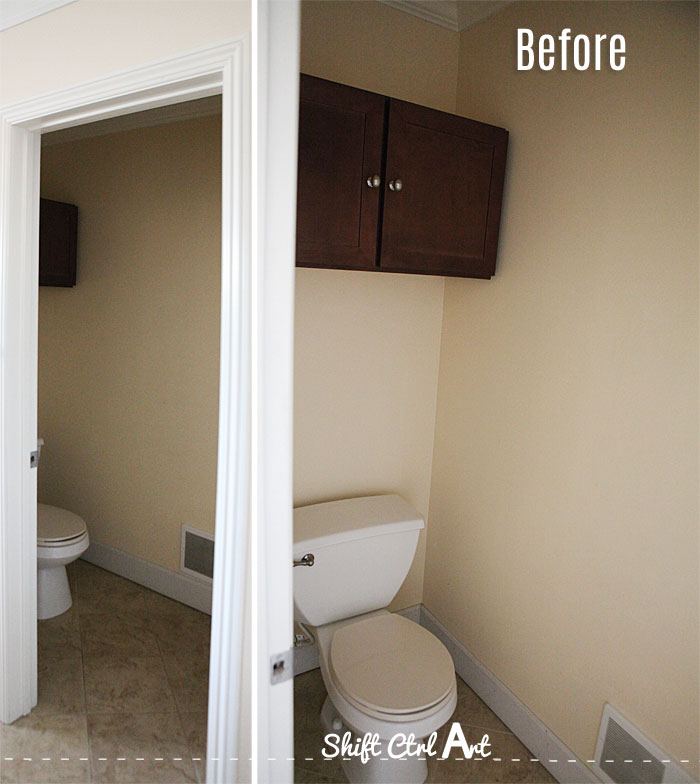
As you might know, we decided to keep the floor tile and work with it for this bathroom remodel. It's not what I would have picked, but other than aesthetics, there is nothing wrong with it. There is so much of it, it would have been a huge expense to change it out and I still think that with the other changes we have done and especially with a better paint color, and some rugs here and there we can make the floor play a little nicer. Well, you be the judge.
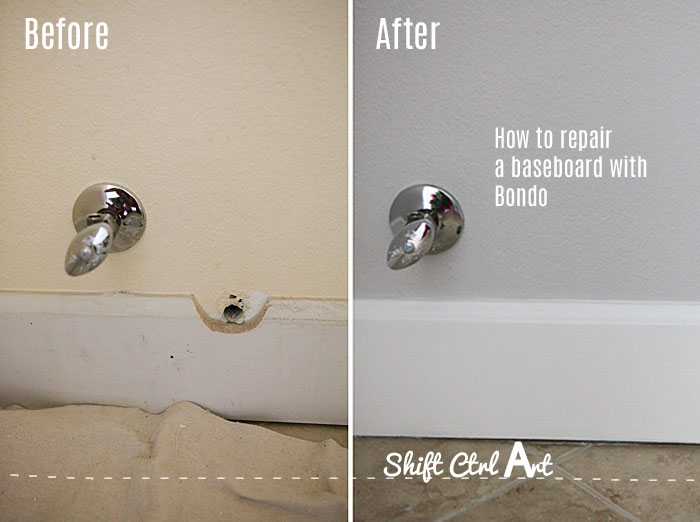
We made a couple minor changes in this room. I had the toilet spout moved up and over so it no longer comes out of the base board. Since the plumber came out anyway, there was no discernible expense to doing this since the wall was already open from the other side. I fixed up the baseboard with Bondo, which was a bit of a process, but then we didn't even have to replace the baseboard. And a tub of Bondo is around 10 bucks. For 10 bucks, I would move a toilet spout again in a minute. Quality of life has simply gone way up with this one change. My quality of life is not defined by toilet spouts' positions.
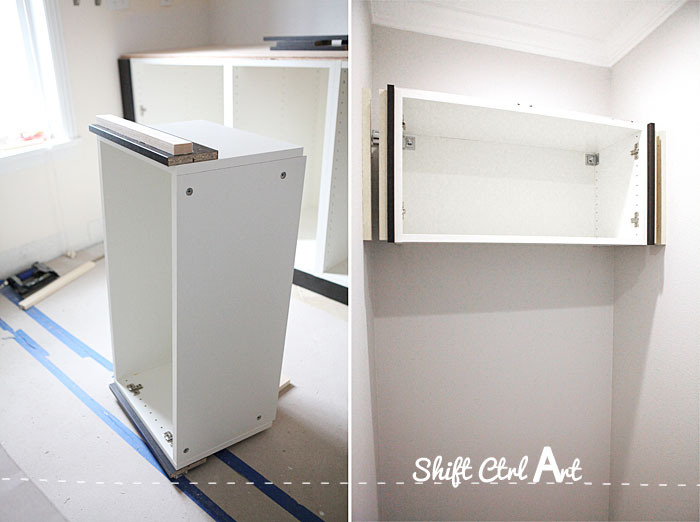
We also switched out the cabinet above the toilet. The new one is built in with filler pieces and finished on the top and bottom as opposed to the old one. It also matches the new tower and seating bench we built in the Master as well as the new vanity we installed seen below in the background.
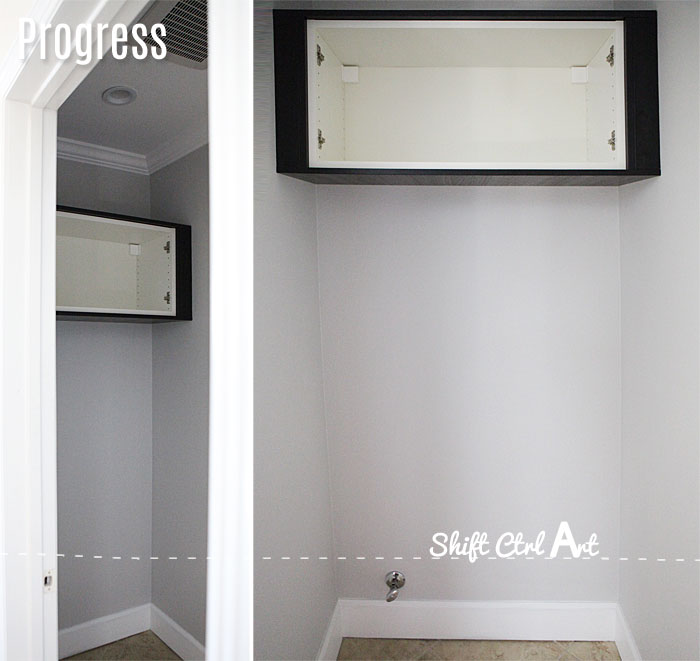
We swabbed the noisy ceiling fan/light combo for two pot lights and a silent fan. More light, less noise. Love it!
I painted the ceiling Valspar's Ultra white and the walls Valspars Filtered Shade lightened by 50% white.
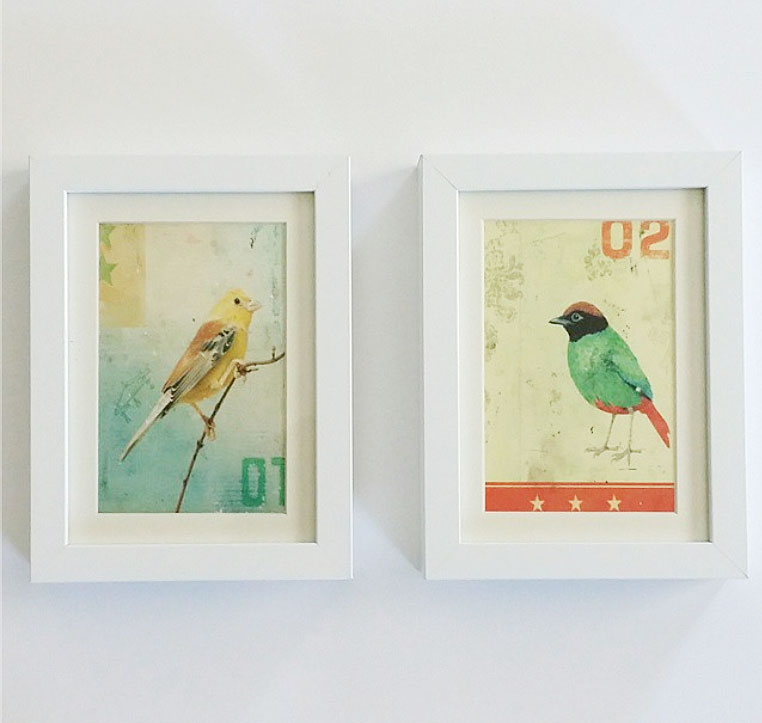
I added two birds over the toilet for just a touch of color. Any room can benefit from a couple of birds, I always found.
We installed a new toilet that is comfort height and has an elongated bowl. It's this one from Kohl's. It was difficult to install. It looks awesome though. I love the lines of it and it's the same one we installed in the powder turned guest bath. It's dual flush and the sides around the trap are smooth for easy cleaning.
This is what our toilet room looks like now.
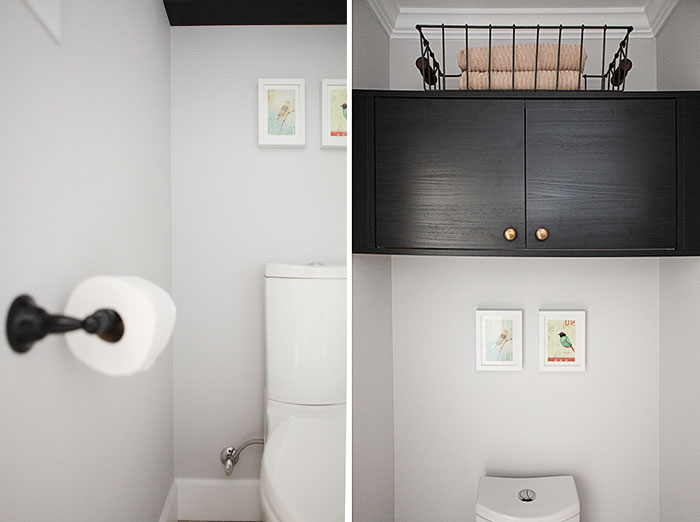
With the engineering print.
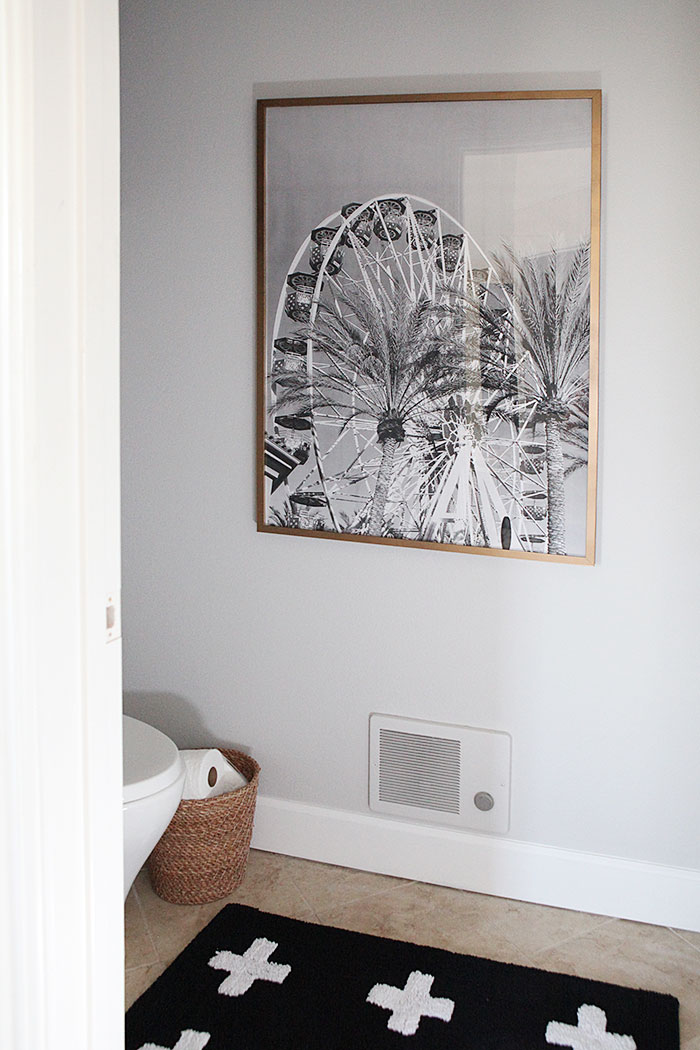
Sources: Large Ribba frame, small Ribba frames, bird post cards, brass hard ware, cabinet, wire basket, seagrass basket, bath rug, Persuade toilet.
FREE printable
Want to print a Ferris wheel for yourself? Here is your chance.
I asked the good people at Irvine Spectrum if I could offer this as a free print on my site - since it is a landmark to which they could claim some ownership. Just crossing my Is and dotting my Ts - and what do you know, they said yes! I just have to tell you that I am not hired as their official photographer. Consider yourself notified! Thanks Irvine Spectrum!
This is a free print for personal use. You may not sell this print or offer it as a printable on your site without my permission.

I am a Danish American decorating life in Seattle. I love all things design and DIY.
I can’t think of anything more fun than coming up with project, making it, photographing it and sharing it with you on my websites.
Since 2018 I have been making Ceramics, nearly full time.
AHomeForCeramics.com AHomeForDesign.com AHomeForCrafts.com AHomeForFood.com My Portfolio
