Master bath - Hardie backerboard installed - how we did it
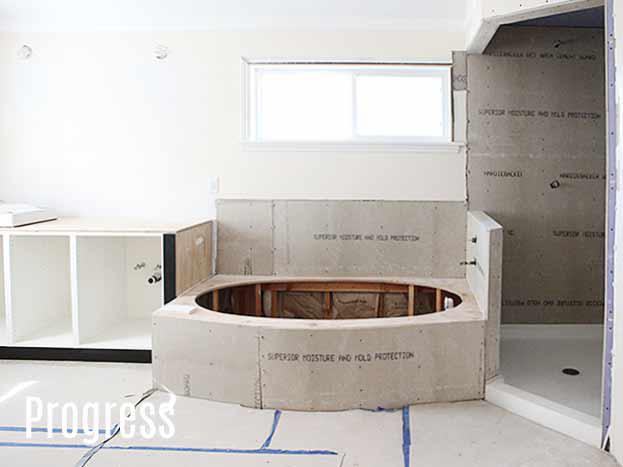
Phase 4 is well underway: Shower prep and drywall.
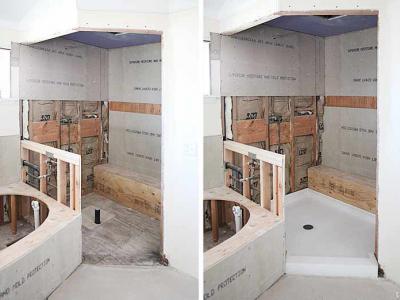
In fact, all drywall and Hardie Backerboard has now been installed in addition to the pan.
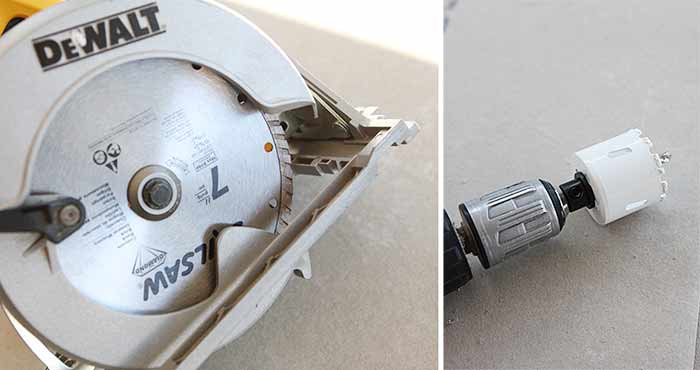
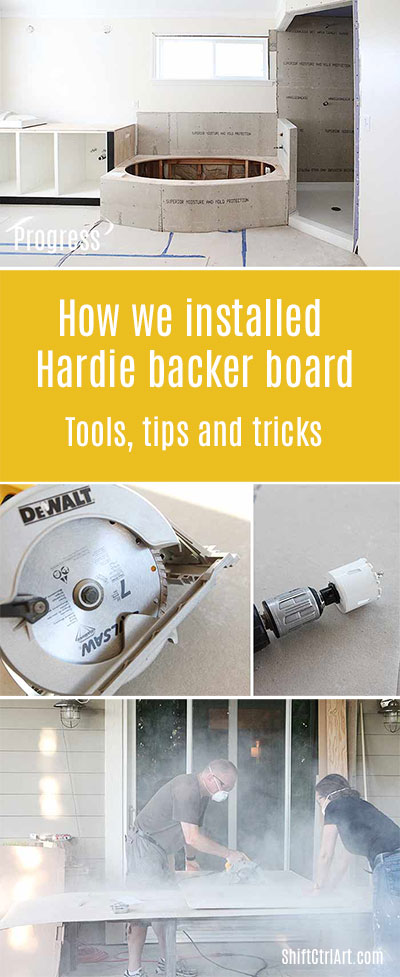
To install the Hardie, we got a diamond blade for our skill saw and a diamond hole saw for our drill to tackle the Hardie Backerboard. The Hardie is super abrasive, so using regular wood tools would just damage/dull them. The diamond blade for the skill saw was only about 14 bucks, so well worth it. I don't remember how much the hole saw was. Probably around 6-8 dollars. Not much.
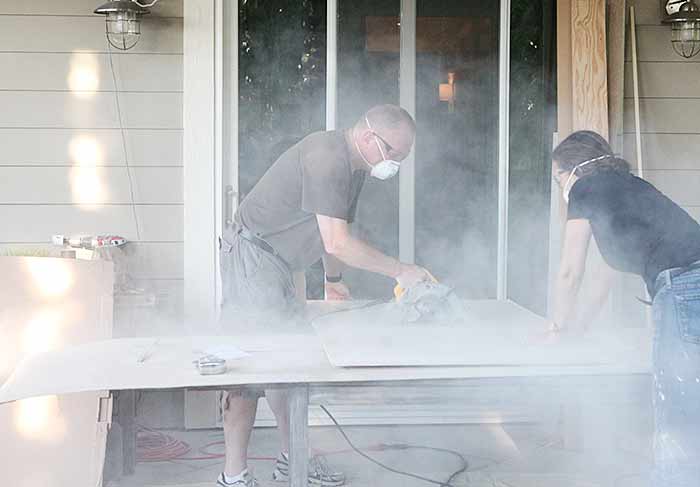
Picture by B
As you saw last time, we whirled up a ton of dust cutting the cement board. You definitely need a mask and glasses. Then it's not so bad. Cough.
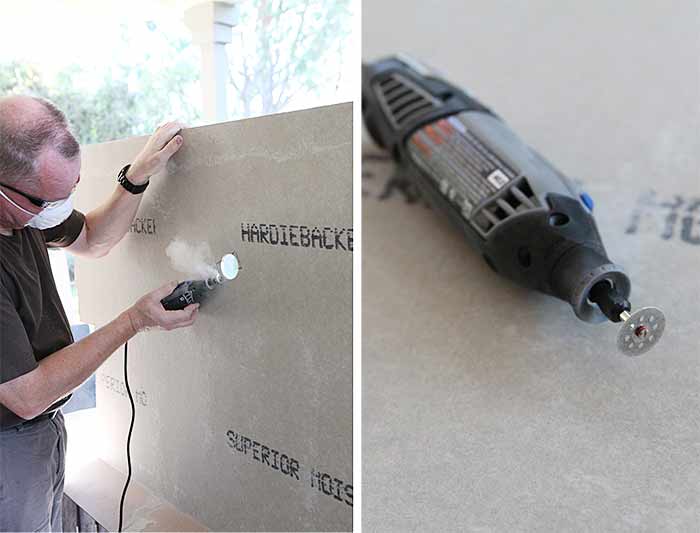
Our hole saw was just a smidge too small to truly expose the mounting holes for the shower valves, so we made some extra cuts with our Dremel tool - also outfitted with a small diamond rotary disc. Are you sensing a diamond theme here?
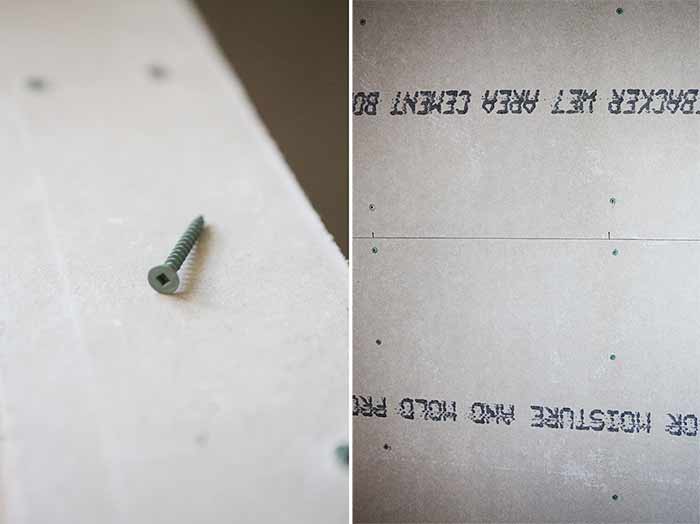
We used 1 5/8 inch Hardie screws for 1/2" Hardie. The box of screws comes with a the square bit for them. Or you can buy them in the bit section by the tools.
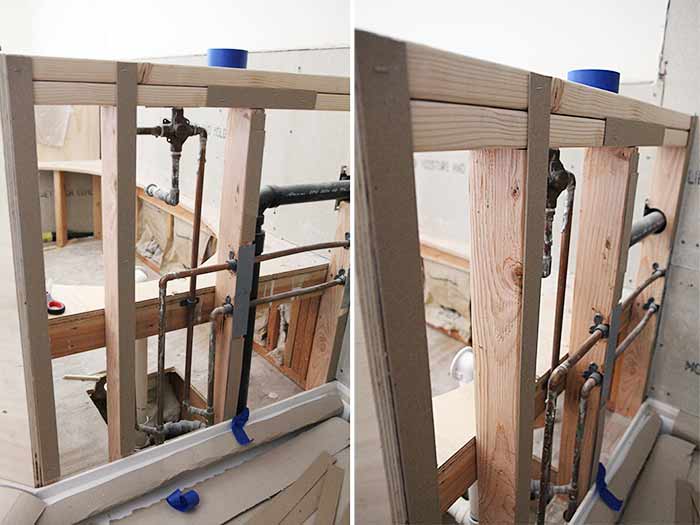
Before putting up the cement board, we checked the studs for plumb and level. We used cardboard shims to correct. We had to take back down the three sheets of Hardie that had already been put up because they had not been shimmed, so this added a bit to our overall time. But it wasn't too bad and it made the wall much more even looking which will come in handy when I'm tiling.
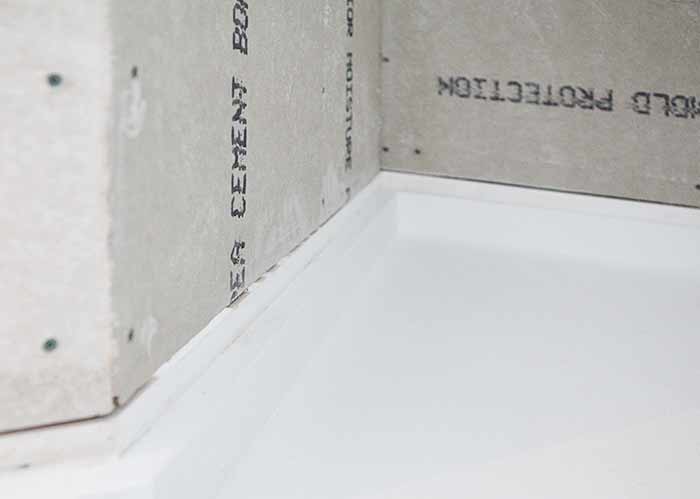
With the right amount of shimming, the Hardie comes out and meets the lip of the pan. Shimmy, shimmy, shimmy...
Here is a drawing to illustrate how that works with the marble slabs that come next:
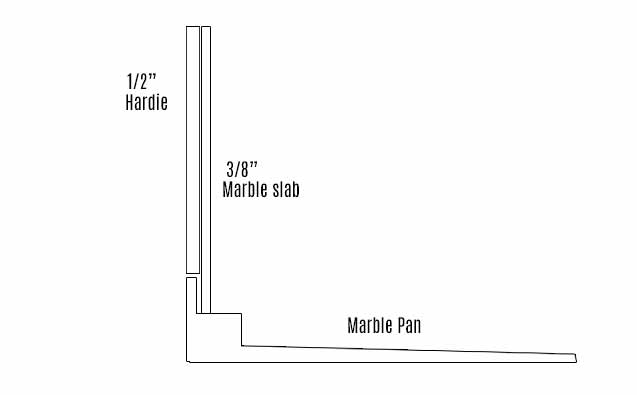
Above you can see a cross section of the pan. It has a thick edge which is an optional design we chose - you can get it without it if that is your preference. On top of the edge is the lip of the pan which sits along the studs of the shower. The Hardie is installed so that it comes down to the lip. The Hardie is 1/8th wider than the pan lip. The gaps will be filled with thin-set making it waterproof.
The full marble slab will be installed in front of that going all the way to the edge of the pan further making it completely waterproof.
Now, you may think, we are done, where Hardie is concerned. That it is always smooth sailing when you remodel? Unfortunately.... not so. Let me explain.
Something happened... When you have one, count them, "1" piece of Hardie left to install and you have 5 screws left to fasten into said Hardie, Murphy's law clearly dictates that you must hit a pipe with a screw, right? which propel a series of fun, fast events in your direction
They go something like this:
Screw, screw, screw. shrrrriiiii (wrong sound), Pssssshh, (cursing), T U R N O F F T H E W A T E R!!!!, running, buckets, rags, wiping, calling late night plumbing assistance, fix, fix, eat dinner very late.
Here is a tip: If you do hit a pipe with a screw: don't unscrew it until after you turn of the water. PSA over.
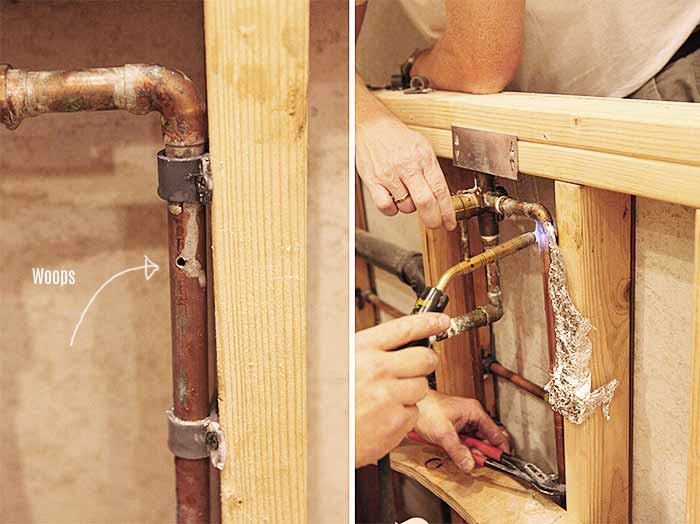
Ah yes... It got fixed. We moved on...
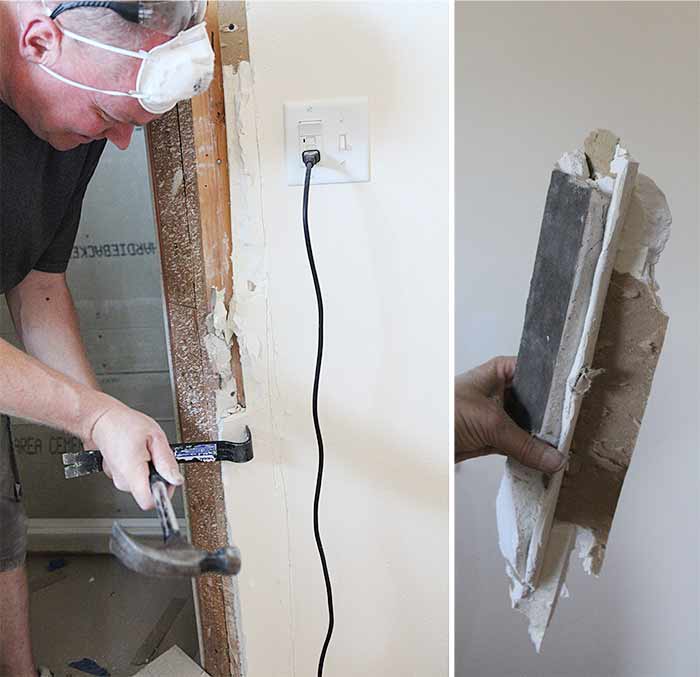
Before all that excitement happened, we did manage to fix the right-hand side of the shower entrance. Before it had 2 layers of drywall and a very crooked corner.
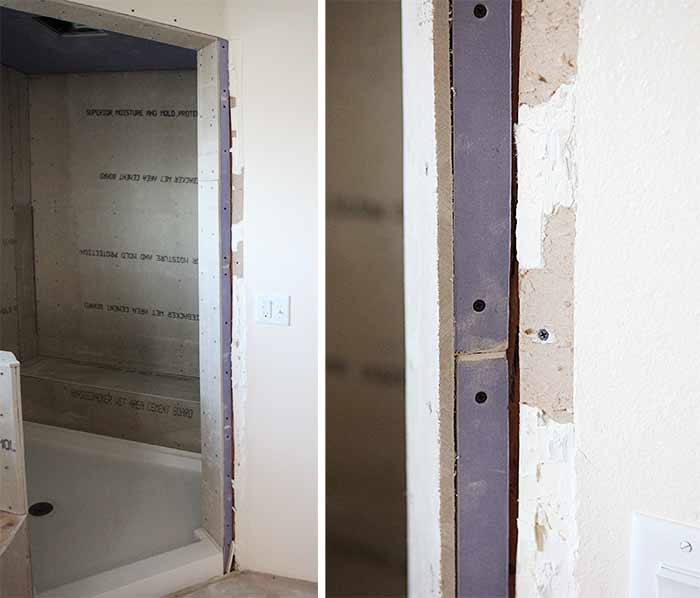
We are going to have to do some expert mudding and sanding there.
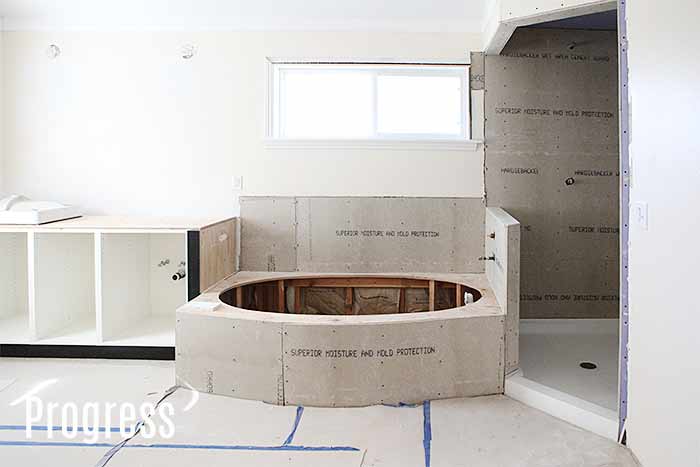
Anyway. On Saturday we were able to put in the last screw into the last Hardie Backerboard without further incident and it now looks like this:
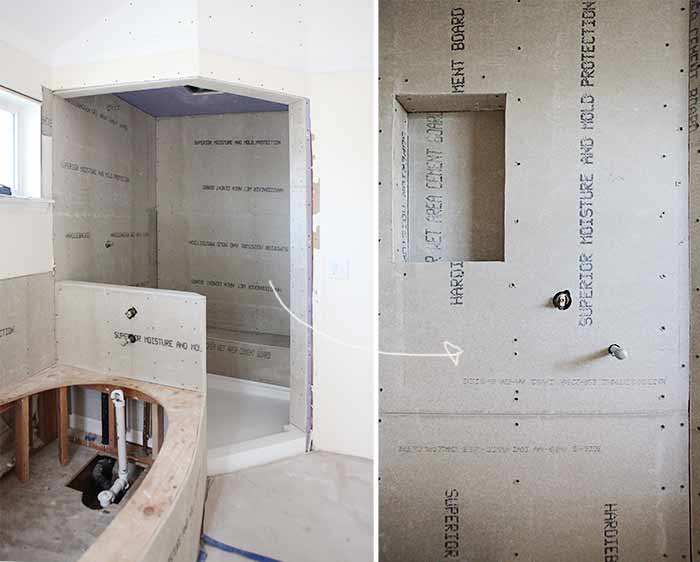
On the right you can see our new shampoo niche. I am happy we decided to tuck it in behind the right hand wall where you can't really see it instead of having it above the shower bench. After all, shampoo bottles are not that pretty.
We are ready for our pan-test and drywall and Backer board inspection, which will be this week sometime. Hopefully.
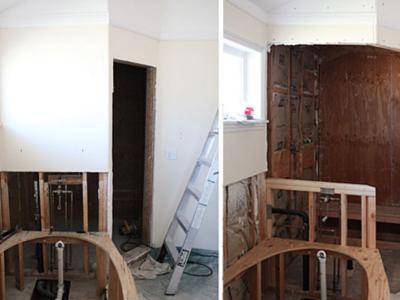
Let's do a quick before:
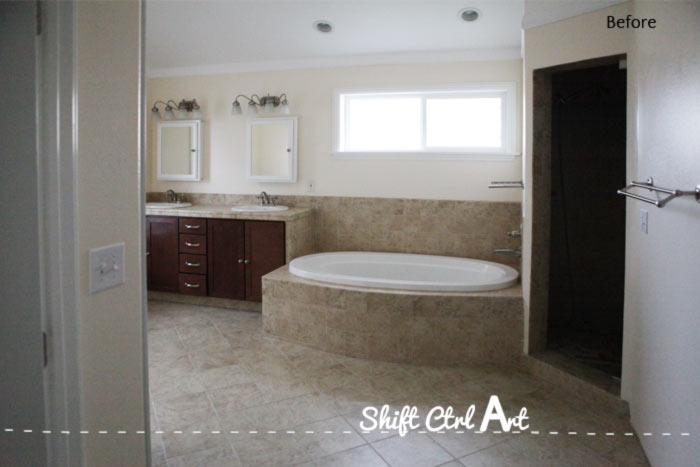
And here is where we are now:

(My wide angle lens is making some of the walls look rounded, but they are, in fact, pretty straight)
Our original estimate was for 8 hours to put up Hardie. Of those, if I remember correctly, our handyman spent about 3 hours getting, cutting and putting up the first 3 pieces and cutting two sides for the shampoo niche.
Frank and I worked around 14 hours (7 hours each) to put up the rest, including taking down the first three to shim behind them, then put them back up again. There are a lot of cuts in that shower. 29 - I just counted them. Two of which were measured once, cut twice. Full disclosure
Once we pass inspection, the next step will be adding tape and thin-set to all the Shower-stall Hardieboard seams, then Red Guard everything to waterproof it. This will conclude phase 4.
Here are the phases we are tackling for this demo:
Phase 1 demo - done
Phase 2+3 electrical, plumbing and construction - done
Phase 4 Hardie, drywall, pan and shower prep - well underway
Phase 5 cabinets - done
To come
Phase 6 tabletops and marble slabs
Phase 7 tiling
Phase 8 mud and paint
Phase 9 installation and finish
It feels like the home stretch.
Next: Master Closet - adding shelves and drawers

About Katja Kromann
I am a Danish American decorating life in Seattle. I love all things design and DIY.
I can’t think of anything more fun than coming up with project, making it, photographing it and sharing it with you on my websites.
Since 2018 I have been making Ceramics, nearly full time.
AHomeForCeramics.com AHomeForDesign.com AHomeForCrafts.com AHomeForFood.com My Portfolio
Categories
Master bath - Hardie backerboard installed - how we did it is posted in the category How To | Master Suite
