Painted on thick: a new addition to our living room gallery wall - DIY decor
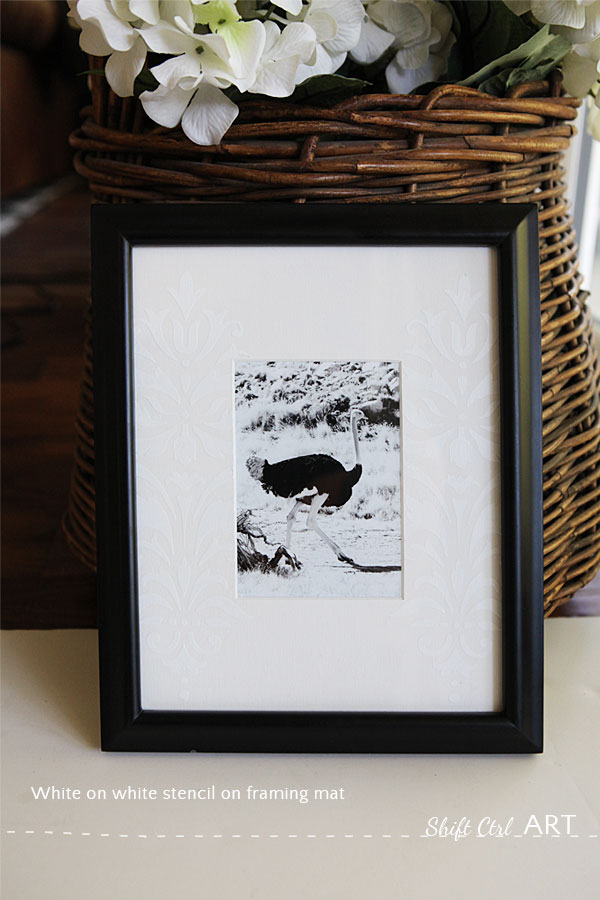
Today's project is subtle but its a great effect and more noticeable in real life than on pictures. I added a white on white stenciled detail to a white framing mat. Can you see it? It's there... right there... see?
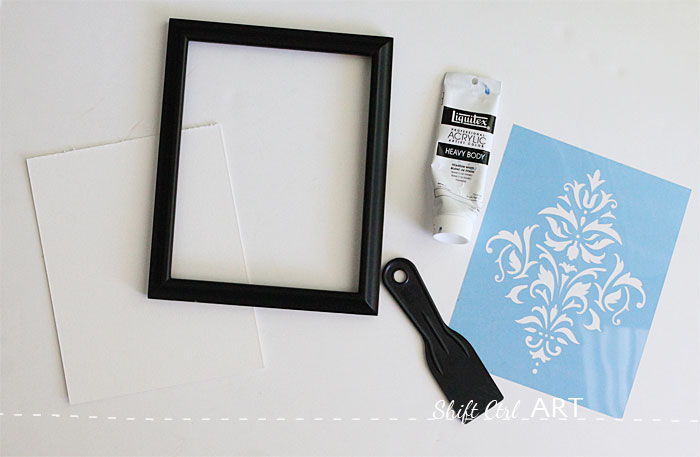
For this craft I used an inexpensive black frame, a white 8x10 mat board, some heavy body white paint, a stencil, and a spatula.
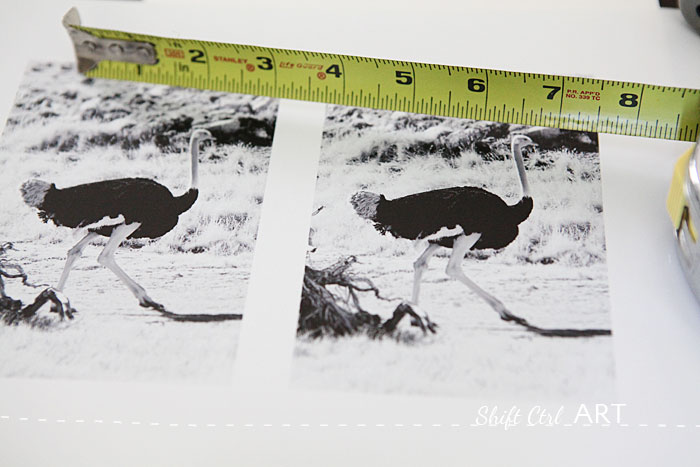
First I cut a mat board to my picture. I used one of the photos I took on our trip in January to Palm Springs. To cut the mat board I looked up my own tutorial on how to cut a mat because I can never remember how it is you start with the measuring tape... But once I re-read it, I got it right away ha ha.
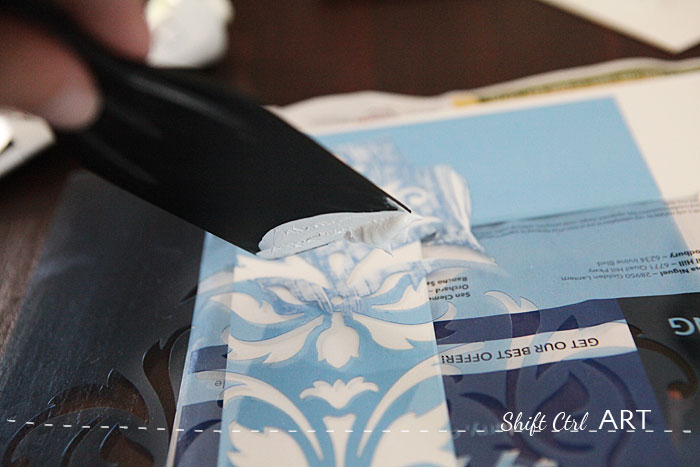
Next, I put my stencil over the cut mat and troweled on some of the heavy bodied white paint.
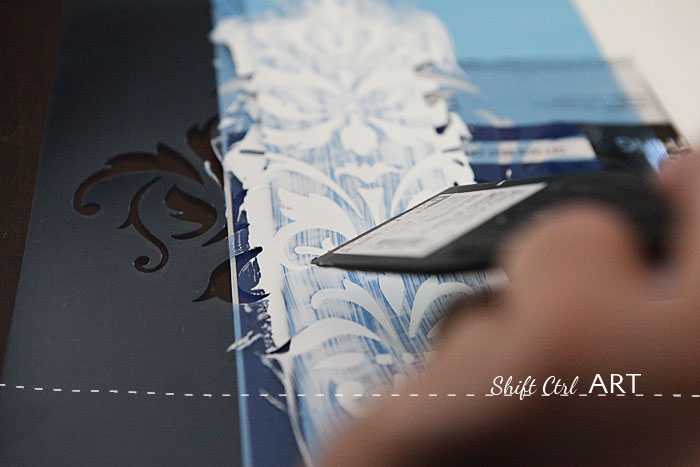
Then, still using the spatula, I scraped off the excess leaving me with paint in the thickness of the stencil on my mat.
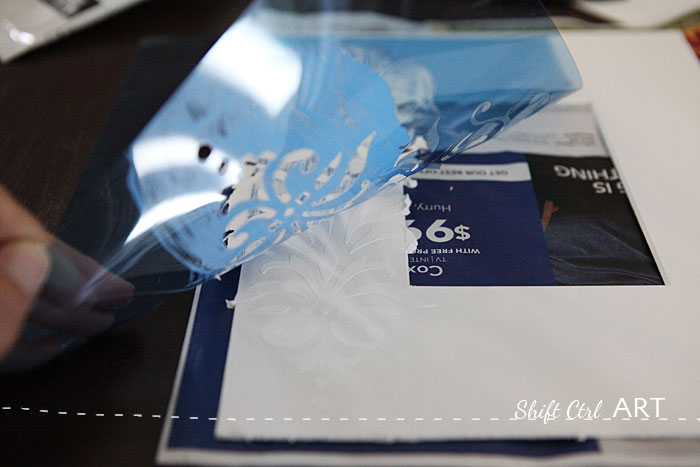
Then I carefully lifted off my stencil.
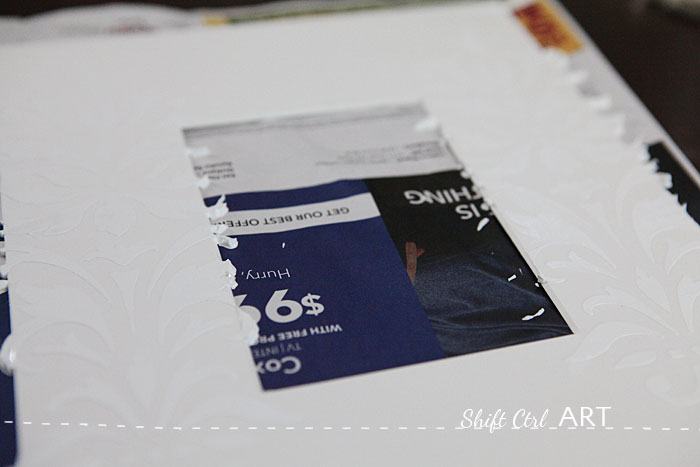
And repeated on the other side of the opening.
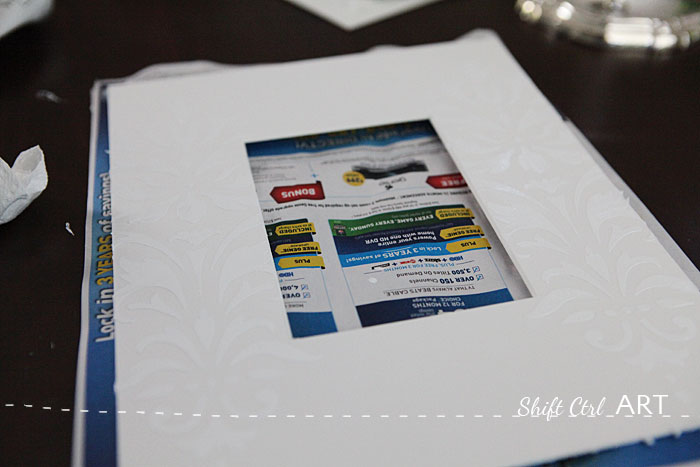
With my finger, I smoothed down the paint on the 45 degree angled cut around the opening.
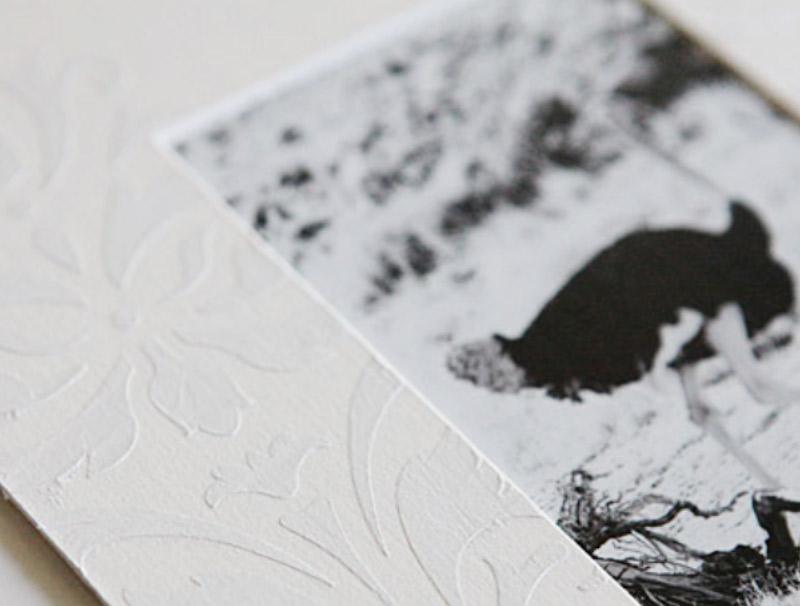
Here you can see the slightly raised effect of the paint and the shadow and highlight effect it gives the stenciled paint the mat. I love that.
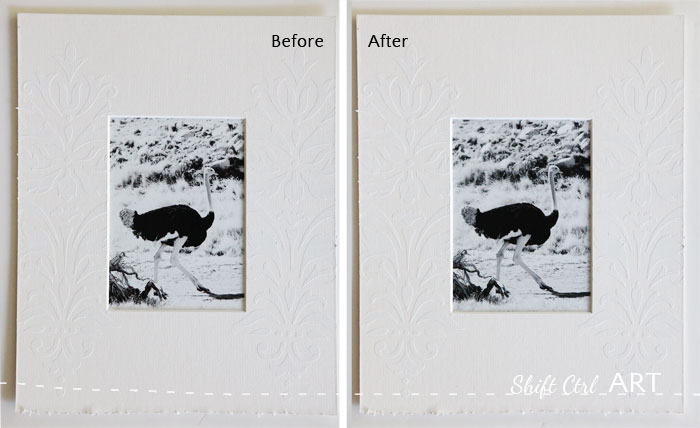
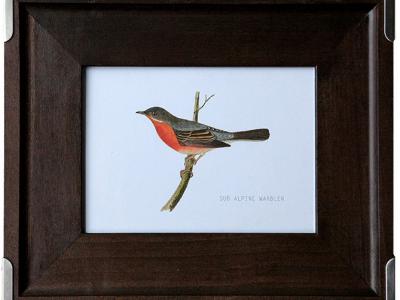
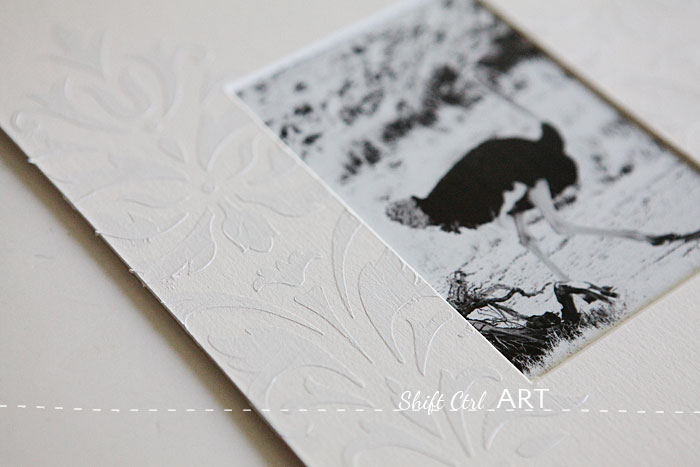
Next, I put my picture behind the opening. I thought my picture looked way too blue - on the left - compared to the warmer white of my mat and paint, so I re-printed my picture in a warmer hue - on the right
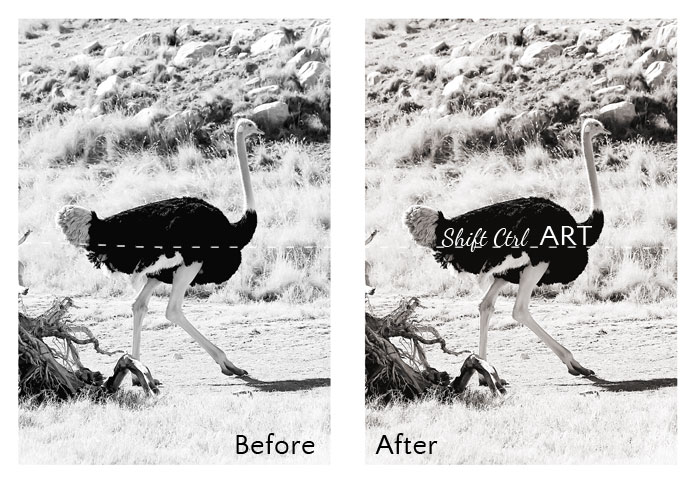
It's probably easier to see here. On the right I used a 40% chocolate black and white on top of my regular black and white using the same action as in this project. Then it looked just right.
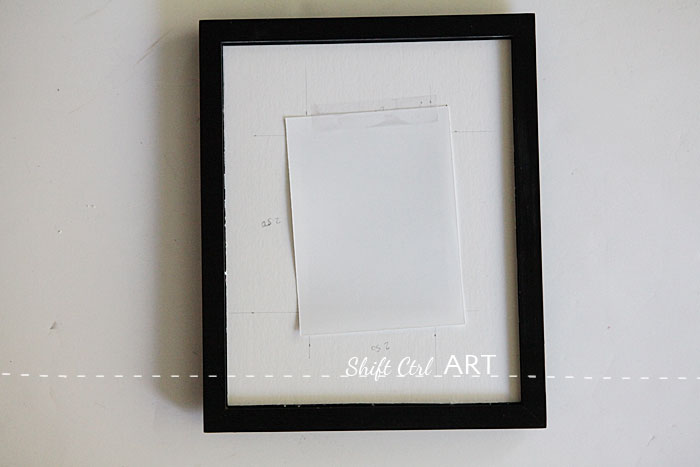
One of the advantages of using a mat for your picture is that you don't even have to put it in the frame straight. For my picture it looked best from the front when I angled the print slightly like this.
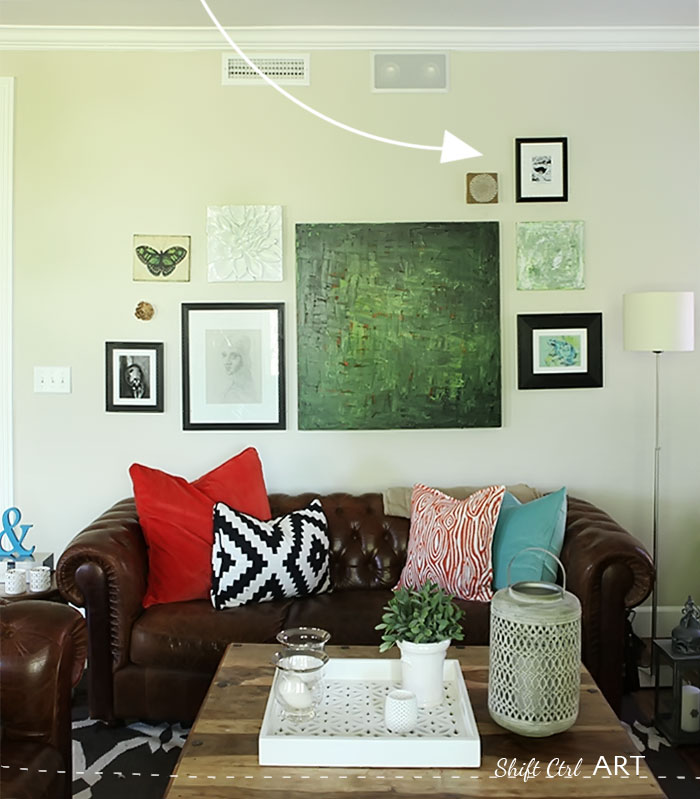
I added my newly framed photo to my gallery wall above my couch. This was at 8 o'clock this morning, so I made sure to give a heads up to my still-in-bed-family so they didn't get startled by me hammering away...
Sharing over at Framed Frosting
If you had a hammer,
would you hammer in the morning?
Would you hammer in the evening?
Would you hammer all over this land? I need to know these things

More DIY - Do-It-Yourself Projects

About Katja Kromann
I am a Danish American decorating life in Seattle. I love all things design and DIY.
I can’t think of anything more fun than coming up with project, making it, photographing it and sharing it with you on my websites.
Since 2018 I have been making Ceramics, nearly full time.
AHomeForCeramics.com AHomeForDesign.com AHomeForCrafts.com AHomeForFood.com My Portfolio