Pixel wall art - Mario gets SUPER sized
New to Shift Ctrl Art? Welcome! At the top of the page I have links to a tour of our home, a page with all the DIY (Do-It-Yourself) projects we have done. You can also find favorite posts, recipes, artwork and much more.
Want to get social?
Consider signing up for my rss feed, follow me on facebook, Pinterest, or Twitter - or all of them
---
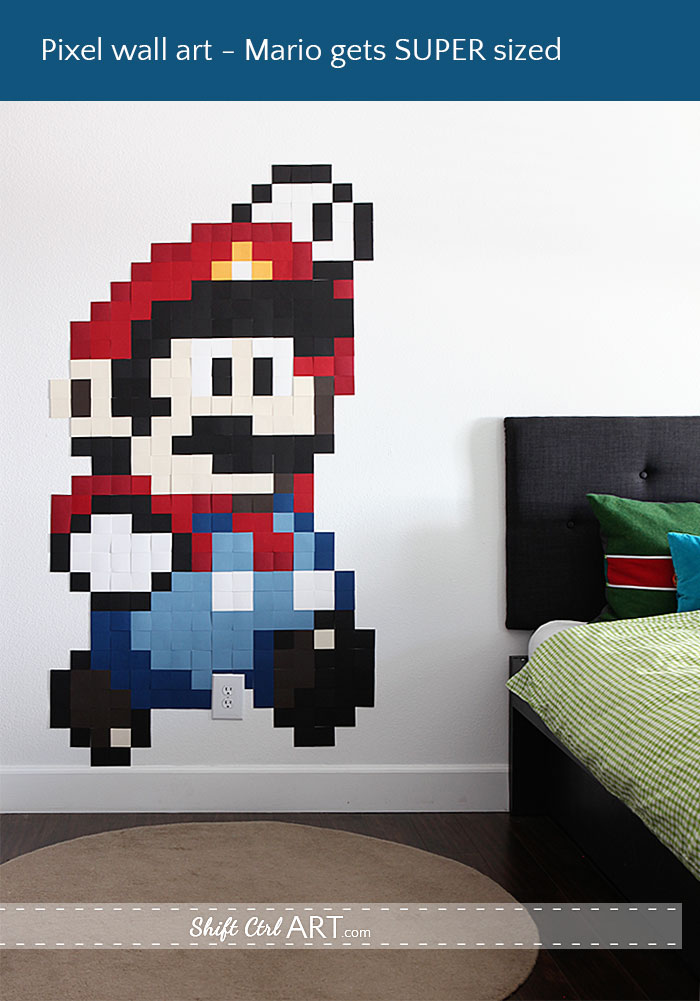
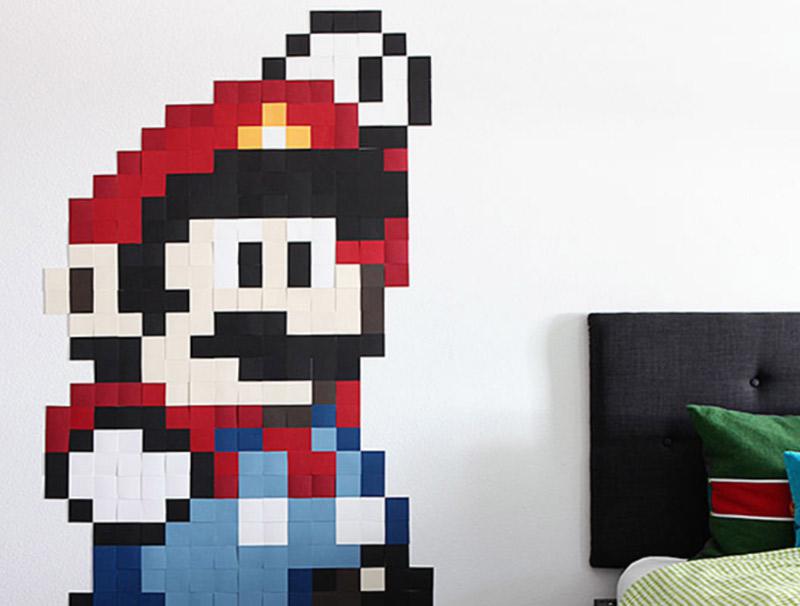
Here is what B and I were doing yesterday for art. I hinted at some Mario art on the mood board do over.
Here I featured a little project B did. I had made this little cross stitch kit for him for his Advent calendar.

In the big Advent calendar reveal I showed you his finished piece.

For the wall we decided to use a different pose, but in the same style. B found this image online. Like the one I used for the advent calendar there were a lot of colors going on and way too much pink.
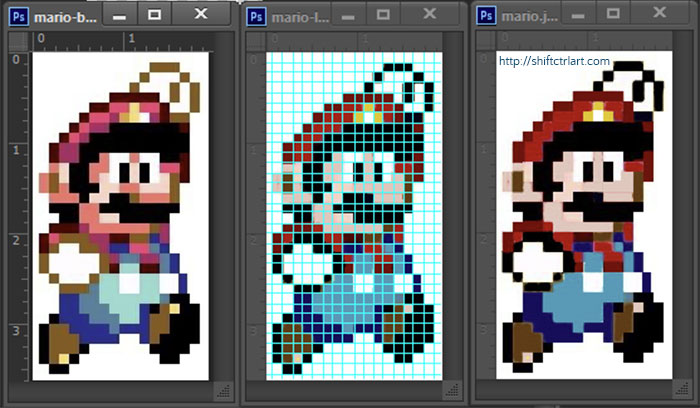
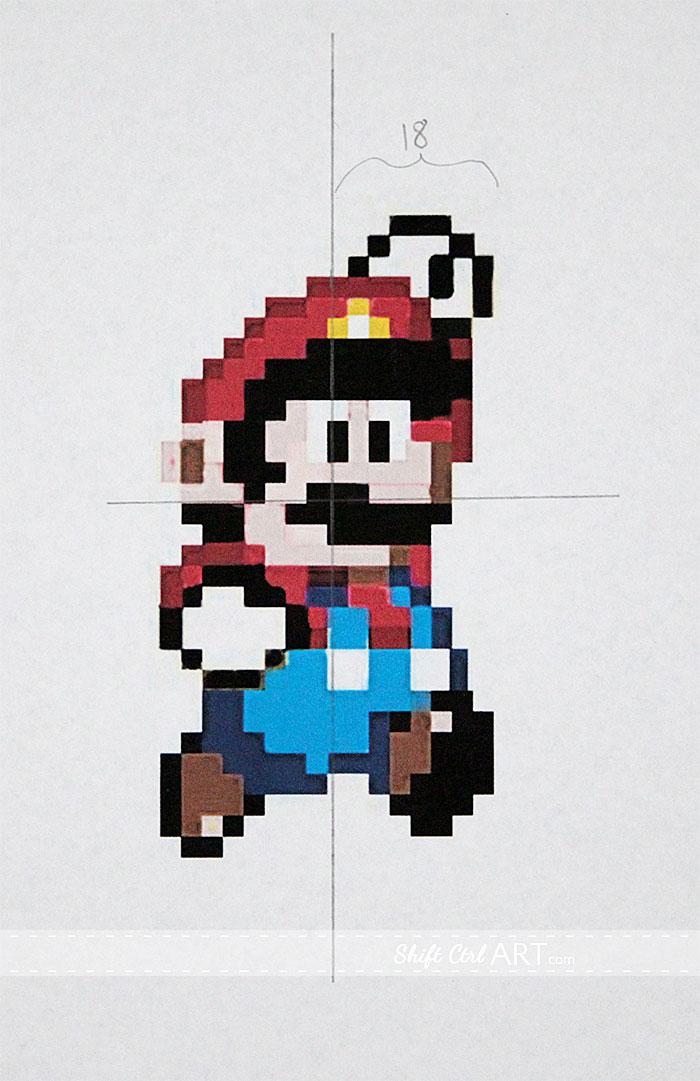
So I treated the image to some Photoshop. B had fun putting grid marks over the images. Not that that helped in the process, but it was fun to do, so why not. I just used the bucket paint tool and clicked on each square to recolor it.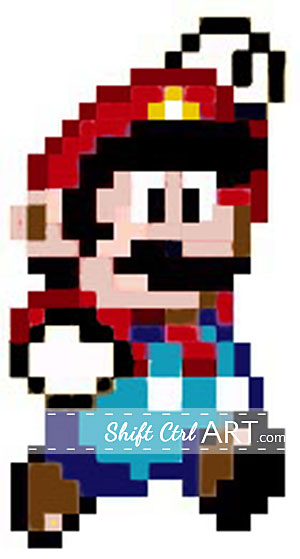
Next up we did an elaborate math project. First he counted how many squares wide and tall the figure is, then I determined the finished height we wanted - about 5 feet. That gave us the square size of 2.25 inches. Next B counted how many squares of each color and figured that each 12x12 scrapbooking sheet would yield 25 squares. Then he divided to figure out how many sheets of each color I needed to buy.
5 Black
1 yellow
2 light red
2 dark red
2 dark blue
2 light blue
1 brown
2 white
2 tan
Then I cut them out with my Fiskars cutter.
I'll let the images speak for themselves for the next part.
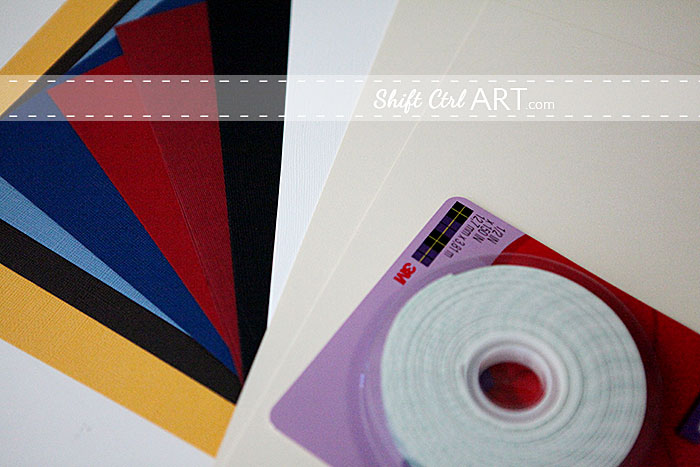
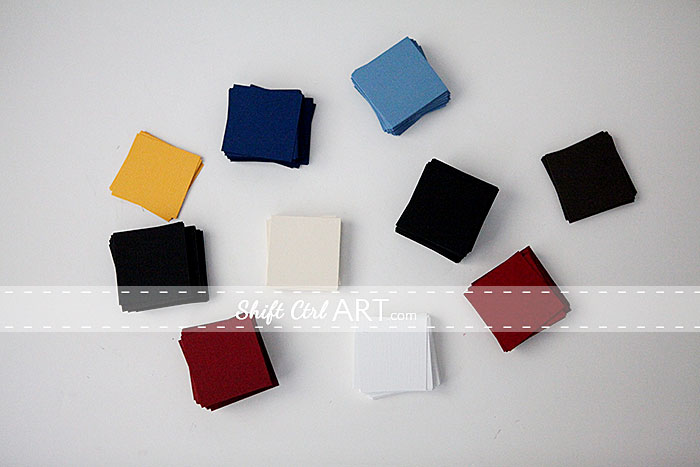
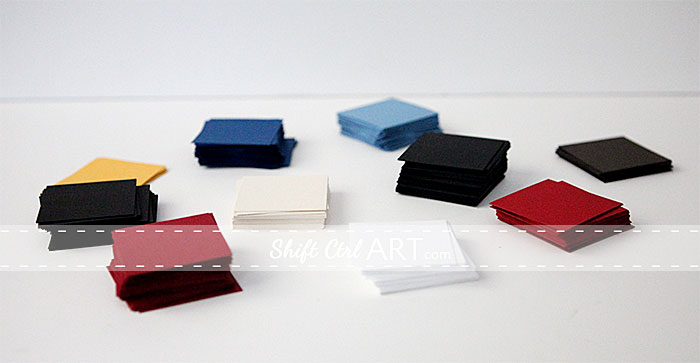
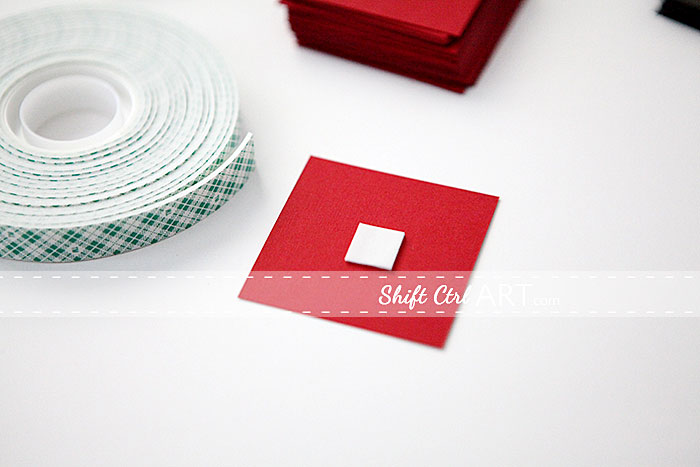
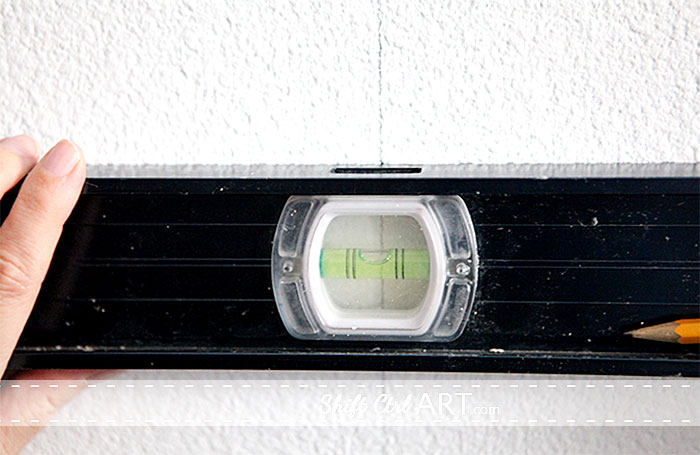
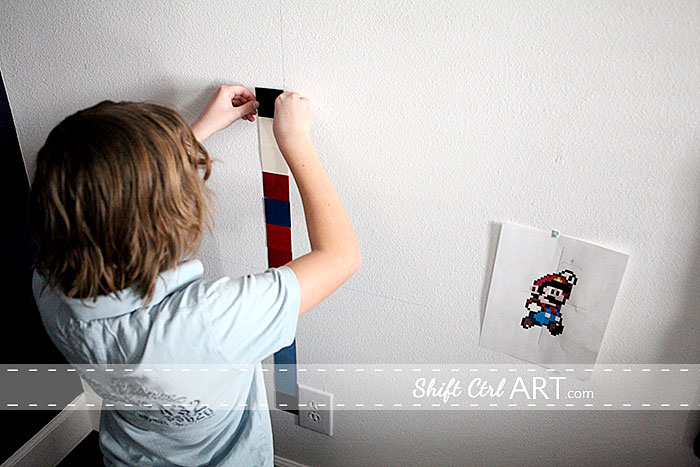
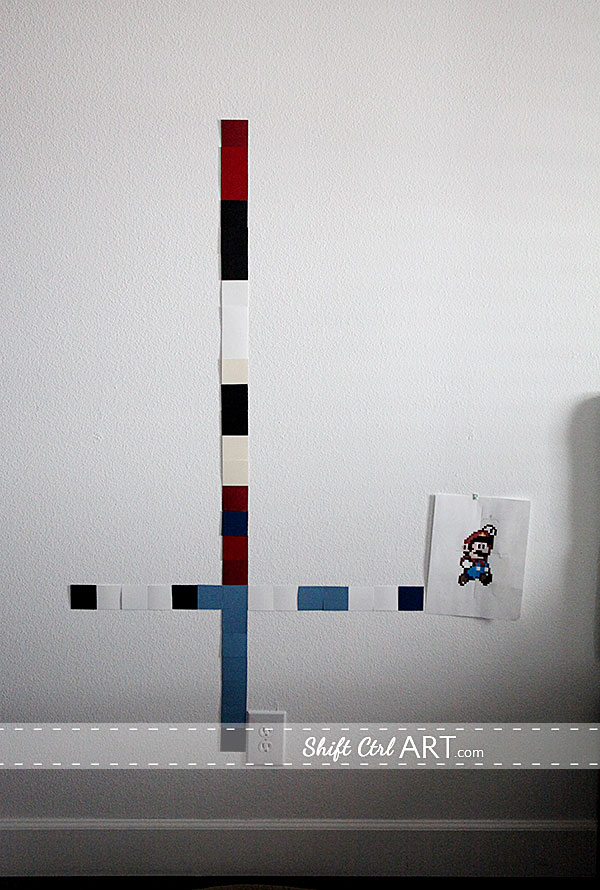
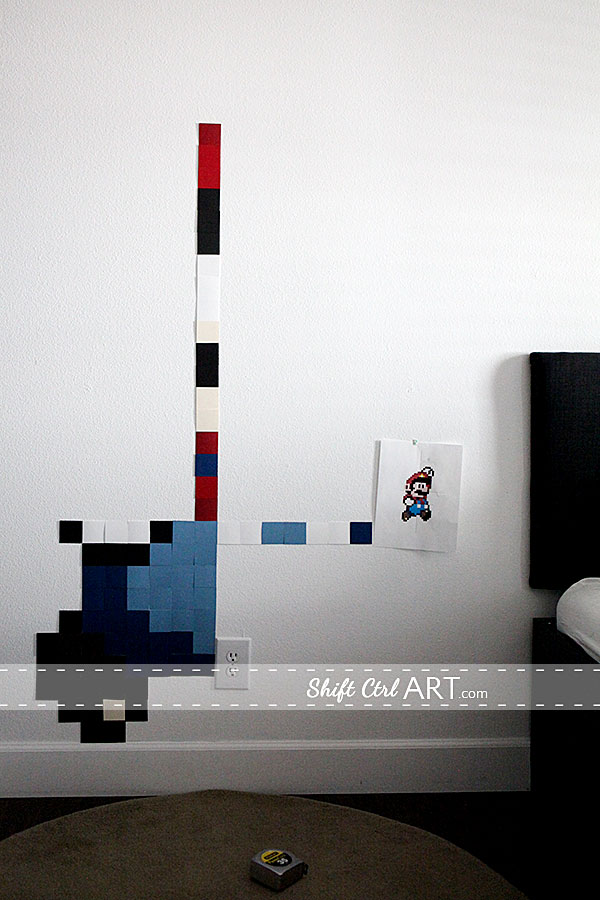
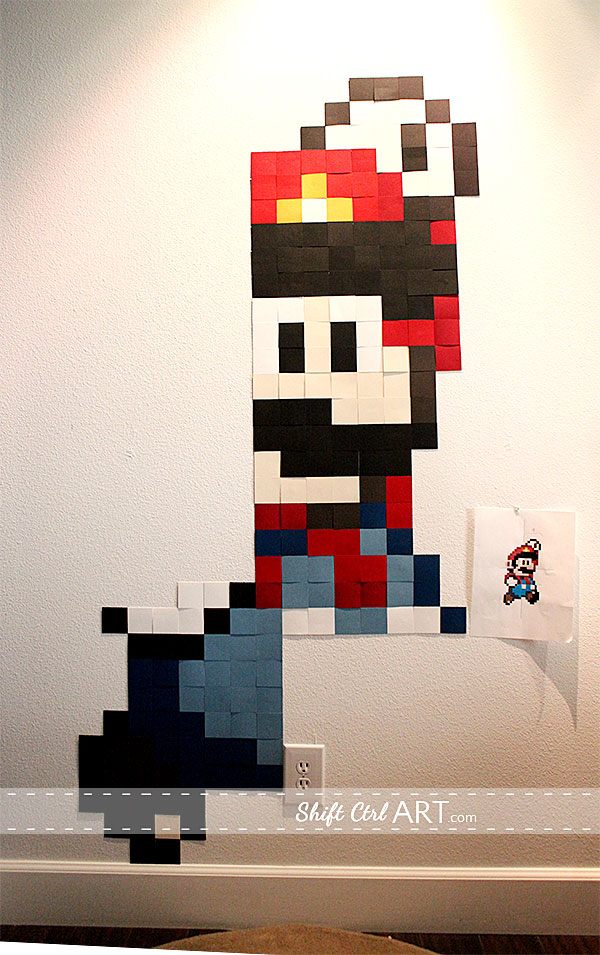
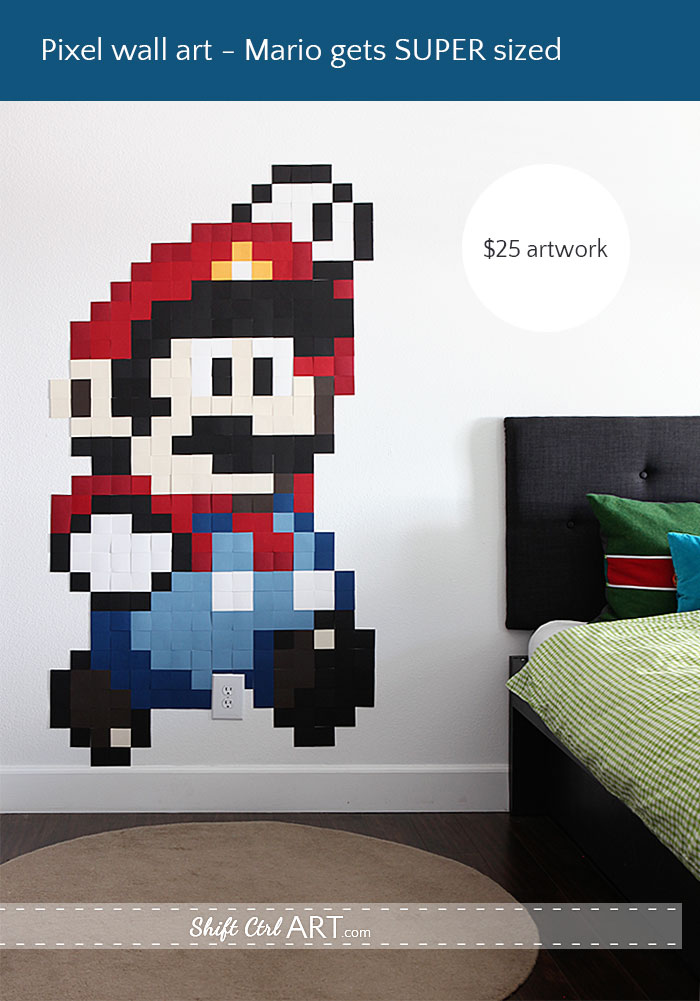
Best part: This artwork was under $25. 9 dollars for the foam tape - we used permanent tape, but you can use removable tape if you don't want any hassle once you need to take it down again. The paper was $16 because I used Bazzill scrapbooking paper with linen texture. You can make this cheaper by just using colored paper. Want to see more projects from B's room?
B's room - dyeing for some navy curtains - how to dye curtains
IKEA hack: B's bed with trundle
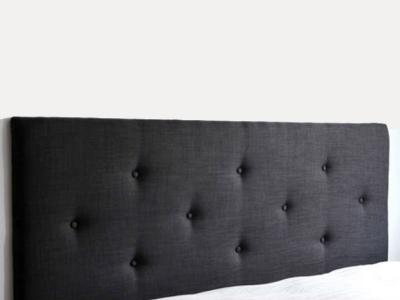
How to make a tufted headboard
B's room - lights, curtains, action - and bedding and a rug
Check out the Home Tour page for more room make-overs.
Linking up to C.R.A.F.T. // Lines Across // Uncommon Designs // That’s What Che Said // Creatively Living // View Along the Way
---
Since I connected a ton of cardboard to the wall, I am going to call this my February word of the month "Connect" piece. You can read more about the monthly challenges here. And see the features for January here.
---
What have you been up to lately? Any art projects in the works? Any wall galleries or framing going on?
Sharing over at Emily A. Clark
Next:
Pinterest Challenge - IKEA hack - Emmabo chair with new cover
Share
Want to get social?
Consider signing up for my rss feed, follow me on facebook, Pinterest, or Twitter - or all of them
---
Here is what B and I were doing yesterday for art. I hinted at some Mario art on the mood board do over.
Here I featured a little project B did. I had made this little cross stitch kit for him for his Advent calendar.

In the big Advent calendar reveal I showed you his finished piece.

For the wall we decided to use a different pose, but in the same style. B found this image online. Like the one I used for the advent calendar there were a lot of colors going on and way too much pink.
So I treated the image to some Photoshop. B had fun putting grid marks over the images. Not that that helped in the process, but it was fun to do, so why not. I just used the bucket paint tool and clicked on each square to recolor it.
Next up we did an elaborate math project. First he counted how many squares wide and tall the figure is, then I determined the finished height we wanted - about 5 feet. That gave us the square size of 2.25 inches. Next B counted how many squares of each color and figured that each 12x12 scrapbooking sheet would yield 25 squares. Then he divided to figure out how many sheets of each color I needed to buy.
5 Black
1 yellow
2 light red
2 dark red
2 dark blue
2 light blue
1 brown
2 white
2 tan
Then I cut them out with my Fiskars cutter.
I'll let the images speak for themselves for the next part.
Best part: This artwork was under $25. 9 dollars for the foam tape - we used permanent tape, but you can use removable tape if you don't want any hassle once you need to take it down again. The paper was $16 because I used Bazzill scrapbooking paper with linen texture. You can make this cheaper by just using colored paper. Want to see more projects from B's room?
B's room - dyeing for some navy curtains - how to dye curtains
IKEA hack: B's bed with trundle
How to make a tufted headboard
B's room - lights, curtains, action - and bedding and a rug
Check out the Home Tour page for more room make-overs.
Linking up to C.R.A.F.T. // Lines Across // Uncommon Designs // That’s What Che Said // Creatively Living // View Along the Way
---

Since I connected a ton of cardboard to the wall, I am going to call this my February word of the month "Connect" piece. You can read more about the monthly challenges here. And see the features for January here.
---
What have you been up to lately? Any art projects in the works? Any wall galleries or framing going on?
Sharing over at Emily A. Clark
Next:
Pinterest Challenge - IKEA hack - Emmabo chair with new cover

About Katja Kromann
I am a Danish American decorating life in Seattle. I love all things design and DIY.
I can’t think of anything more fun than coming up with project, making it, photographing it and sharing it with you on my websites.
Since 2018 I have been making Ceramics, nearly full time.
AHomeForCeramics.com AHomeForDesign.com AHomeForCrafts.com AHomeForFood.com My Portfolio
Categories
Pixel wall art - Mario gets SUPER sized is posted in the category B's bedroom | Decor | Home Schooling
