Painting the outdoor furniture - how I got that barnwood color
Edited: This post was missing content, so here it is again, this time in it's full version. Sorry for the inconvenience.
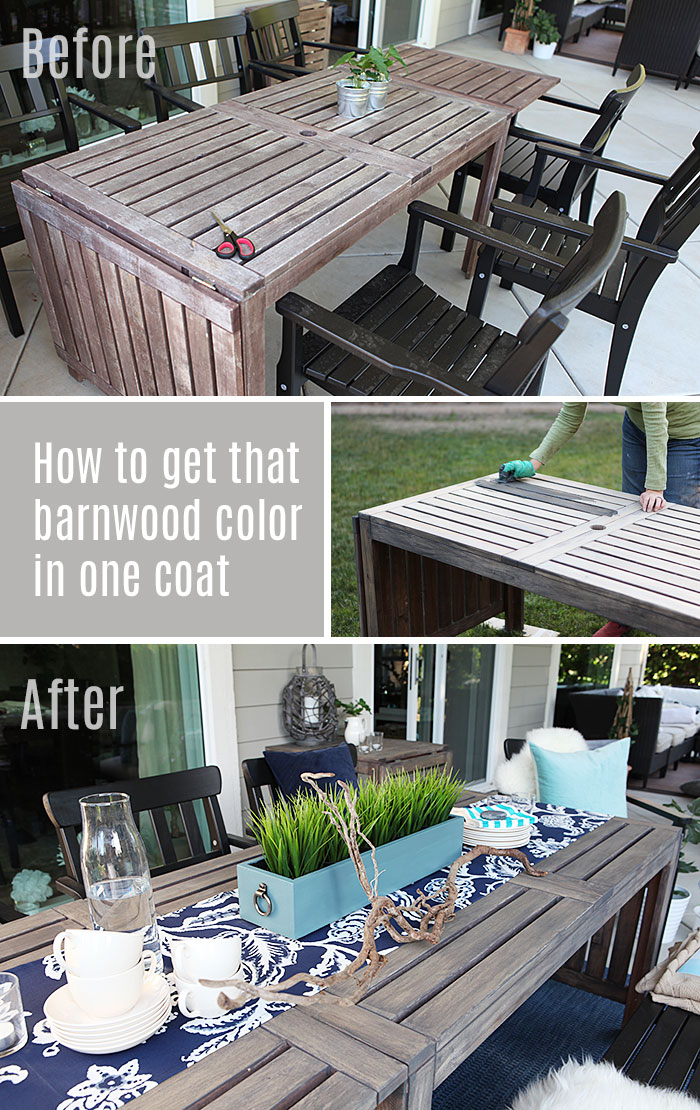
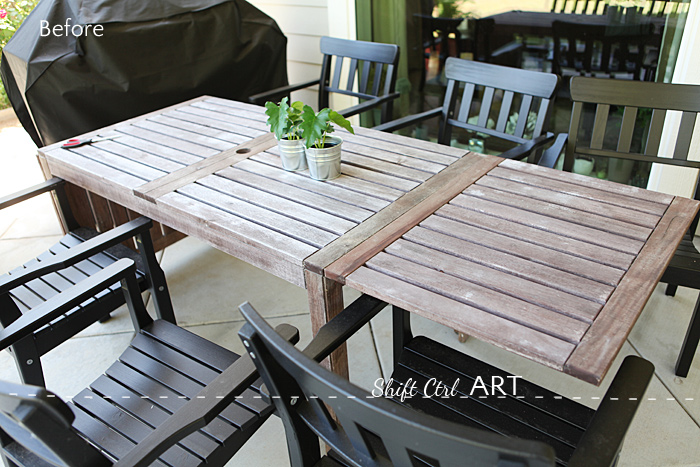
This is what the table used to look like after about five years of weathering outside. It's the Äpplerö table from IKEA. I also have the side table and two smaller tables that we use in the lounge area.
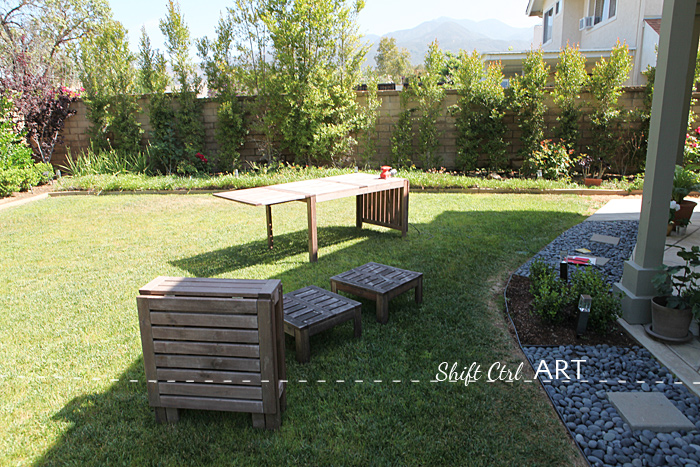
Here you see all four tables that I painted at the same time.
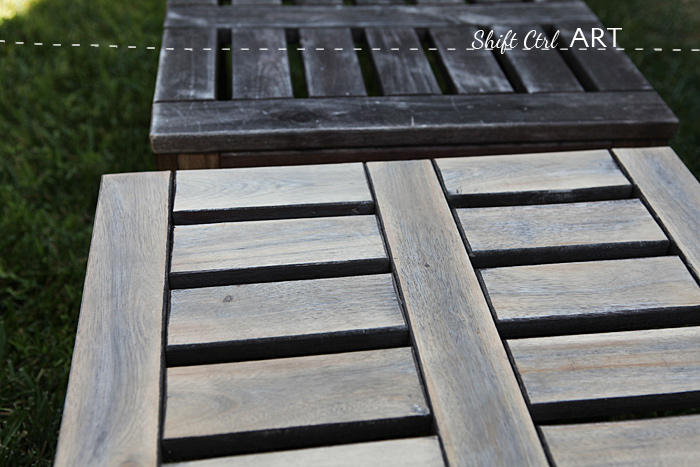
First, I sanded everything down. Here you can see the contrast between the sanded table in the front and the un-sanded one in the back.
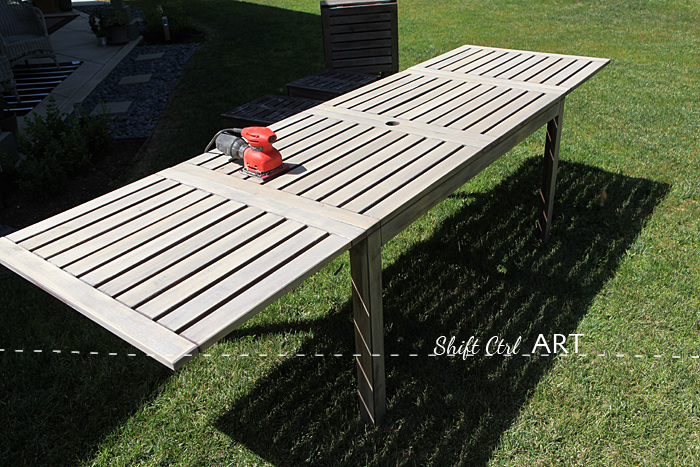
The dining table all sanded down.
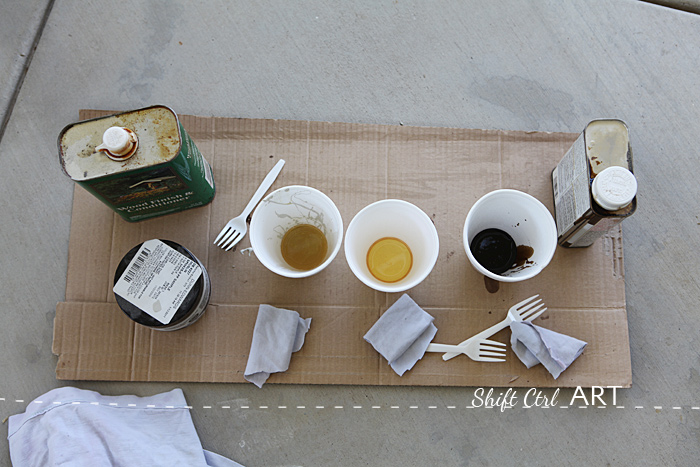
Next, I experimented with some oils and stains I already had on hand. Teak oil, Danish oil with walnut stain and mixing in some gray paint #oilandwaterstilldontmixwell.
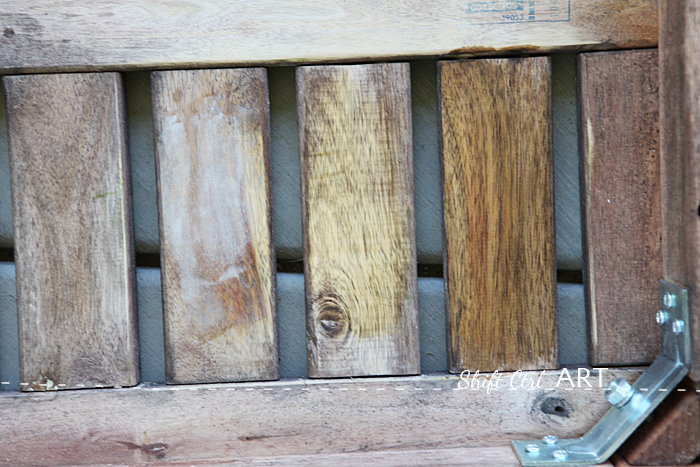
I was not happy with any of those results, so down to Lowe's I
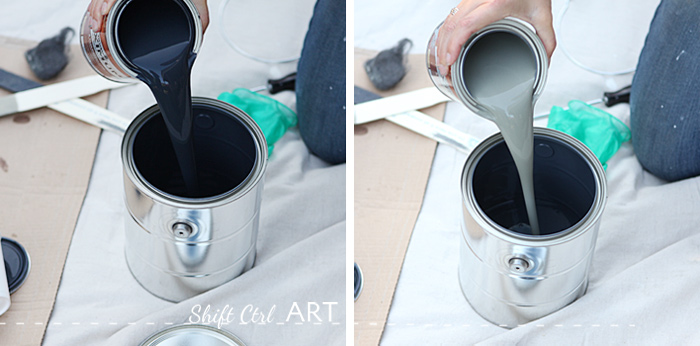
I got some Olympic semi transparent exterior stain. Two quarts. On the left, it's the color Cinder and on the right, the color Driftwood Gray. I mixed them one part Driftwood Gray to two parts Cinder.
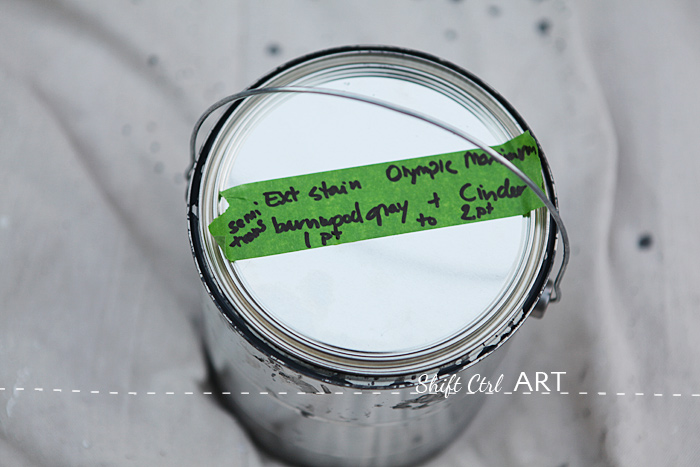
That became barnwood in my mind so much so, that I mislabeled the paint can to Barnwood gray instead of Driftwood Gray. The color is Driftwood Gray.
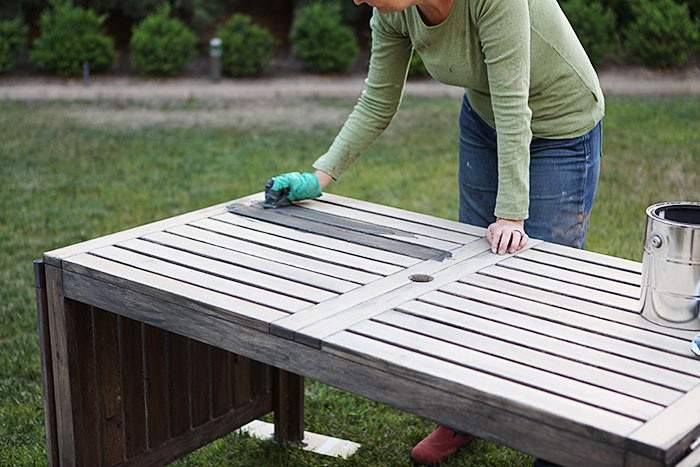
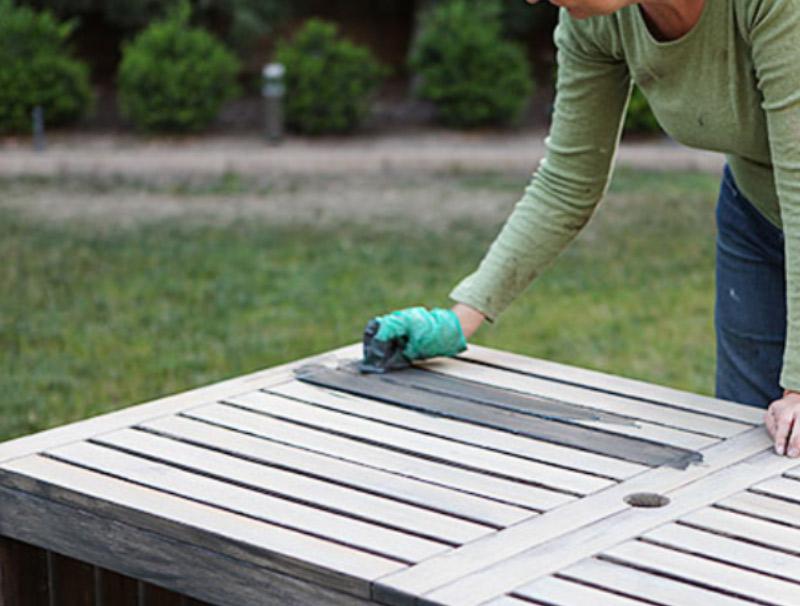
Next, I wiped down all the newly sanded surfaces and then I applied the stain using my favorite method: 00 steel wool pads.
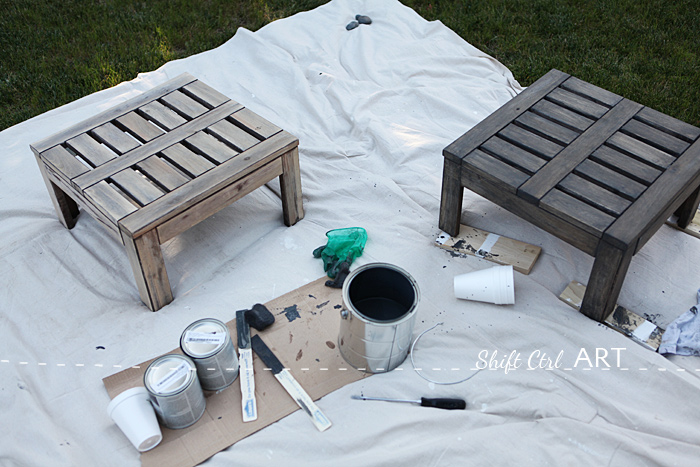
Here you see the sanded table on the left - I really liked this look, but the exposed, untreated wood, would not have stood a chance in our Californian sun. On the right is the painted table. #onecoatanddone.
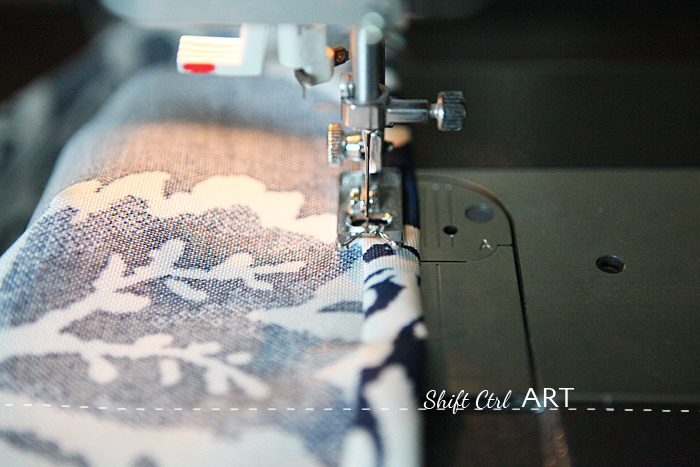
Then I sewed that runner and hemmed it. It's just a square, so it doesn't get it's own post, although after reading that my friend Gretchen considered posting about moving a lamp across the room, I did consider it for a hot minute!
She wrote,
On the other side of the room, I moved his lamp over into the corner by the window. It was driving me crazy on the other side of the crib, where it used to be.I thought about writing a post about moving the lamp awhile back, but then I didn't (I'm only kidding. I was never going to write a post about moving a lamp. It takes moving a lamp AND buying laundry baskets to get a post out of me).Love it!
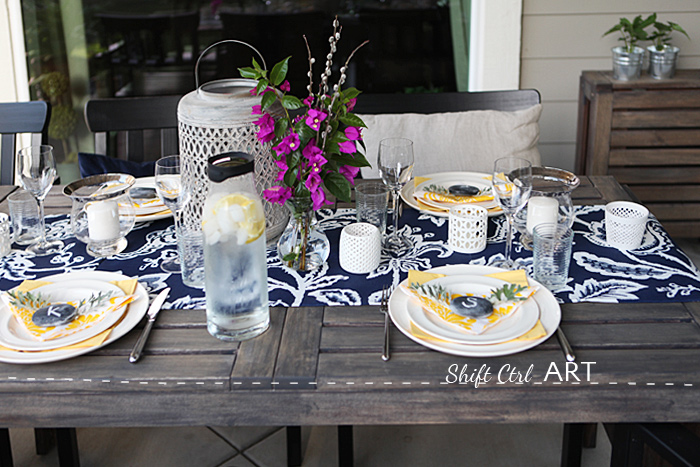
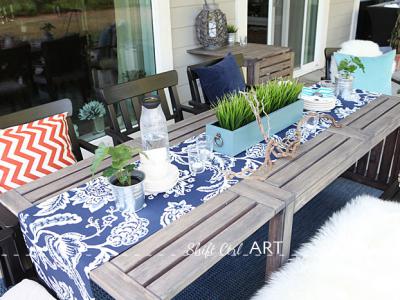
Here is the table after it was painted. I even set the table, you know, for some mock guests (fantasigæster), like a good blogger
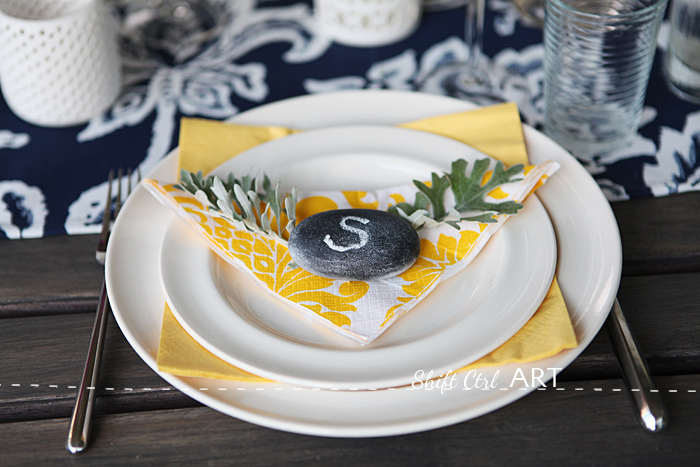
Those rocks are from our rock-bed that we put around the patio after we moved the sprinklers out to save our wood columns.
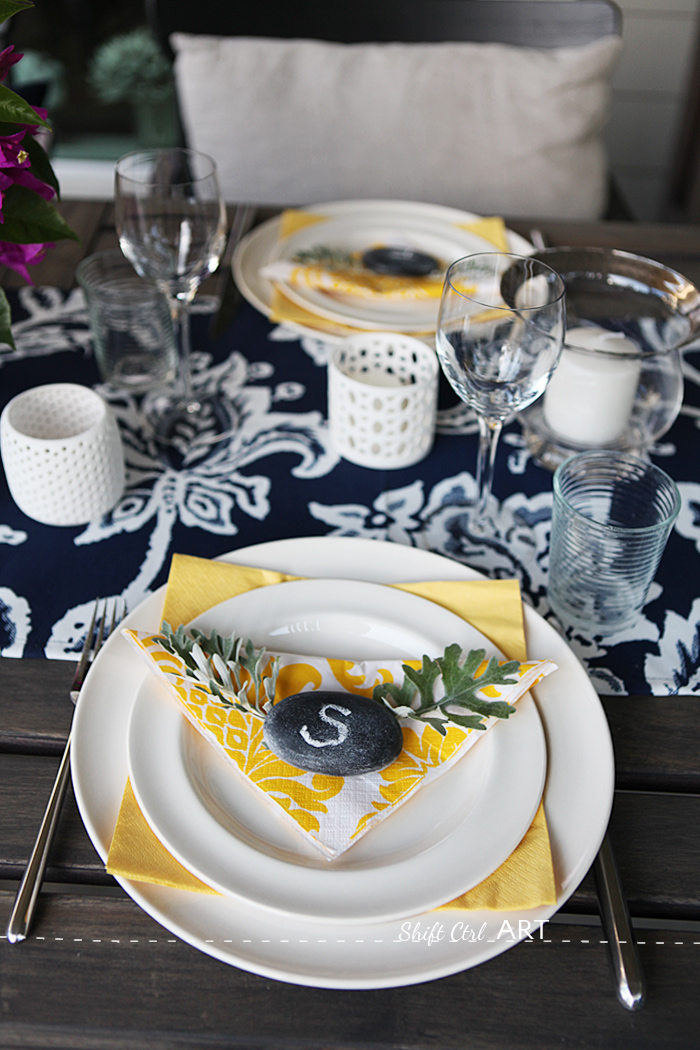
Funny story: I spray painted the rocks with chalkboard paint, rubbed chalk all over them, removed the excess and then they looked
I still love how functional it is to use rocks outside as place cards to prevent the napkins from flying off. Between guests, mock or otherwise, the rocks store nicely in the rock bed right next to the table.
Here is another image of the table after.
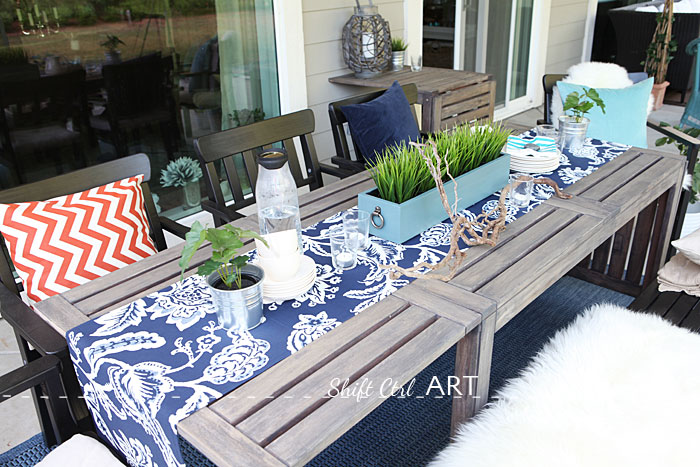
You can read all about the patio dining area reveal here.
I just love how varied the color is. Looks like I used some fancy 20 step method, when all I did was adding one coat of paint. I think that more than makes up for the rock project being a bit of a wasted time, don't you?
I just love how varied the color is. Looks like I used some fancy 20 step method, when all I did was adding one coat of paint. I think that more than makes up for the rock project being a bit of a wasted time, don't you?

About Katja Kromann
I am a Danish American decorating life in Seattle. I love all things design and DIY.
I can’t think of anything more fun than coming up with project, making it, photographing it and sharing it with you on my websites.
Since 2018 I have been making Ceramics, nearly full time.
AHomeForCeramics.com AHomeForDesign.com AHomeForCrafts.com AHomeForFood.com My Portfolio
Categories
Painting the outdoor furniture - how I got that barnwood color is posted in the category Before & After | How To | Outdoor Living
