DIY faux stacked wood fire screen - a Kreg Jig project
We have been thinking about getting a table saw for a good long while. The amount of space it takes up has held us back so far. At the moment, we just don't have room for it.
Then, this summer when I went to a blogger conference, Kreg Jig - a tool company who makes the pocket screw jig we used when building the desk for B - had a stand there. They were showing a new tool - a Kreg Jig rip cut. A couple weeks later, I saw it at my local hardware store and I bought it after a very quick back and forth about the pros and cons with Frank via text. We paid about 35 dollars plus tax for it.
A rip cut is a guide that you can attach onto a circular saw, effectively turning it into a table saw on the go. Sort of. It enables you to set a guide and cut long strips of wood. It will work for a great number of projects where you would normally use a table saw, but of course not all of them. The wood piece you are working with needs to have a certain minimum width for instance, or it won't work.
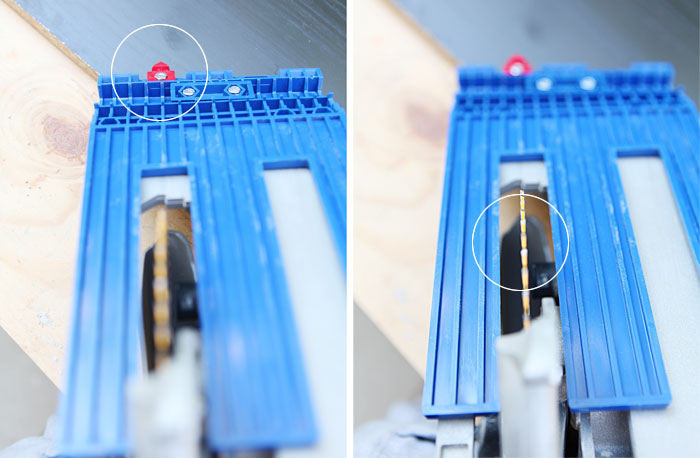
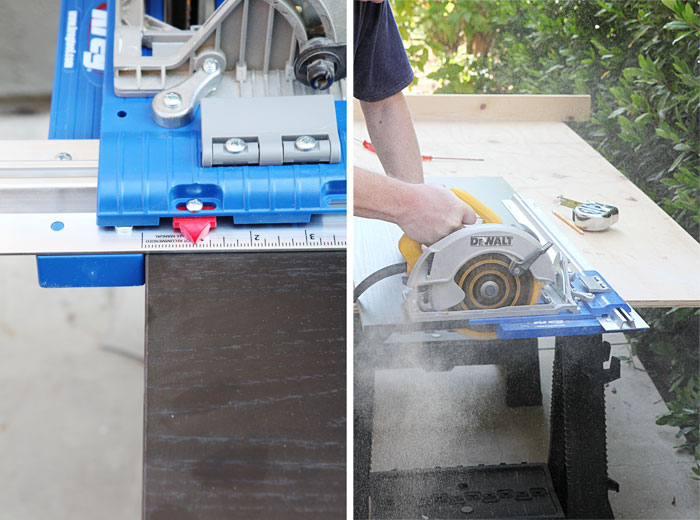
Here you can see the blue guide attached onto our circular saw from the underside. There is a red pointer in the front which lines up with the saw blade.
Oh and please don't forget to unplug your circular saw before attaching the guide. #safetytip. Please read my disclaimer at the bottom of my website.
Now you can set the width of your cut and the guide will keep the saw at that distance to the edge. Here Frank is removing an inch from one of the sides of the screen.
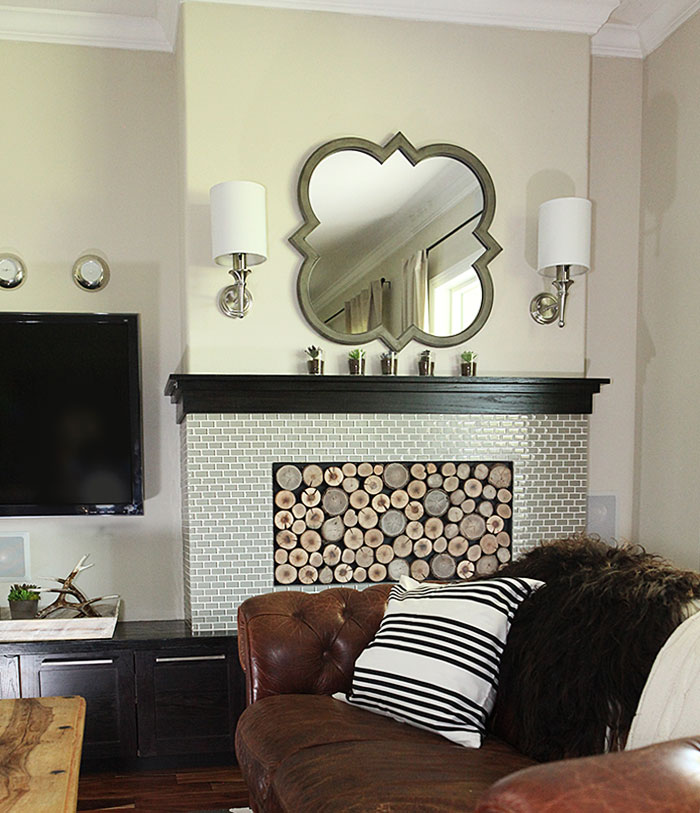
I got the idea to make a faux stacked wood screen a long time ago - last spring?, I think - because I just love the look in Emily's bedroom (from GoHausGo.com) Of course hers is the real thing: actual logs stacked, which granted looks much better. We needed to be able to remove the logs easily if we ever want to light a fire. That's when I thought of this faux screen. Since I had the idea, I have seen it a couple other places on line. Oh well... It's not a unique idea I guess.
For this project we used some left over filler material from when we built the seating bench in the master bathroom.
Frank cut it to fit inside our fire place. Then we cut some wood for a support stand.
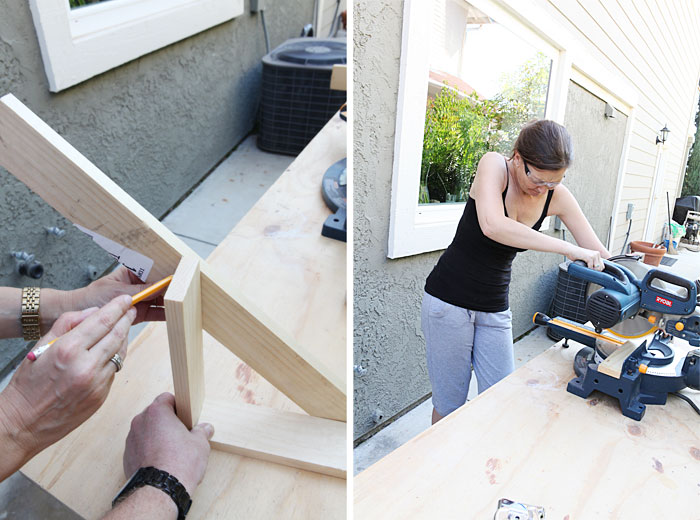
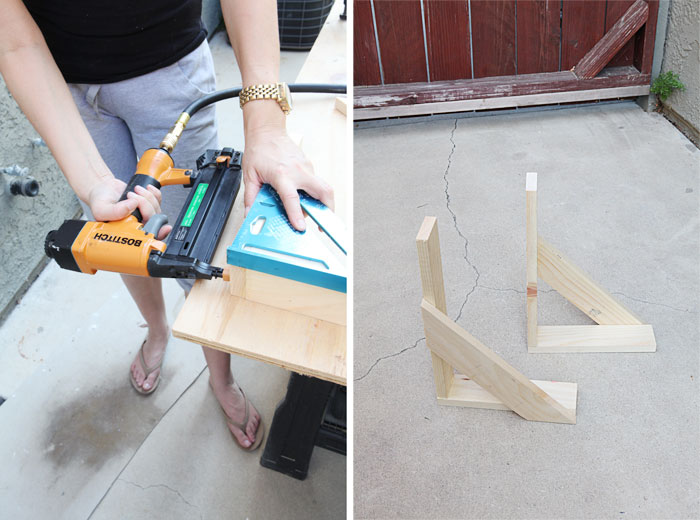
We used some more scrap wood for that and made two triangles.
Next came the fun part of cutting all the pieces of firewood. I had originally found a couple of tree branches at the side of the road that we cut up first. That wasn't nearly enough wood, so I went to our local grocery store and bought some firewood, making sure I picked bags that had lots of round logs in them.
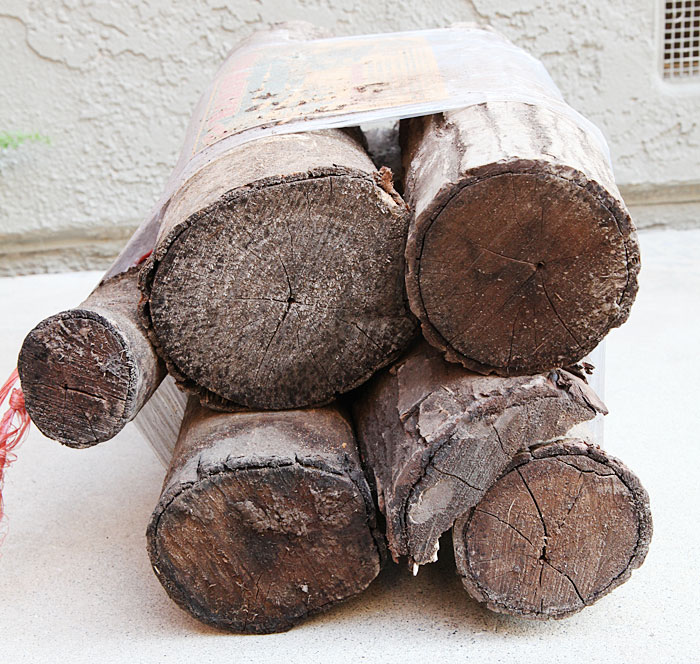
Some of the logs were too big to fit into our miter saw, but some of the smaller logs could just fit.
I instagrammed one of the wooden discs we cut. It was so pretty!
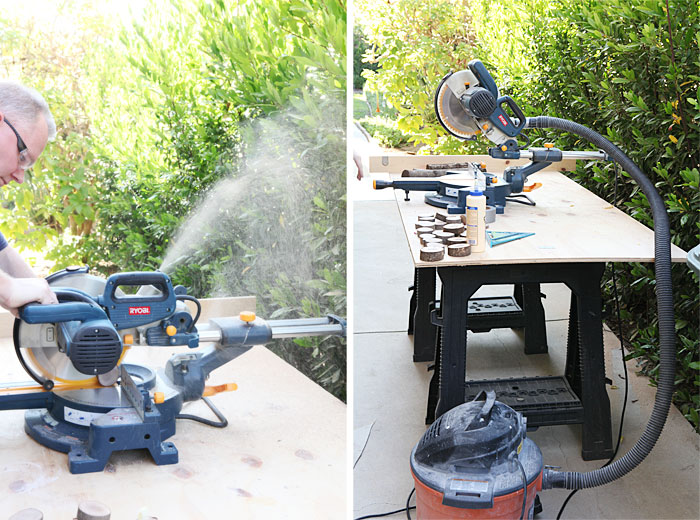
All that cutting made quite a mess. Which makes for an awesome action shot, but not for an awesome neighbor, so we attached our shop vac to the saw and turned it on while sawing the rest of the discs. This really minimized all the saw dust.
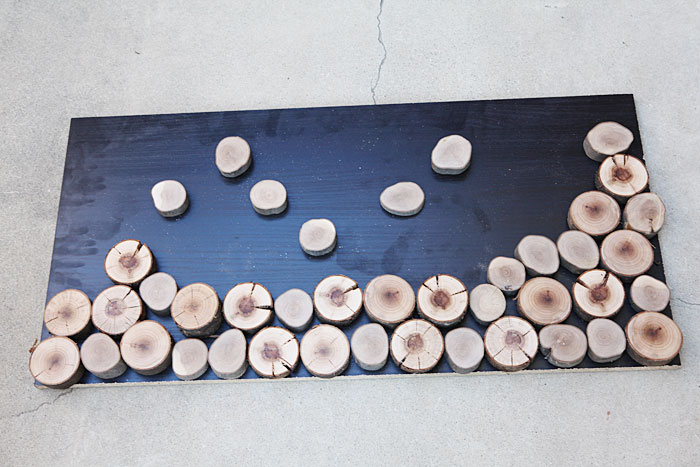
I dry-fitted all the discs to the screen to make sure we had enough. Then cut some more.
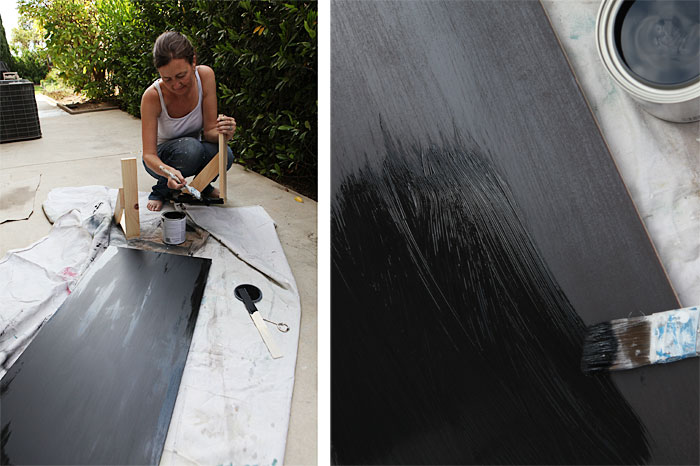
Then I painted the screen a matte black to minimize the sheen. I wanted the screen to disappear as much as possible.
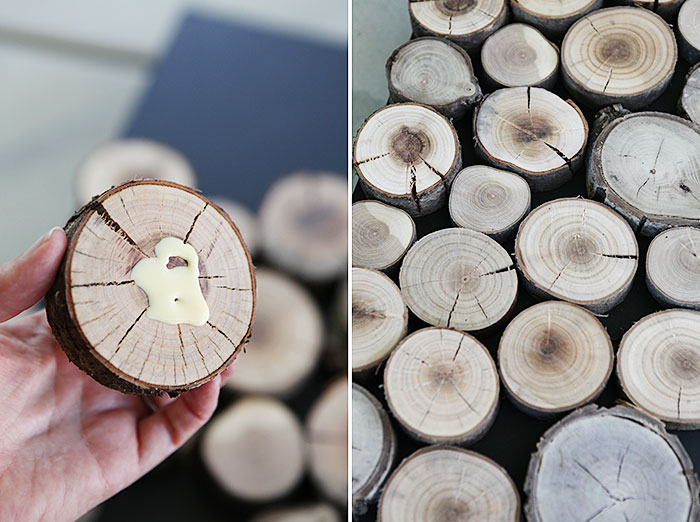
I glued all the pieces onto the screen, making sure my pattern looked like gravity was at play.
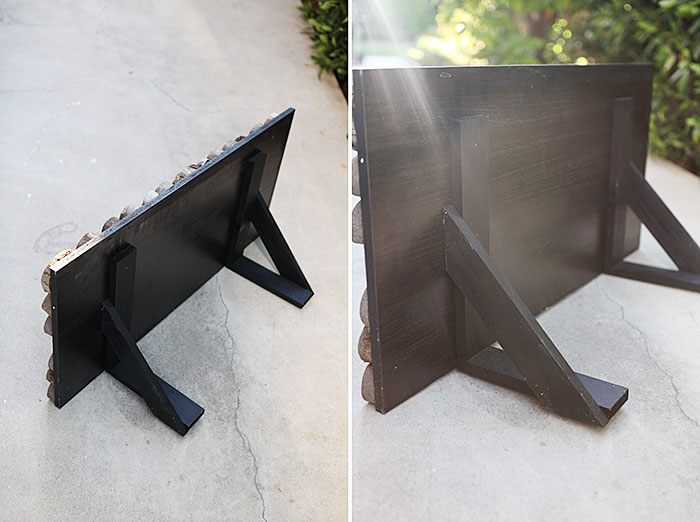
Then we added the support legs and checked that the screen did not fall over. If you make this project you will have to do this too. Depending on how thick you cut the discs, the screen could get heavier than the legs, so don't cut the discs too big. The screen is heavy once the wood is on there, and you don't want it to tilt out of the fireplace. You would have to add more weight to the support legs in that case.
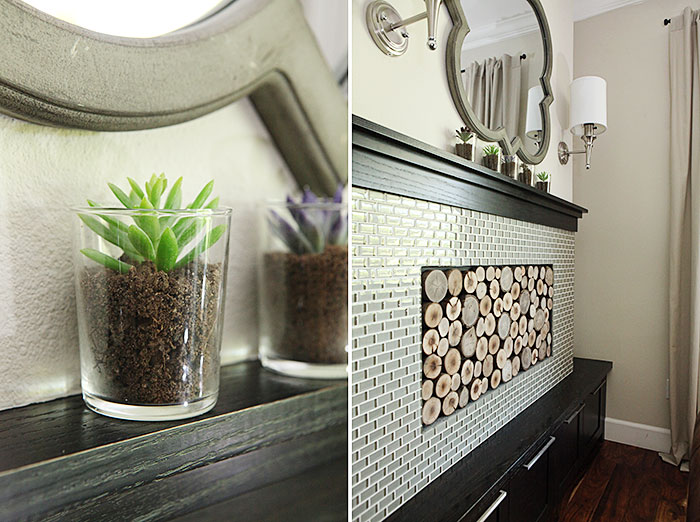
We made ours to fit quite snug.
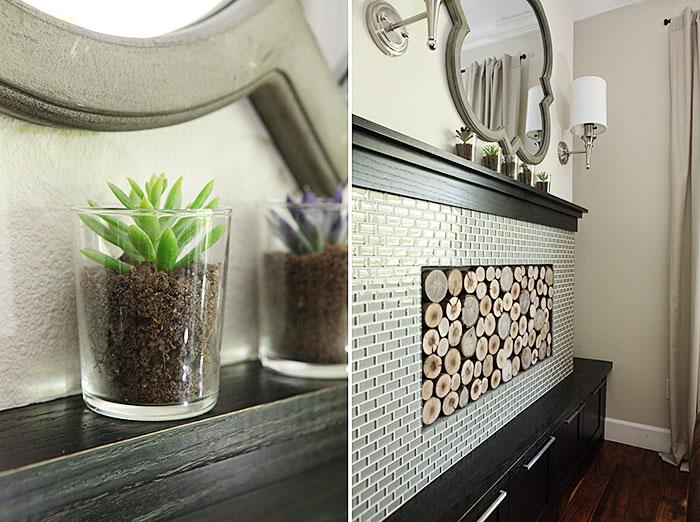
For the mantel I filled a couple of glasses with dirt and faux succulents. I love that look. If you don't want to use real dirt, you could make a mixture of coffee grounds and sand or something like that too.

Oh and wouldn't you know it ... the glue had not even dried on this project when I received an email from Kreg Jig that they would like to send me a package with a rip cut and a jig. I told them, I already have those tools, so they did not need to send them. Talk about great timing. Oh well.
You can read about how we built this fireplace here.

About Katja Kromann
I am a Danish American decorating life in Seattle. I love all things design and DIY.
I can’t think of anything more fun than coming up with project, making it, photographing it and sharing it with you on my websites.
Since 2018 I have been making Ceramics, nearly full time.
AHomeForCeramics.com AHomeForDesign.com AHomeForCrafts.com AHomeForFood.com My Portfolio
Categories
DIY faux stacked wood fire screen - a Kreg Jig project is posted in the category Decor | Living room
