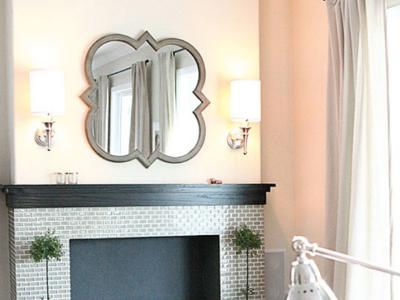
Curtain rods from galvanized pipes without the industrial look
Let's time travel.
Welcome to 2011 when we made some curtain rods.
But wasn't today supposed to be all about artwork in the hallway you say? Yes. Yes, it was.
Then weather happened.
As in "We are having a great deal of weather today" - name that movie. See bottom of the post for answer.
Here is my artwork, still on the road...

Notice, it got some Severe weather action going on.
Lovely.
I called UPS to see if they could put the package on the morning trip, but that was not possible and I didn't want to make enough of a fuss to make it possible. Choose your battles, right.
Also, on Wednesday, I unwrapped the cushion for the seating bench in the entry hall and it did not look, shall we say... good?, so I went back to the upholsterer today and he is re-doing it. It will either be done tonight (crossing my fingers) or late next week.
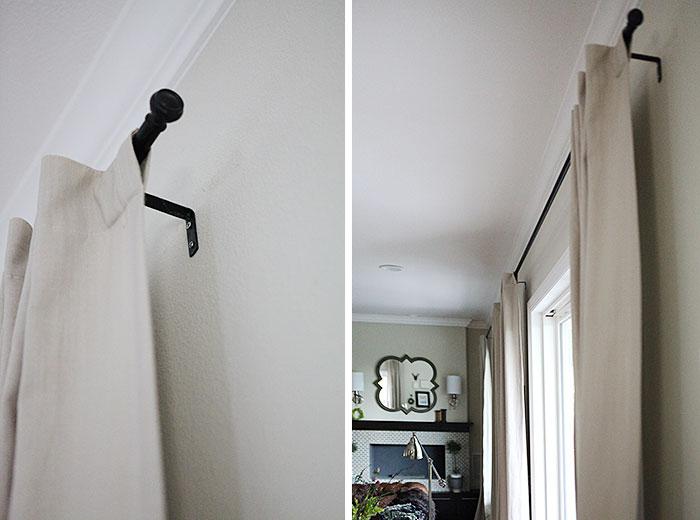
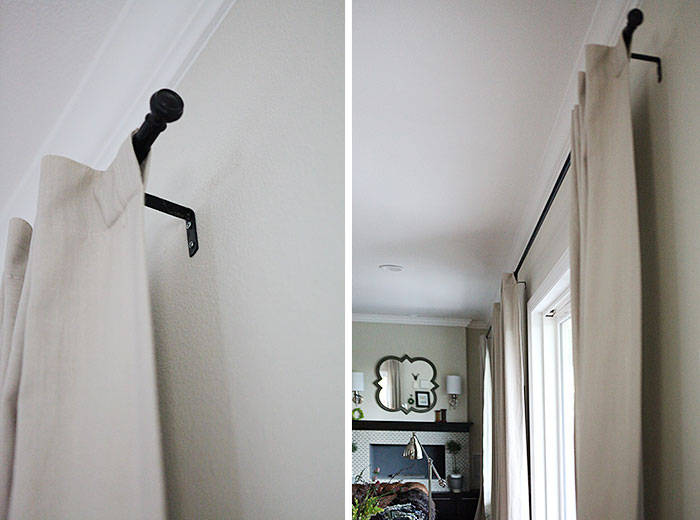
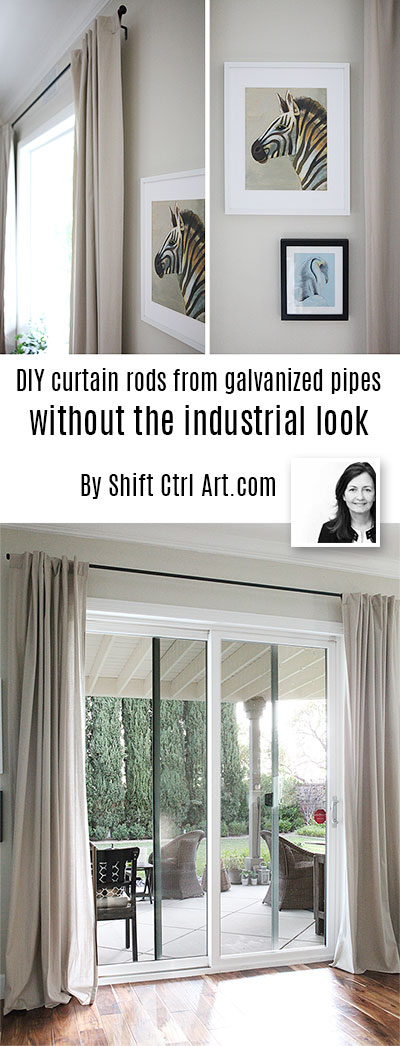
So let's instead time travel back to 2011 and look at how I used galvanized pipe for curtain rods, but without the industrial feel.
Now, I don't have a thing against the industrial feel where you use a pipe flange to secure the rods to the wall. In fact one of my blogging buddies, Caitlin over at Desert Domicile, just recently made some great ones here.
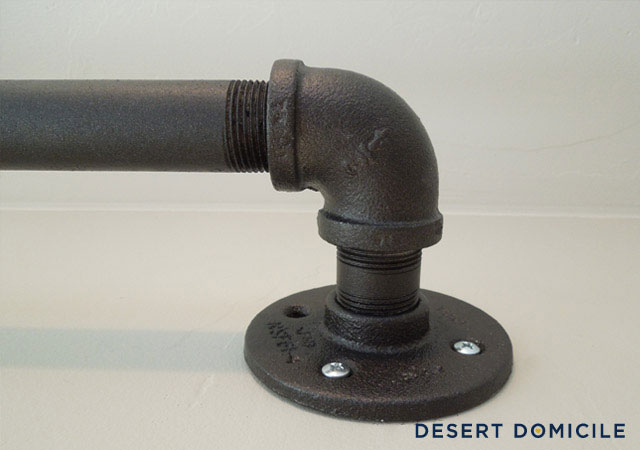
It's just that for my living room, I was more in the mood to have mine look more like regular curtain rods, but have you seen what those things cost? 30 bucks easily. That is a lot when you need four.
A piece of custom length galvanized pipe, however: $1.87 plus tax. That's right. Around two dollars. Sweet!
Lowe's will custom cut these to length for free, so unlike IKEA curtain rods, you won't have an overlapped seam in the middle with one half of the curtain rod being thicker than the other.
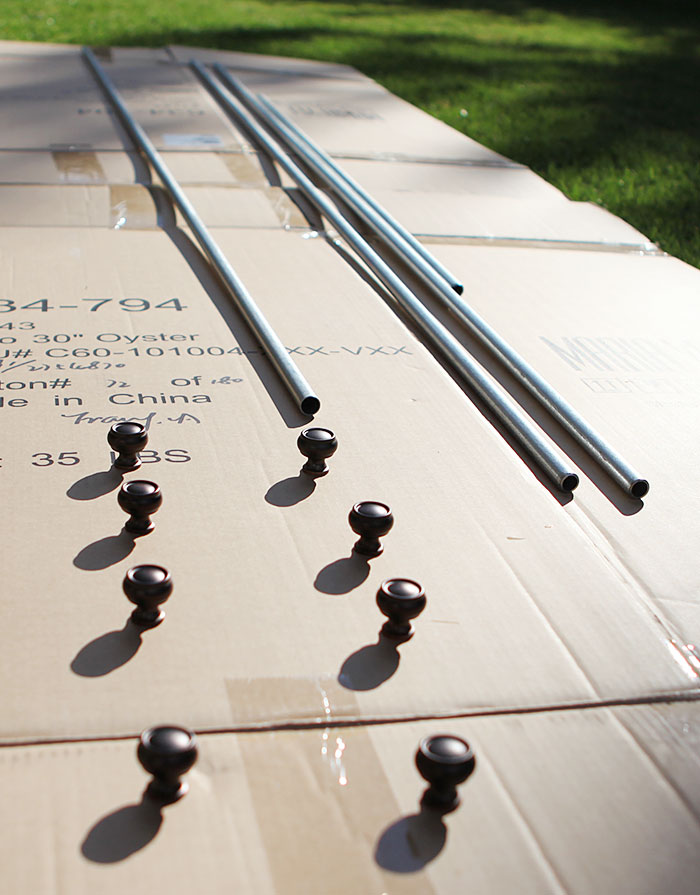
For finials, I got some regular cabinet knobs. You can get these as low as a couple of dollars. But, I really liked these and "splurged" at around 4 dollars per knob.
I spray painted all the parts. At first I did matte black, but after they were hung I had a terrible time getting the curtains to slide back and forth, so I took them down and re-sprayed them in glossy black and that helped a lot. These pictures all show the matte version before that.
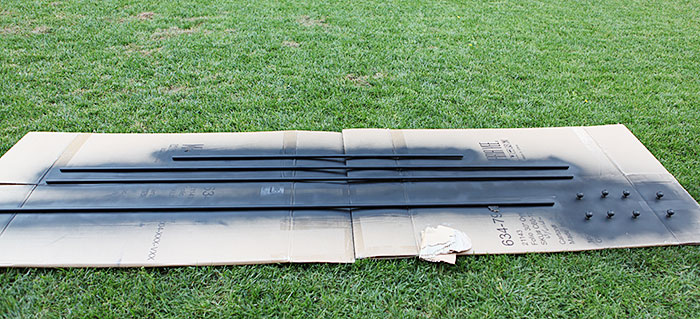
Frank cut 8 pieces of 3/4 inch length dowel. I got some dowel at Lowe's in just the thickness that fits snugly (has to be tight as the glue won't hold it by itself) inside a half inch pipe. 3/4 inch is the same length as the thickness as a cabinet door. He drilled a hole through the center and then I attached each knob to the dowel piece with the screw that came with the knobs.
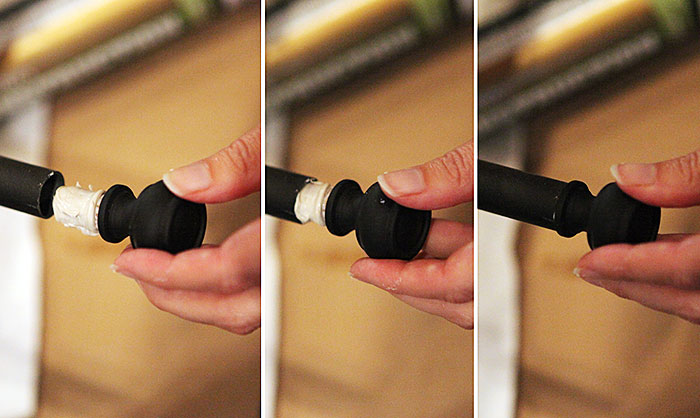
Here you see the knob attached to the piece of dowel after I added glue.
I glued them in with Liquid nails. That's what I had on hand. I am sure other types of glue work too. Gorilla glue or E6000 perhaps. Elmer's glue probably not so much.
I removed any excess glue.
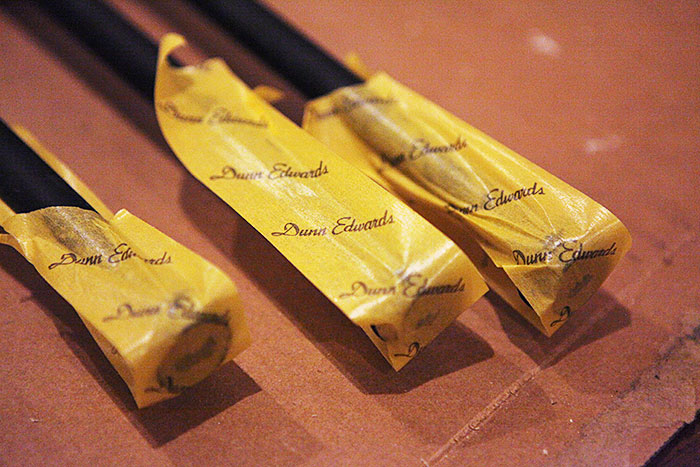
I taped them up to dry.
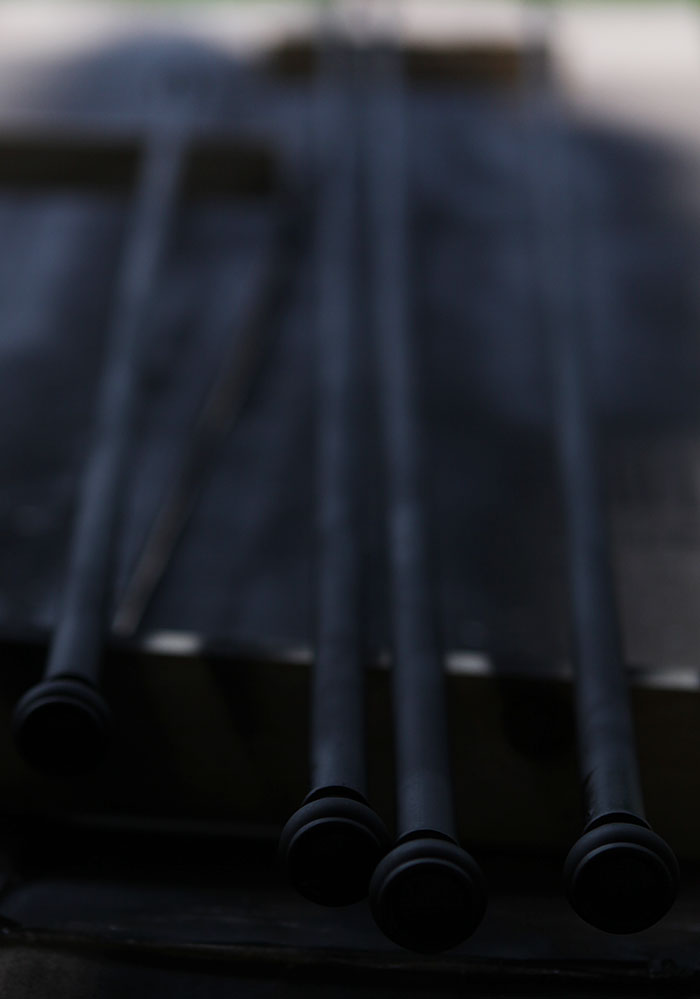
Then I re-sprayed the ends to make them all nice. Frank hung them using some IKEA curtain rod holders that we already had.
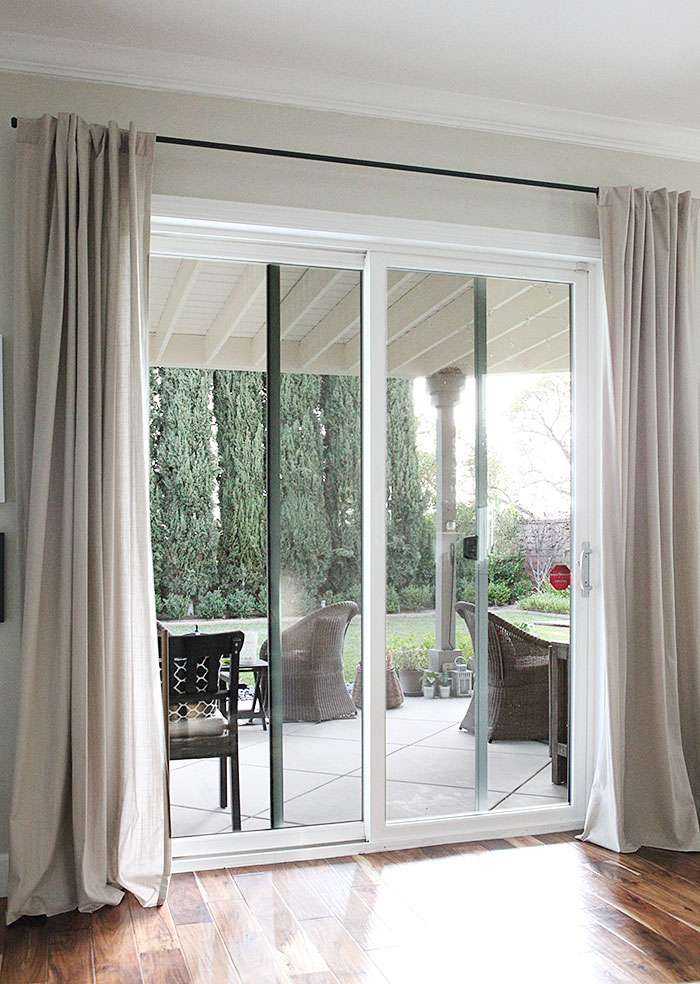
Here they are, up.

I got the curtains at IKEA. They have since been discontinued, but they are the RITVA curtains. I got them on sale for 5 dollars per panel. Woot!
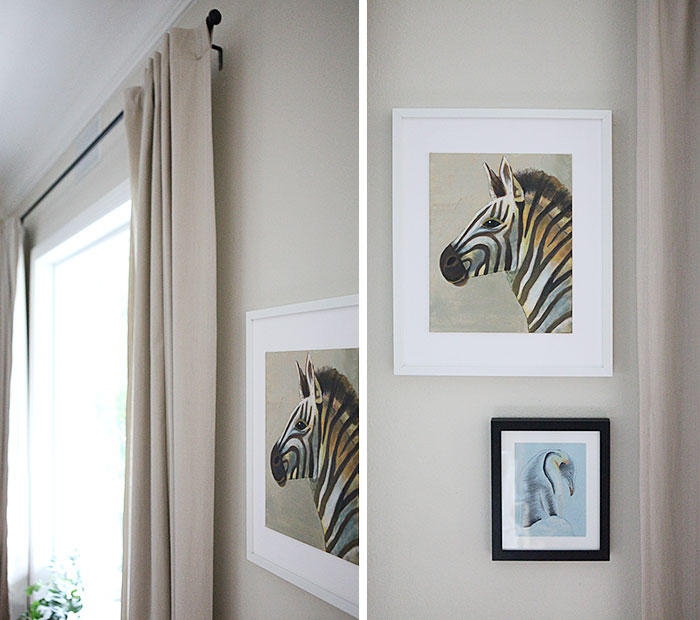
And one more shot of another set of curtains.
I made the Zebra in art class. Step by step of how I painted the zebra. B drew the penguin in art class with color pencil.
Now, we can discuss the finer points of how much I saved vs. the cost of supplies and time used, but since I already had the brackets to hang the curtains, they came in at just around 12ish dollars per rod. I needed four, so it was worth it to me over getting an inexpensive rod at IKEA with an overlap in the middle. I was price comparing to curtain rods from Potterybarn at the time, which I'm sure, are more solid, but also have a price tag to match.
I have had these rods for three years now and they still look just as good as when I put them up. These curtains are just one reason why our living room is my favorite room
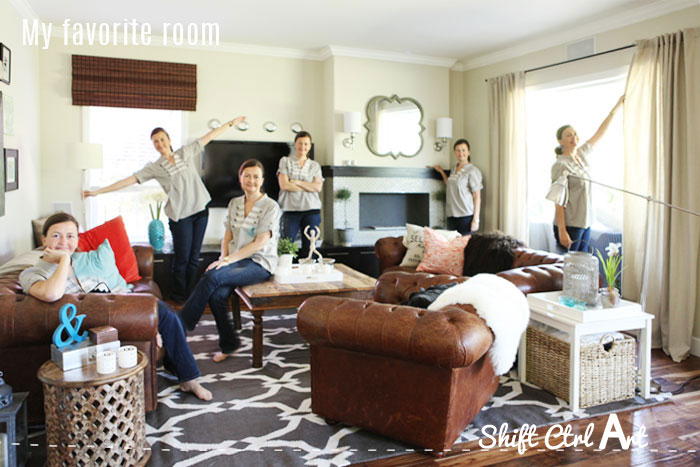
That's it for 2011. Bye. Now let's travel further back. To 1989.
The quote: "We are having a great deal of weather today" is from Short Circuit from 1989. More quotes from that movie here.
Steven Fisher's character in the movie says this after trying to learn and master the art of small talk. Oh how I can relate to his pain ![]()
And swishhhhh ... back again to the present.
Welcome back!

I am a Danish American decorating life in Seattle. I love all things design and DIY.
I can’t think of anything more fun than coming up with project, making it, photographing it and sharing it with you on my websites.
Since 2018 I have been making Ceramics, nearly full time.
AHomeForCeramics.com AHomeForDesign.com AHomeForCrafts.com AHomeForFood.com My Portfolio
