How to: wallpaper - a beginner's guide
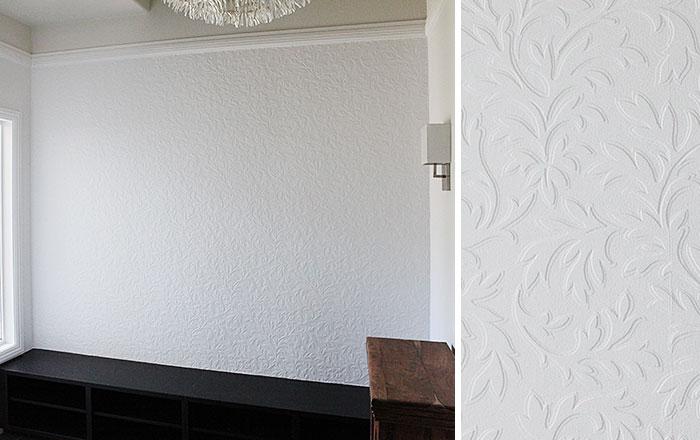
With the walls prepped for wallpaper, and lining paper attached to the wall, we set out to put up the actual wallpaper.
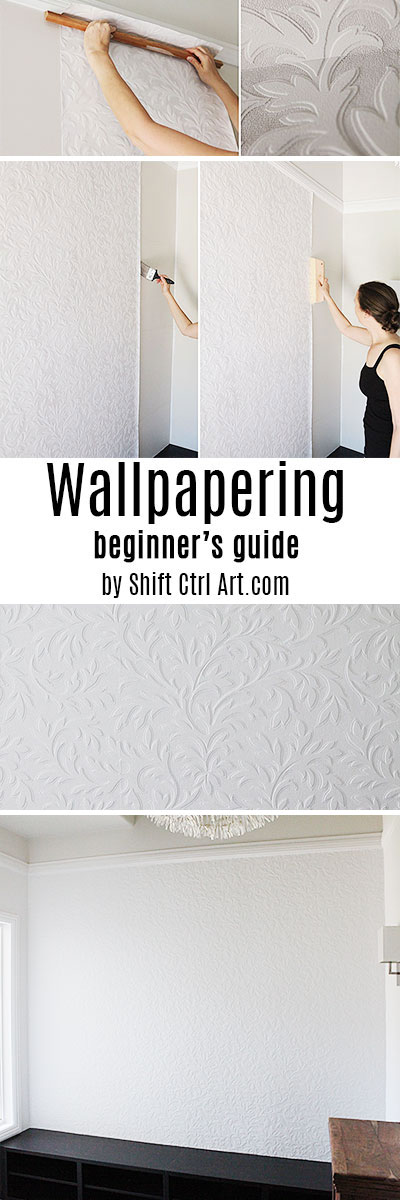
I chose a dimensional vinyl wallpaper from Wallpaperdirect called High Leaf by Anaglypta.
I'll be the first to admit that we could probably have skipped the lining step because we chose such a textured wallpaper. Moving on.
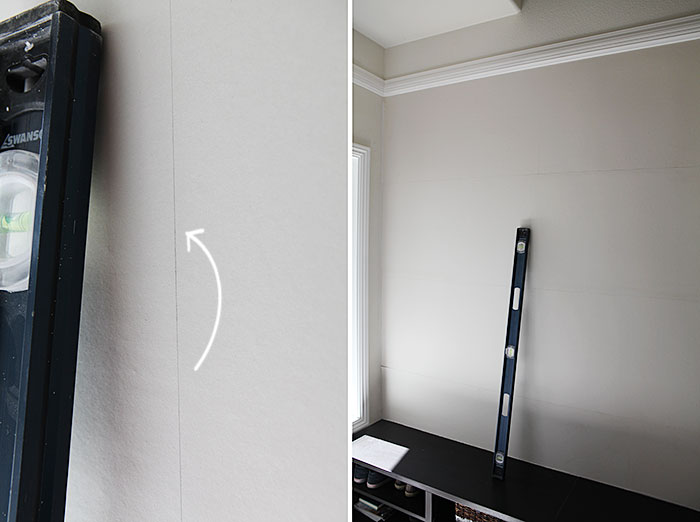
First we figured out that we needed 5 lengths of wallpaper to cover the wall. We began with the center length as per the instructions on Wallpaperdirect's website and put a plumb line to the left of where it would go. Measuring was involved. And math.
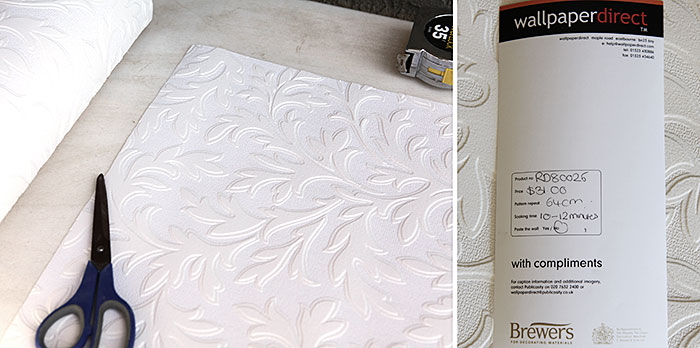
Since this wallpaper has a pattern, we couldn't just cut five of the same lengths. We had to look at the repeat pattern which handily was on a note on the wallpaper roll: 64cm a.k.a. about 25 inches.
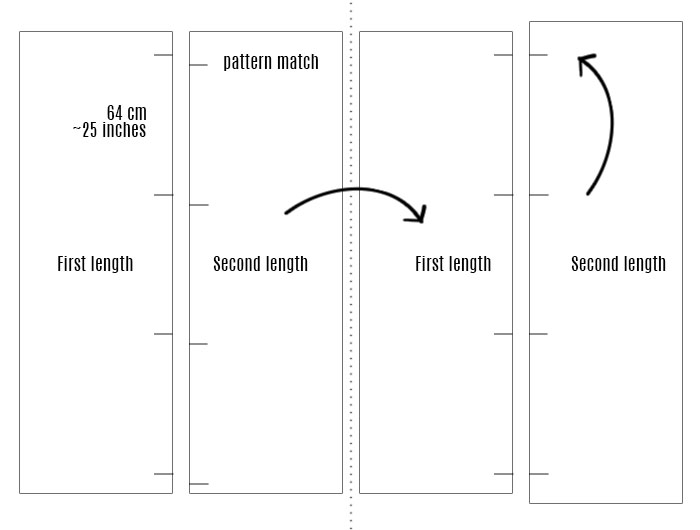
The first cut could be cut regularly, but the second and subsequent cuts we cut like you see above. We rolled out the second length on our table, then slid it upwards until we met a pattern match, then cut it a little longer at the bottom as well.
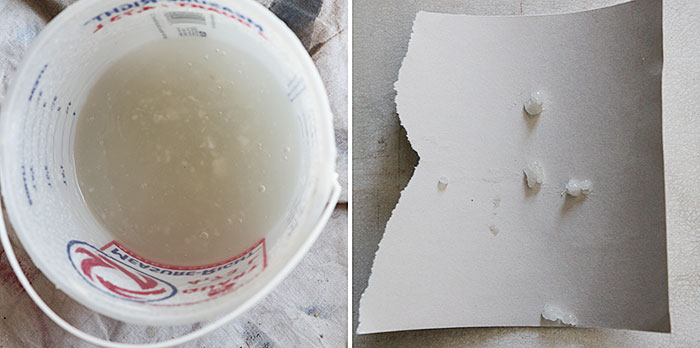
I talked a bit about the glue we used in the post about hanging the lining paper.
Our first batch of glue this time had more lumps than when we put lining paper up. I found out why: Frank made the first batch and he is very patient and tapped out almost all the lumps. I did the second batch and I am more of an "in a hurry" type. Plus I dumped all the powder in the middle of the water. We had to fish out the lumps. We made a booger paper for it.
Third batch, I sprinkled the powder all over the water surface and that made it MUCH easier to dissolve. I think an even better method next time will be to dissolve in a small amount of water first to make a paste, then add more and more water.
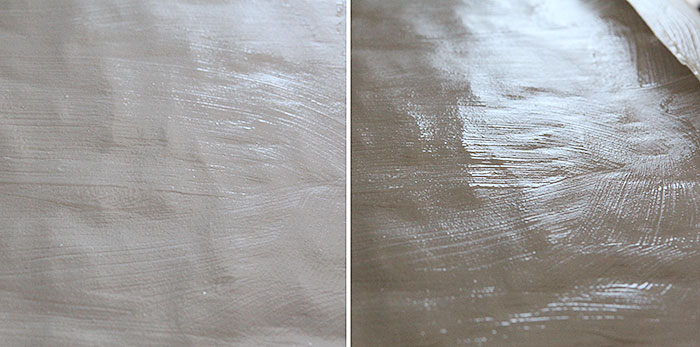
This is how much glue I pasted on each length of wallpaper. It wasn't enough.
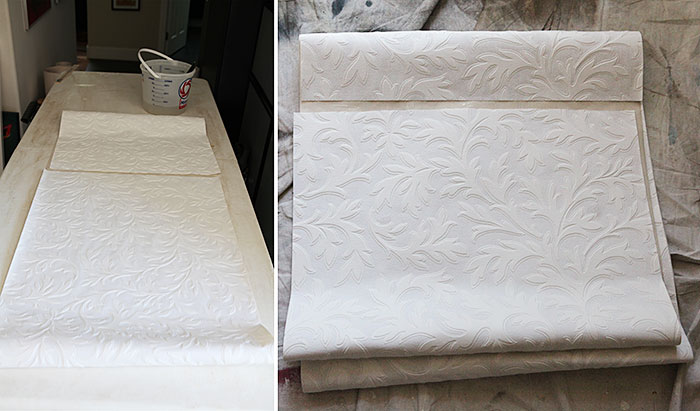
We let the paper dry accordion style before hanging it. It felt dry after we let it soak for 10 minutes. Soak time was also on the note. I am a big fan of those little notes. So handy. We went back and added one more pass of glue, then hung it.
Being in California on a warm day, the humidity was very low, so this was probably why.
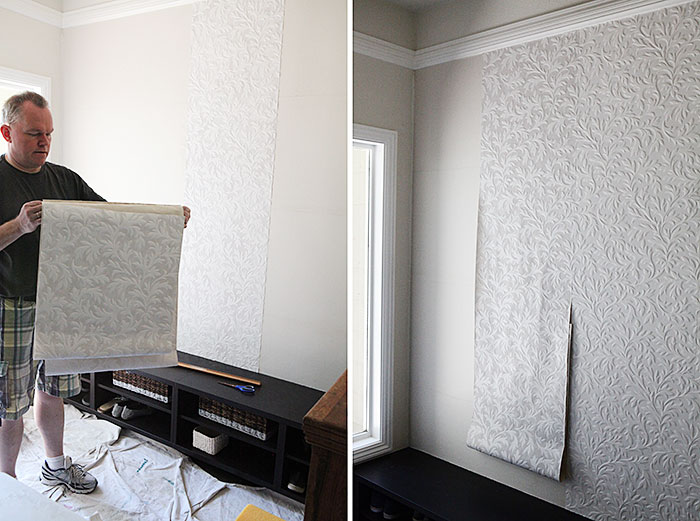
We carried the lengths like this and hung the top first, then cut the top, then smoothed down.
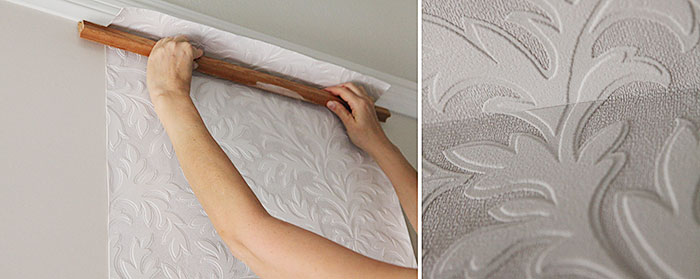
I used our wallpaper straight edge to make an indent along the crown.
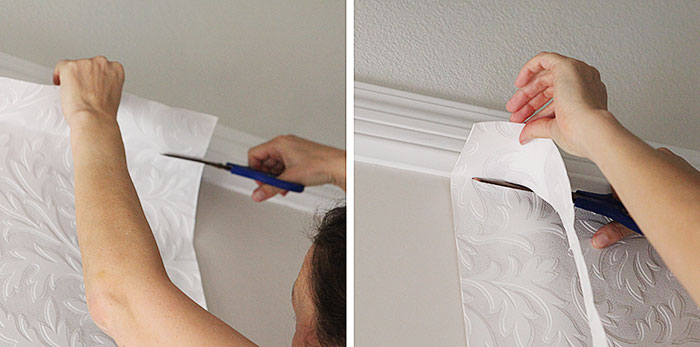
Then pulled the paper away from the wall and cut it along the fold with scissors.
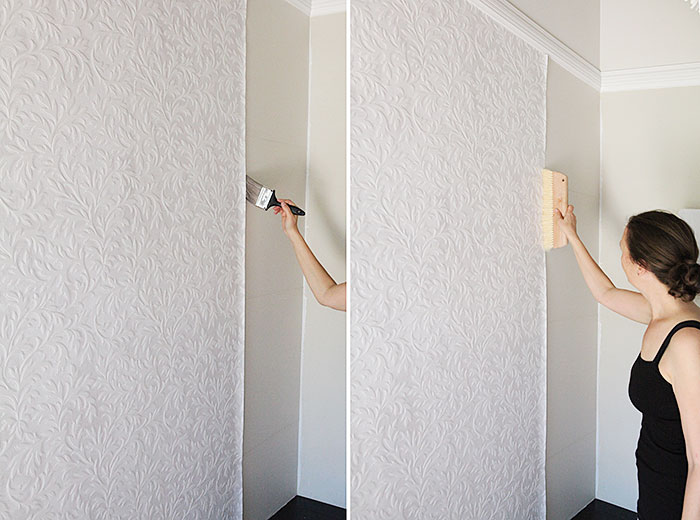
Then we added an extra line of clue along the seams/edges and carefully smoothed everything out with the wallpaper brush. Making sure there were no wrinkles or air pockets.
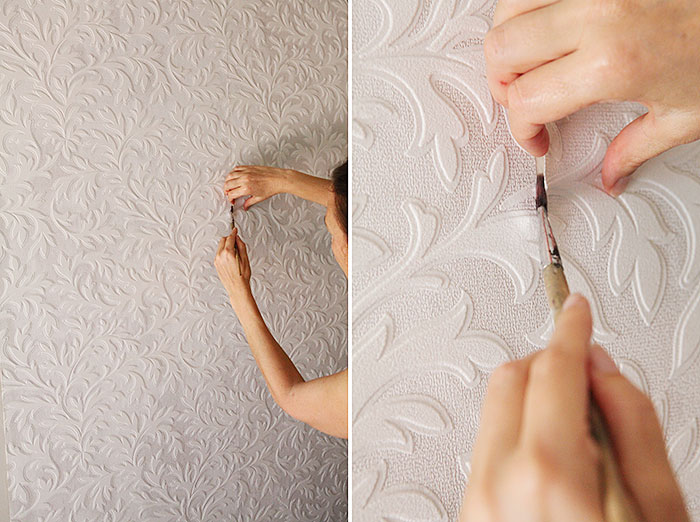
Some of the seams were still not sticking, so I went back in with a small brush with glue.
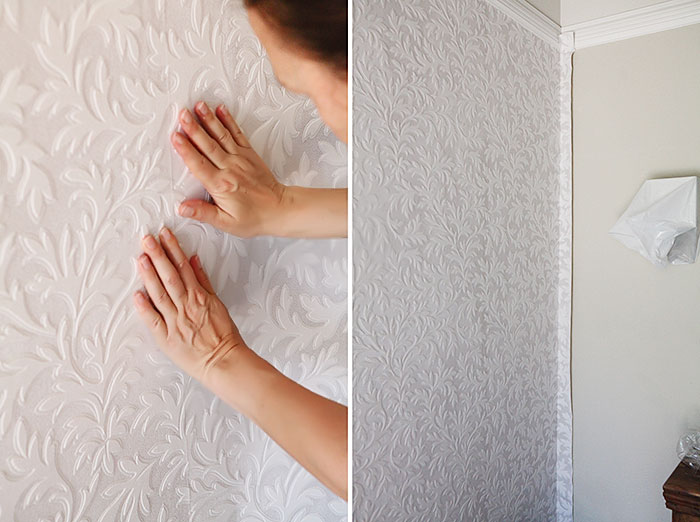
We matched up the pattern by sliding the lengths together, making a butt joint. When we finally hit the first corner, I cut the wallpaper to length at the top and bottom first, then along the side.
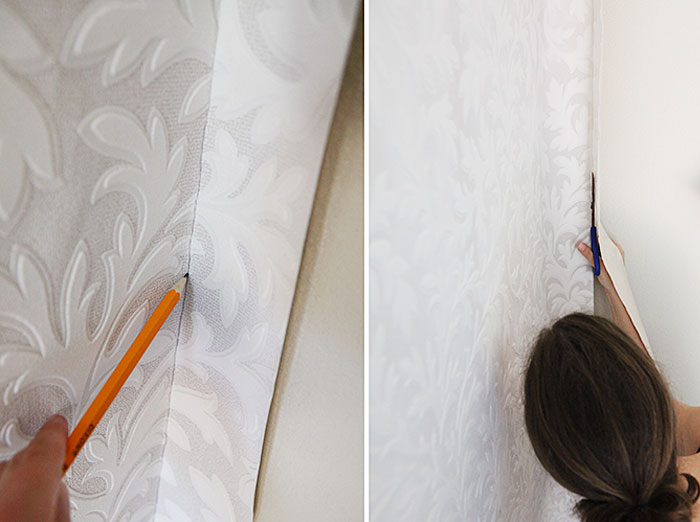
The straight edge method alone didn't work well enough for me, so I tried marking the crease with a pencil. That worked a little bit better. I tried making the pencil mark so it would get cut off in its entirety. Otherwise it won't work if you are putting up wallpaper that isn't going to be painted, which will be 99% of the time. But maybe regular wallpaper is different than vinyl wall paper in how well it creases.
By the way, we tried cutting the wallpaper with a knife. Yeah, don't do that. It tears. And I used a scalpel with a fresh blade. Still tore the cut. Cutting with scissors is the way to go for this project.
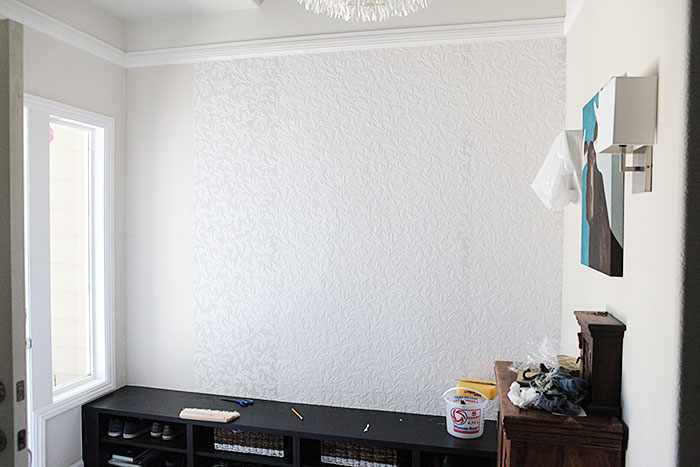
Then we moved over to the left and finished the wall. You can see the left most roll is still wet here.
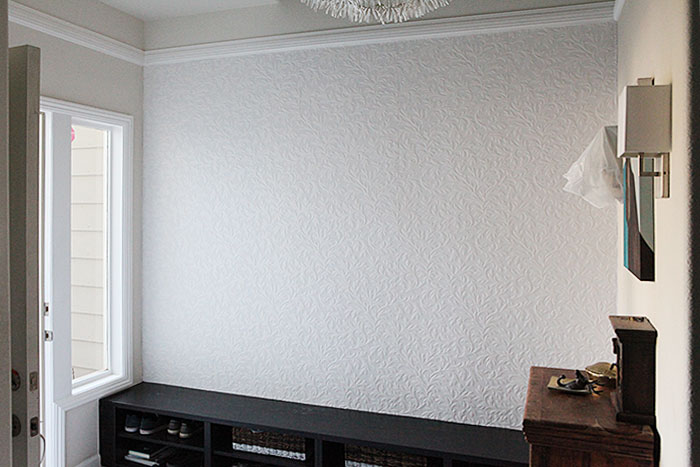
Above is what it looked like next day after it was all dry. I started jumping.
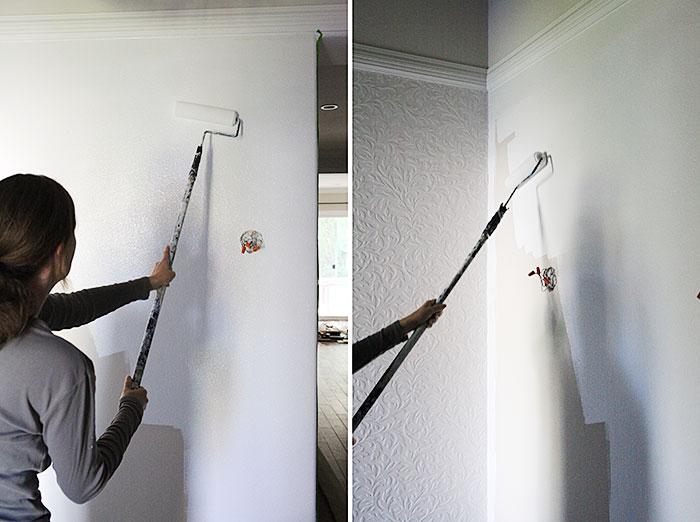
I took a quick poll on Facebook and Instagram about which color to paint it. I had originally planned a light blue/turquoise, but when I saw the wallpaper up, I really liked it white. And what do you know... everyone who weighed in (thanks!) agreed.
And here it is all painted. Two coats of Valspar's Ultra white.
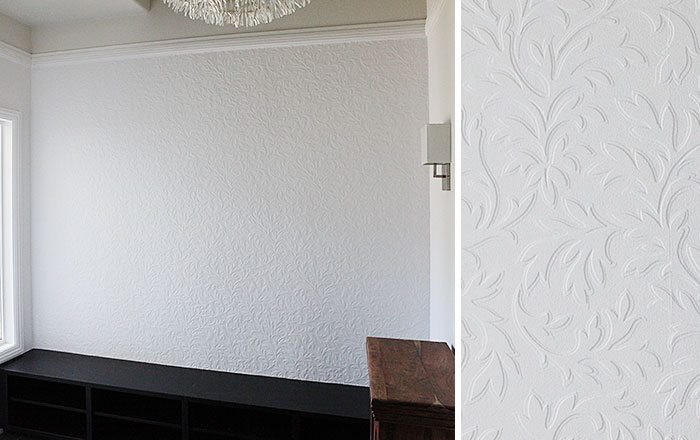
The paint softened the look of the paper, which I really like.
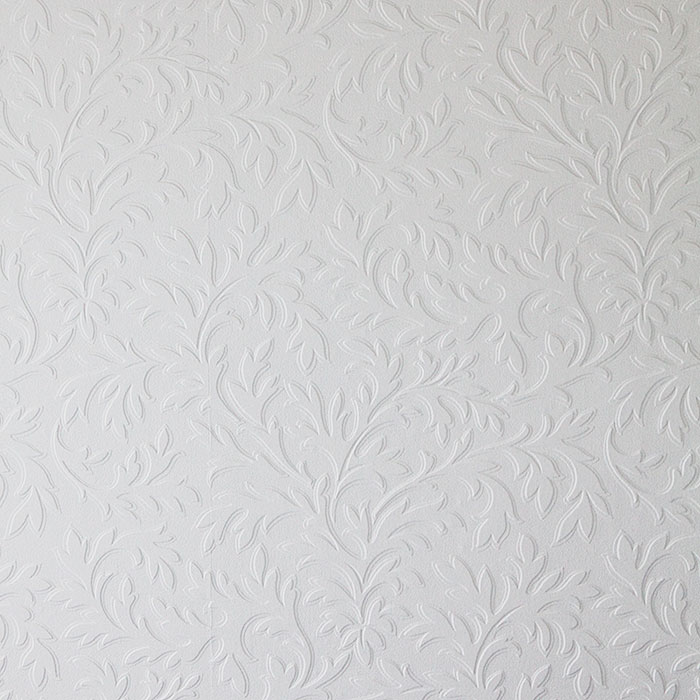
The texture reminds me a little bit of this Caesar stone embossed panel. This wallpaper is of course a much more economical way to achieve that effect.
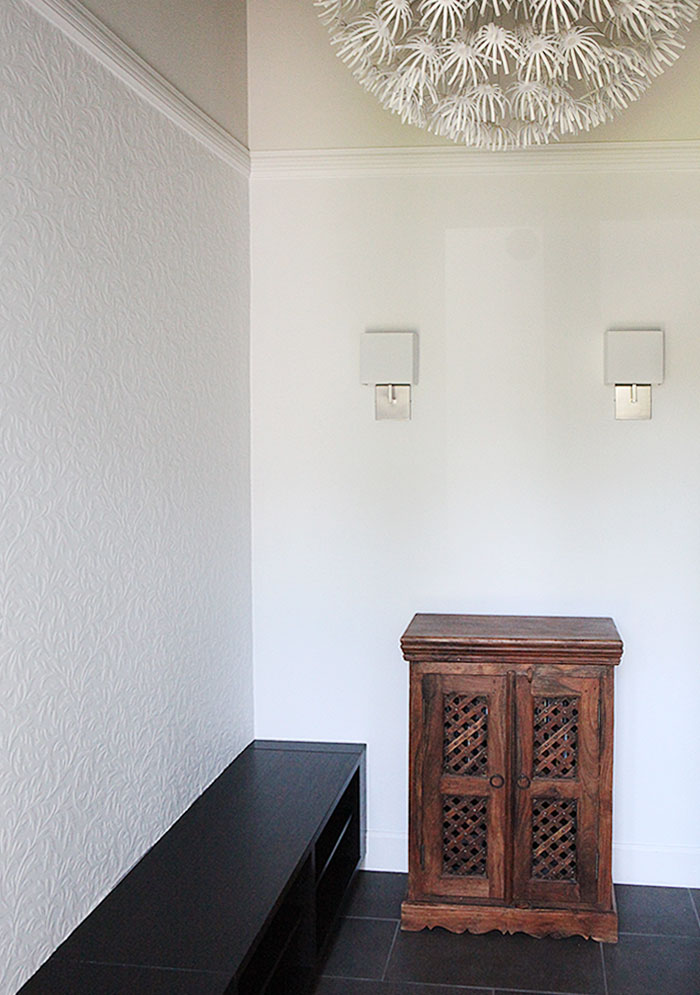
Here is how the entryway looks from the front door. That cabinet was the first piece of furniture Frank and I bought together. I still love it.
Putting up this wallpaper was not as quick as I thought it would be, but boy do I love the result. That texture is just what that wall needed I think.
I was happy to partner with Wallpaper Direct for this project. They provided the lining, the paper and the glue.
I picked my own wallpaper. These were the choices I narrowed it down to before making my final pick:
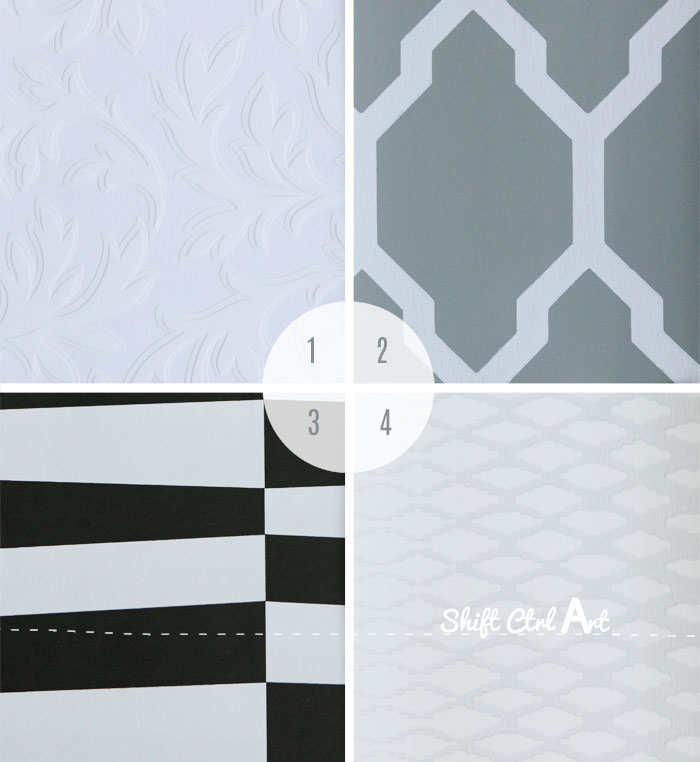
- High Leaf textured vinyl
- Tessella by Farrow & Ball
- Geometric pattern By Lindholm
- Lattice by Farrow & Ball
I picked the vinyl leaf because I hadn't seen that a lot of places and I loved the pattern.
Next hallway post will be the reveal. I have been spending quite some time searching for some new fabric for the seat cushion. The fabric that I was going to use, but had originally bought for something else was one inch too short. Of course. So now I am looking at other options. A couple of things have some turnaround times unfortunately. But I am very excited about what I have picked for the room and I can't wait to show you.
Next: click here for the final reveal.

I am a Danish American decorating life in Seattle. I love all things design and DIY.
I can’t think of anything more fun than coming up with project, making it, photographing it and sharing it with you on my websites.
Since 2018 I have been making Ceramics, nearly full time.
AHomeForCeramics.com AHomeForDesign.com AHomeForCrafts.com AHomeForFood.com My Portfolio
