Upstairs hallway reveal
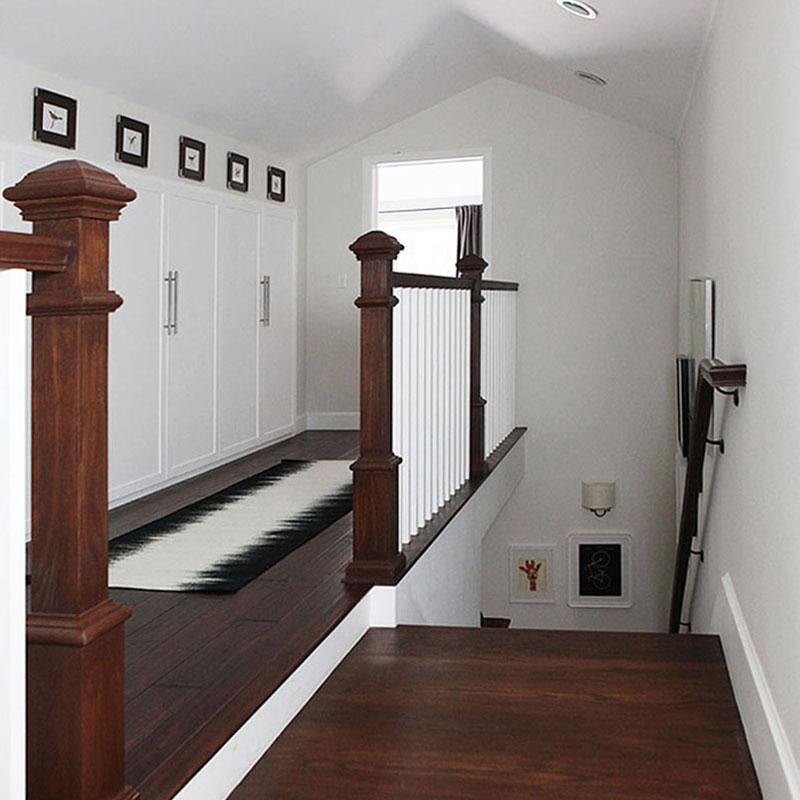
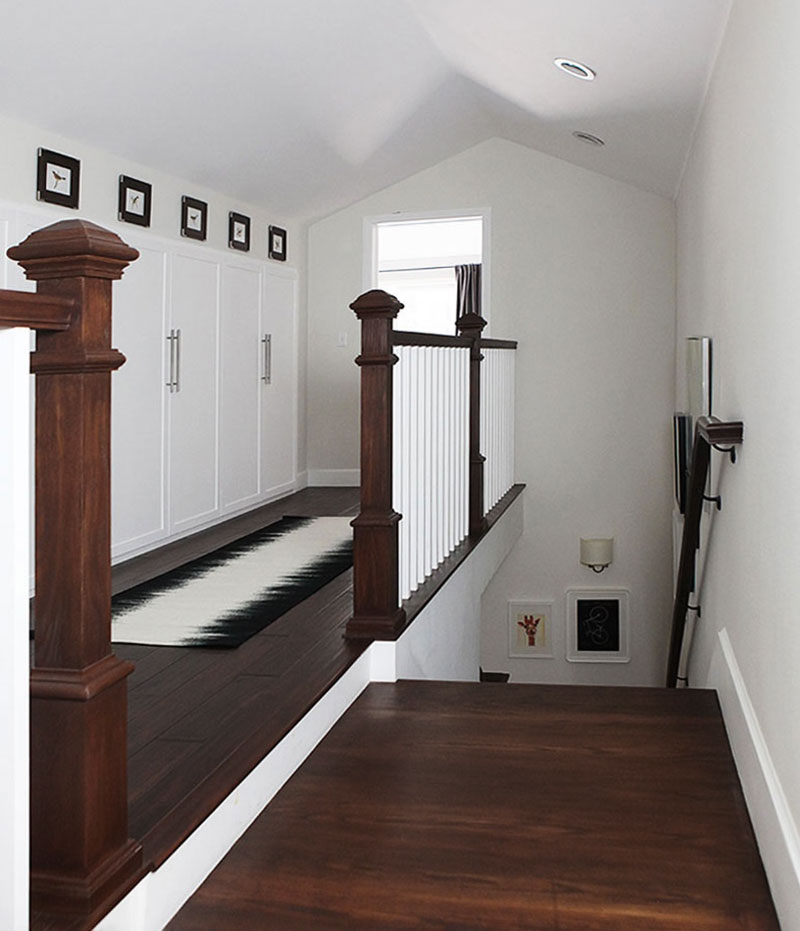
Our upstairs hallway is ready for its final reveal. Even though it is 'just' a hall way, this space packs a lot of punch in our home. There are several nice storage features and conveniences built in that you may not see at first glance.
Let me take you on a tour.
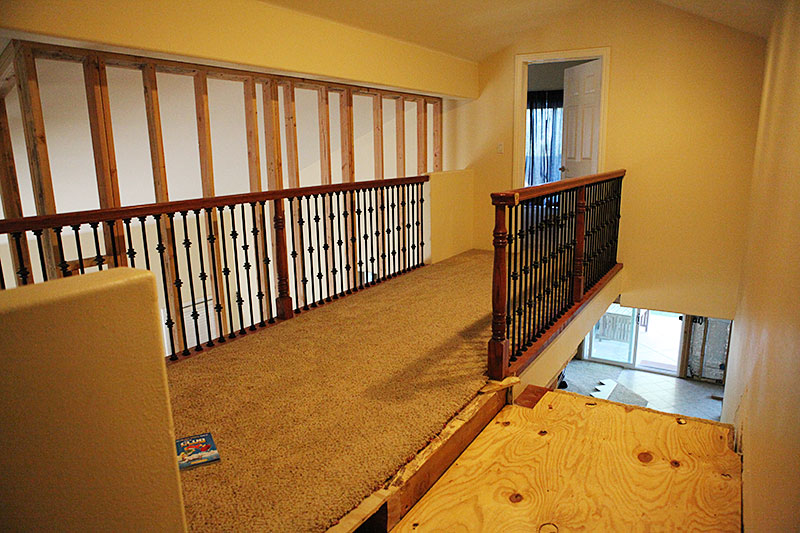
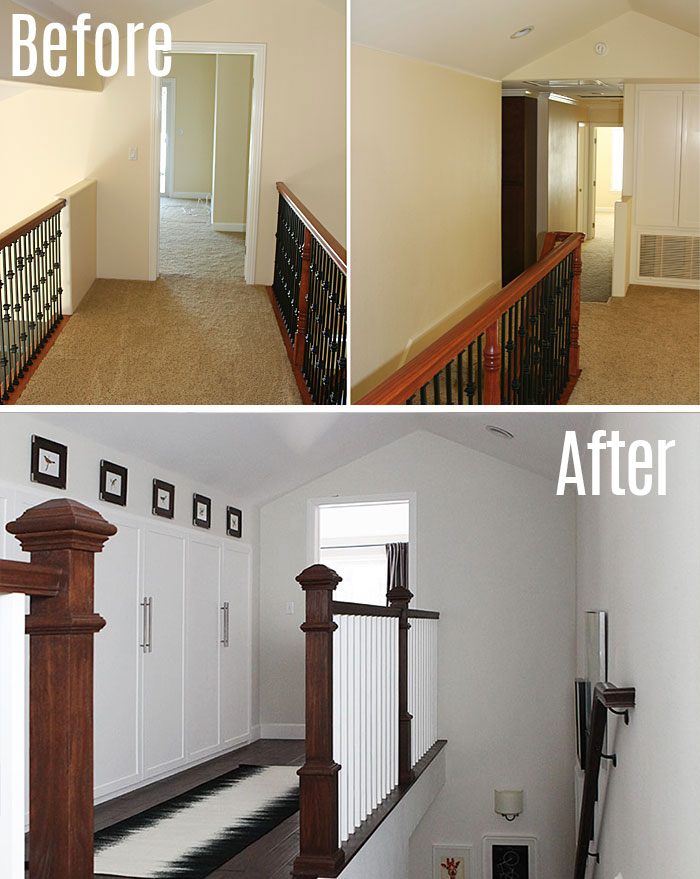
First let us re-visit what the hallway looked like before we had our way with it. There is a catwalk connecting to the new addition where the master suite is located. Before, the catwalk had open railing overlooking the original living room. We turned that space into a game room / guest room.
The beam that you see over the railing is about 5.5 foot above the floor, so when you peeked out over the railing, there was a good chance you hit your neck on the beam coming back in. Don't ask me how I know this.
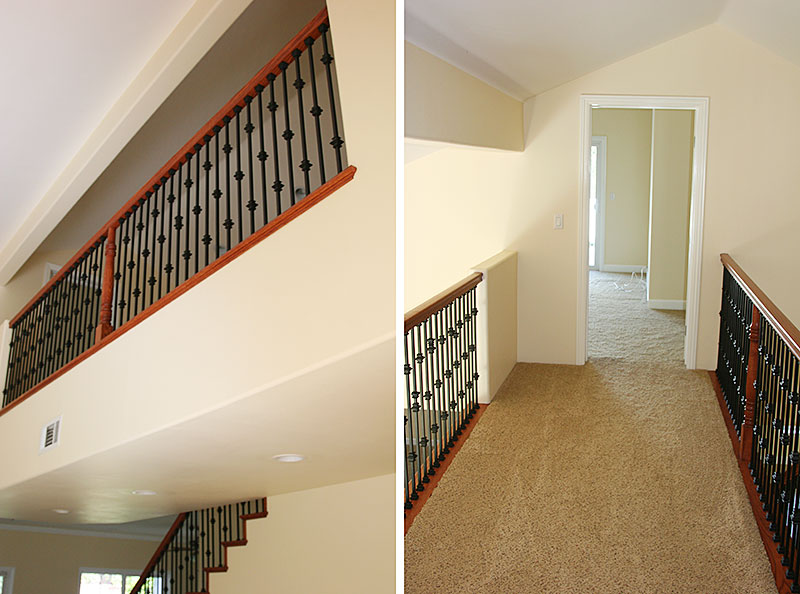
Here you can see the view looking down the stairs. The stairs came down into the dining room. After we turned the lower couple of stairs to the left and closed off the dining and living room, the dining room grew several square feet in size making the whole living dining room seem so much bigger.
We had a new wall constructed to close off the old living room below the catwalk. It had really only become a pass through since the new living and dining room addition, so we thought it better to use it as a guest / game room - atween/teen hang out really.
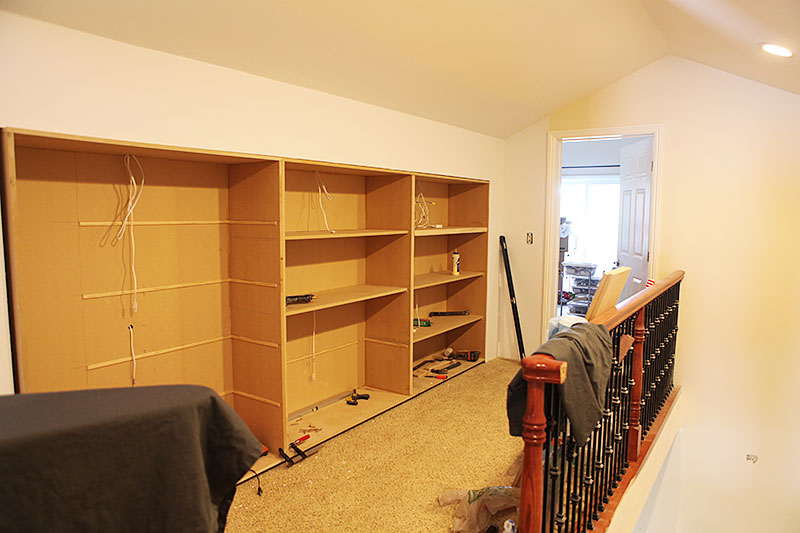
When we put up the new wall, we had it set back about 18 inches from the catwalk to create a pocket for storage. 12 feet of glorious storage space.
We made three cabinet boxes to go inside the pocket and wired them for cabinet lights as you can see here.
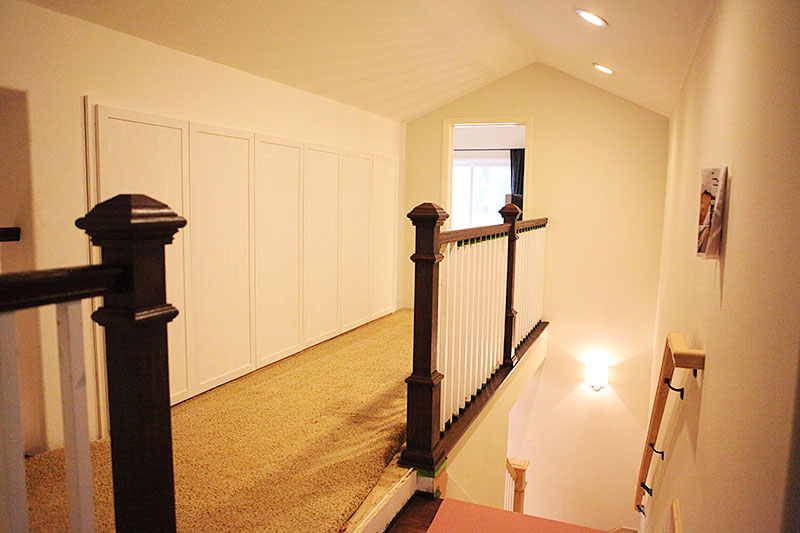
Then we had a carpenter come in and construct six doors. You can also see the stairs taking shape with new balusters and posts in the mean time. Here is the staircase reveal post.
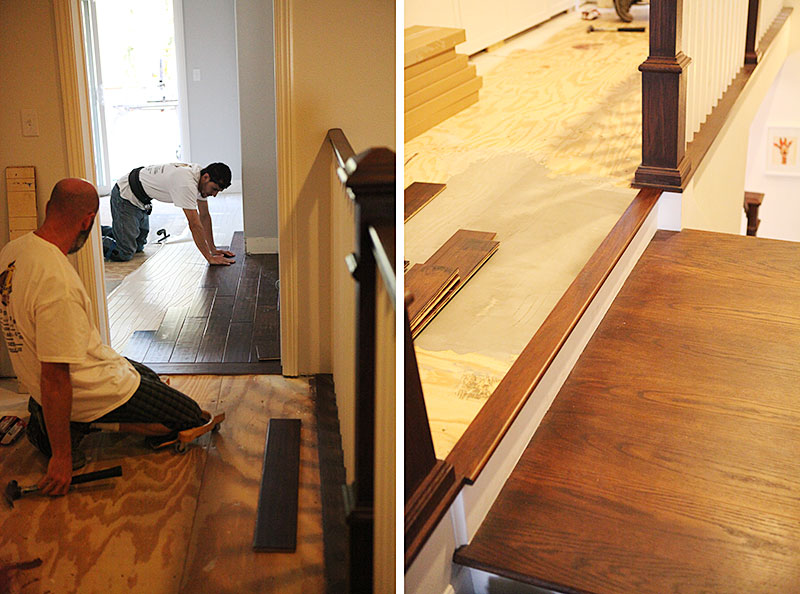
The final big job was to remove the carpet and have hardwoods installed. We had those installed at the same time as the flooring in the master suite. Here you see the threshold being put in and the bull nose over the step down to the landing. That step is there because the original house has 8 ft ceilings, but the addition has 9 ft ceilings.
Ok, now we are ready for the tour.
I added some artwork over the cabinets to make that space look more intentional. Remember it is housing the beam that no one will hurt their neck on again. The bird prints are a from a free illustration resource.
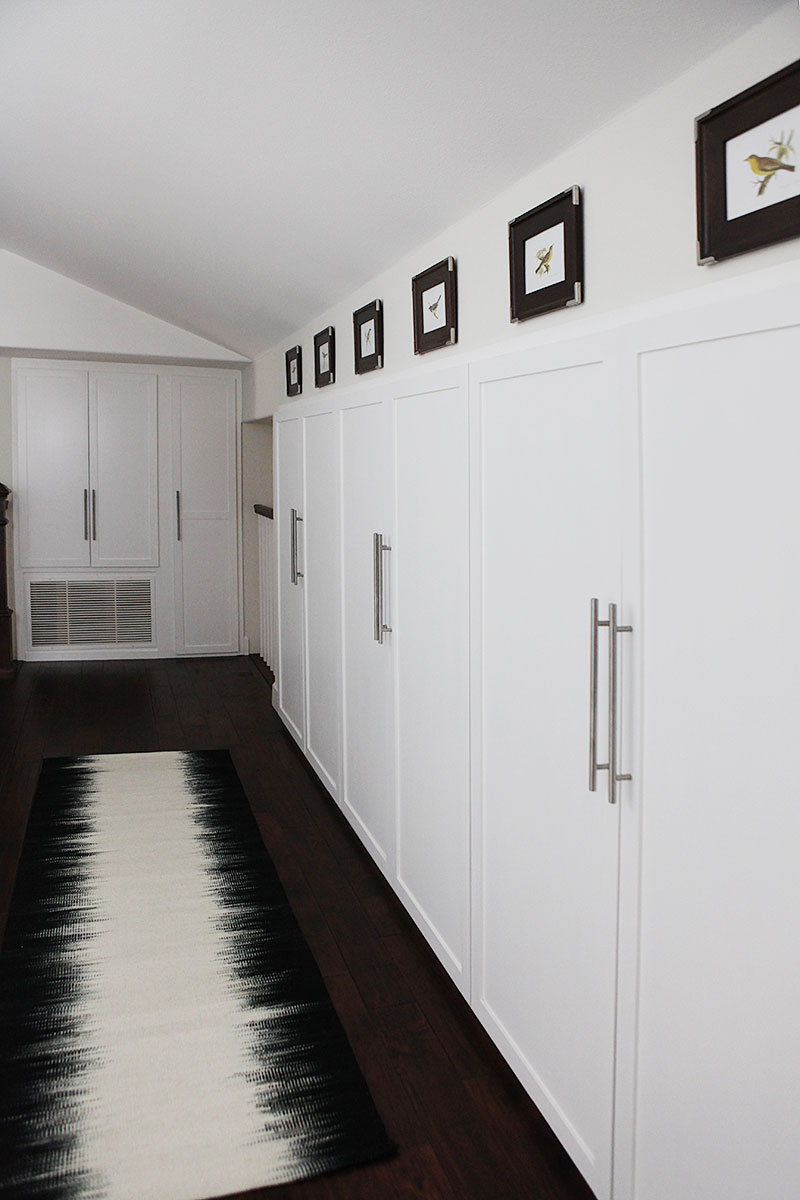
You can see that the cabinets on the right are not the same height as the cabinets on the end. To counter balance that, we installed the hardware at the same height to get some continuity in the design. Also the dark picture frames help anchor the height over the new cabinets.
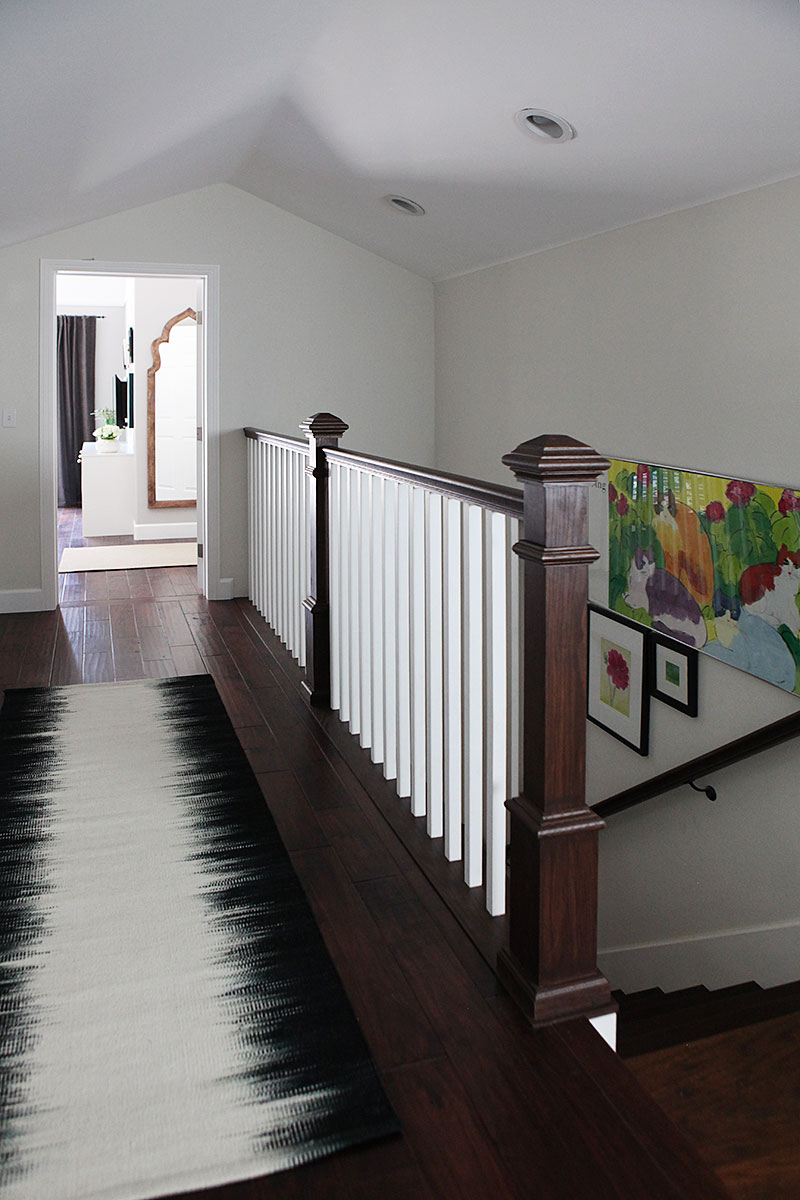
I got this runner for the space.
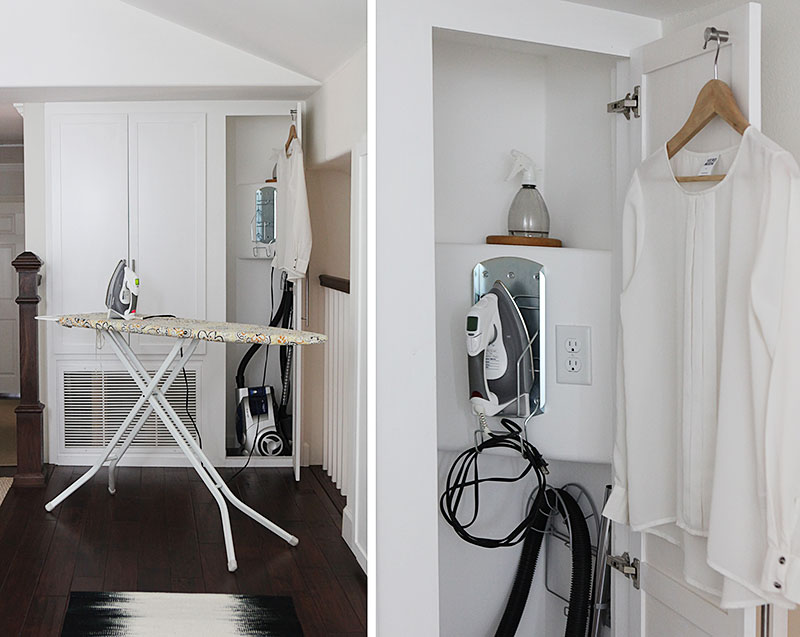
Now check out our ironing cabinet. We tricked it out with hardwood flooring. As you do. And installed an outlet along with an iron holder. I added a hook on the inside of the door so you can hang things up as you iron them. The little shelf in the closet holds a small water mister. Every ironing closet needs a water mister. AmIright?
Since the catwalk is relatively wide, this is the perfect spot to do some ironing. It is out of the way, but with plenty of space.
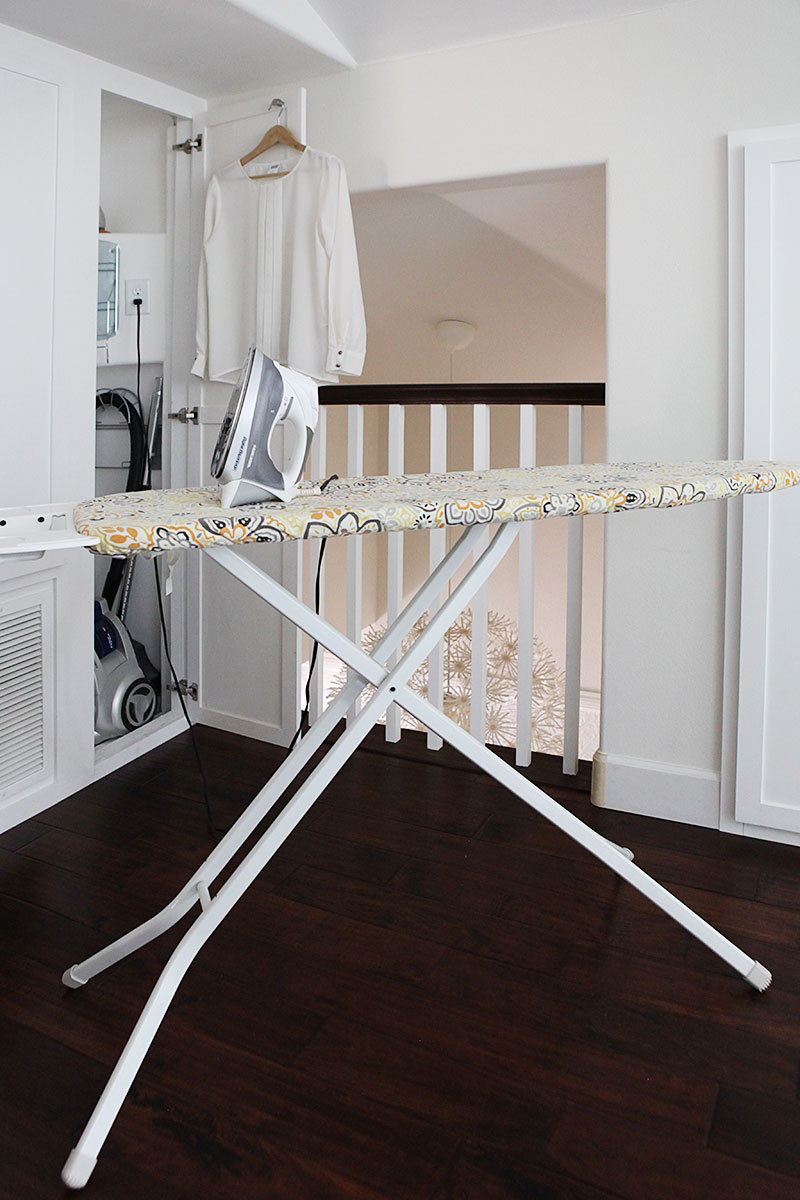
The cabinet also has space for a small vacuum cleaner. We added a holder on the wall for the vacuum hose. You can see it below the shelf. I re-upholstered the ironing board with some new fabric.
Behind the ironing board is a peek-a-boo down to the entry hall. Which you have to check out because there is a pink flamingo down there.
Let's talk about the new 12 feet of storage. Did I mention: 12 feet!. In the two cabinets farthest away are linens and towels. They are not terribly exciting to look inside although they also have lights that come on when you open the doors. But let me open the doors to my craft closet. (cue music).
I heart this cabinet so much.
On the left we made a vertical wall to have room for gift wrap. In the small cubby above are my gift ribbons, some gift tags and a few gift bags. I love gift wrap. On the right are all the shelves with my craft bins. Felt, pipe cleaners, pom poms, stamps, wire, beads, tissue, sewing tools, glue, more ribbon. Basically heaven in a cabinet. I use these supplies for the crafts I post over at A Home for Crafts. I just posted a free downloadable Easter bunny craft over there. Something you may need in your life.
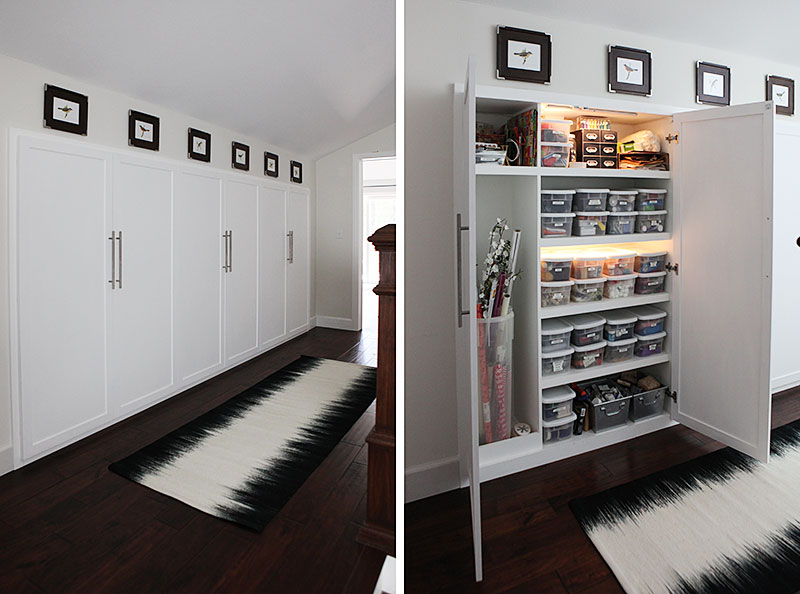
It makes me happy that the hallway now has a couple of functions besides just being a means to get to the master bedroom. Here is the view as you come down the hall to do just that. We recently re-did the master bedroom as well and here is the reveal.

Once again here is the before and after.

Over on A Home for Food, I just posted about how to grind your own meat and I updated my favorite meatball recipe.
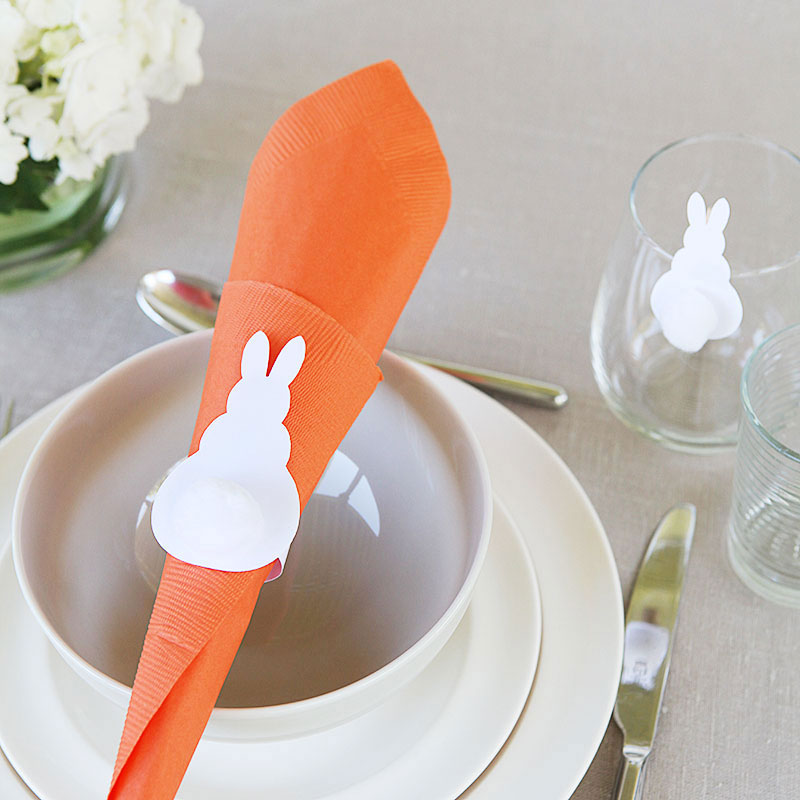
On A Home for Crafts, I posted an Easter table decor idea with free download.

I am a Danish American decorating life in Seattle. I love all things design and DIY.
I can’t think of anything more fun than coming up with project, making it, photographing it and sharing it with you on my websites.
Since 2018 I have been making Ceramics, nearly full time.
AHomeForCeramics.com AHomeForDesign.com AHomeForCrafts.com AHomeForFood.com My Portfolio
