Fabulous living room built-ins in Newport Beach
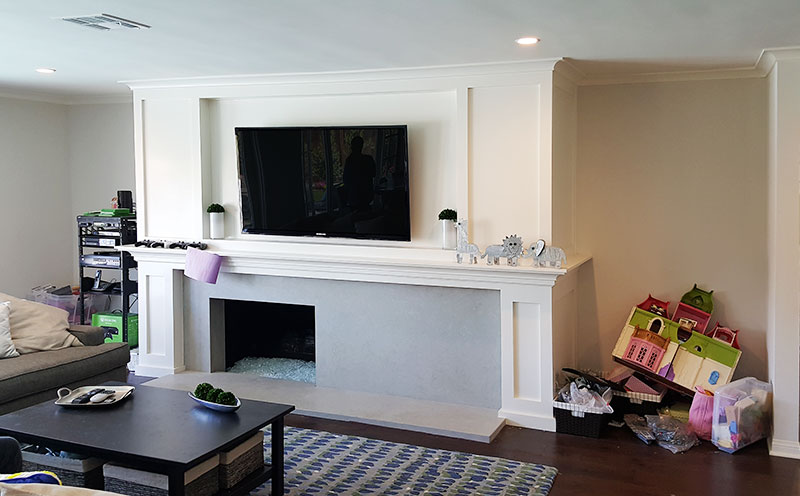
Here is a project I just finished for a family I know up in Newport Beach (Mr. and Mrs C). They are fellow homeschoolers and just recently moved down to Newport Beach from LA. They were four months into their new home when they contacted me about designing their new homeschooling study / guest room which is another project I also want to share with you soon. Not long after I began the design of the study, my friend pulled me into their living room to ask me about some possible built-ins next to the fireplace. Below you see the before picture of their living room.
We decided to somewhat halt the design of the study and concentrate on these built-ins to finish the living room for them. Another designer had drawn plans for the built-ins preciously but I went over those drawings an immediately discovered some issues. As you can see below the fire place mantle wraps around the fireplace and back into each alcove. The drawings did not deal with this issue as to how to build around that mantle. The way the drawings were made it was sort of just left up to anyone's suggestion. I didn't want to just hack off the mantle on the sides to make room for the cabinets as the drawings seem to suggest.
The alcoves are pretty big. I want to say about 55 inches wide for the right one and about 65 inches for the left one. There is a right side wing wall of 5 inches to the very right of the right alcove. The previous drawing did not really deal with this but was just a pretty drawing where the measurements did not hold up to scrutiny as far as scale goes.
I came up with the idea to make five inch filler pieces around both cabinets as a sort of trims to solve the mantle problem and to scale the built-ins down just a bit so they would look more in scale to the fireplace and the room.
We met with several carpenters and received quotes and chose Matt Adelsohn from Head High Creations, who I highly recommend if you live locally. (This post is not sponsored). I showed him my drawing and we talked through the project, sent drawings back and forth a couple of times between the family, him and myself and ended up with the below design. He suggested that we made the trims recess back a little to make for an easier build with a relaxed look.
We also decided on an opening in the cabinets. I would normally not opt for an opening between the upper cabinets and the base drawers, but because this room is an open concept room with a kitchen on the opposing wall and the wall next to it as well as built-ins in the dining room area, this room is filled to the brim with cabinetry on all except the window wall to the back yard and a small little wall as you enter the room. The openings help relax the look a bit and not make it too boxy.
I would usually have opted for some open shelving above the drawers but all the TV equipment are located in the upper left cabinet and that was the only place it could go if we wanted to have real functioning drawers on the lowers. Drawers are not practical for TV equipment. We could have made face drawer fronts as cabinet doors, but that was decided against by the homeowners.
I did make sure that the opening was at least 15 inches tall. At one point the shrunk to 12 inches, but that would have been impossible to style. 18 inches would have been preferred, but since this house has 8 foot ceilings that would have made the upper cabinets look too small - almost like refrigerator top cabinets. I didn't want that so we decided on this 15 inches Goldilocks solution.
You can't really tell from this drawing but the recess trim are the same width as the right hand wing wall and therefore we were able to even out the widths of the alcoves by 5 inches (by not installing a recess trim on the right side of the right hand side cabinet but using the existing wing wall for that purpose). On the left we made recess trims on both the left and right side of the cabinet. On the drawing that is what is looking gray as we matched it up with the wall color (again to get away with foregoing the right hand recess trim and using the wing wall instead). That way the cabinets ended up being only about 5 inches difference in width as opposed to about 10 inches. This created a much more harmonious look. You almost can't tell they are different now unless you really study the room.
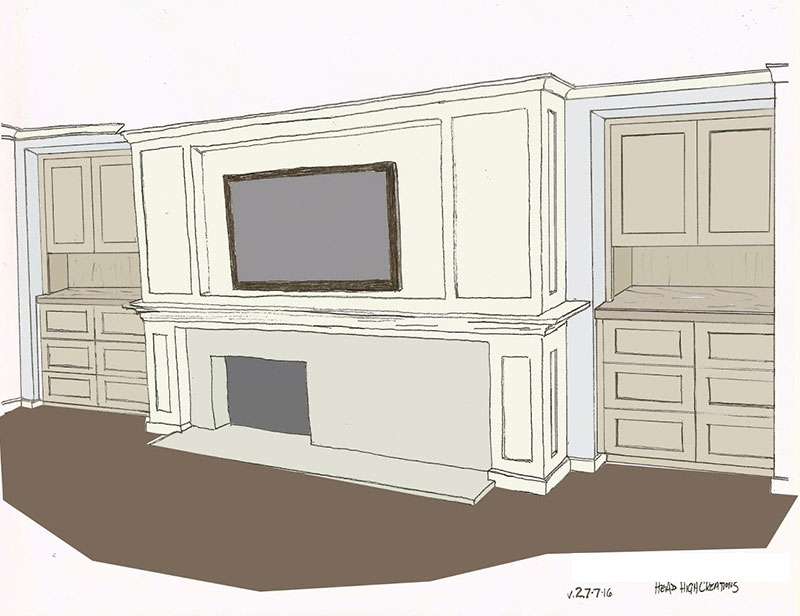
Drawing by Head High Creations
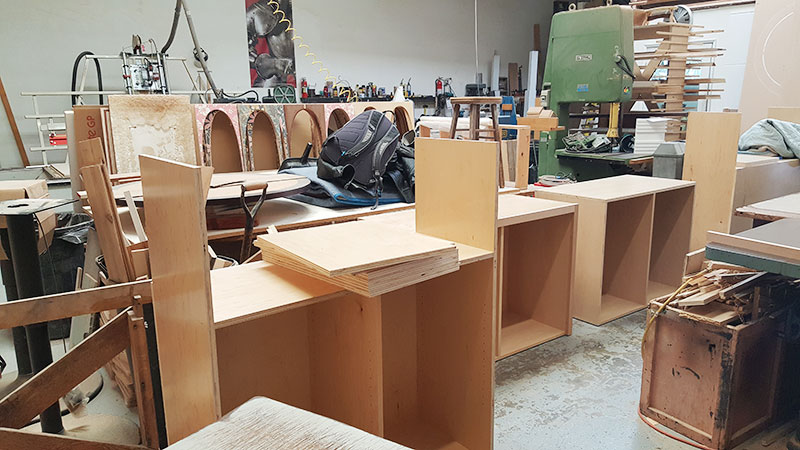
After we settled on the final design, Matt and his team began building. My friend and I visited his work shop about a week into this process to see his shop and finalize the stain for the cabinets. Below you see the frames for the cabinets already made. Nice workshop, right?
A week or so after that the installation began. My friend sent me some pictures of the progress that you can see below.
Here you can see the recess trim pieces have been installed and the frames are about to be put in.
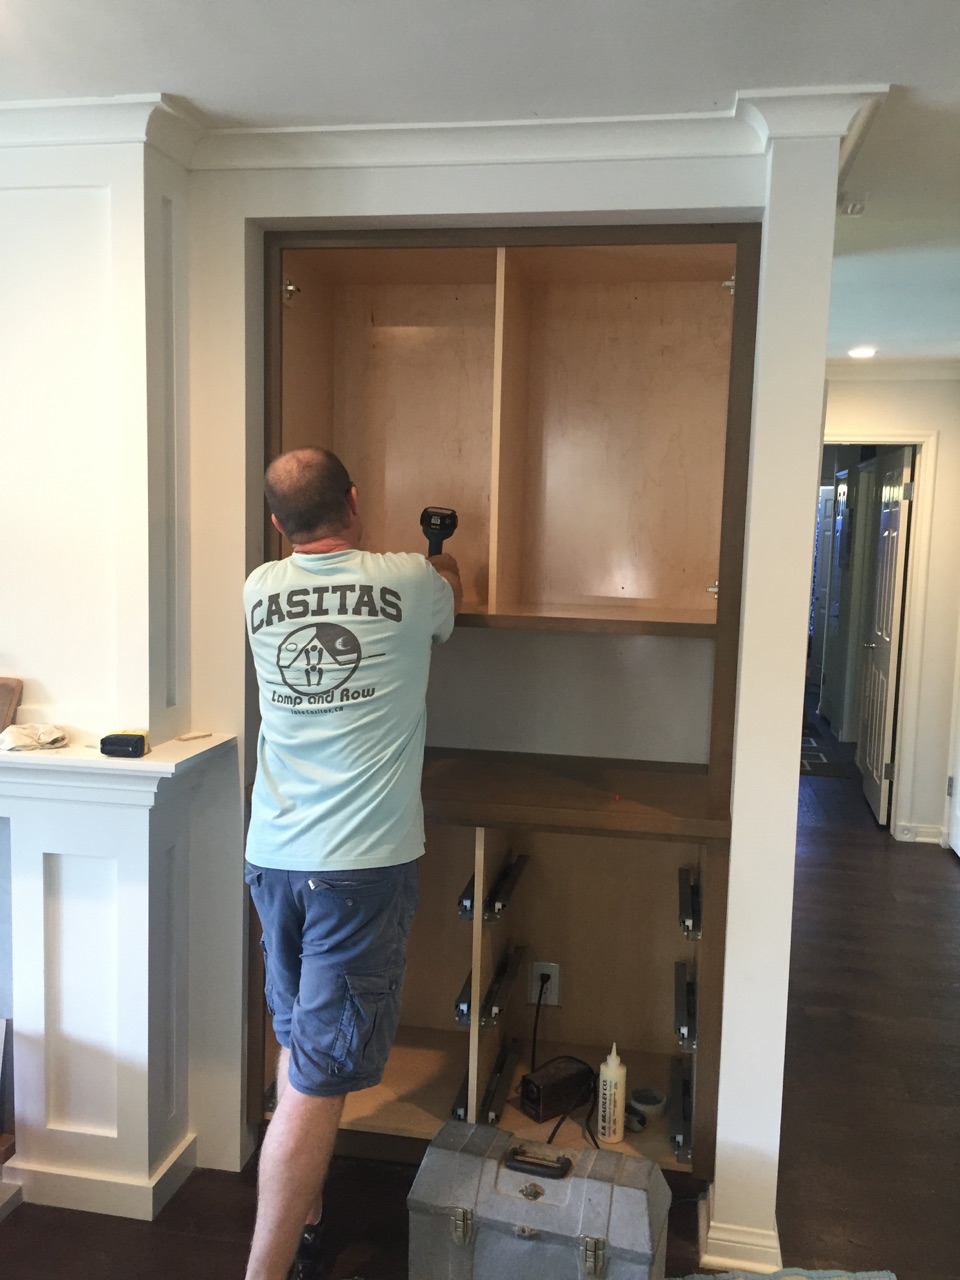
Photo by Mrs C.
Notice how nicely the mantel wraps back into the recess trim making it look natural and solving that problem thereby leaving a perfect opening for the cabinets so you can open the doors with no problem.
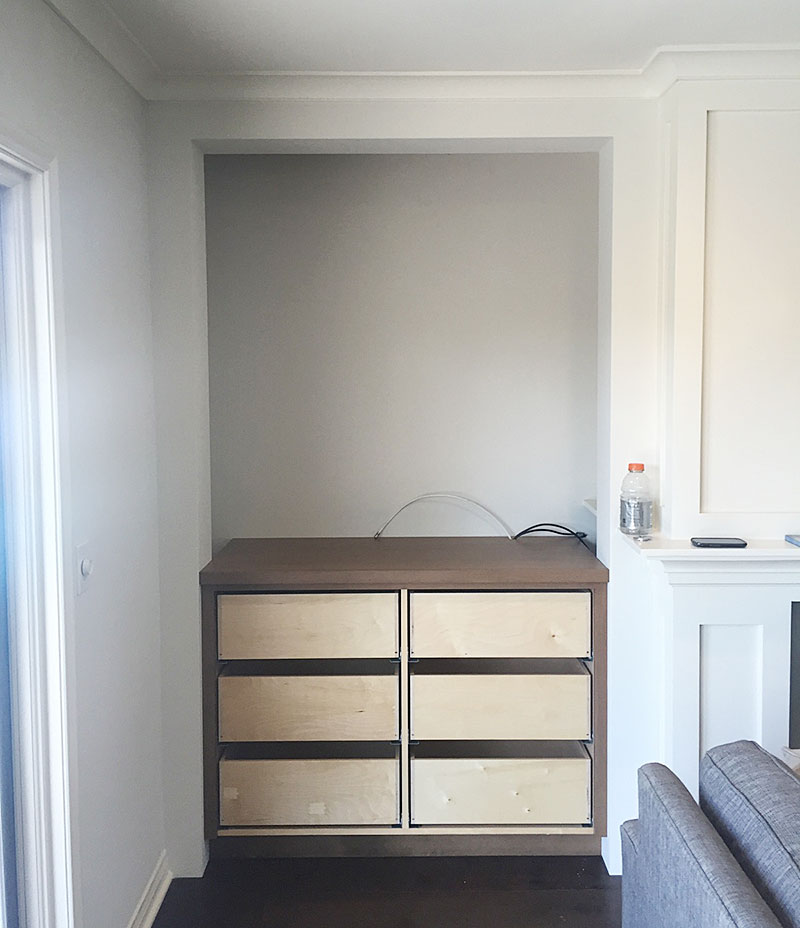
Photo by Mrs C.
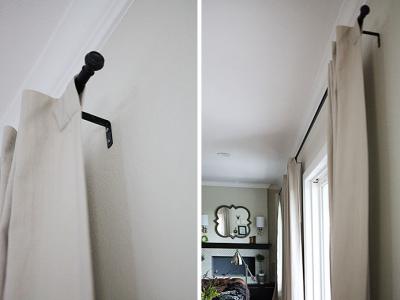
The recess trim on the far left as you see above will further provide a relaxed corner for window treatments so they don't obstruct the drawers.
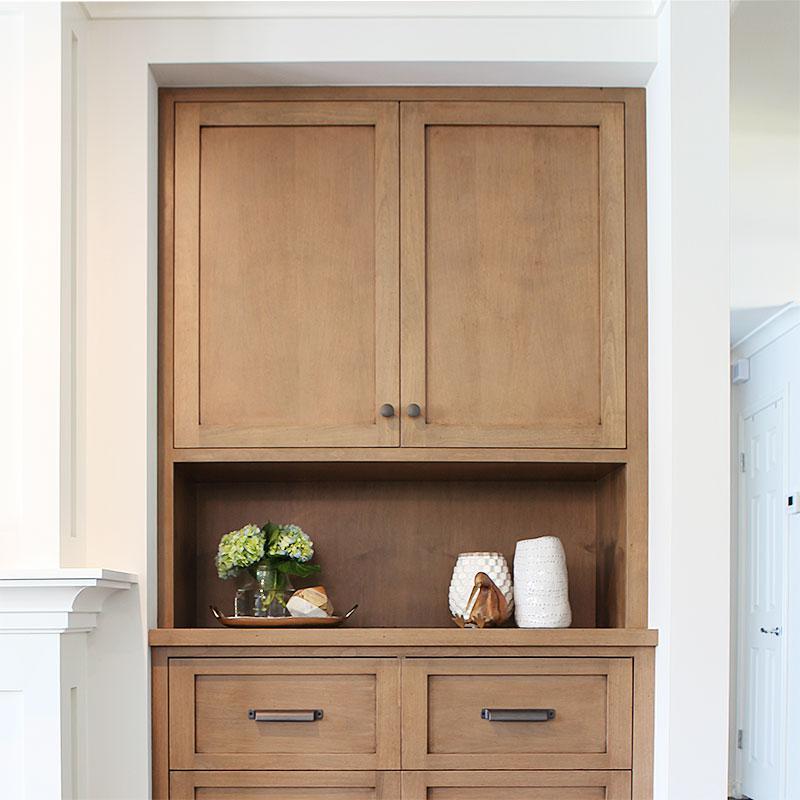
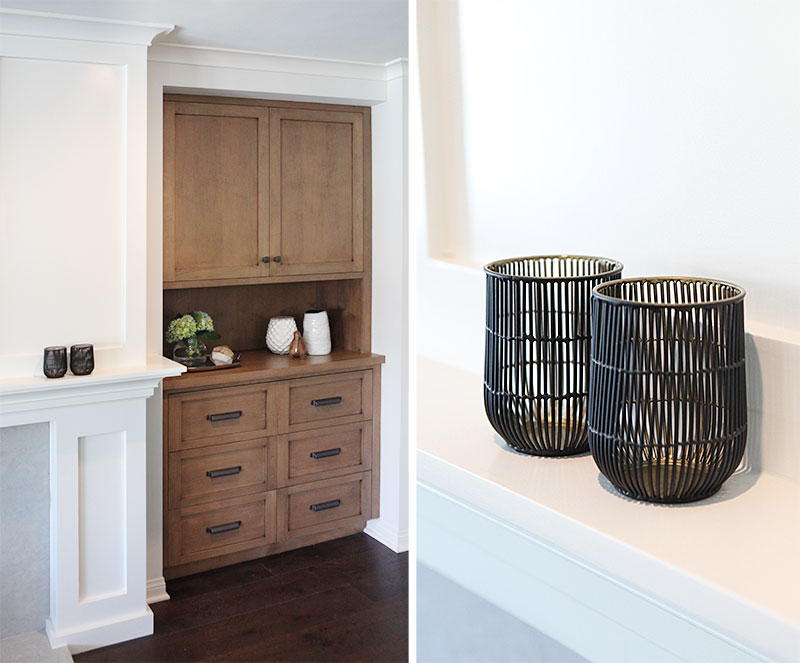
All the cabinets on the other walls are white. The walls are this light gray color and the fireplace facing is gray. With all those cooler colors, we chose a warm medium brown-gray. It really warms up the space and, I feel, really makes the room.
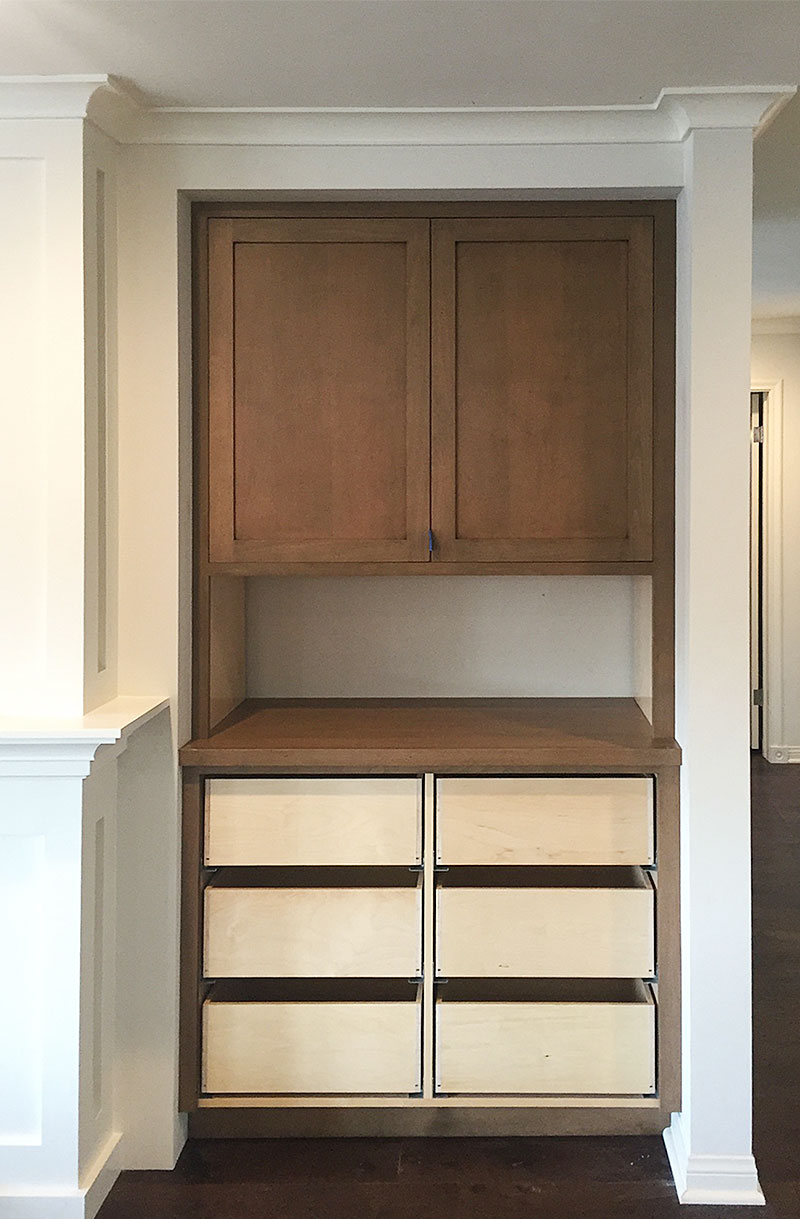
Photo by Mrs C.
Ready for the after shot. Here it is all finished.
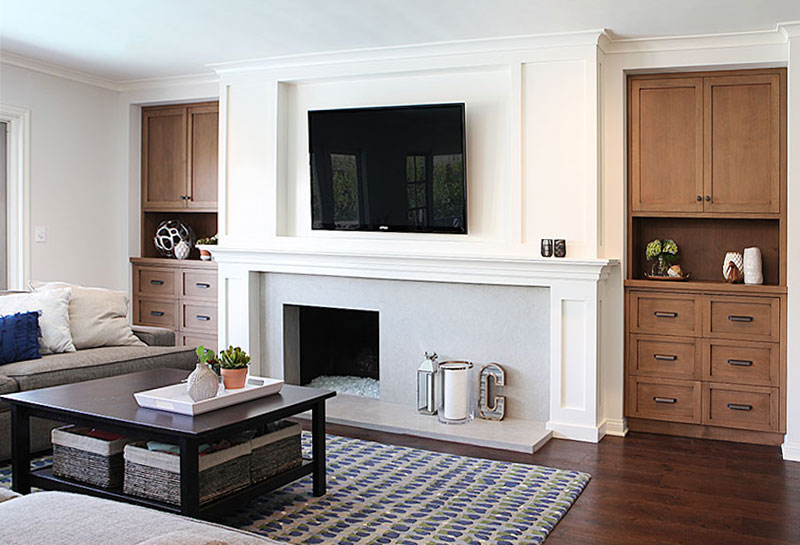
Everything is so nice and finished looking now. I love how the cabinets came out and so do my friends.
The kitchen has all chrome faucets, light fixtures, knobs and handles, but I wanted these built-ins to have a furniture like quality and not necessarily be all matchy matchy, so we went with these black looking knobs and bin pulls. (Links at the bottom of the post). I love how the black looks with the wood tone.
I LOVE the stain color. It is a mix of several different stains until we found the perfect one. Look how it's being good friends with the floor color. Yum.
I specified a very matte top coat for the cabinets. I think that just takes the cabinets to the next level.
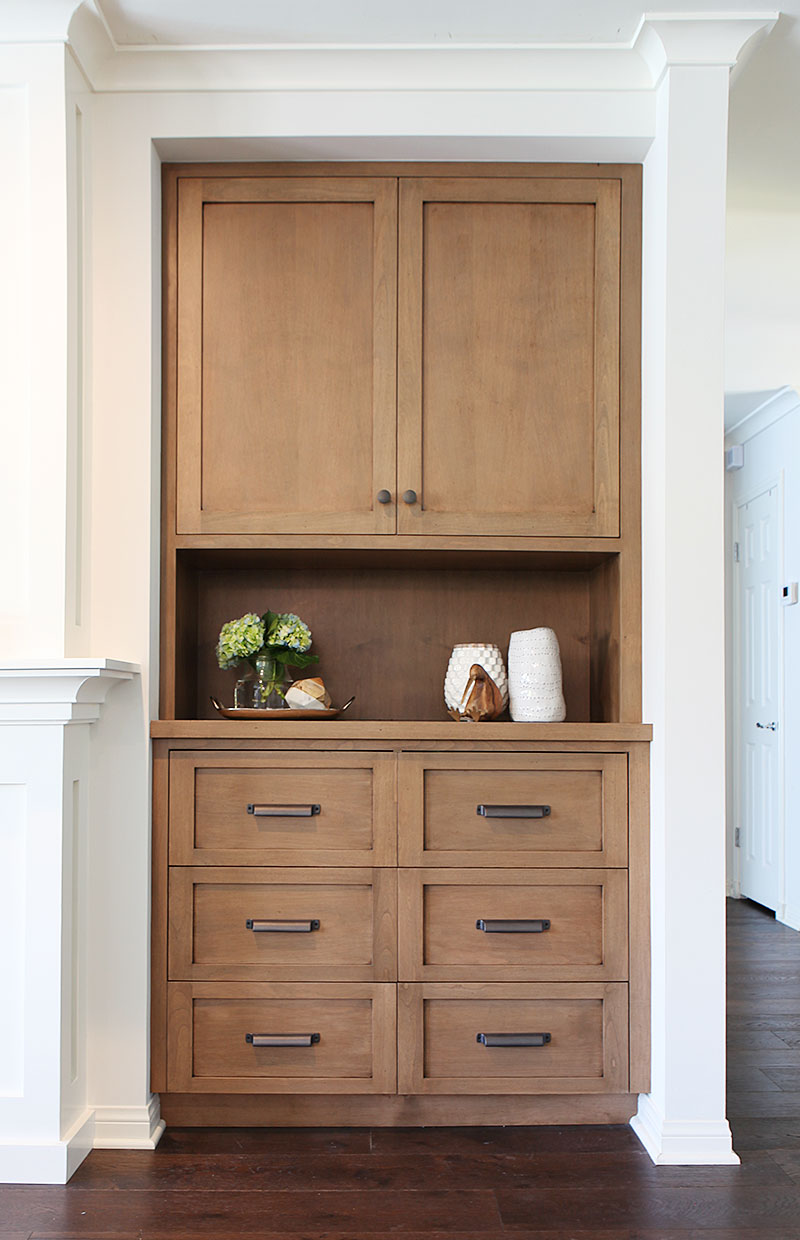
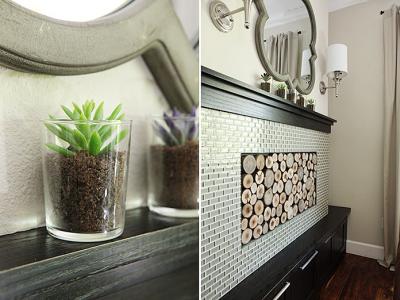
I styled up the open space with a few items that the family already owned and brought in some new pieces as well. I went with white pottery to keep it light. The ceramic nicely grounds the metals that are going on in the tray and sphere seen later.
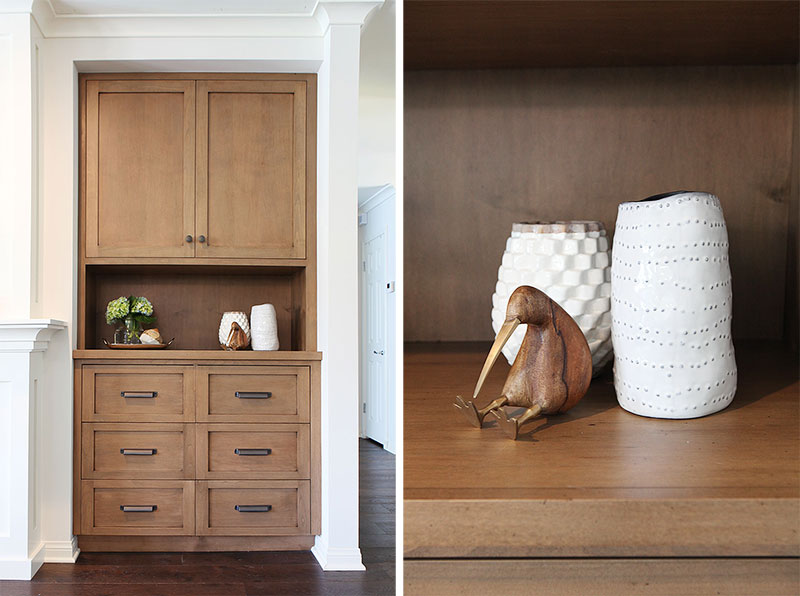
Vase, tray (family owned), wood / marble paper weight, textured vase, dotted vase (family owned), Kiwi bird.
Is that bird not just the cutest? Just the right amount of slouch to go with that ceramic dotted vase.
I never met a box I didn't like. This blue/black dotted box had me at hello.
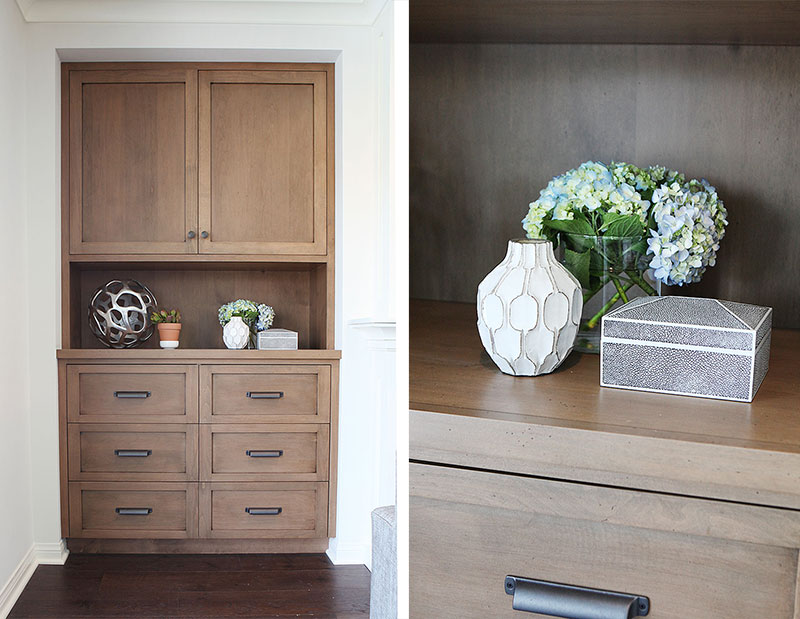
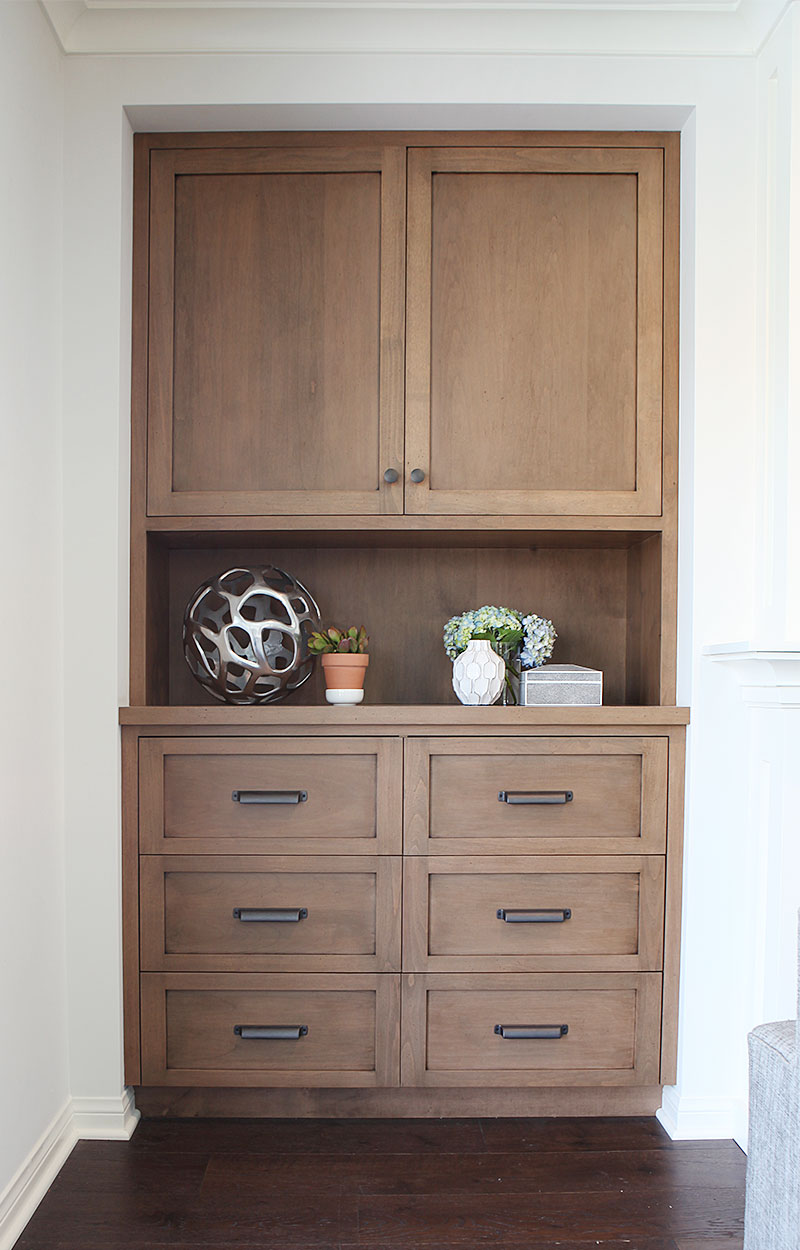
Metal sphere (family owned), succulent in clay pot from Trader Joe's (white bowl underneath family owned), vase, ceramic vase, decorative box.
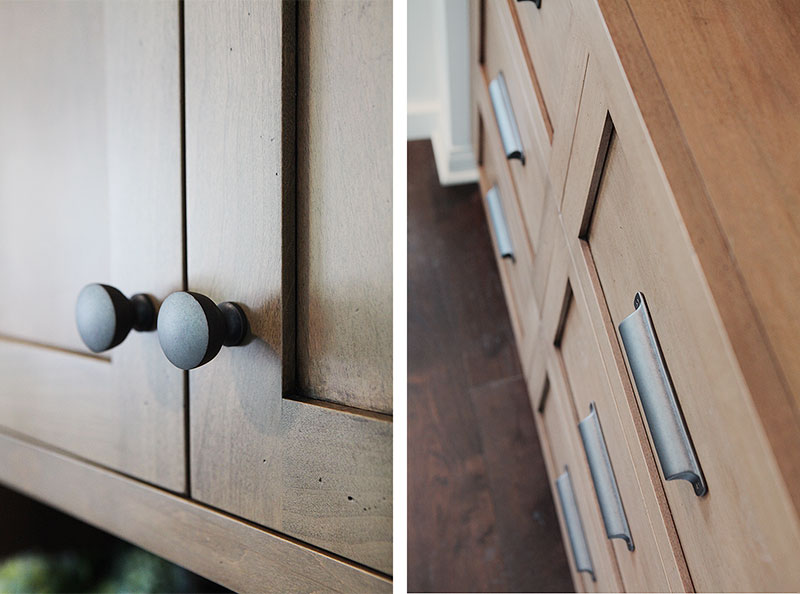
1 1/4 in Knobs, 6 in bin pulls
I placed the pulls a little bit up the stiles by imagining a square in the corner of the doors, then moving that square up one space, then placing the knobs in the middle of that pretend square.
For the bin pulls I chose what I call 'the relaxed middle'. Because the bin pull holes are not perfectly centered on the pull itself, it would look strange to just measure the middle and drill there. Then it would look as if the pulls were sitting either too low or too high. I instead moved the pull down until it looked in the middle and had them make a template for that distance. So it is technically not IN the middle, but they now look as if they are in the middle. That is relaxing, right?
So let us just take in the before again.
And then the after.
What a difference, right?. I am totally on board with this transformation. I think it looks as if it was meant to be like this the whole time and that is my goal for all improvements.
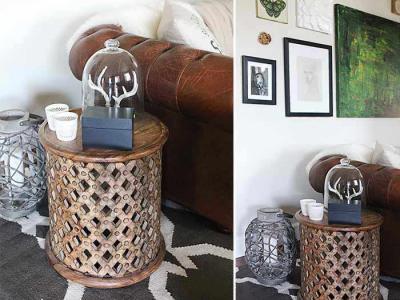
Ceramic vase on coffee table. Tray on coffee table (family owned). Lantern, large candle and letter C in front of fireplace (family owned)
The family just loved the transformation as well. The next space that we finished is the study which is through a door just to the left of the living room. I can't wait to show you the before and afters of that space soon.

I am a Danish American decorating life in Seattle. I love all things design and DIY.
I can’t think of anything more fun than coming up with project, making it, photographing it and sharing it with you on my websites.
Since 2018 I have been making Ceramics, nearly full time.
AHomeForCeramics.com AHomeForDesign.com AHomeForCrafts.com AHomeForFood.com My Portfolio