How to: turn a grommet-top curtain into a back tab curtain
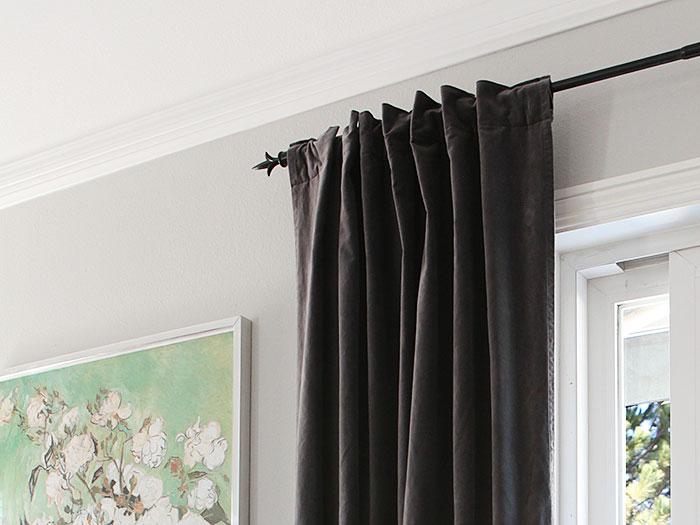
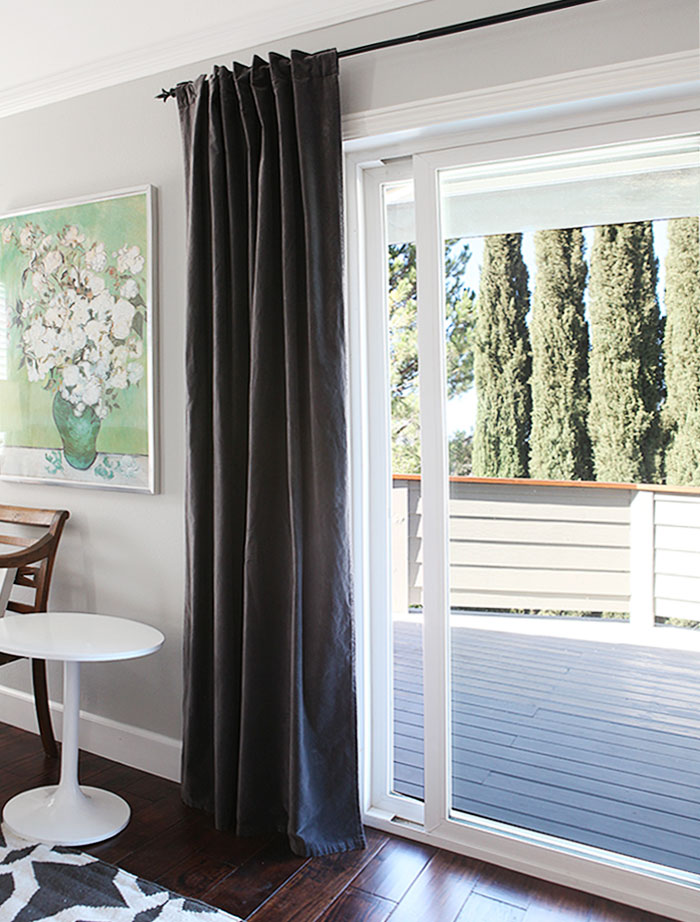
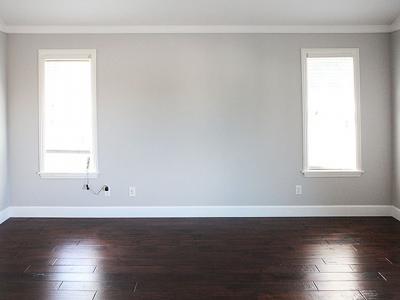
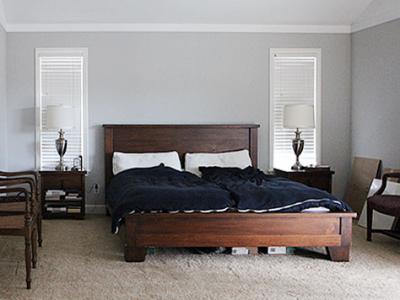
Our master bedroom has curtains. Since yesterday. It feels so fancy in here.
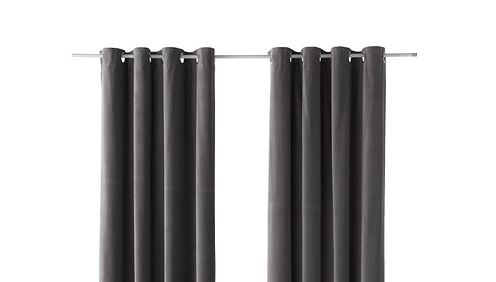
Last year, when we were going to have our master bedroom painted, I first bought these curtains so I could color match the wall paint to them. They are velvet and pretty thick which will help keep out the harsh afternoon sun we get here.
I didn't think the grommet tops would fit the transitional vibe we have in this house, however. And I just love the look of back tab curtains. They have the feel of a fancier pleated curtain, but in a much less formal way. Not too perfect. Comfortable. The look I was going for in our master.
Here is how I turned the 98 inch grommet curtains into 88 inch back-tab curtains. It is a pretty easy DIY if you can sew a straight line. Something I am still practicing on.
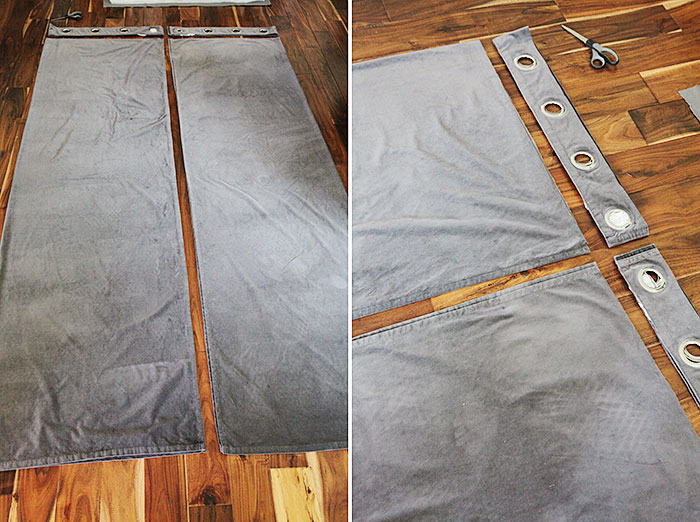
After washing, tumble drying (on gentle) and ironing the panels, I cut off the row of grommets on both.
If you are only buying one set of two curtains, then you have to fashion your tabs out of that cut-off, or you can use a scrap of similar colored fabric. I bought two sets of two curtains because I am also going to make pelmet boards for the other four windows in the master and bathroom. (A pelmet is a wooden valance covered in batting and fabric.)
Because of that additional project, I had extra fabric of the same kind on hand. So that is what I used.
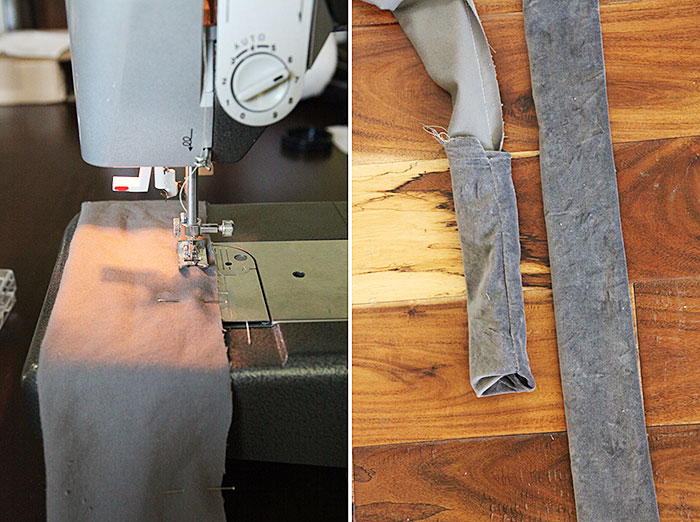
I cut two long strips, 6 inches wide. Folded each strip length wise, right against right side and sewed along the long edge making two tubes. I turned the tubes inside out and ironed them with the hem in the center.
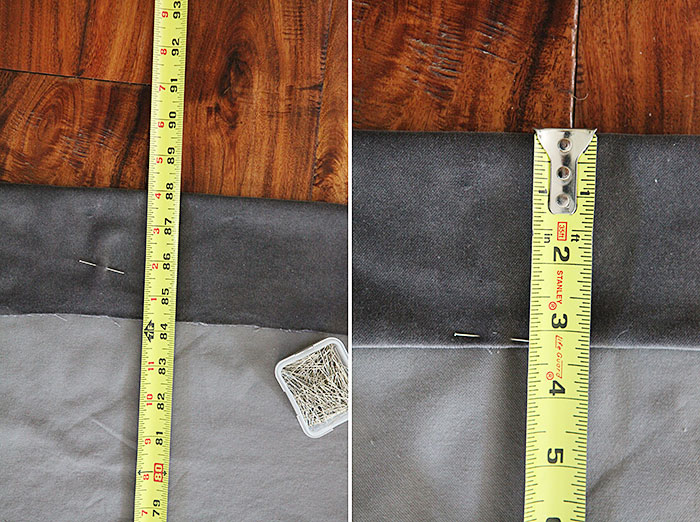
I measured from the bottom hem of the curtains and up to the 88 inch mark - the finished length of my curtains, then folded down my fabric at that mark. Then I tucked up the frayed edge under my new hem at the 3.25 inch mark. The tab needs to be long enough that it slides comfortable and even quite loosely on your curtain rods.
Our rod is about 3/4 inch thick. If you use a thicker rod, then the tab size and hem might have to be adjusted accordingly.
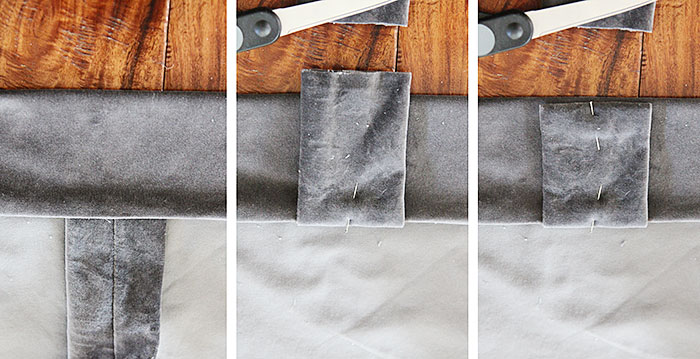
I cut each tube into eight 4.5 inch tabs. To attach them, I put one end under the hem and secured with a pin, then folded over the top of the tab and secured it to the top of the curtain panel with another pin. As shown above.
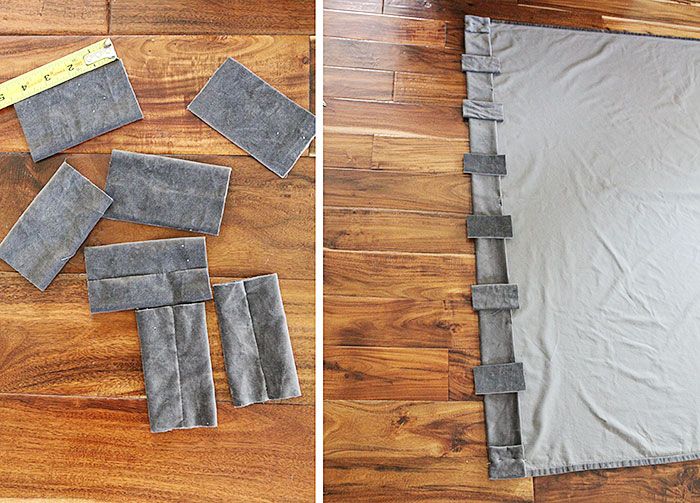
I began at the outer edges of each panel, adding a tab to each side, then spread out my other six tabs evenly for a total of eight tabs per panel.
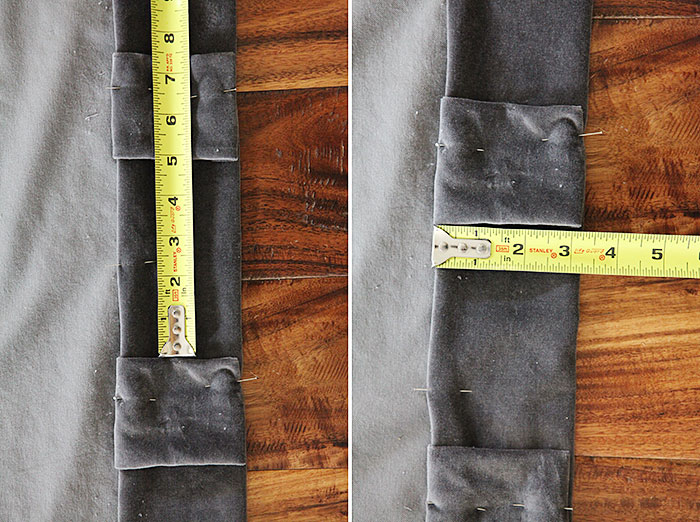
My tabs worked out to be just under five inches apart, or about 7.5 inches on center.
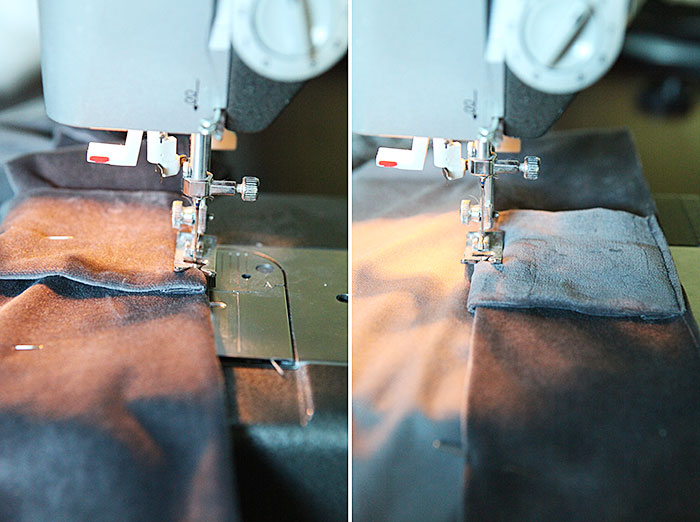
Next, I sewed along the very top of the curtains to secure the tabs. Then I went back and sewed the hem which also secured the bottom of each tab to the curtain.
This method also ads a rod pocket to your curtains which will give you yet another look if you hang them by inserting the curtain rod into the pocket instead of using the tabs.
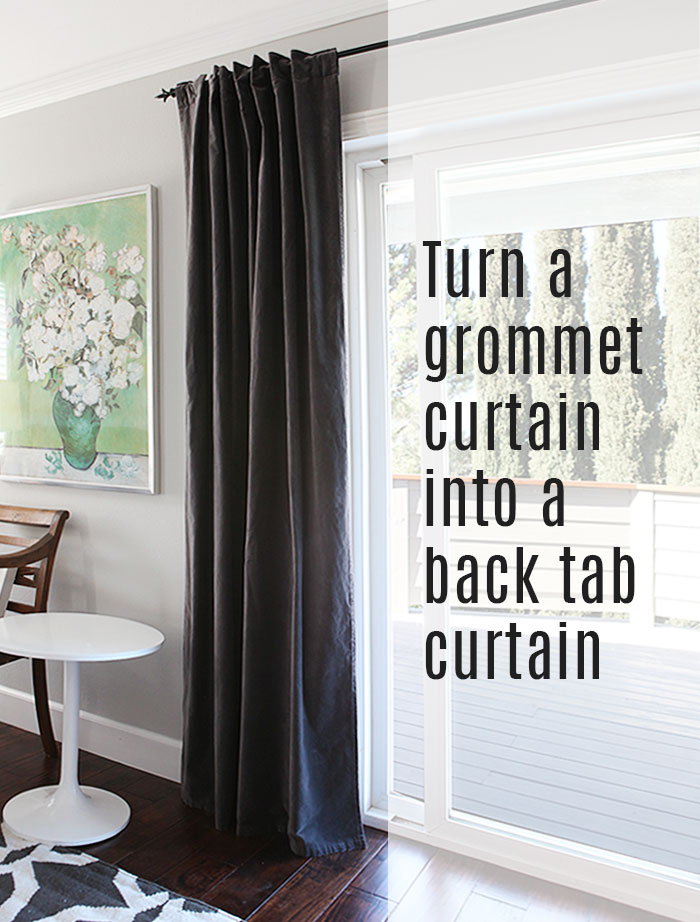
I ironed the curtains one last time and we hung them over our sliding door in the master bedroom. We hung them pretty wide - 12 inches out on either side of the slider. This makes the slider look bigger than it actually is and when the curtains are drawn back, they don't obstruct any light coming into our bedroom.
I love how they turned out.
I'll be back later this week to show you more of the progress we made in our bedroom over the past two weeks. And all the things still in the works for the November 4th reveal. #pedaltothemetal.
To follow this make-over from the beginning of the #fallinloveroom challenge you can read about how it all started here.

About Katja Kromann
I am a Danish American decorating life in Seattle. I love all things design and DIY.
I can’t think of anything more fun than coming up with project, making it, photographing it and sharing it with you on my websites.
Since 2018 I have been making Ceramics, nearly full time.
AHomeForCeramics.com AHomeForDesign.com AHomeForCrafts.com AHomeForFood.com My Portfolio
Categories
How to: turn a grommet-top curtain into a back tab curtain is posted in the category Master Suite
