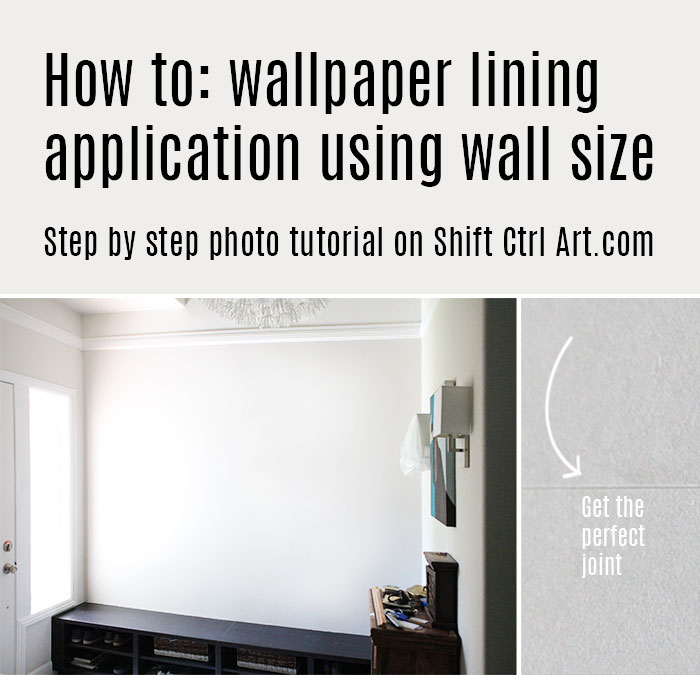
How to: apply wallpaper lining using wall size adhesive

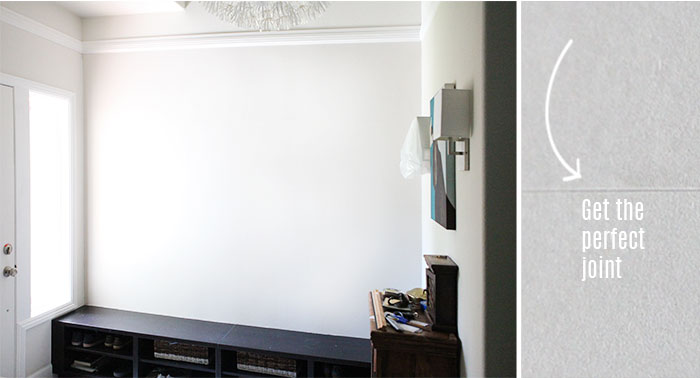
Last time, I prepared my wall in the entryway for wall paper by smoothing out the textured wall.
With the wall properly prepared, we tackled the next step on Saturday, a couple of several weeks ago. Because why rush into things.
The next step, if you choose to do ALL the steps of wallpapering, is putting up lining paper. Lining paper is a thick paper that you put up before you wallpaper to further smooth out the wall. It also makes removing wallpaper easier down the line, or so I have read. So it's sort of a gift to the next home owner. Unless they love your choice. Like our next homeowner will.
I got some lining paper and wall size from WallpaperDirect.com. The lining paper comes in different thicknesses from 600 all the way up to 2000. I got the 1200 thickness which is sort of the middle of the road. Perfect for a wallpaper novice like myself, I think.
I followed this tutorial on their website, but I did run into a few confusing spots, so after working through those, and seeing a couple of people online facing the same sort of questions online - especially about the wall size, I thought I would share how we solved those.
On the paper lining tutorial page, scroll down until you see this:
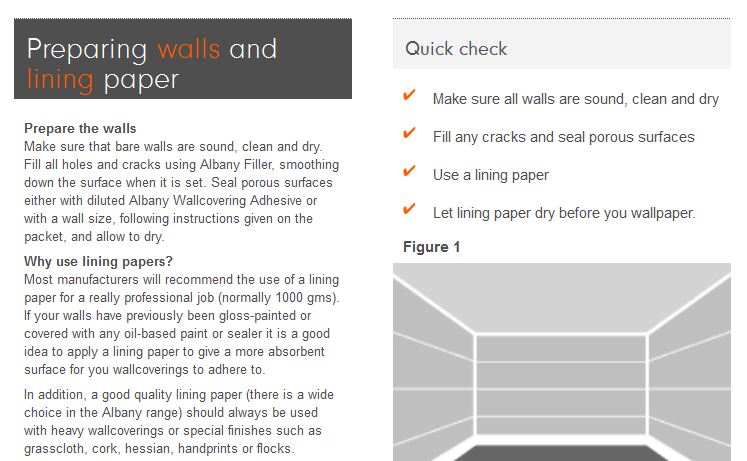
Note that they suggest hanging the lining paper horizontally to avoid double seams with the finish wallpaper. Note that we had a worthwhile lengthy discussion on whether to heed this advice. In the end curiosity won and we went for the horizontal method. Spoiler: it worked out fine, but the first strip was kind of a bear getting straight and gravity was not doing us any favors.
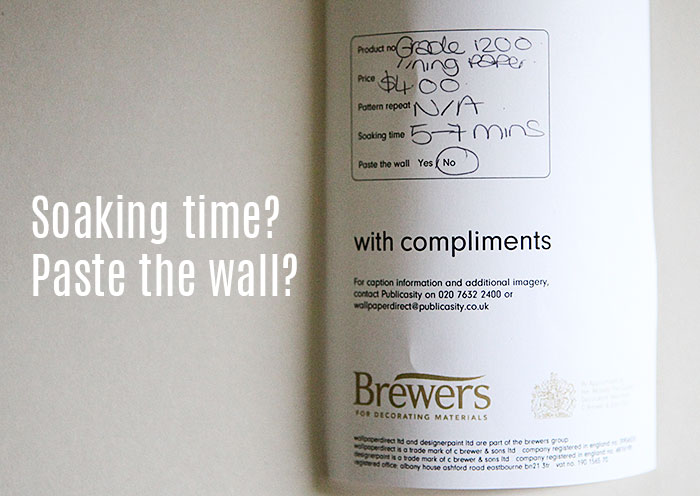
The roll of lining paper comes with this super handy note about soaking time and if the lining paper should be pasted or the wall. Clears that right up.
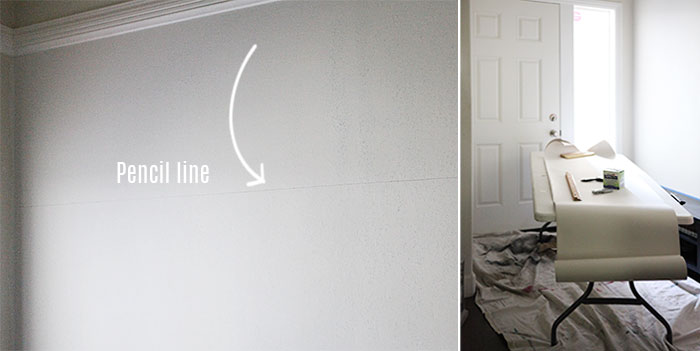
I measured and drew a horizontal line 21 inches (because the lining paper is 22 inches wide) from the bottom of the crown molding. Then, I cut four strips of lining paper and we put them on top of each other on our fold-out camping table and got out the rest of my supplies.
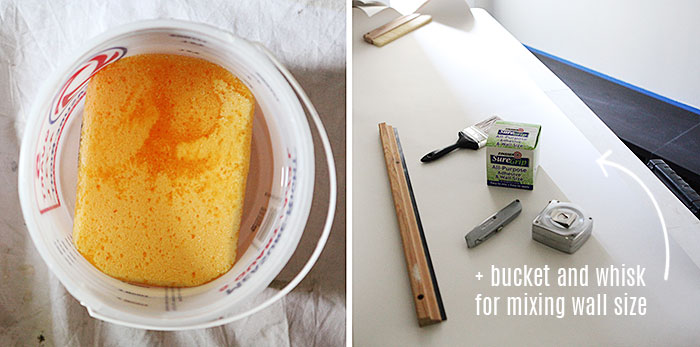
We had a bucket of clean, cold water and a new sponge. I also had a wallpaper ruler, a Wallpaper brush, adhesive brush (regular big paint brush), tape measure, utility knife with new sharp blade and the package of wall size. I also had a pencil and another bucket to mix the wall size.
Side bar: it took me quite a while to find a nice wallpaper brush online. Do you share my annoyance in tools that are overly colorful in the ugly way? I want my tools to look nice. Preferably made out of wood and natural materials if practical. Unrelated to this, I am looking for a new angle broom as we speak and let me tell you the eyesores that are out there. ughhh...
I finally landed on this Wallpaper brush which isn't bright green with yellow or has some huge logo. And don't even get me started on all the pink tools they make "for women". Barf. Ok. moving on.
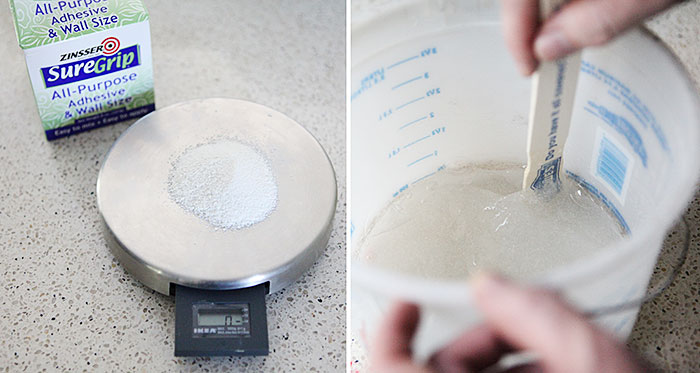
Mixing the wall size was where we had the most questions. The instructions on the back leave almost more questions than answers. For instance, it says: "Use entire 8oz package with appropriate cold water mixture". Now that I have done the process, I can tell that "wall mixture" is not a mixture of water and something else that you add to the adhesive powder. It is the ratio of water to adhesive itself. Also, you don't have to use the "entire" package. Just FYI. How can you use an entire box with appropriate water mixture if the mixture ratio is different. I don't get that. I am probably over-thinking it.
We also had a difficult time working out how much size (such a fancy word for adhesive) was needed. It says: 1 1/2 oz of powder to 1 gallon of water for 500 sq ft of wall. They don't say if that is oz by weight or volume. So we took it to mean by weight. Just guessing.
Also, calculating how little powder we would need for our 64 sq ft wall space .... pssswww brain workout.
The package said to use cold water, but we used warm/hot water to get the powder to dissolve faster. >Rebels with a cause<
We arrived at 0.3 oz of powder to 1/5th of a gallon. My scale can only measure in increments of quarters, so we measured out half an ounce. A fifth of a gallon is a little under a quart. At this point we just gave up any precise measurements.
We stirred and stirred and stirred, taking turns, but we couldn't get the lumps out.
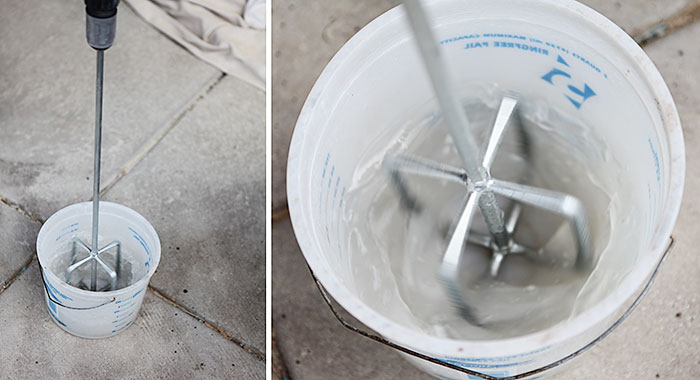
After reading around (online) town on different forums we learned that a) yes there are lumps, b) using a whisk is a great idea c) wall size should not be thick like a wallpaper paste. It should make the paper slide around the wall for easier positioning. This slip and slide will help you get a perfect butt joint. I said butt.
So we brought out the big guns: the drill and whisk attachment. Still lumps. The mixture looked very thin, so we added two more tablespoons of powder. We let the mixture sit for a bit to thicken up.
Note to self: 4 tablespoons of powder to one quart of hot water seems to be a good ratio for up to 100 square feet of wall space.

Then I pasted it onto the back of the lining paper. I thought I put on a generous amount before letting it soak the recommended 5-7 minutes...
The lumps disappeared as I was smearing on the size. Yay!

The best method we found was to apply the size, let it soak, then apply some more size, then put it up on the wall. And when they say: make sure the edges get enough glue, really do that. That helps a LOT!
The instructions say to start at one end and work your way over, but that did not work when we tried it. It worked much better if we each held an end of the lining paper with one hand and with the other attached it in the middle and then worked our way into each corner, then yelling: "It looks good at my end!"
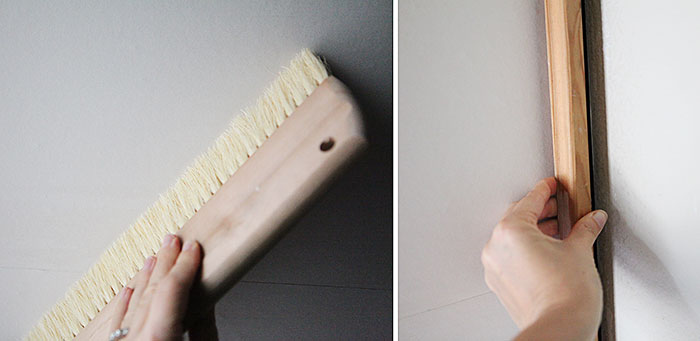
I smoothed it down and out with my new Wallpaper brush before cutting off the excess with a wallpaper straight edge and utility knife.

I gave the corners an extra bit of glue just to be sure.
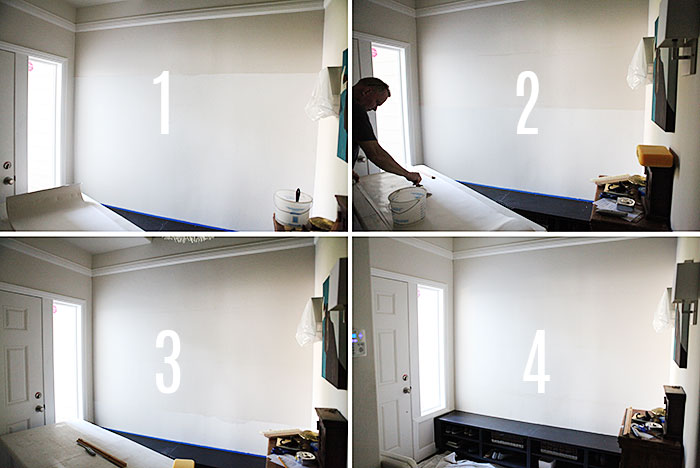
Once we got past the first few hiccups it went smoothly and pretty quickly. 1-2-3-4 lengths of lining paper went up in a couple hours.
Now that it has dried, I can tell you that it worked! Really well in fact. I am happy to report that it makes the paper stick really well and I actually love how far the product goes. Also that it comes in a powder which gives it a ton of shelf life over a pre-mixed product. I give it both my thumbs up.
Next will be putting up wallpaper. We are going with this wallpaper, which I am excited about. That texture.
This is not a sponsored post, but I was provided with the lining paper and wall size by WallpaperDirect.com to complete this project. All opinions and experiences are my own.

I am a Danish American decorating life in Seattle. I love all things design and DIY.
I can’t think of anything more fun than coming up with project, making it, photographing it and sharing it with you on my websites.
Since 2018 I have been making Ceramics, nearly full time.
AHomeForCeramics.com AHomeForDesign.com AHomeForCrafts.com AHomeForFood.com My Portfolio


