How to prep a textured wall for wallpaper
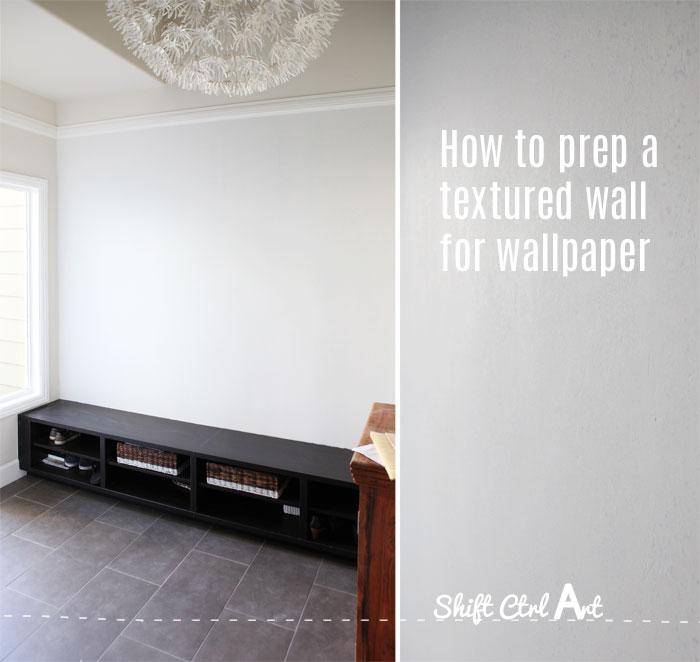
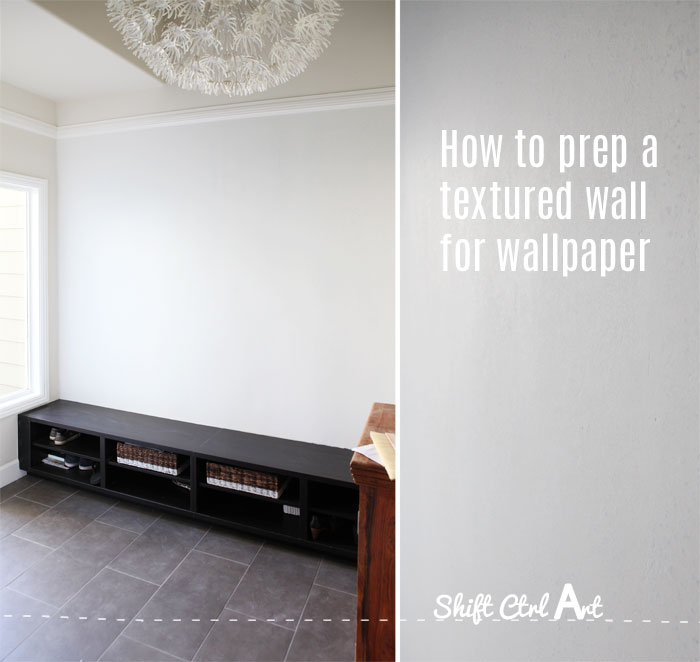
The Arrow wall is gone. RIP!
And as you might have gleaned from the title, wallpaper is happening instead.
I was contacted by Wallpaperdirect.com who asked if I wanted to try my hand at wallpapering using their wallpaper. Yes, please!
I have never wallpapered before. Ok, once with my Dad when I was around 10 (I think), but that probably doesn't count. Would you be surprised if I told you that wallpaper was from IKEA? I am pretty sure it was. Pre-pasted, white wallpaper with a red pinstripe. Oh the 80s never looked so good.
I have also put up my share of glass fiber wall covering. The process is similar in some ways, but also different, so this will be a new experience.
I am going to be using the tutorial on Wallpaperdirect's website and let you know how I fare.
First, however, I needed to prep the wall as it had a lot of texture as well as marks along the arrows.
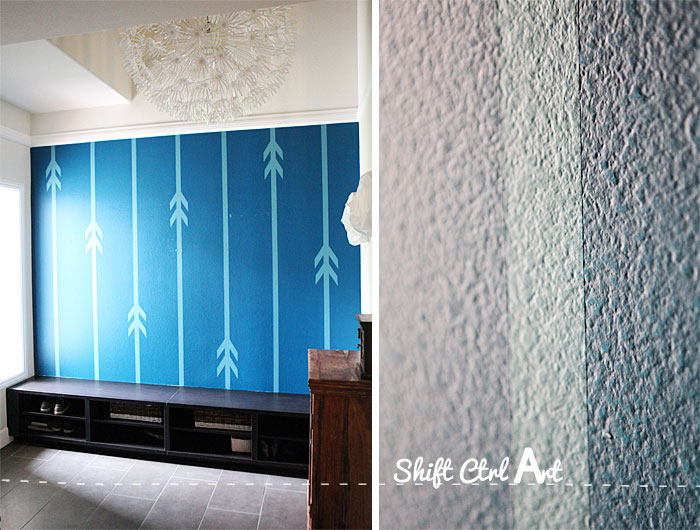
Here you can see what the wall looked like up until a couple of weeks ago and close up on the right you can see the line from the tape. I imagine this would show through the paper, so I wanted to prep the surface.
Here is what I did.
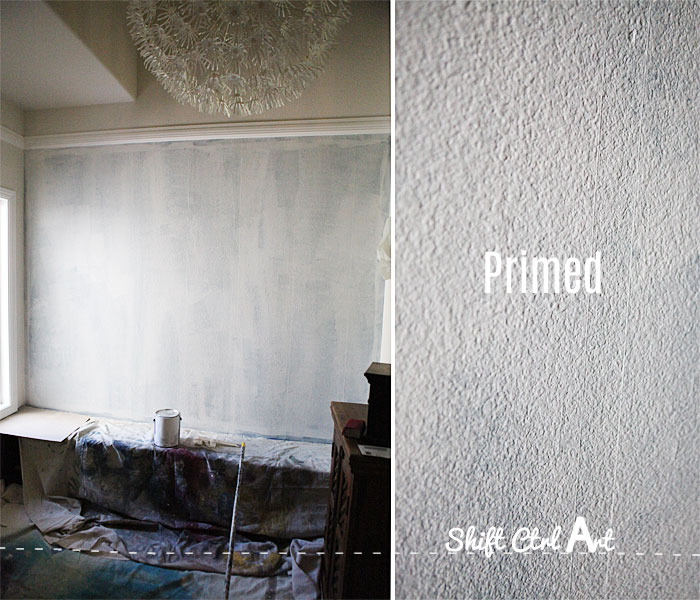
First I sanded the wall lightly and then primed it. With the wall primed, you can still tell that the stripes / arrows are still there. I imagine pretty much everybody who has ever painted stripes on their wall have had to do something similar to this after they didn't want them on the wall anymore... Something to think about before you paint stripes for sure.
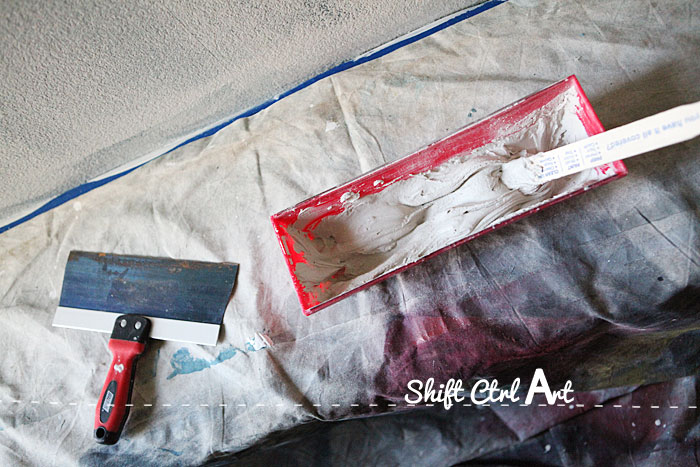
Then I mixed some 45 minute mud. I seem to be mudding a lot lately. Both here and here and now again... So muds fun ha ha.. Ok forget that.
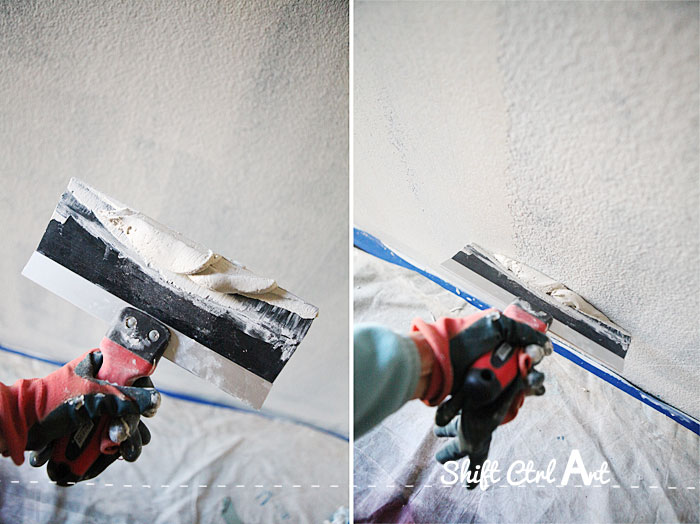
Using my large spatula, I troweled it onto the wall making sure that I didn't get too much build-up. Basically I wanted to fill the valleys but not put anymore on the peaks.
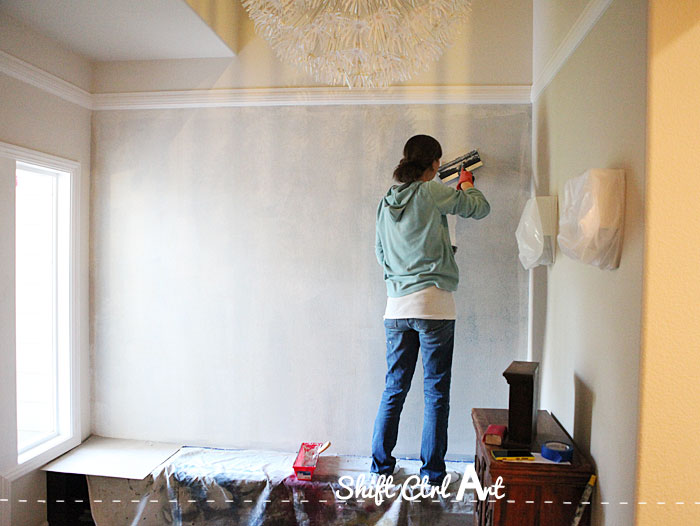
Scrape, scrape.
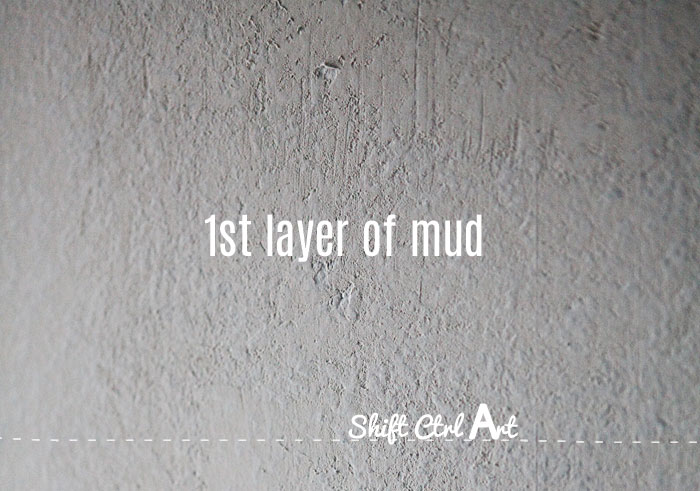
Here the first layer of mud is dried. Not smooth yet. I noticed as I was troweling it onto the wall that after the same lump of mud has been dragged across the wall multiple times it starts drying out a bit and it isn't going on as smoothly anymore. It begins to drag lines as you can also see in the picture above. When I noticed this happening, I would discard the mud I was working with and get some fresh mud from my red mud pan. Clearly not every time as you still see some lines there.
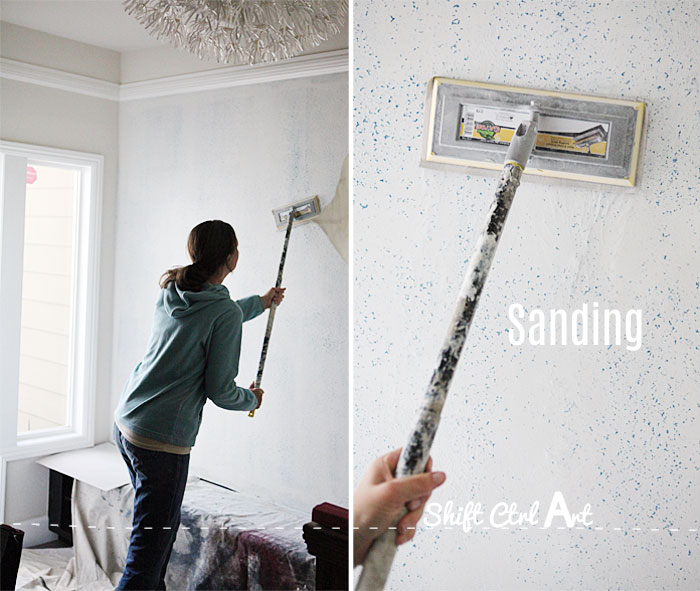
After it dried, I sanded the wall. You didn't guess that, right? A dusty affair.
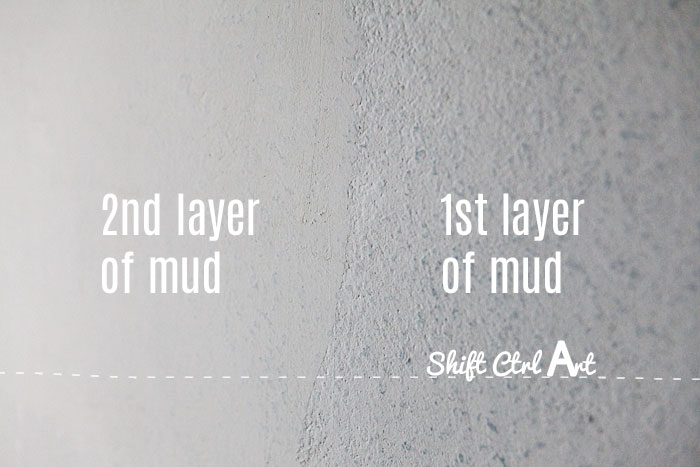
Then I added a second layer of mud. Already much more smooth. I gave it a light sanding and then I primed the wall a second time.
If I had wanted a smooth, perfect wall I would have had to go over it one more time. Let's say if I wanted to just paint it after this. But after 2 rounds I deemed it smooth enough for wallpaper.
Here is what will be the new Before picture for my wallpaper adventure.
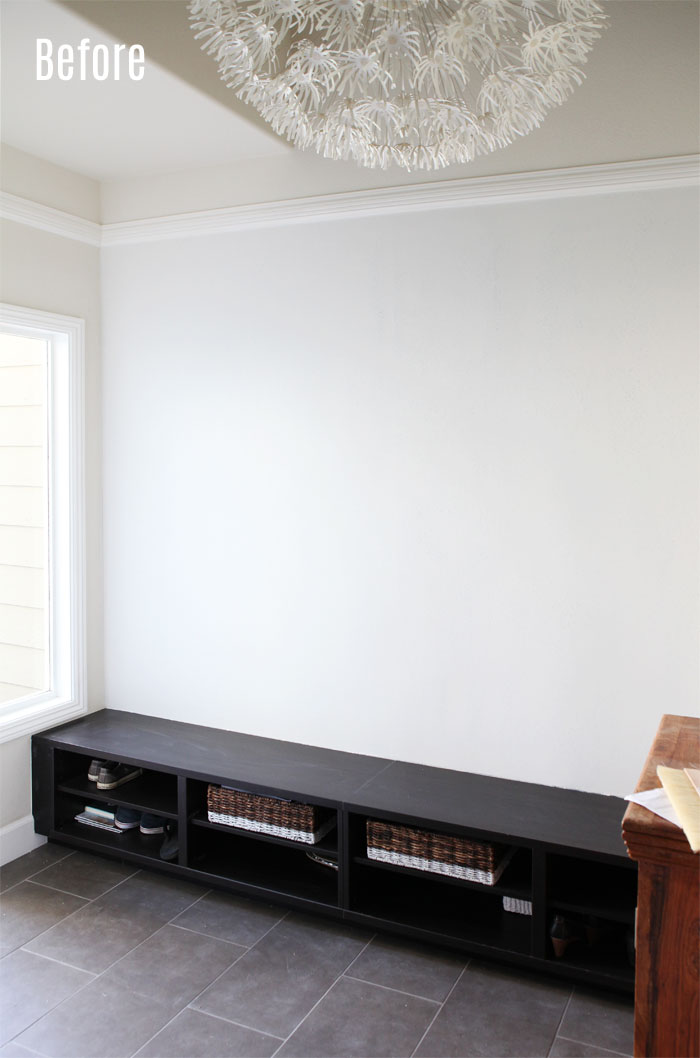
The built-in bench is made out of two Besta IKEA entertainment units. Read more about when we installed it here.

I picked four wallpaper options to choose from. Here they are:
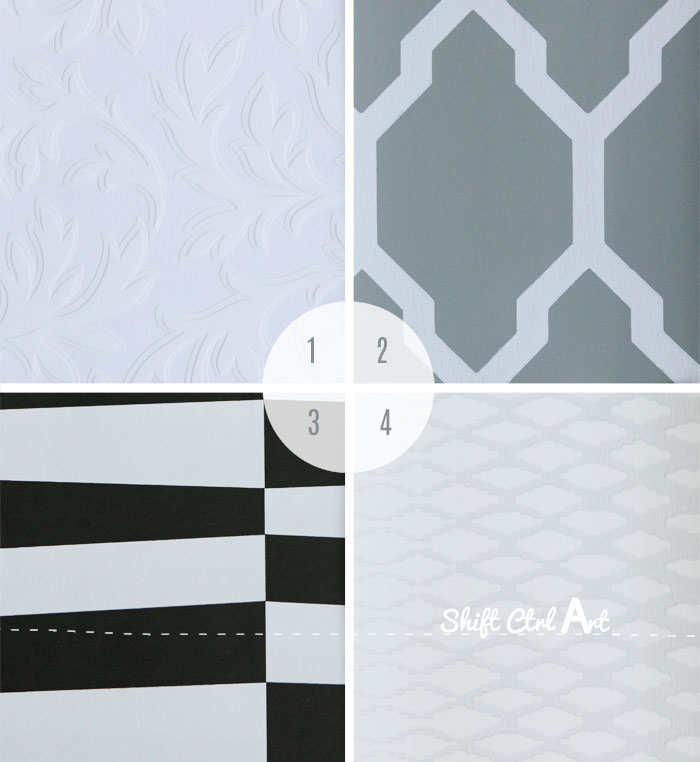
- High Leaf textured vinyl
- Tessella by Farrow & Ball
- Geometric pattern By Lindholm
- Lattice by Farrow & Ball
---
I received product from Wallpaperdirect.com in exchange for writing about my experience.
All opinions are my own.

About Katja Kromann
I am a Danish American decorating life in Seattle. I love all things design and DIY.
I can’t think of anything more fun than coming up with project, making it, photographing it and sharing it with you on my websites.
Since 2018 I have been making Ceramics, nearly full time.
AHomeForCeramics.com AHomeForDesign.com AHomeForCrafts.com AHomeForFood.com My Portfolio
Categories
How to prep a textured wall for wallpaper is posted in the category


