How I drew the Buff Orpinton for the give-away
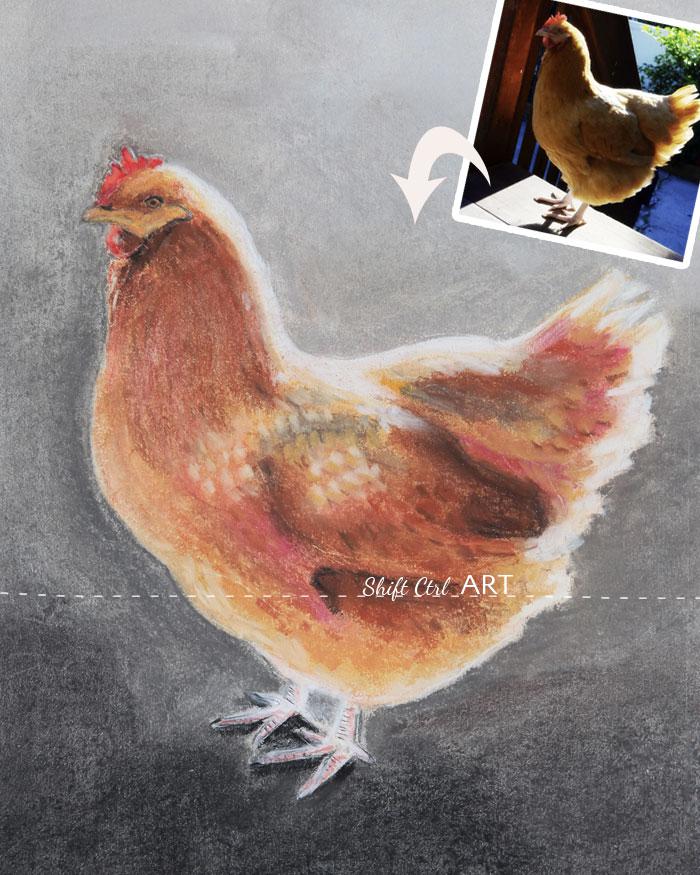
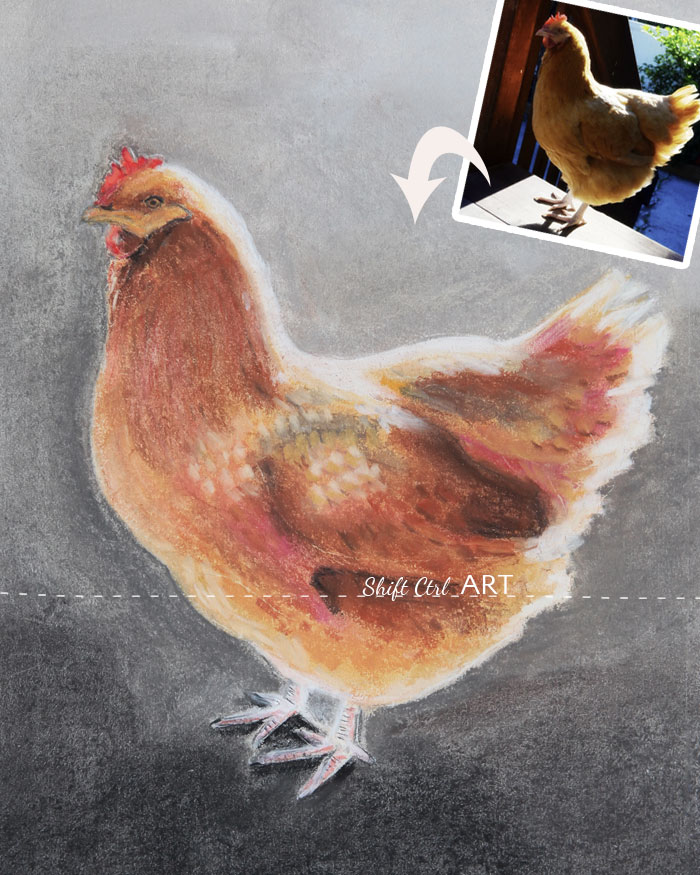
When Kate over at Farmhouse38 sent me the picture of her Clementine above (inserted), what I immediately liked about is was the awesome pin light around her as she was photographed against the sun. I love the glow it brings to her comb. I also love that her tail feathers are so shiny and bright.
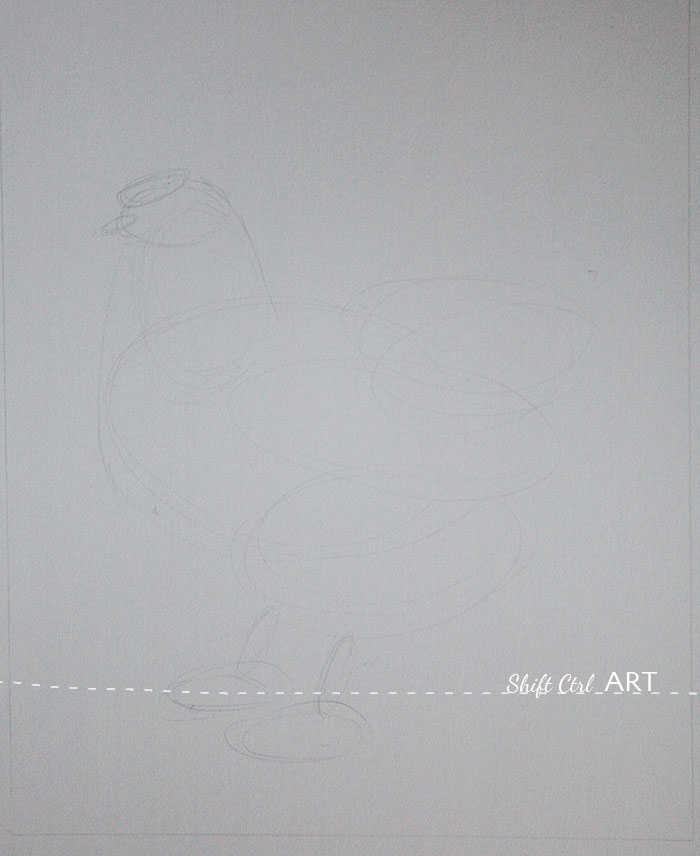
I started out by placing her on the drawing with some approximate circles like this.
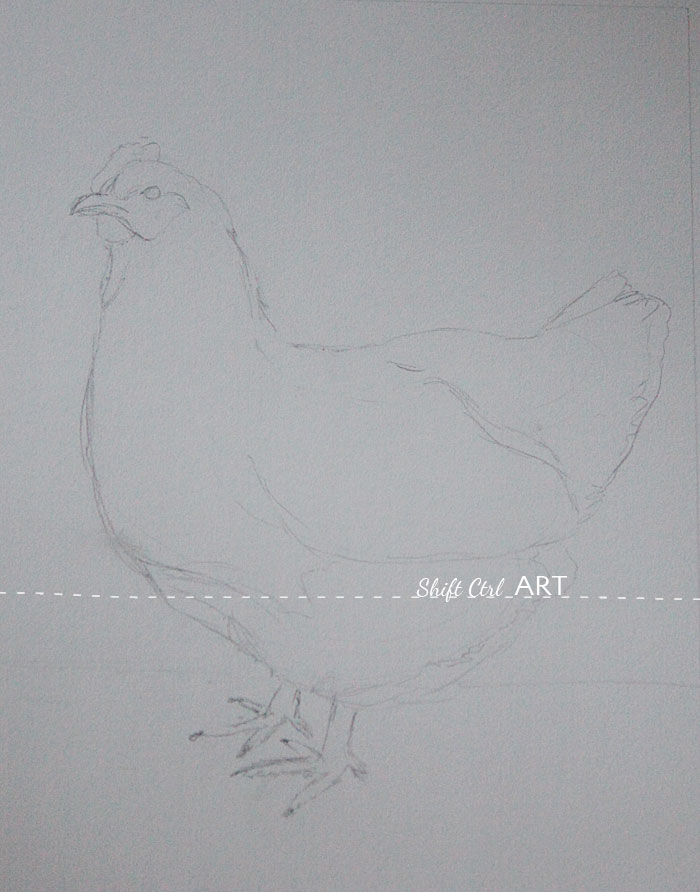
Then, using very light pencil strokes, I drew the outline and erased the circles.
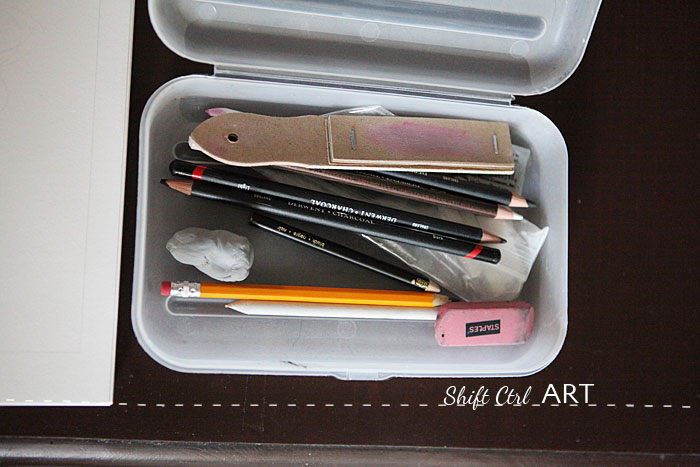
This is my drawing kit. The gray blob is a kneadable eraser. Probably one of my most favorite finds of 2011. An eraser you can mold into any shape you want? Awesome! The white pencil-looking thing is a smudge pen - I am pretty sure I am using the technical term here. It's made of cardboard, rolled up and sharpened and/or cleaned with the sand-paper-strips-on-a-stick you see at the top.
Sand paper on a stick. Awesome!
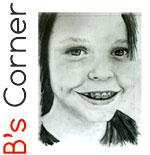
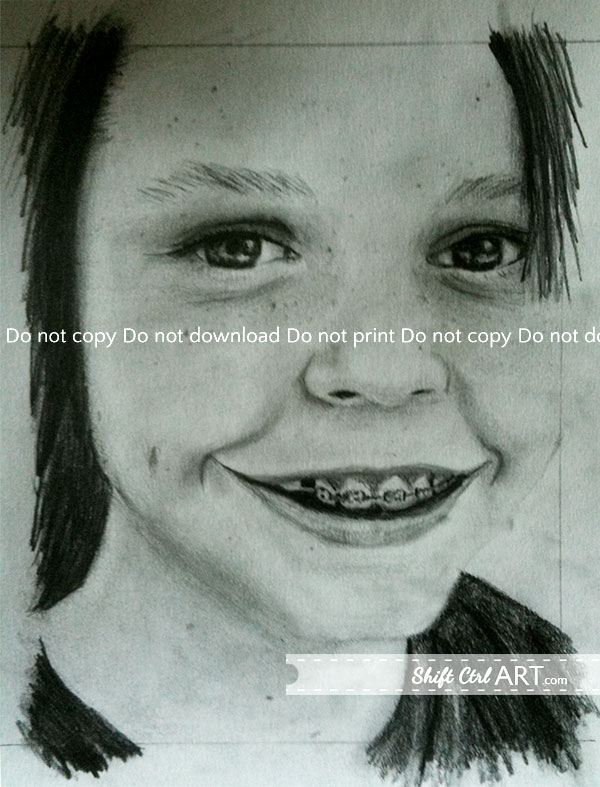
The other pencils are charcoal pencils. These are the kind you can use for charcoal portraits such as this one I made of B.
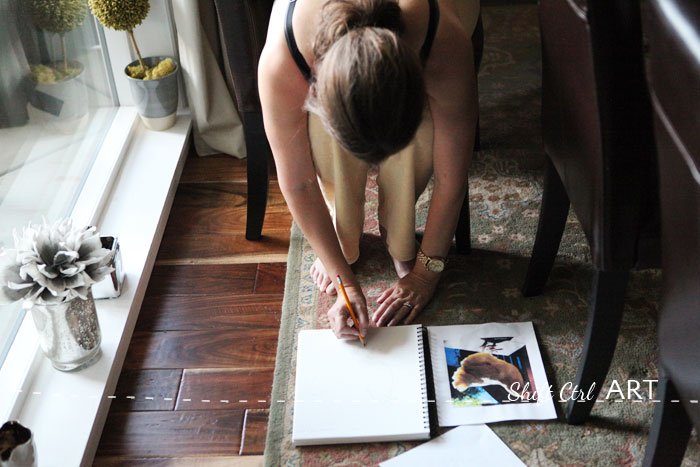
Here I am re checking all the dimensions from a different angle. The rest of the chicken was drawn on the table, but after a while you can't "see" it anymore, so a change of scenery helps. Also turning it upside down is great for this which I learned in art class that I took with B. You can see all his artwork here.
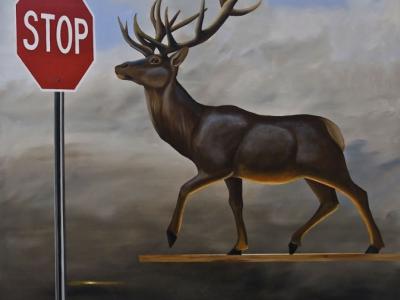
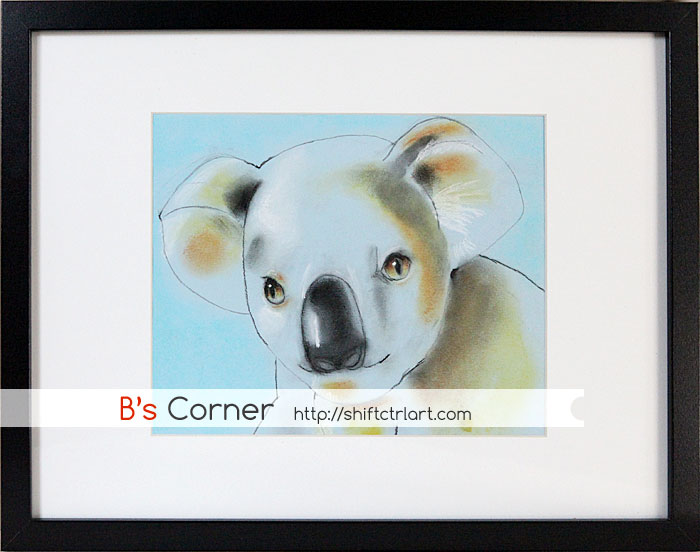
Here is one of my favorites that he made:
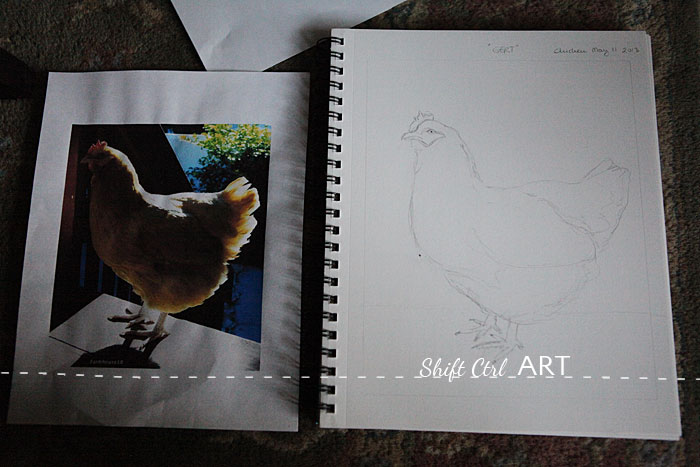
Here you can see the photo and my drawing side by side.
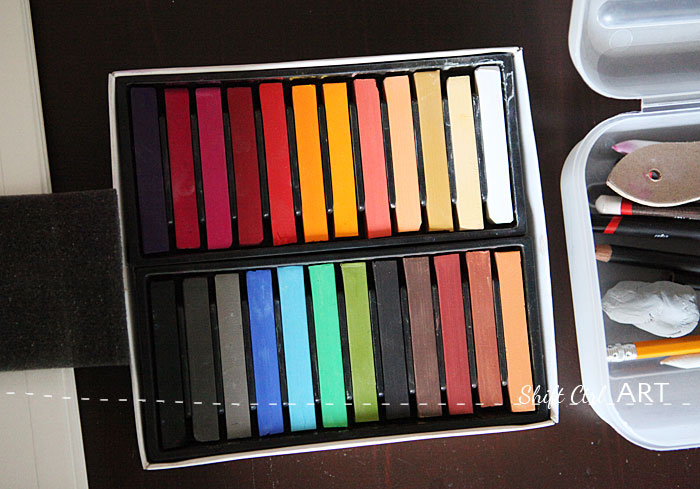
Next I pulled out my pastels. They are still brand new looking because all my other drawings (except for the pink flower that I use in my blog banner) were made in class using their pastels. I broke all of these in half as I was using them.
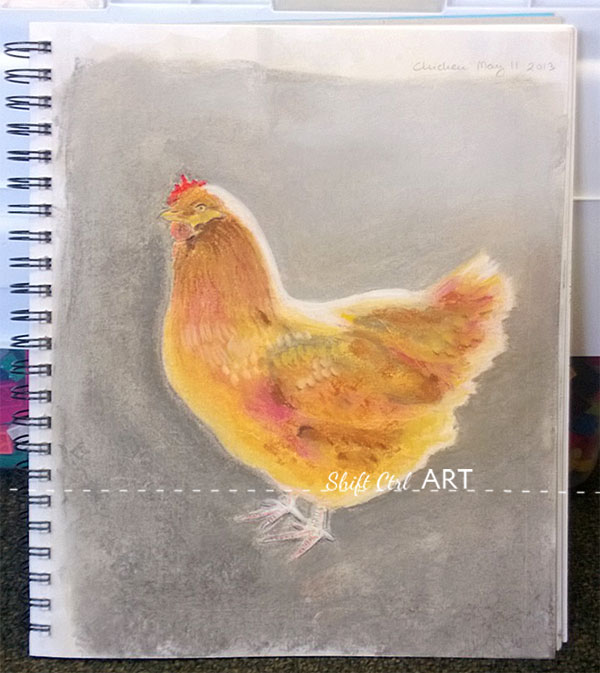
This is after my first pass of colors. I did this while sitting in on a class that B took on Python programming.

And here is the finished piece with even more shading and highlights.
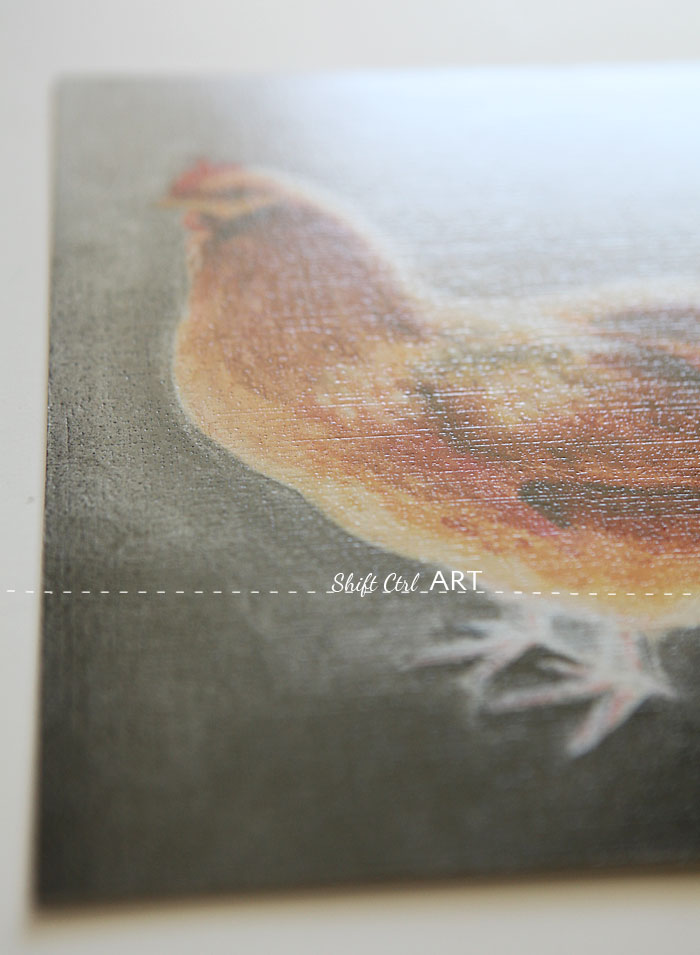
This one I sent off to have printed for the give-away and I just love how that turned out. The print has a subtle linen texture and looks like this against the light.
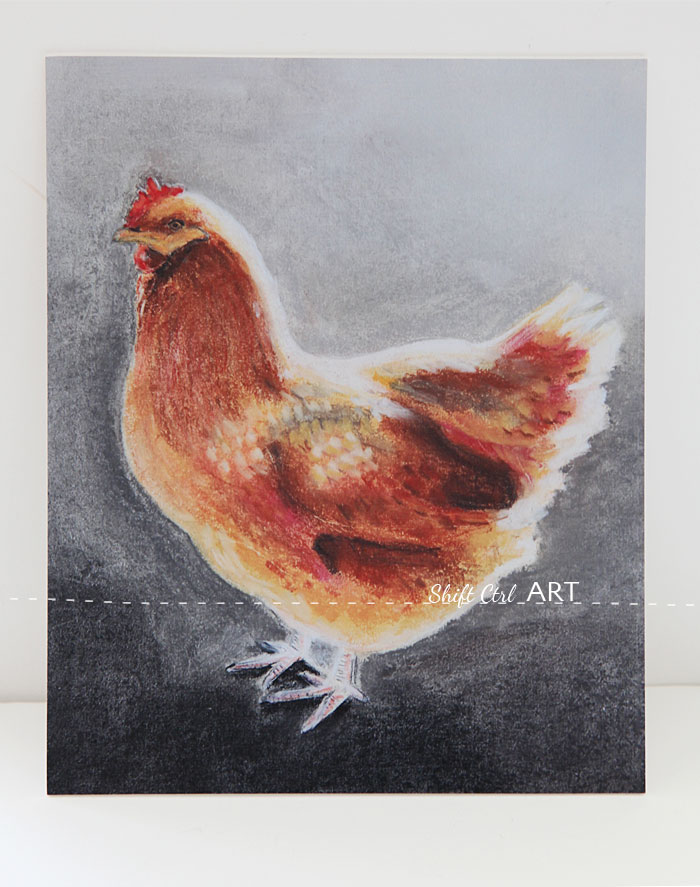
And here is the print straight from the front.
There is still time to enter the give-away. Today is the last day. Enter here: Buff up your Farmhouse style - a joint give-away by Farmhouse38 and ShiftCtrlART
Sharing at It's overflowing

About Katja Kromann
I am a Danish American decorating life in Seattle. I love all things design and DIY.
I can’t think of anything more fun than coming up with project, making it, photographing it and sharing it with you on my websites.
Since 2018 I have been making Ceramics, nearly full time.
AHomeForCeramics.com AHomeForDesign.com AHomeForCrafts.com AHomeForFood.com My Portfolio
Categories
How I drew the Buff Orpinton for the give-away is posted in the category Drawing and Painting
