Christmas ornament - cones


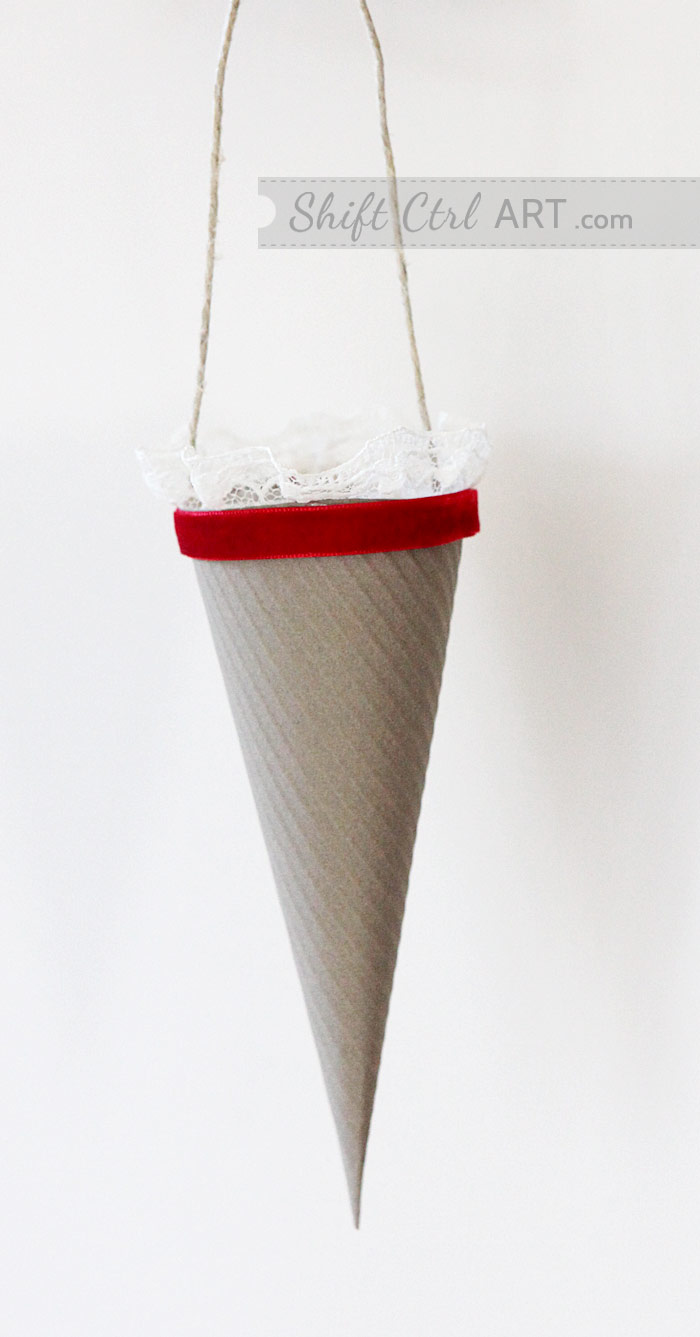
These are cones I made for my Christmas tree last year. I like to make home made ornaments for my tree even more than I like to buy ornaments.
My plan for each Christmas is to make at least one kind of ornament and to buy one pretty set of 2, 3 or 6 ornaments - depending on the design, uniqueness and price.
My favorite places to buy Christmas ornaments are Crate and Barrel and Potterybarn. They are usually expensive - in the 4-6 dollar range per ornament - so my plan is to only buy the one that really appeal to me.
Usually the ornaments in Crate and Barrel and Potterybarn are somewhat over sized, maybe 5 inches and up. I don't really care for ornaments that big. I want the bought ornaments to be more like background pieces and the home made pieces to take up the most room. Because of the size issue, my choices are already pretty limited. Also I seriously do not need any more glass balls. I have too many already. I am always looking for Christmas ornaments that are not sphere shaped, and I look for different textures as well. Color is important too. I have many colors on my tree, but because most of all my pieces individually are pretty monochromatic it does not become too overwhelming.
These ornaments were pretty fast to make after I had gathered the materials which are:
Craft card stock - can be found at scrap booking stores and craft stores. It is brown with a grey tone to it and has tiny colored specks in the paper. This is a staple item to have - very versatile.
Lace with gathering. Some laces are pretty expensive, but I found a narrow one in an acrylic-like fabric that was pretty cheap - also at JoAnns
Velvet ribbon - I really wanted stretchy ribbon, but I could not find any, so I bought the non-stretchy kind which is a little bit more uneven when applied because of the inherent nature of the cone shape. Ribbon by the yard was found at JoAnns.
Hemp cord - also a staple. The best one I have found was at JoAnn. Sometimes Target has had it in their 1 dollar bin, so when you see it there, stock up! Great for gift wrapping and a multitude of other things.
Tools: Scissors or paper trimmer, Glue gun, crimper - all staple items.
Make a template for a cone that looks something like this:


When you are satisfied with your shape cut out as many as you want cones from the craft paper. Be sure to check that the size fits into your crimper.
Crimp all the pieces. Shape them into cones and hot glue the flap to secure inside the cone.
Next, glue the inside rim with hot glue and attach the lace. Trim ends. Careful it is hot!
Then, glue the outside rim with hot glue and attach the velvet ribbon. When you cut the ribbon in the back make it overlap and fold in the end and secure with a dot of hot glue.
Last, cut hemp cord and tie knots at each end for the glue to stick to. Attach on opposite sides inside the cone with hot glue while making sure that the seam of the cone is turned to the back - centered away from the sides.
I really like the rustic look that the hemp cord and craft stock lends to this project against the elegance of the velvet and lace. It is a great juxtaposition of materials and that is why I think these really work!
Idea: If you are interested in tricking them out further, you can add a picture of a vintage santa or angle to the front or a snowflake with an adhesive backed gemstone in the middle.
Other trims to try out are stands of dune and rick rack.
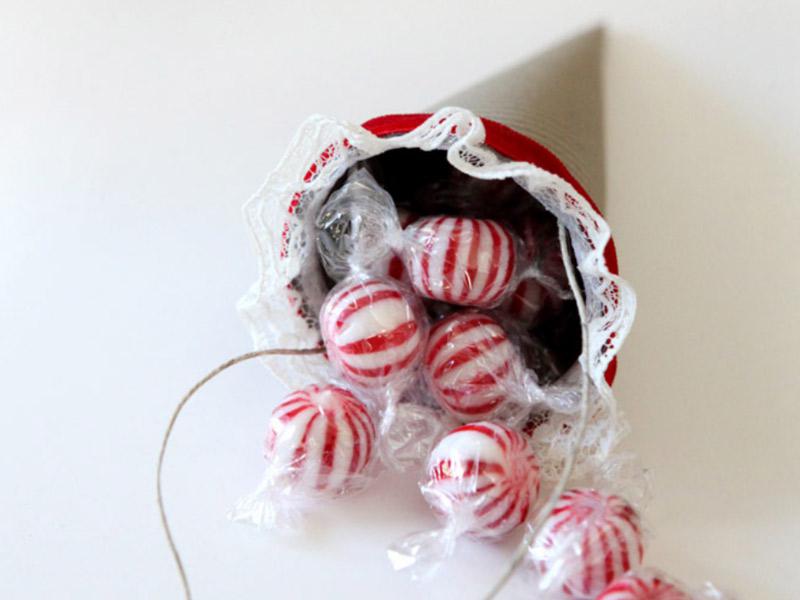
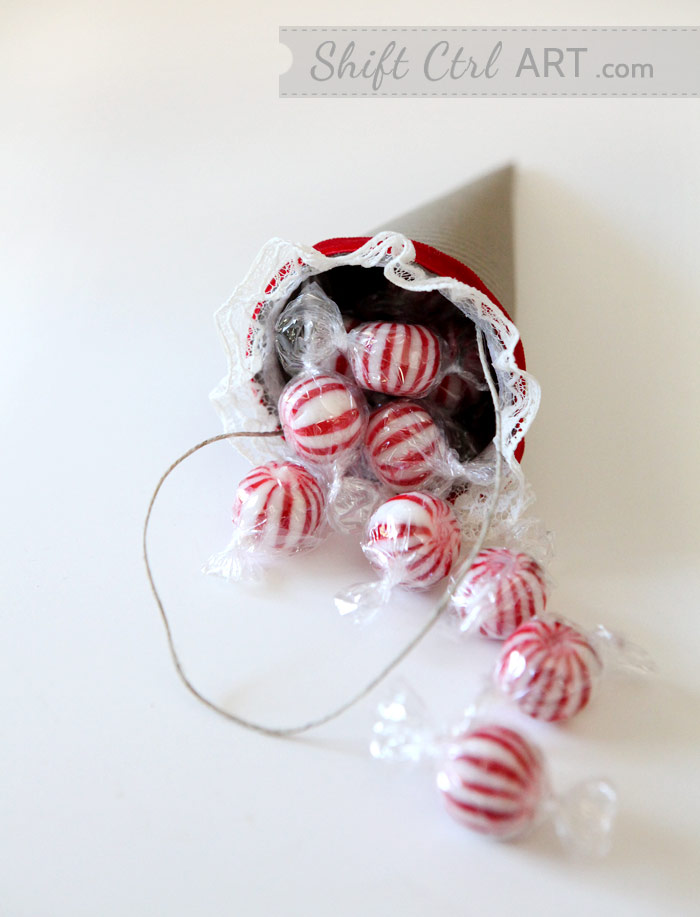
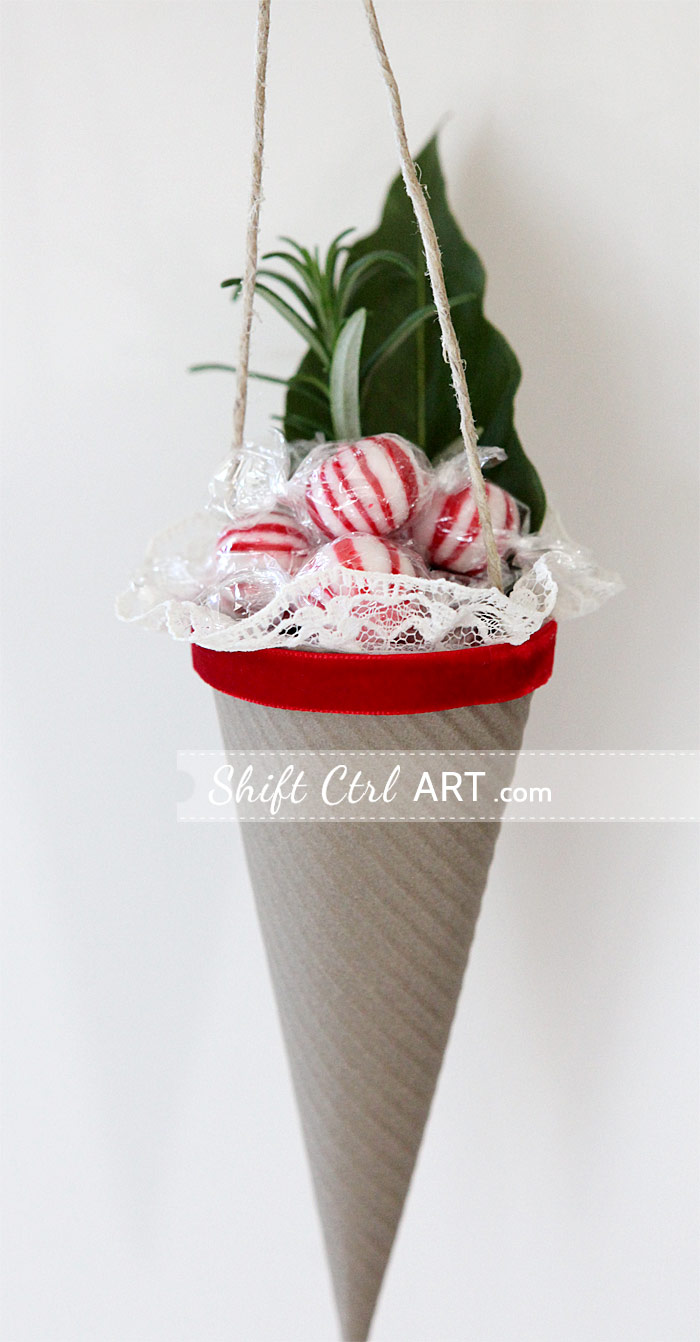
Be sure to fill the cones with goodies like peppermint candy
Other trims to try out are stands of dune and rick rack.
Be sure to fill the cones with goodies like peppermint candy


About Katja Kromann
I am a Danish American decorating life in Seattle. I love all things design and DIY.
I can’t think of anything more fun than coming up with project, making it, photographing it and sharing it with you on my websites.
Since 2018 I have been making Ceramics, nearly full time.
AHomeForCeramics.com AHomeForDesign.com AHomeForCrafts.com AHomeForFood.com My Portfolio


