Master bath update - marble installation
Well, it is about high time that I catch you up on our master bath renovation.
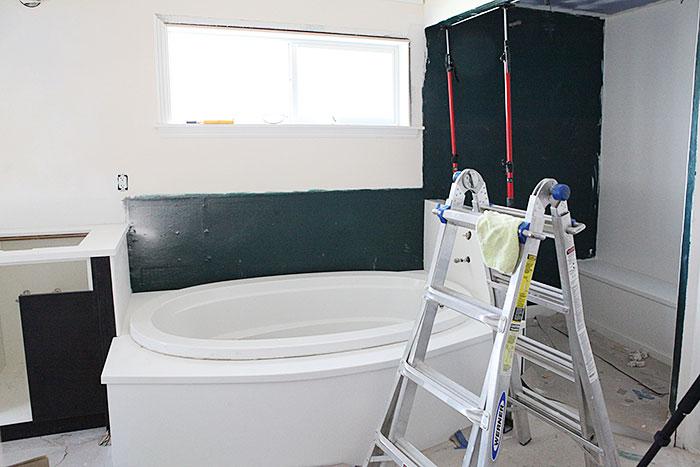
We last left of way before I went to Denmark, all the way back in May, when we installed Hardie Backerboards.
After this was done, I mudded and taped and mudded all the seams. This is a step that you must not skip, especially if you install tile over Hardie. The mudding and taping and mudding creates a seal between the slaps of Hardie, making them all move as one large sheet when the house moves and that will prevent cracks in the grout.
If you ever see a tile job where the grout has cracked, then you know that this is the step that was most likely skipped during installation. So just say no to skipping that step.
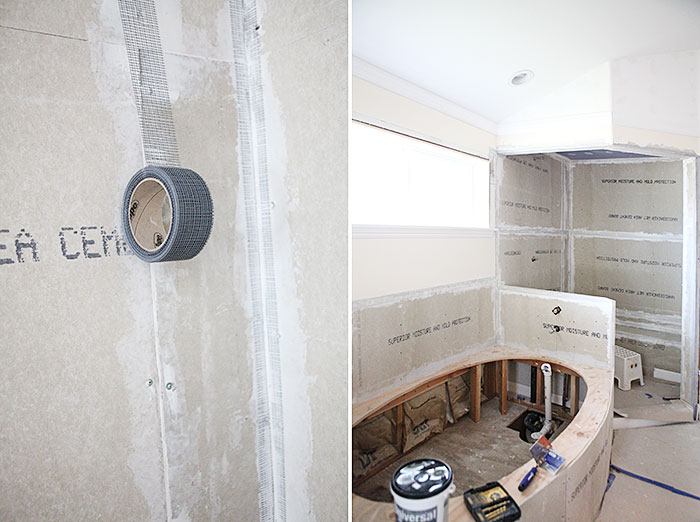
Then, we gave the shower and tub area two coats of Mapei water proofing seal. Tile and especially grout is porous and does not keep water out by itself.
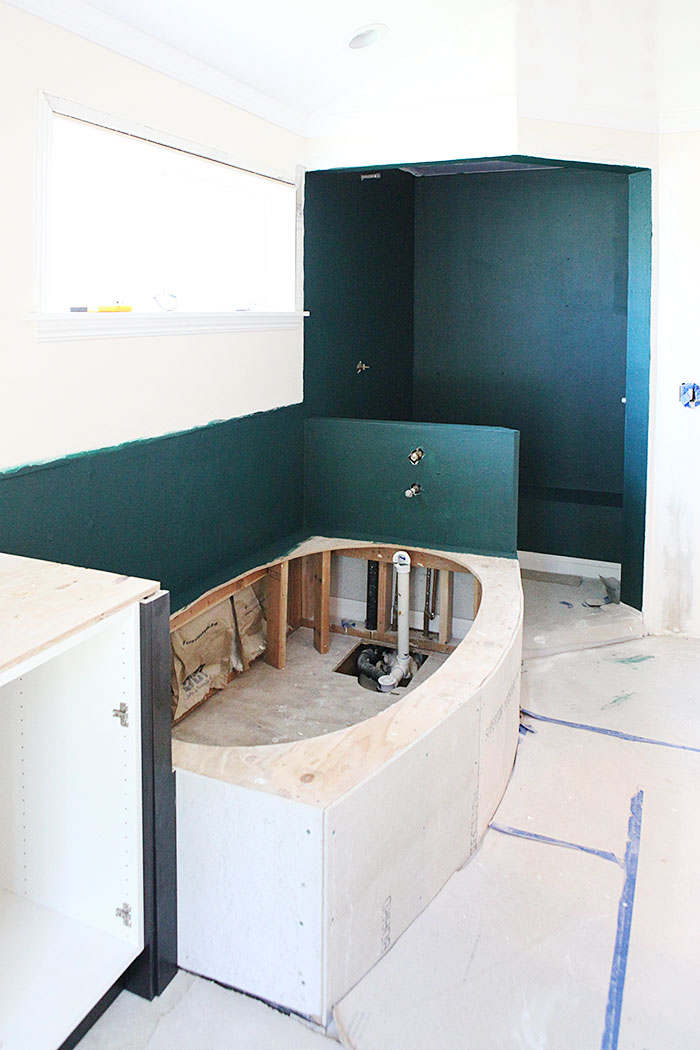
Next, we called back the marble installers and they came out in June. You may recall they installed our pan before we installed the Hardie. The product we are using is a cultured marble, a solid white material. Crushed marble with some sort of bonding agent that you can pour into molds and get the exact shape you want. We are having ours installed by West Coast Marble & Granite.
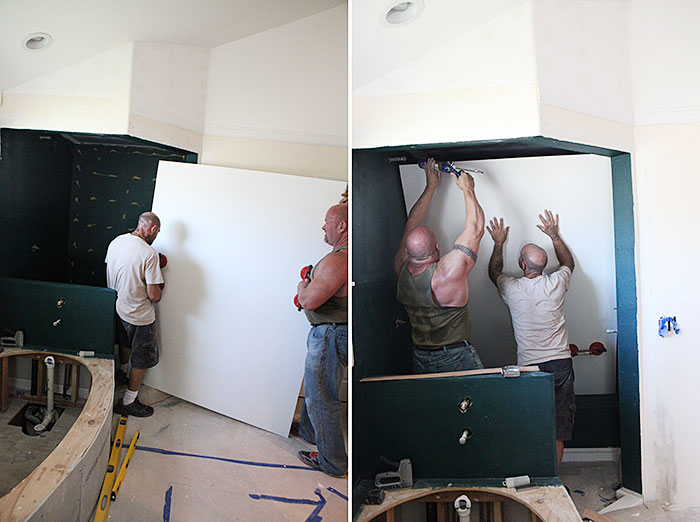
Here the big wall piece for atop the bench area goes in. Geometrics hard at work. These sheets do not bend. At all.
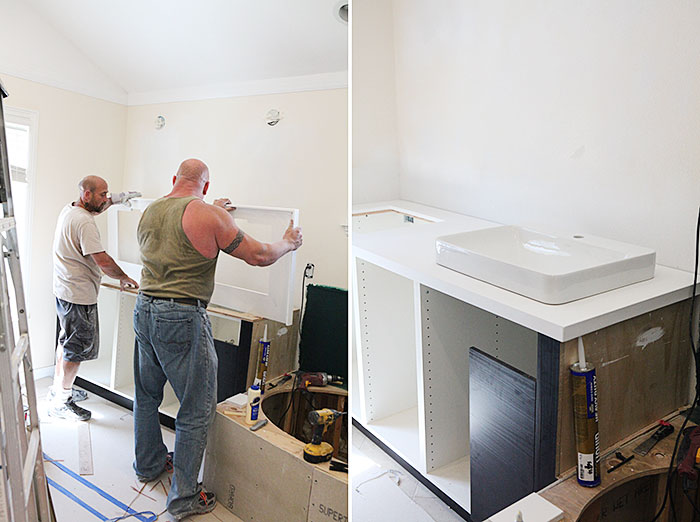
They installed the vanity tabletop and some of the walls in the shower. Here is a sneak peek of the sinks we got. We dry fitted them at this point to be sure everything looked good. I love how it looks! Those rounded corners are so awesome.
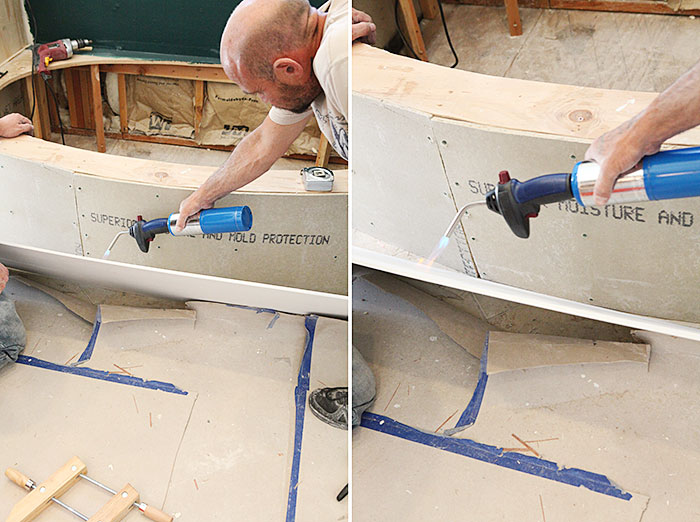
For the front of the tub a piece of marble was heated up to the point where it could be bent around the front. Then glued in place.
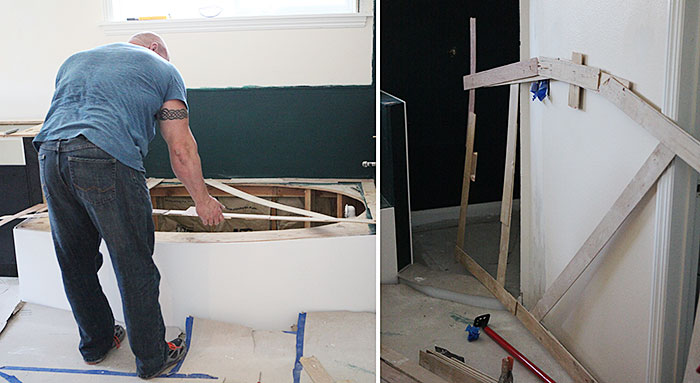
A couple days later they came back and made a template for the tub deck.
Then there was a loooong wait due to scheduling and other stuff, but in July they came back and installed everything that could be installed before tiling.
This is what it looked like just before we went to Denmark. The tub is just sitting loosely in there so as not to take up space in the master.
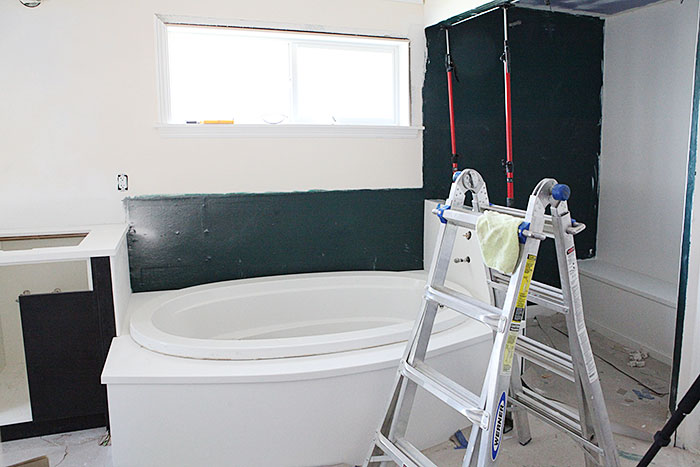
The marble pieces that still need to be installed are mainly the sills around the window and door frame for the shower, and the shampoo niche inside the shower. The sills had to wait for tiling to be done. Such a puzzle.
So that brings us to tiling. That happened last week and I will be back later this week to show you what we did there.
Share
We last left of way before I went to Denmark, all the way back in May, when we installed Hardie Backerboards.
After this was done, I mudded and taped and mudded all the seams. This is a step that you must not skip, especially if you install tile over Hardie. The mudding and taping and mudding creates a seal between the slaps of Hardie, making them all move as one large sheet when the house moves and that will prevent cracks in the grout.
If you ever see a tile job where the grout has cracked, then you know that this is the step that was most likely skipped during installation. So just say no to skipping that step.

Then, we gave the shower and tub area two coats of Mapei water proofing seal. Tile and especially grout is porous and does not keep water out by itself.

Next, we called back the marble installers and they came out in June. You may recall they installed our pan before we installed the Hardie. The product we are using is a cultured marble, a solid white material. Crushed marble with some sort of bonding agent that you can pour into molds and get the exact shape you want. We are having ours installed by West Coast Marble & Granite.

Here the big wall piece for atop the bench area goes in. Geometrics hard at work. These sheets do not bend. At all.
They installed the vanity tabletop and some of the walls in the shower. Here is a sneak peek of the sinks we got. We dry fitted them at this point to be sure everything looked good. I love how it looks! Those rounded corners are so awesome.

For the front of the tub a piece of marble was heated up to the point where it could be bent around the front. Then glued in place.

A couple days later they came back and made a template for the tub deck.

Then there was a loooong wait due to scheduling and other stuff, but in July they came back and installed everything that could be installed before tiling.
This is what it looked like just before we went to Denmark. The tub is just sitting loosely in there so as not to take up space in the master.

The marble pieces that still need to be installed are mainly the sills around the window and door frame for the shower, and the shampoo niche inside the shower. The sills had to wait for tiling to be done. Such a puzzle.
So that brings us to tiling. That happened last week and I will be back later this week to show you what we did there.

About Katja Kromann
I am a Danish American decorating life in Seattle. I love all things design and DIY.
I can’t think of anything more fun than coming up with project, making it, photographing it and sharing it with you on my websites.
Since 2018 I have been making Ceramics, nearly full time.
AHomeForCeramics.com AHomeForDesign.com AHomeForCrafts.com AHomeForFood.com My Portfolio
