Master closet progress - paint and hardware installation
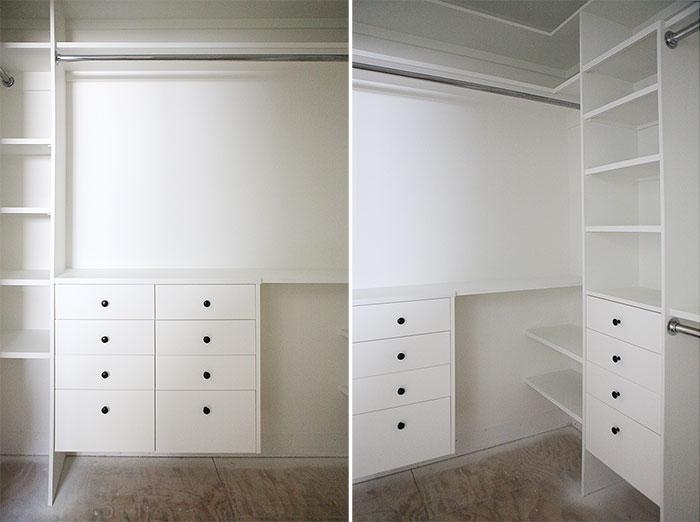
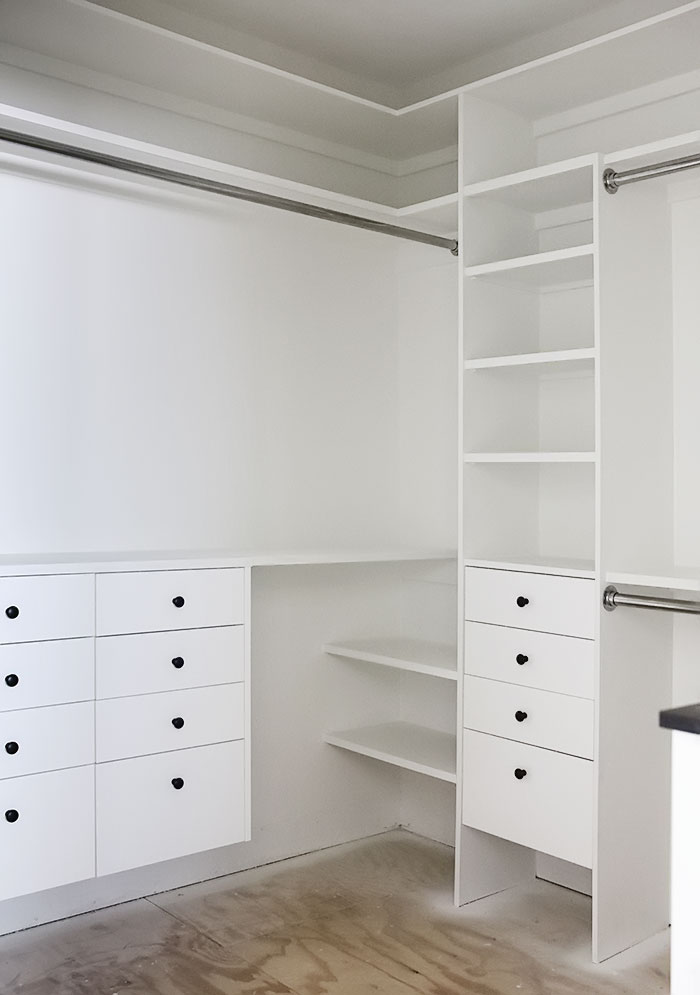
This is what our closet looks like now. As you can see, lots of progress has been made since we last saw this space.
Let's talk about it.
Here is how we last left off things:
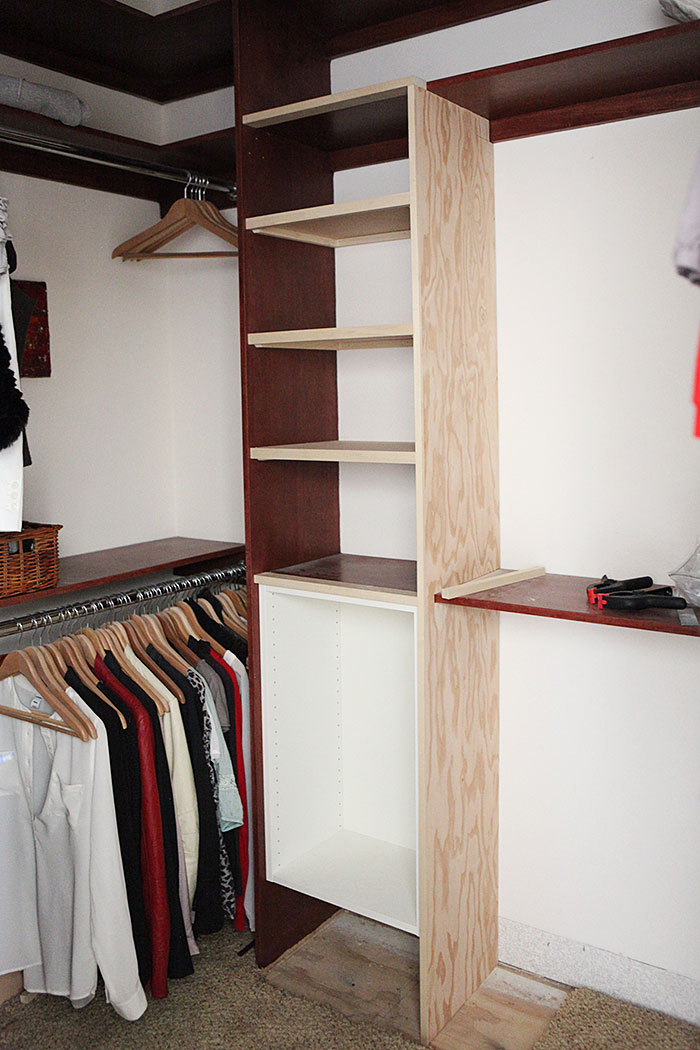
We had just got done installing the first of four drawer sections with a new wall and shelves up above, as well as 10 more shelves around the room.
Next we finished off all the existing long shelves with trim so that they would all look more cohesive with the new shelves. We left off the very top shelf because it extends out further than all the rest and feel more in line with the vertical pieces, which we did not add to either.
You can see all the new wood is the blond wood and MDF and all the existing shelving is dark
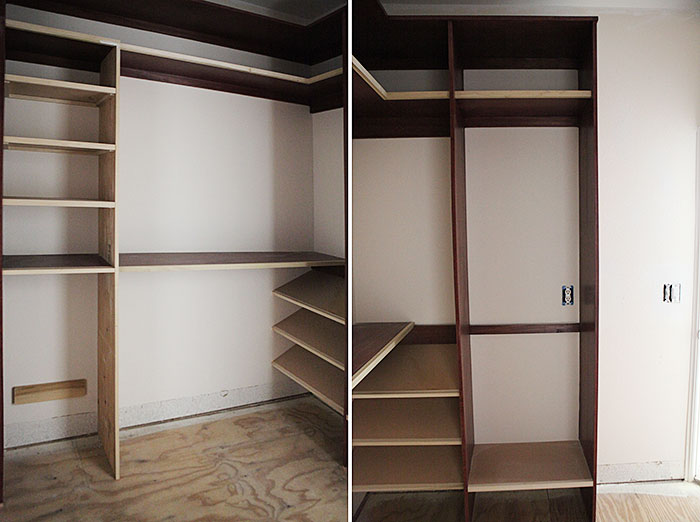
After we got done building all the shelves and putting on the trim, we procrastinated for a bit. Then after I came home from my weekend out I thought our project needed a little forward propelling, so I called in re-enforcements in the form of our handyman who came in and sprayed the closet white.
Sometimes a project needs a little boost to get from procrastination to moving right along.
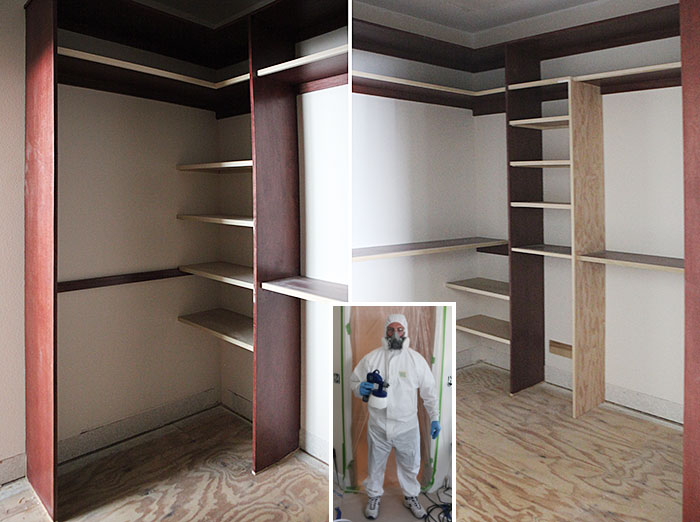
When I say white, I mean color matched to the IKEA Applaud drawer fronts. So more like an off white. That way the drawers will not look completely yellow when installed. Everything will just feel light a bright.
Also I have the best handy man who will let me photograph him in the full painter's get-up for the blog. He's the best!
A coat of paint never looked so nice. We used Zinsser alkyd based Cover stain for primer and then Behr's Alkyd paint on top. This is the formula that Home Depot came up with when I brought in a drawer front to match to:
Base: 2050, eggshell, Clrnt: 384Fh, CL 6, EL 1, IL 1, 666814225880 (barcode). In case you wanted to know.
I chose eggshell finish so the walls and shelves could all be painted with the same paint. You know, the power of done!
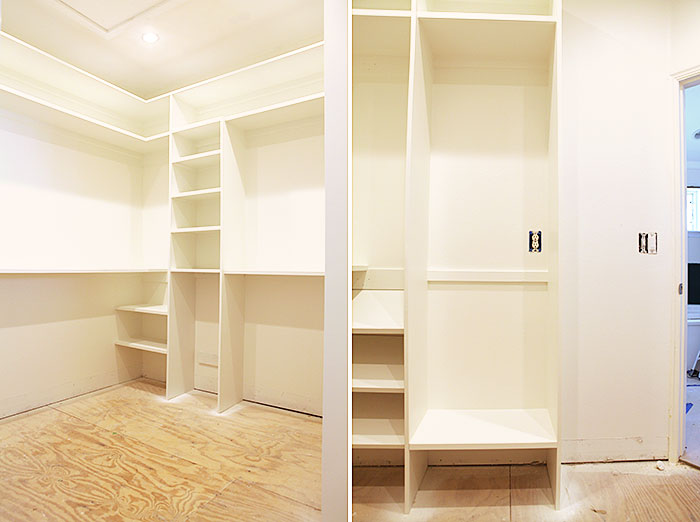
Then Frank and I got back into action. It's amazing how a little help can put the wind back in the sails sometimes.
Frank assembled all the IKEA drawer units while I was out one evening then we both put together 16 drawers. Sixteen! glorious drawers. We installed the cabinets, cut some sides to finish it off this weekend. Cut two of the metal rods to size.
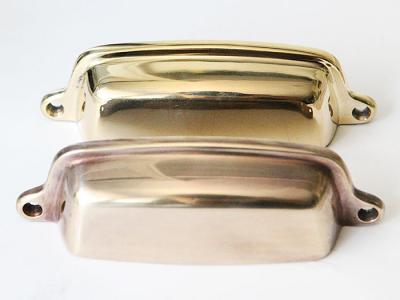
Then came time to install the hardware.
I found some inconspicuous black knobs at Home Depot. They will tie in with some of the black accessories in the bathroom.
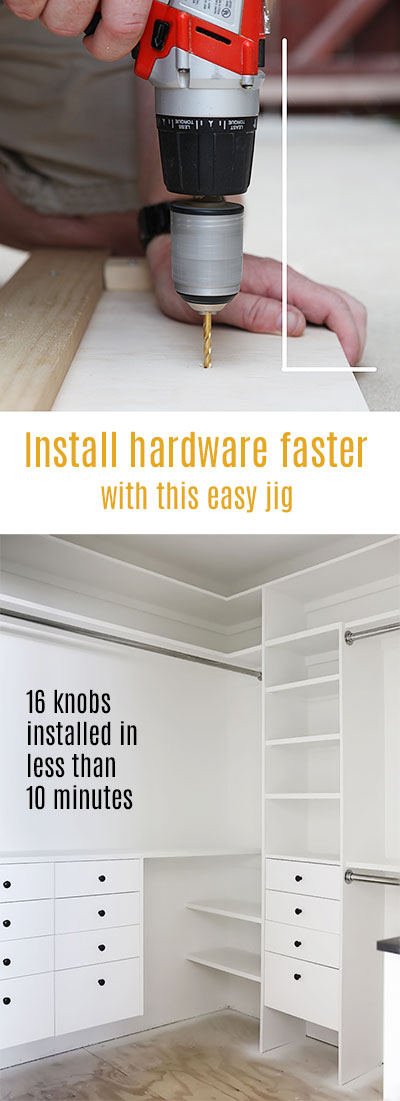
Here is how we installed them super quickly: - It took less than 10 minutes to drill and install all 16 knobs. We made a jig.
How to make the jig:
Get three pieces of scrap wood similar to this. The large piece must be at least a bit taller and wider as half the width and height of your largest drawer front. It must basically cover where the hole will be drilled after you add the two other pieces as a frame.
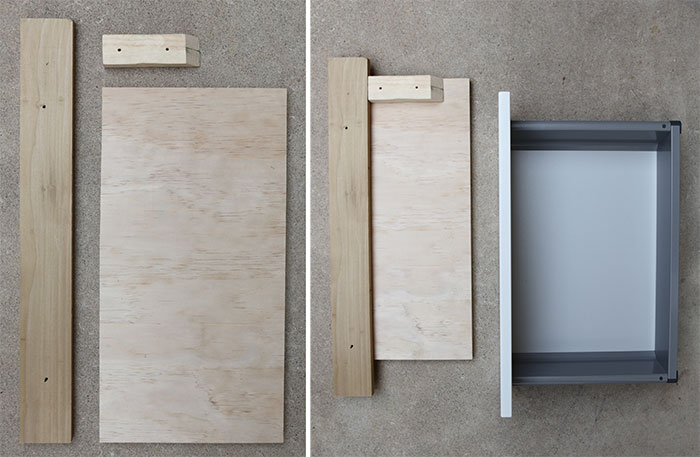
Assemble as shown. The two wood pieces will act as a guide along the two sides of the jig. Screw in place.
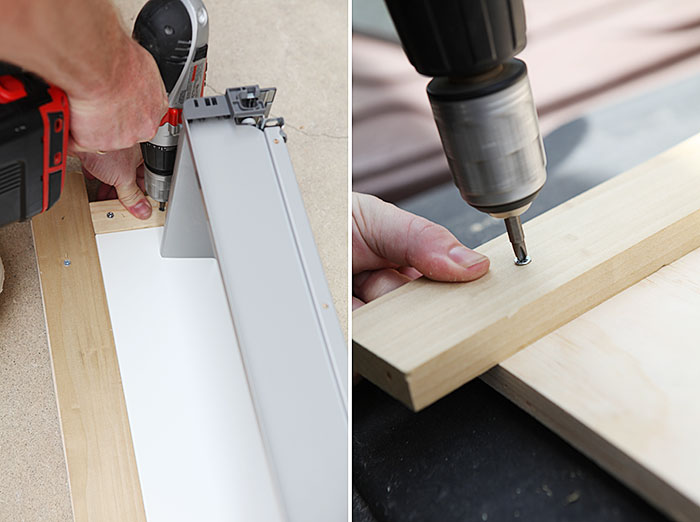
Next, measure and mark the position of the hole for your hardware. It's important that this hole is drilled at a 90 degree angle, so the knob goes in evenly. We used our Dremel tool with our Dremel work station to drill a pilot hole. Then drilled for correct size using our regular drill taking care to hold it perpendicular to the drawer front.

That's it. The jig is done. Put it over each drawer front and make sure the jig is pushed up against the two guides. Then drill your hole(s) in each drawer front. This was easiest to do when the drawers were installed.
We put painter's tape over where the drill would hit the drawer front - on both the front and back to help avoid surface splitting.
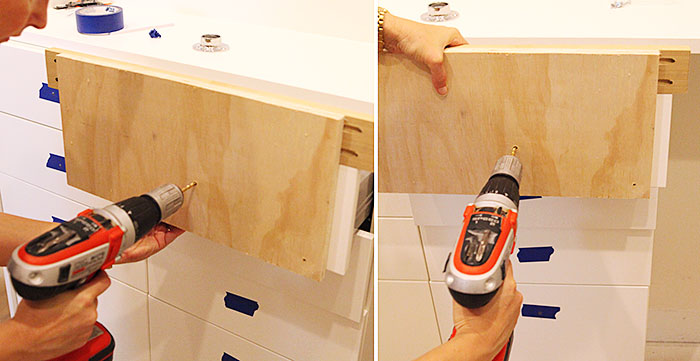
With this handy jig it only took us a little over 5 minutes to not only drill all 16 holes, but also screw in all 16 knobs. The only thing holding us back time wise was cutting open all the plastic bag with the knobs and the screws.
Ready for a progress tour?
Here is a tour of what out closet looks like now
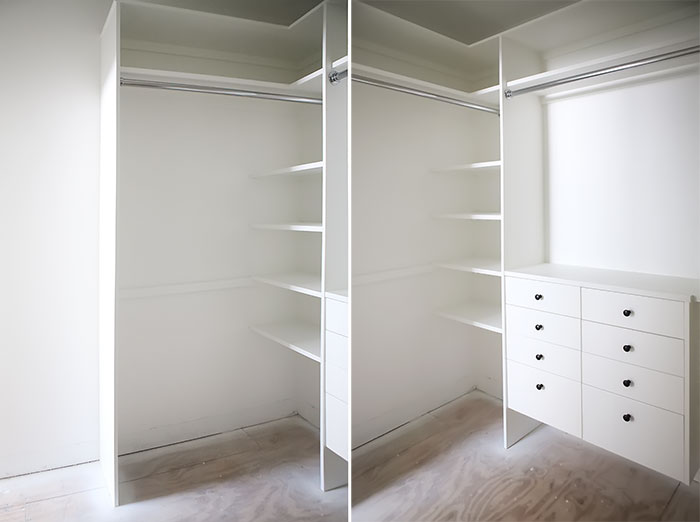
The set of two drawers and shelves in the corner is Frank's section - above. He will have room for his suits in the section for long clothes and all his shirts above the two drawer units.
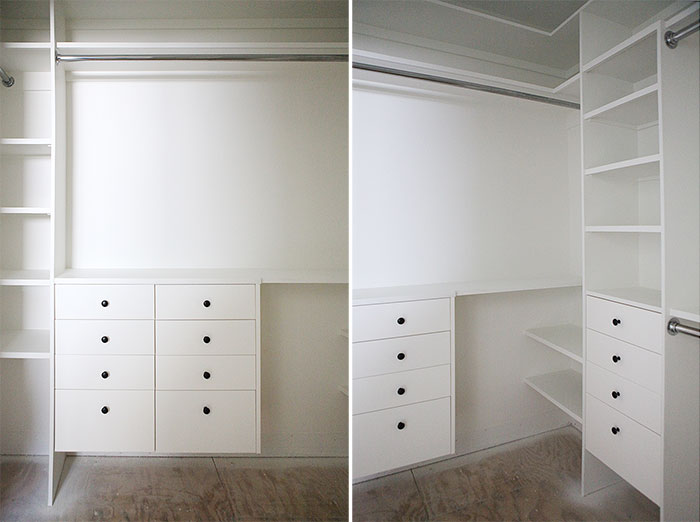
Frank section ends in the corner on the above right. Right next to his drawer section is a little pocket for the step stool that I DIYed a while back. Then my section starts with the single drawer unit and shelves up above and going to the right.
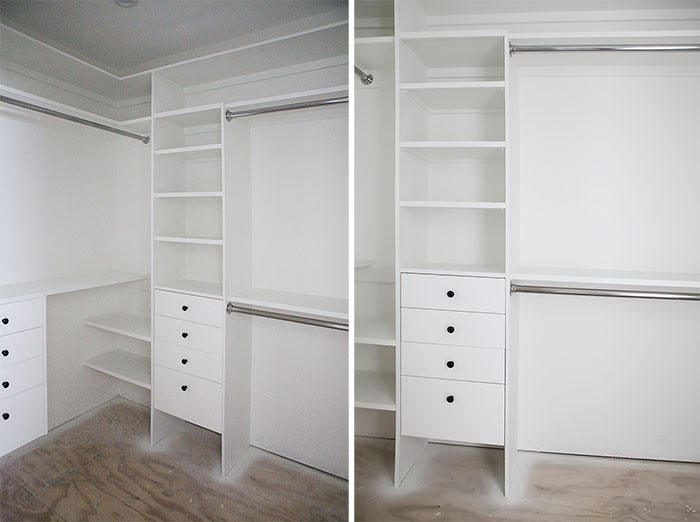
The two new shelves to the left of that is technically in Frank's section, but he selflessly offered them up to me since his shelves are a bit wider than mine. #truelove.
I will have two sections of half height bars for hangers, shirts on top, skirts and pants on the bottom. And then as you come around towards the door again this awesomeness is going on:
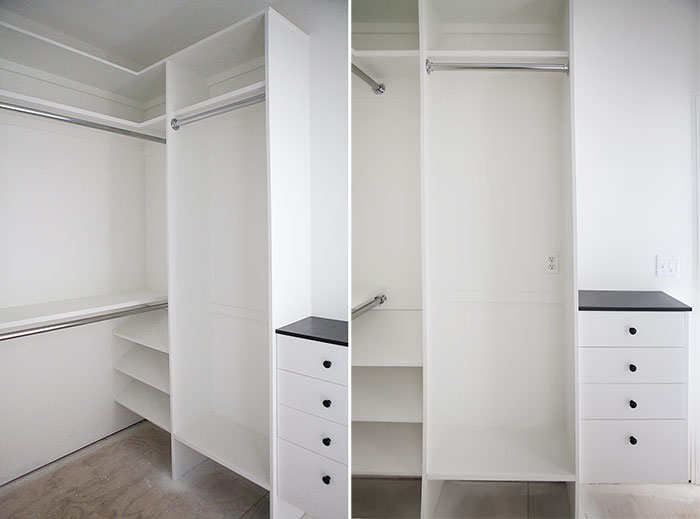
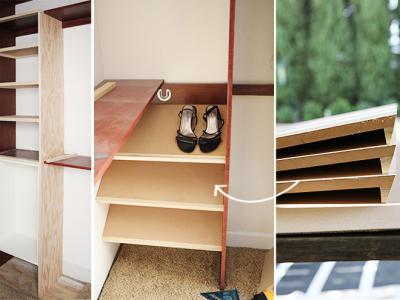
Three angled shoe shelves for me in the corner - say it with me. And a section for long clothes and get this:
I am so excited about this part: A hair drying station - what!
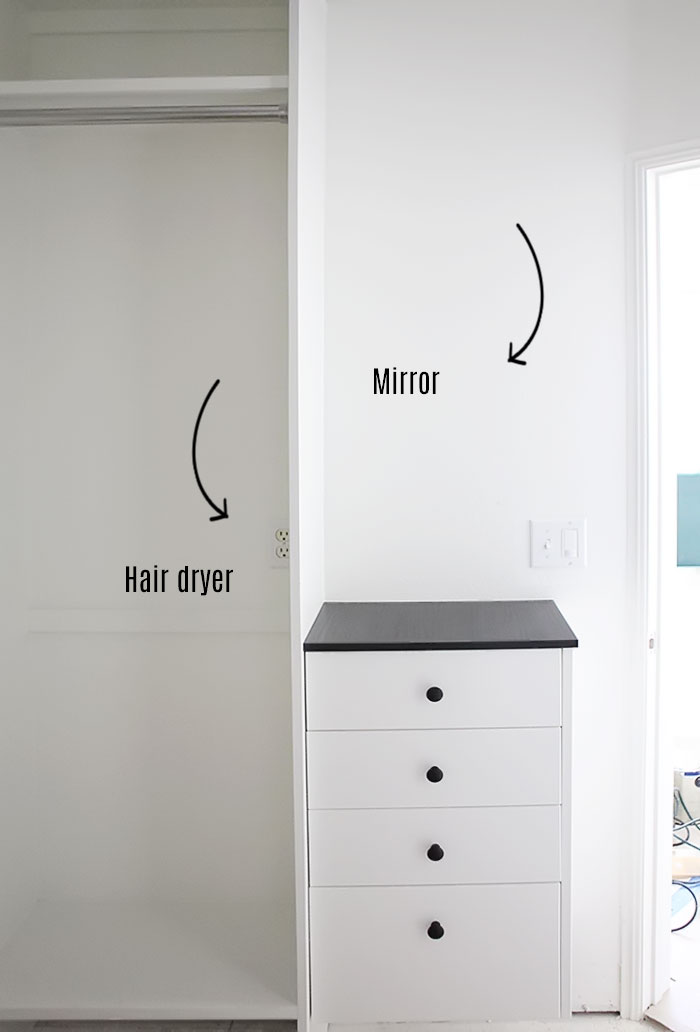
The hairdryer will be hanging on the inside of that little half wall from a hook, hidden behind my long clothes. And then there will be a mirror over that little vanity. We used some leftover paneling from the master bathroom to make a table top to tie into the colors.
And you know what that means? It means that the hair dryer won't clutter up our bathroom vanity any longer. Wahooooo!
And with that we are literally down to the final touches for our master walk-in closet.
Ah yes, there is still the small matter of the floor. You may have noticed the absence of floor covering. We took out the carpet before spraying the closet.
I went to the flooring store yesterday and they are now searching high and low for this flooring that we want in the closet, master and hallway to the staircase - the last few places we have carpet.
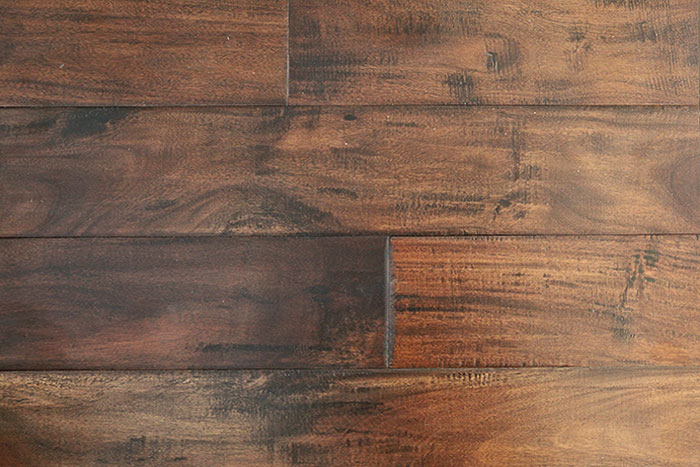
It's an Acacia hardwood floor, like the one we have downstairs, but stained to go with the stairs and the laminate flooring we have in the rest of the upstairs. Here is the floor sample:
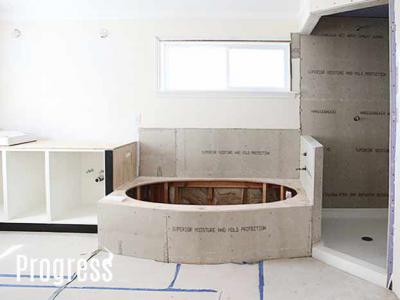
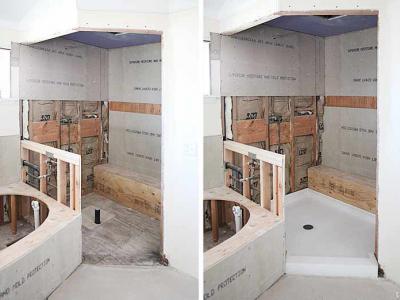
And as far as the master bath, most of the marble has now been installed. Here is a behind the scenes sneak peek. Website only - hover over the camera icon:
Next up in there is tidying up, selecting and putting up tile on the back wall. Home stretch people! (I am trying to psych myself up to tile.)
But let's talk about the closet some more:
I am so excited to move all my clothes back and actually be able to find stuff again.
Final to-dos: Floor installation and probably a DIY or two. I am also on the hunt for some laundry hampers. We need a mirror in there for sure. And a little bit of this and that.
Most of all, I am SO excited that we now have 16 new drawers in our master closet. Because who doesn't get excited about storage. #amiright.

About Katja Kromann
I am a Danish American decorating life in Seattle. I love all things design and DIY.
I can’t think of anything more fun than coming up with project, making it, photographing it and sharing it with you on my websites.
Since 2018 I have been making Ceramics, nearly full time.
AHomeForCeramics.com AHomeForDesign.com AHomeForCrafts.com AHomeForFood.com My Portfolio
Categories
Master closet progress - paint and hardware installation is posted in the category Master Suite
