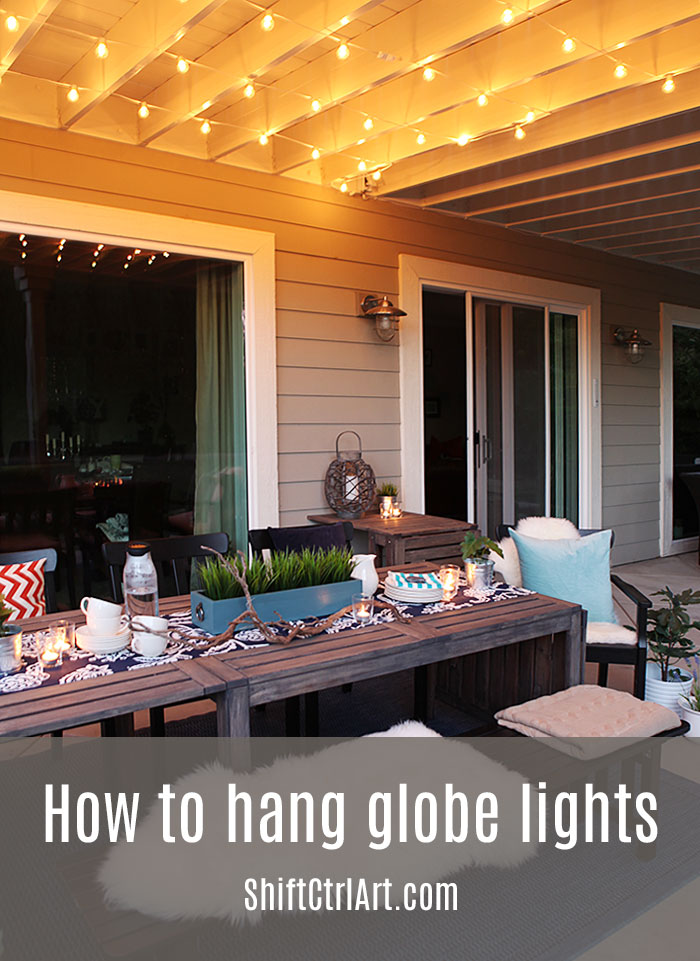
How to: hanging globe lights over the patio dining area
Our kitchen is over on HouseLogic.com at the moment! I am in the same article as TheLetteredCottage.net... weeeeeeeee ![]()
-----
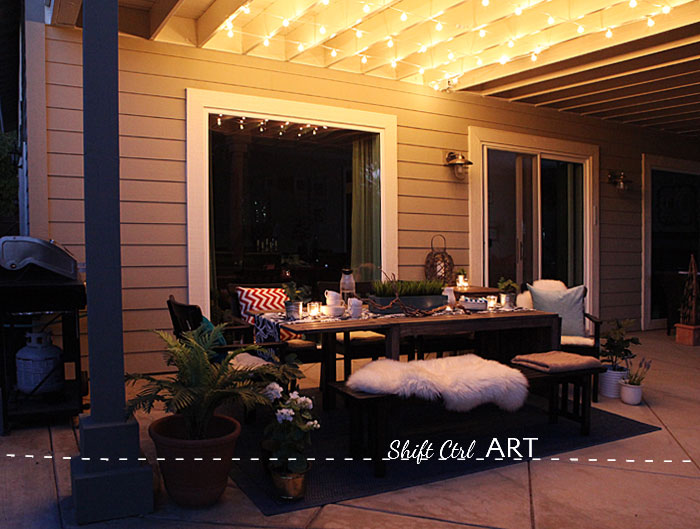
So last week I showed you our outdoor patio dining area.
We hung up some globe lights over the dining table to get some ambient lighting. We clowned around a little while hanging them, which I (of course) have photo documented down to the smallest detail.
Let's take a look.
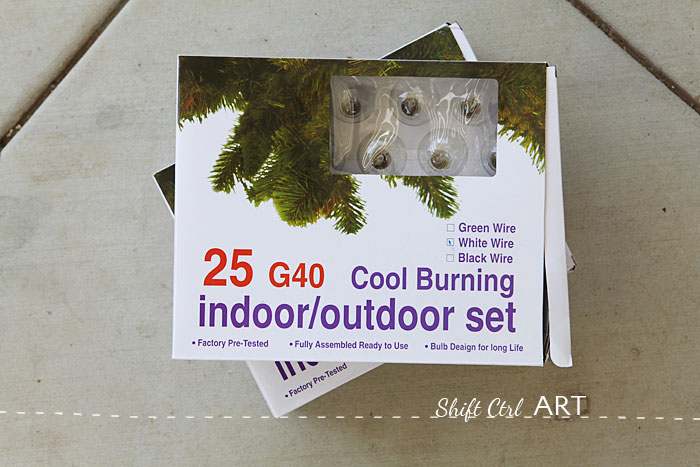
We got these globe lights (no affiliation) after looking around quite a bit. We debated getting black or white wire. I was in favor of black, but these lights only come with a frosted bulb if the wire has to be black. I wanted a clear globe more than black wire, so we went with the white wire.
They are indoor/outdoor, but not for permanent installation. They will work fine for being up over the summer. I forgot to get extra bulbs, but they are available at the same store for down the line.
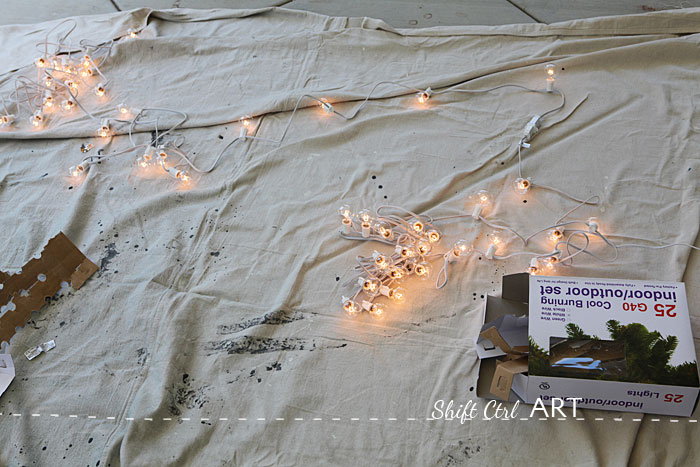
Even though they are "factory tested", we also "home tested" them, just to be sure ![]()
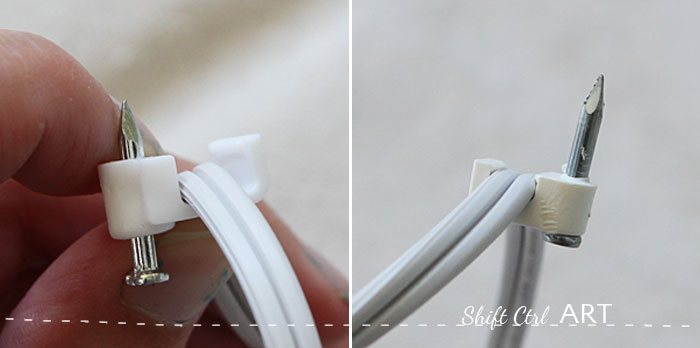
To hang them, we considered several options. One was to staple them, but we worried that the wire would get nicked.
Then we considered using those bigger wire staples that you put in with a hammer. Usually you use these to secure wires along studs inside walls. We nixed that idea because it would bee too difficult to get down again.
We decided to go with some plastic wire holders. They would only leave one nail hole for each instead of two with a staple. We had a few sizes to choose from and we went with the smallest ones that hugged the wire tightly - the one on the right hand side.
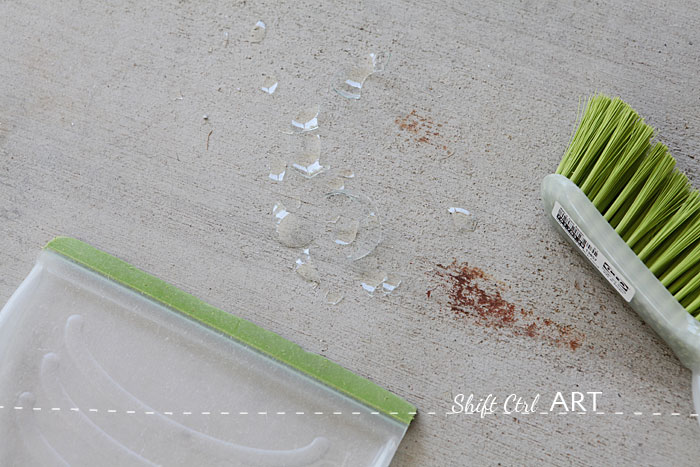
Oh and the globes are made of the thinnest glass and they are quite fragile. Better get on ordering a few replacement bulbs to have on hand ![]()
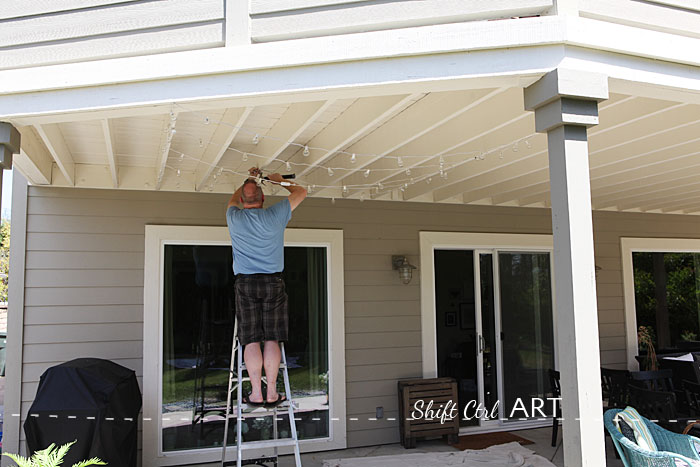
At first we hung them in a sort of loose swagging pattern. While it doesn't really look all that bad from this angle, it didn't look good in real life. Our patio cover is so large and with our two tiny strands, it just wasn't ideal.
We had also considered hanging them as a big swaggy X over the dining room table, but we get strong winds here every once in a while and we worried the bulbs would smash against each other in that case.
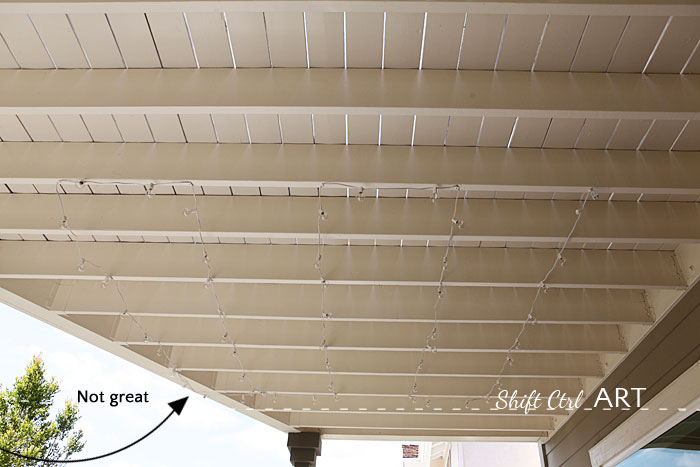
Then we hung them more snug and tight like you see her, only on the last row we ended up at the very edge of the patio cover. We sat and looked at that for quite some time. Trying to convince ourselves that it was ok.
But it just wasn't... Could not live with it...
We did decide, however, that we liked everything else such as the tight wire and the spacing.
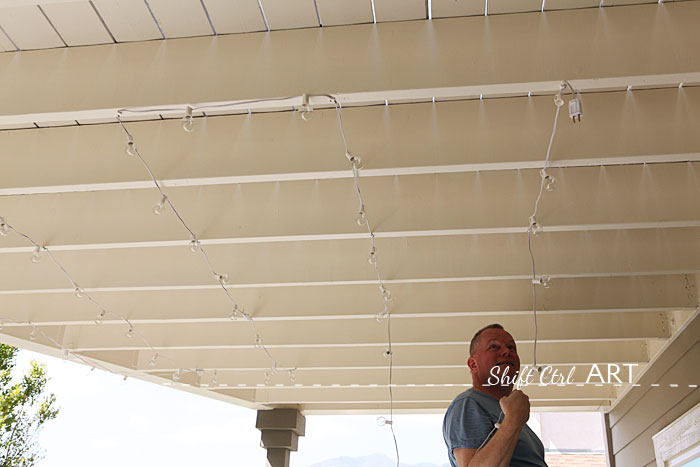
So down they came.
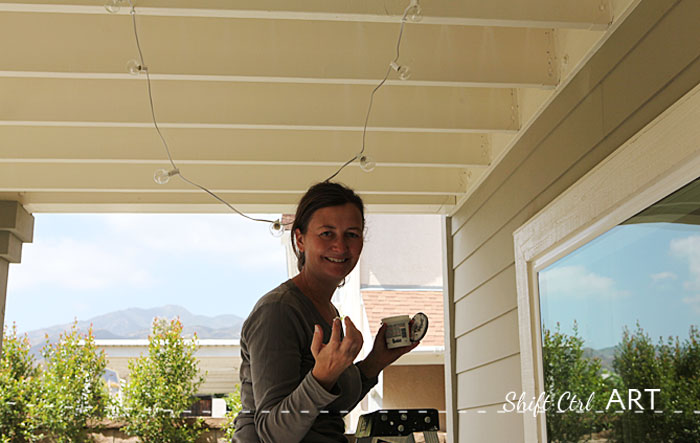
I spackled all the holes right away as each row came down. That way we only had to move the latter once for those two tasks.
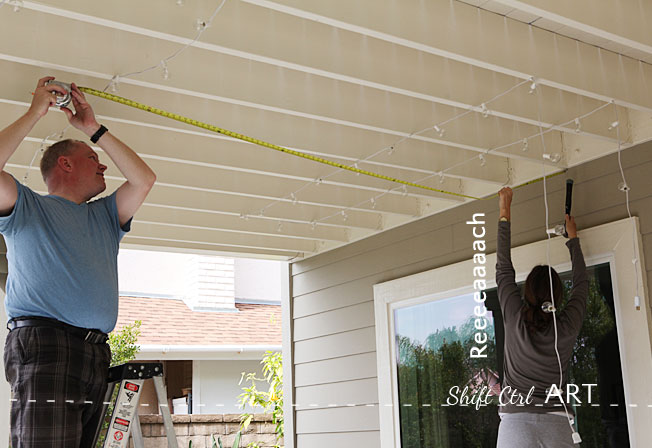
Then we tried something brand new: Measuring!!!! Uuuuuuhhhh. We were too lazy to get out the big ladder, so I used our hammer to hold up the tape measure. B took these photos.
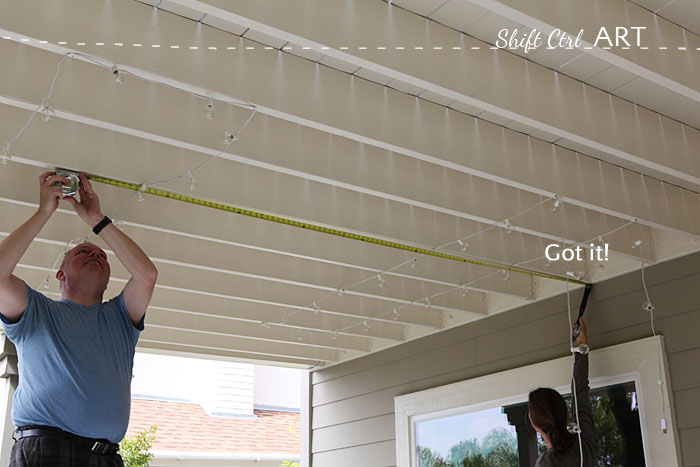
I could just reach.
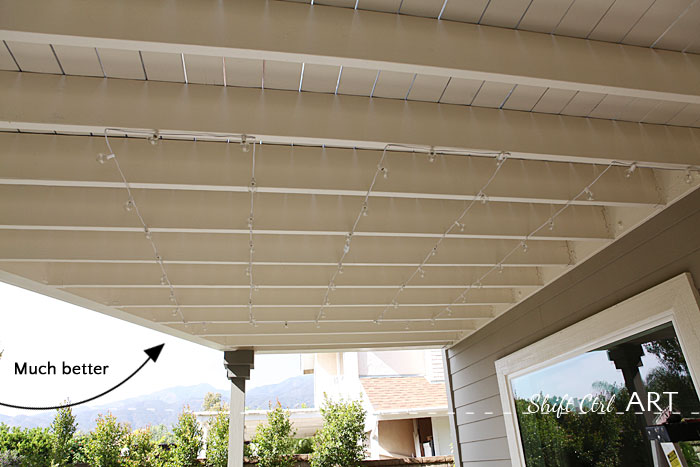
And here you see it re-hung. No bulbs are visible outside the cover. Love it!
We had an exterior outlet put in up under the patio cover while we renovated the inside and put in the big windows and new patio door.
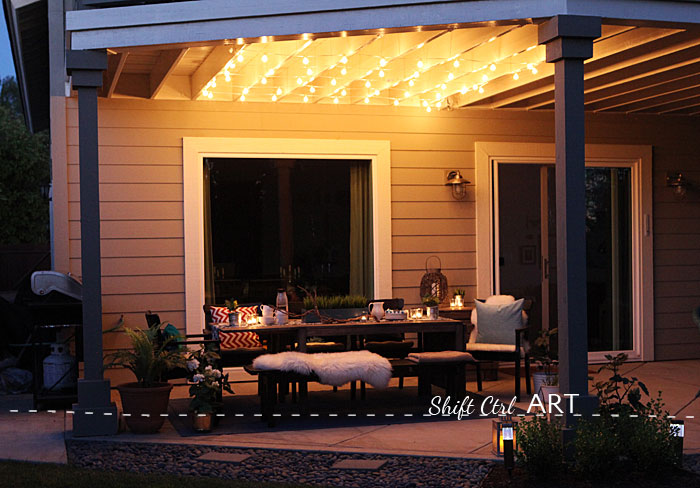
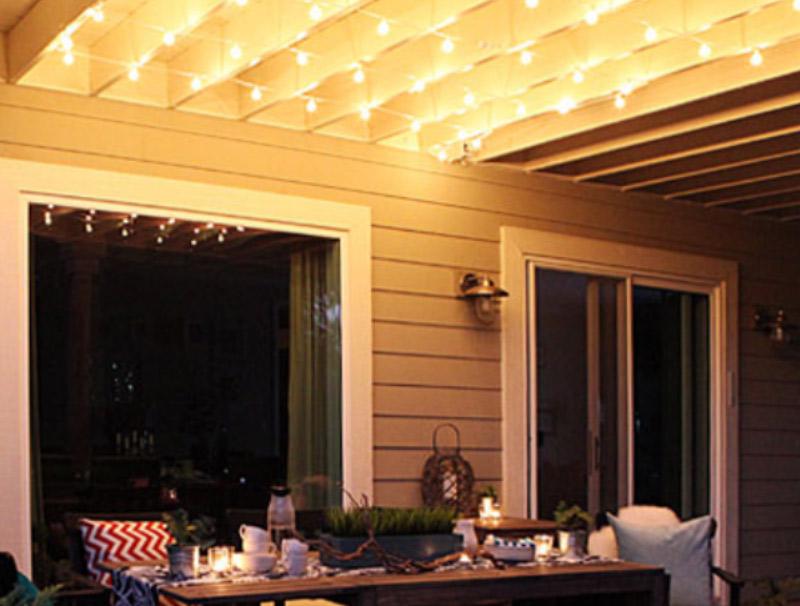
And here are the lights turned on at night time. I love how warm the lights are and they are so soft and glow-y.
Have you ever hung up globe lights? Did you swag them or hang them tightly?
Next: Painting the outdoor furniture - how I got that barnwood color

I am a Danish American decorating life in Seattle. I love all things design and DIY.
I can’t think of anything more fun than coming up with project, making it, photographing it and sharing it with you on my websites.
Since 2018 I have been making Ceramics, nearly full time.
AHomeForCeramics.com AHomeForDesign.com AHomeForCrafts.com AHomeForFood.com My Portfolio
