Pleated burlap tree skirt - DIY
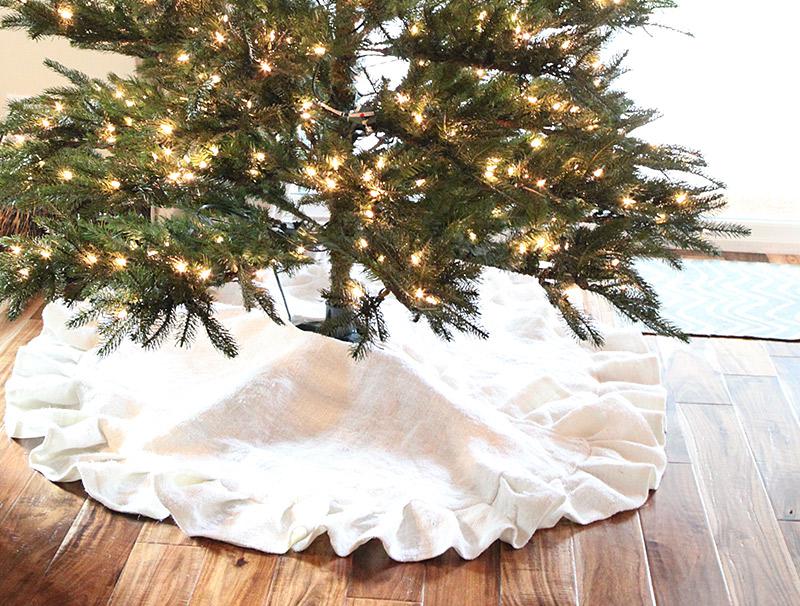
The other week we got this new Christmas tree that is 8ft tall and pre-lit (yay!). I really like it and thought it would go well with a new burlap tree skirt. Is that what you were thinking too? great!
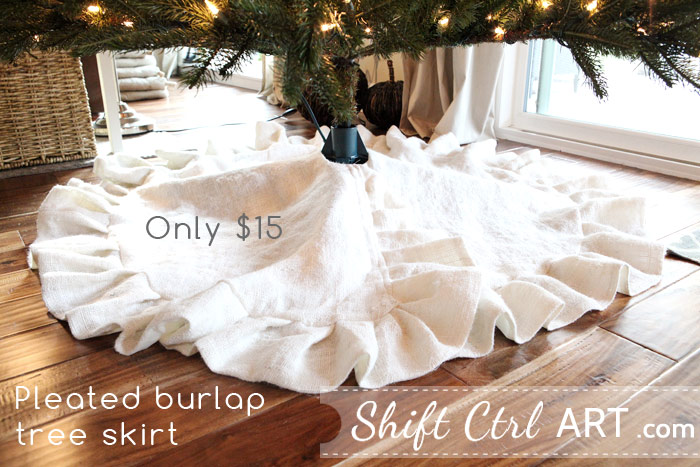
I made this pleated burlap tree skirt. I used white burlap and white lining, both of which I got at JoAnn's. Burlap is really cheap, I think about $3 a yard and I used 3 yards for this skirt. The lining was even less.
First I washed the fabrics, which you saw as a sneak peek if you follow me on Facebook (Thank you!)
Here is how I made it. Also known as a-cavalcade-of-yellow-tinted-images because I made it at night time. Ready?
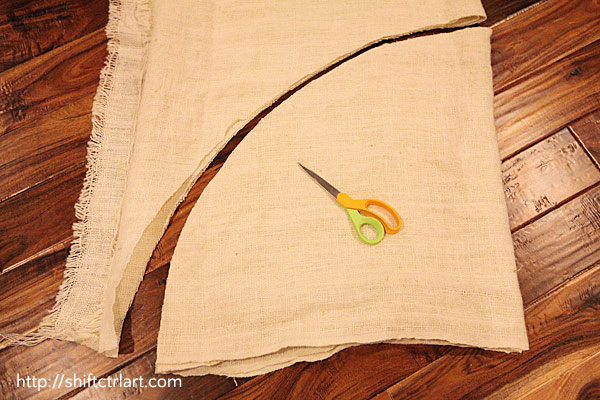
My burlap was not wide enough to cut out the full circle, so I cut out to halves.
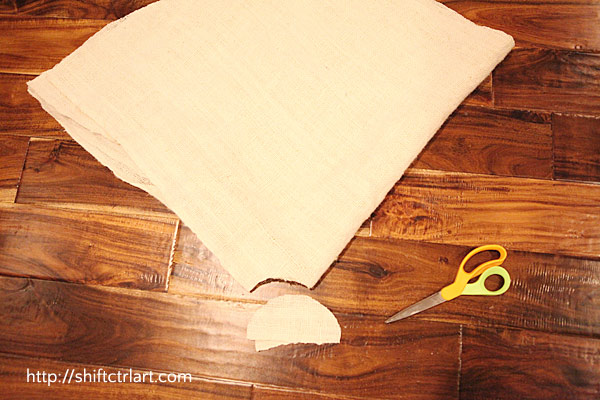
Cut out a circle for around the tree stem.
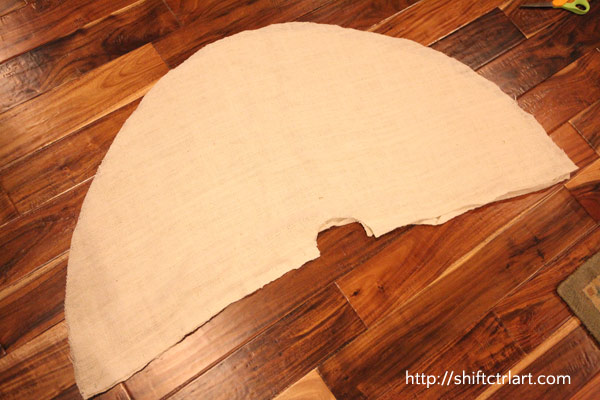
Then I sewed one of the sides together of the two half circles. Leaving the other one open to get the skirt around the tree.
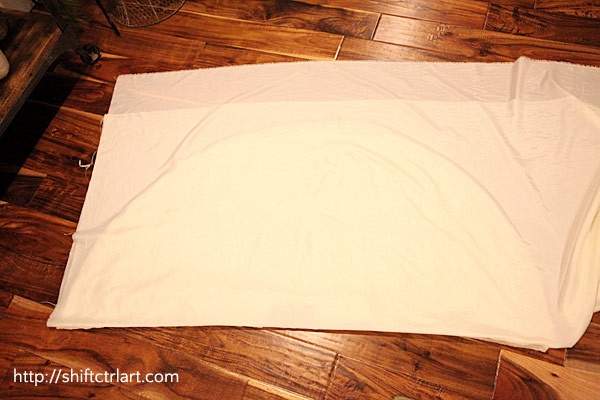
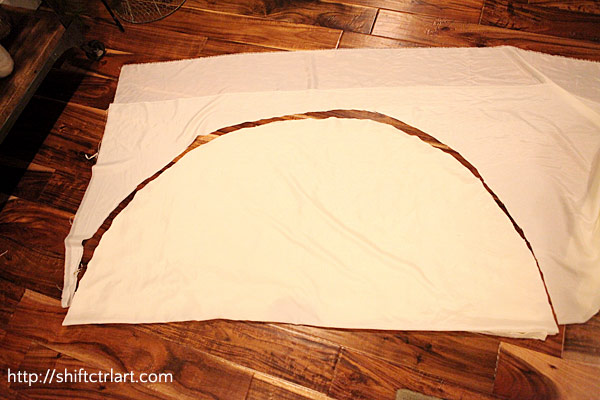
I cut out a piece of lining to match.
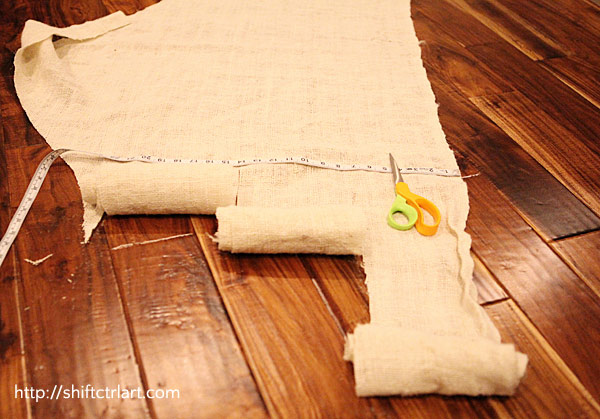
I cut out 7 inch strips of burlap for the pleats.
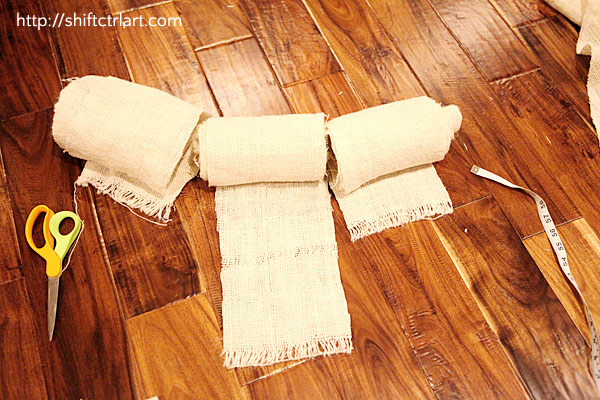
The total length of the strip for the pleat is about twice the circumference of the tree skirt. (You get the circumference by multiplying the diameter of the skirt by 3.14 - I know ... math....)
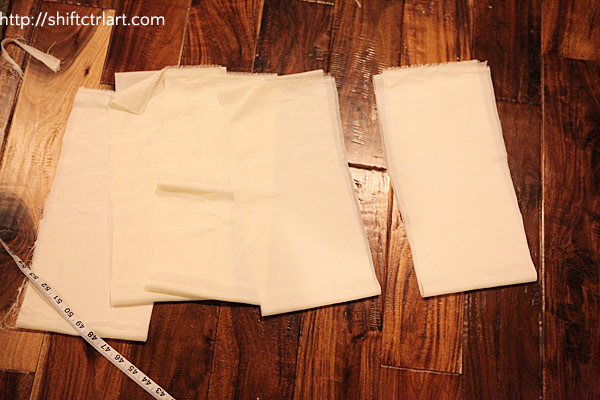
I cut 7 inch strips of lining. My fabric was not as long, so I had to cut several. Then sew them all together for one long strip.
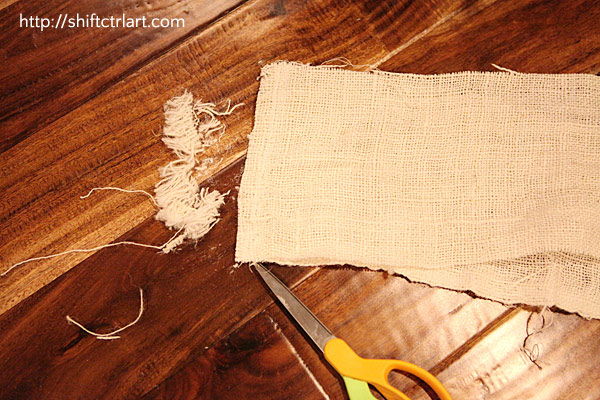
I sewed the burlap strips together as well and trimmed the ends.
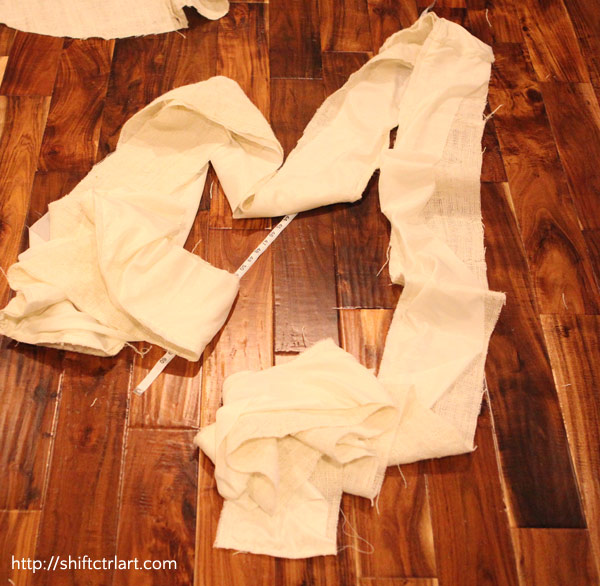
I put the burlap strip on top of the lining strip and stitched along the long side and the two ends, then turned the fabric around and gave it a good press with an iron.
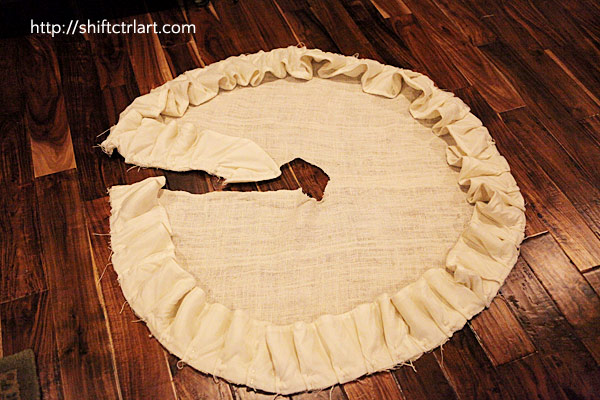
Then I made the pleat. For every 5 inches, I pinched the pleat strip and made a 1 inch deep pleat. So every pleat ends up being 3 inches apart.
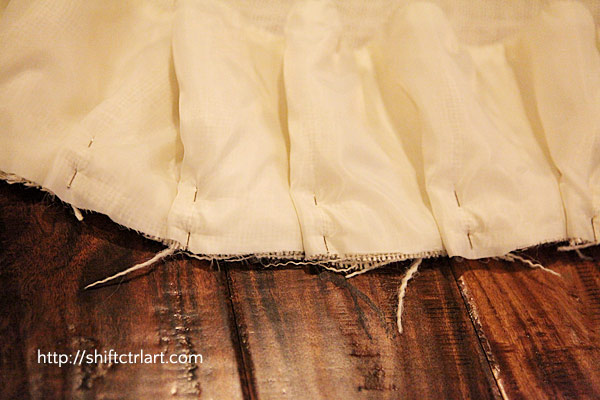
Here is a close-up of that.
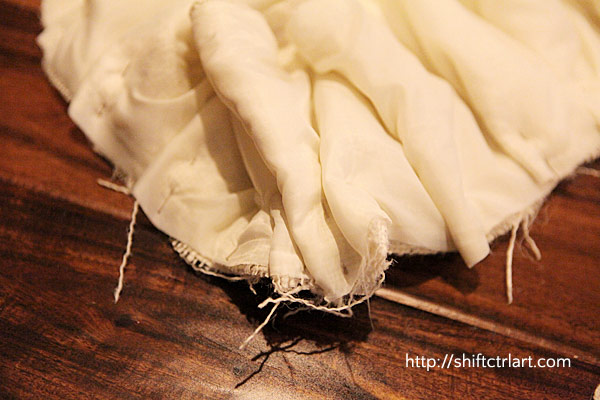
I had enough fabric to run the pleat up the opening, so to get around the corner, I made three pleats on top of each other.
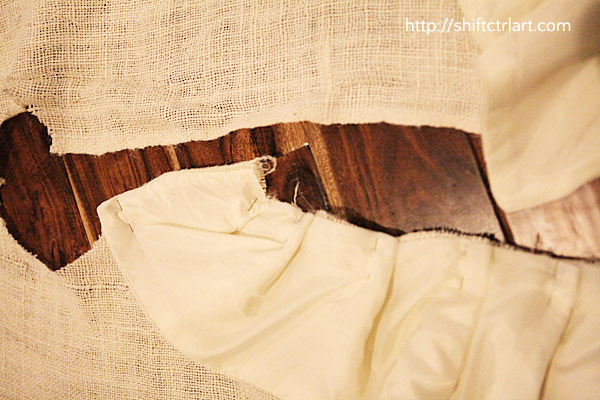
Ending at the inner circle I turned the pleat out at an angle with the end of the strip lining up with the seam, so it would start nicely after being reversed.
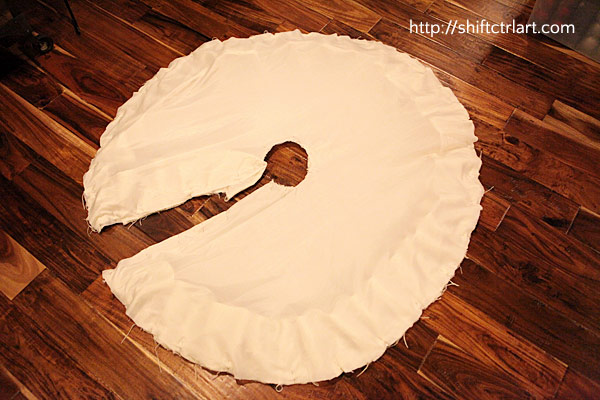
Then I added the piece of lining on top and sewed everything together. I left an opening on the edge that did not have any pleats so that I could turn the skirt inside out after.
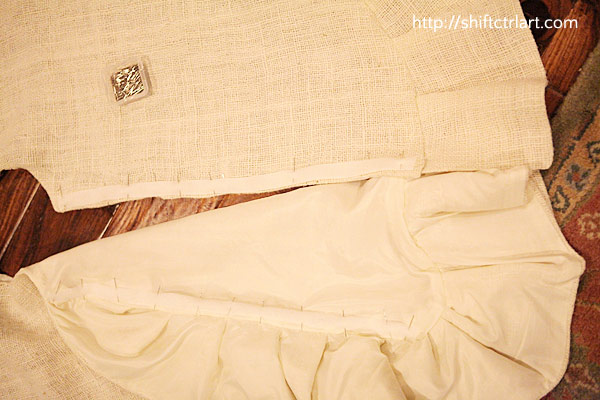
Then I gave everything a good press and added Velcro to the opening, which I top stitched in place.
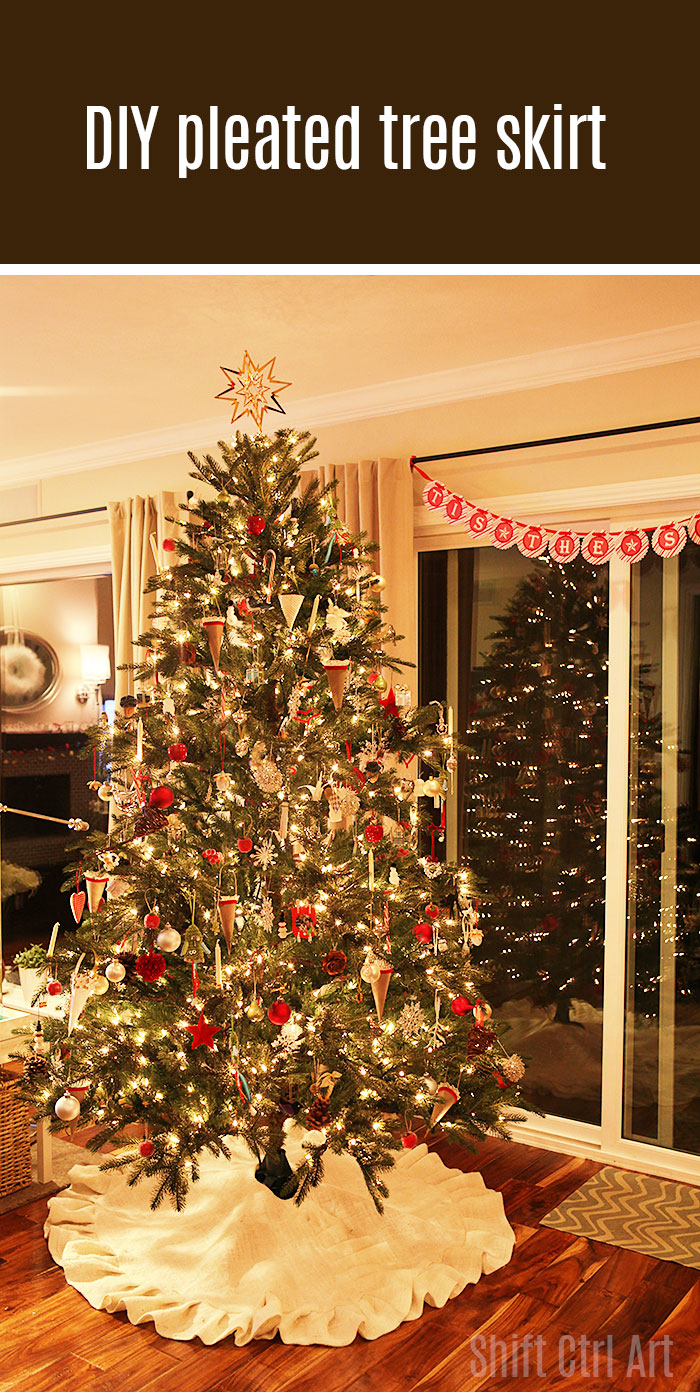
And here is my tree with the new skirt.
Share

I made this pleated burlap tree skirt. I used white burlap and white lining, both of which I got at JoAnn's. Burlap is really cheap, I think about $3 a yard and I used 3 yards for this skirt. The lining was even less.
First I washed the fabrics, which you saw as a sneak peek if you follow me on Facebook (Thank you!)
Here is how I made it. Also known as a-cavalcade-of-yellow-tinted-images because I made it at night time. Ready?

My burlap was not wide enough to cut out the full circle, so I cut out to halves.

Cut out a circle for around the tree stem.

Then I sewed one of the sides together of the two half circles. Leaving the other one open to get the skirt around the tree.

I cut out a piece of lining to match.


I cut out 7 inch strips of burlap for the pleats.

The total length of the strip for the pleat is about twice the circumference of the tree skirt. (You get the circumference by multiplying the diameter of the skirt by 3.14 - I know ... math....)

I cut 7 inch strips of lining. My fabric was not as long, so I had to cut several. Then sew them all together for one long strip.

I sewed the burlap strips together as well and trimmed the ends.

I put the burlap strip on top of the lining strip and stitched along the long side and the two ends, then turned the fabric around and gave it a good press with an iron.

Then I made the pleat. For every 5 inches, I pinched the pleat strip and made a 1 inch deep pleat. So every pleat ends up being 3 inches apart.

Here is a close-up of that.

I had enough fabric to run the pleat up the opening, so to get around the corner, I made three pleats on top of each other.

Ending at the inner circle I turned the pleat out at an angle with the end of the strip lining up with the seam, so it would start nicely after being reversed.

Then I added the piece of lining on top and sewed everything together. I left an opening on the edge that did not have any pleats so that I could turn the skirt inside out after.

Then I gave everything a good press and added Velcro to the opening, which I top stitched in place.

And here is my tree with the new skirt.

About Katja Kromann
I am a Danish American decorating life in Seattle. I love all things design and DIY.
I can’t think of anything more fun than coming up with project, making it, photographing it and sharing it with you on my websites.
Since 2018 I have been making Ceramics, nearly full time.
AHomeForCeramics.com AHomeForDesign.com AHomeForCrafts.com AHomeForFood.com My Portfolio


