DIY large scale plywood word art
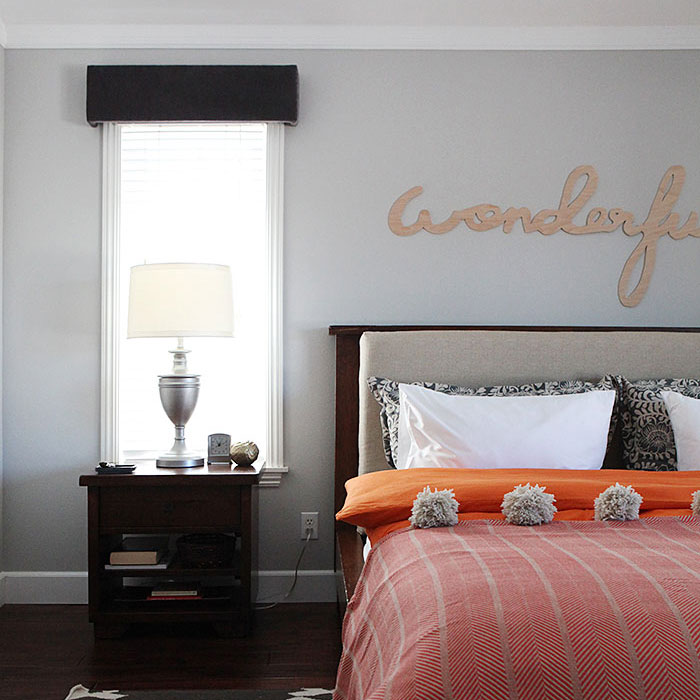
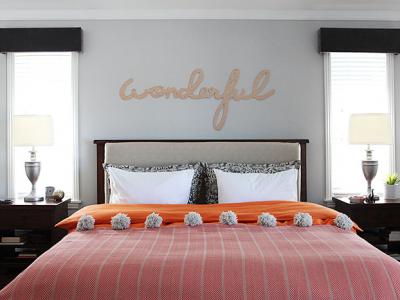
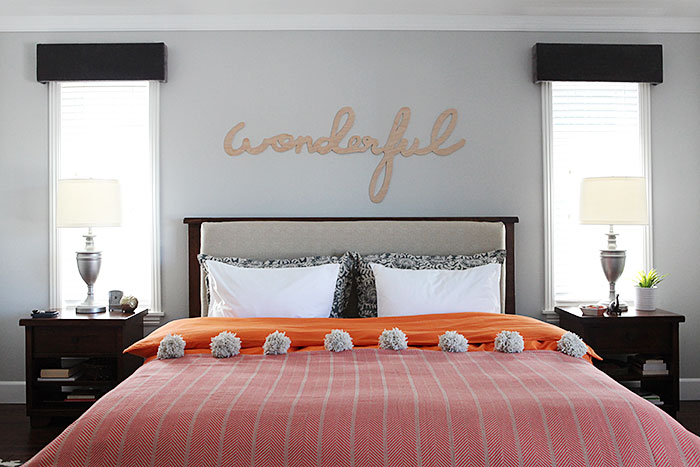
One of the many DIYs in our master bedroom - and probably one of my favorites - is the word art over the bed.
I wanted to use my own handwriting to make it even more personal to us, but you could just skip the first couple of steps and use a font and then the whole project can probably be made using Word or a similar software.
Here is how I turned my handwriting into something that I could print and cut out on a large scale.
I wrote out my word a couple of times on a scratch pad. You can probably tell that third time was the charm and that is the one I used.
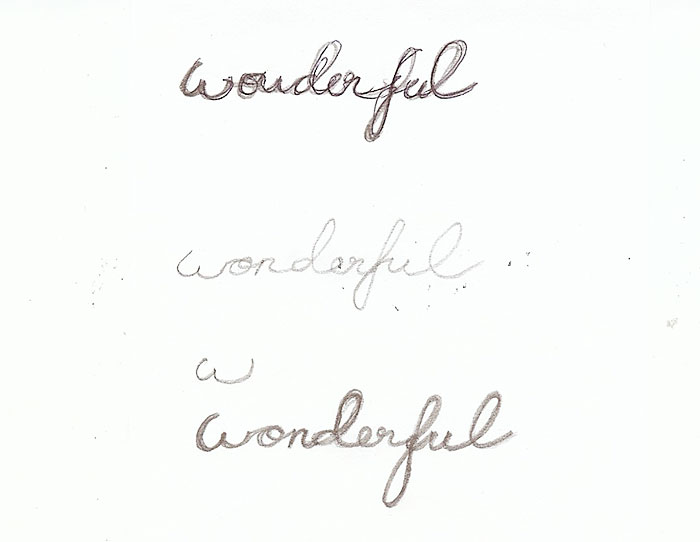
This is shown pretty close to how big I actually wrote it. Then, I scanned it into Photoshop and printed it out about 7 inches wide, then colored over the word with a black thin Sharpie, then scanned that into Illustrator.
That is what you see below.
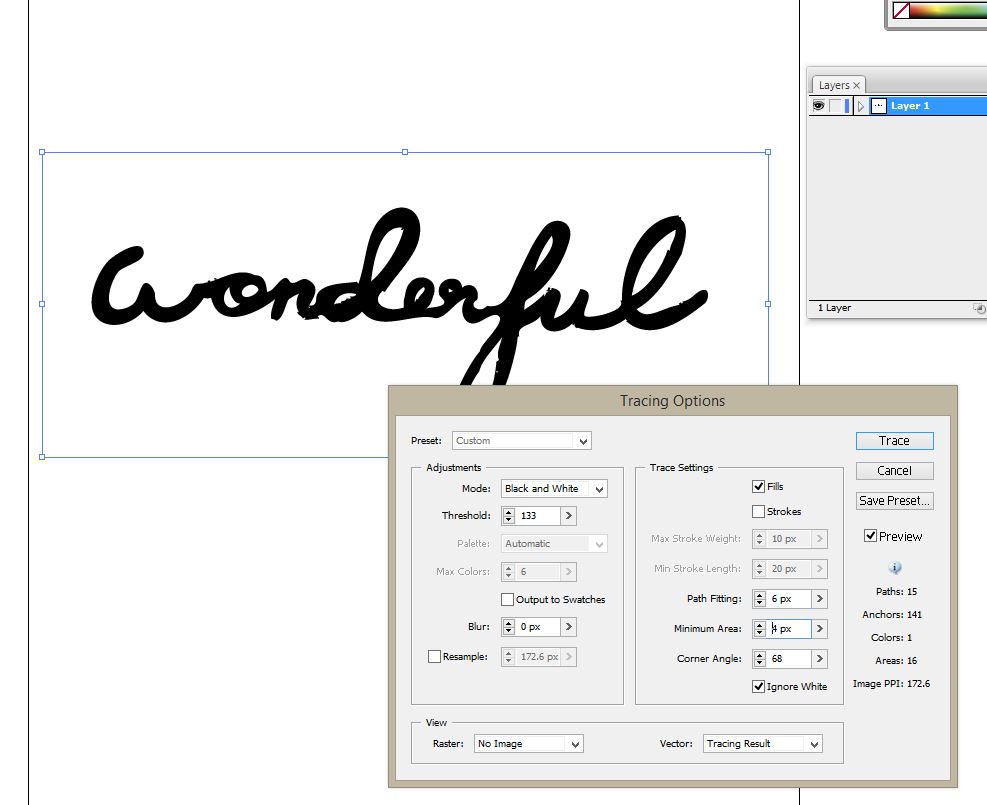
I used Illustrator to trace the word and turn it into a vector. You can see that there are a lot of little irregularities on most of the letters after using the tracing tool. I fixed that by clicking the points on the curves and moving or deleting them.
I bought a 2 x 4 ft 3/8th thick sheet of plywood for this project. They are about 15 dollars. I split the word in two parts, because I wanted the finished piece to come out about 6 feet wide.
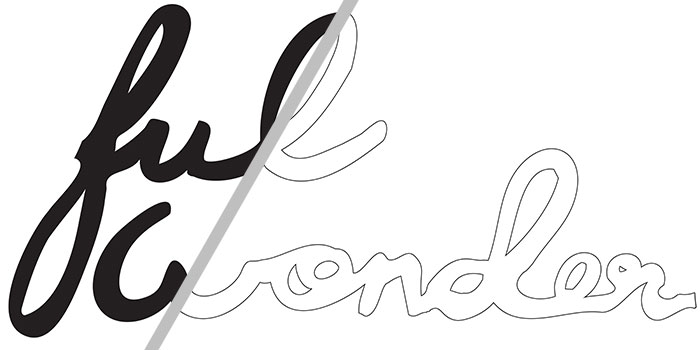
I sized my print to fit onto a 2 x 4 feet canvas, then turned the word into an outline to save ink. I split the canvas into three sections and made sure each section had some overlap. Then I went to FedEx (Kinko's) and had it printed onto three 18 x 24 inch sheets. You can also get it printed onto one sheet, but that was a couple dollars more. I think around 8 dollars instead of around 6 dollars.
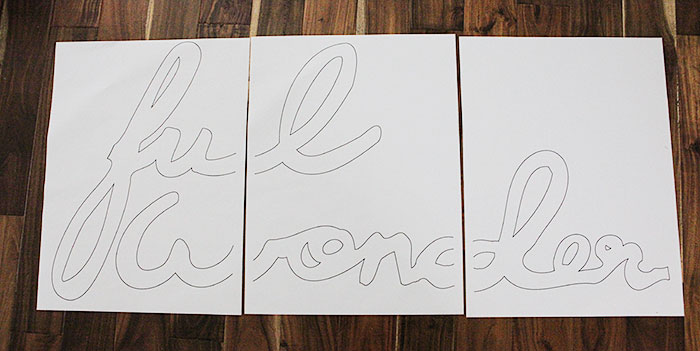
I cut out the word and taped it together. Then traced it onto my sheet of plywood.
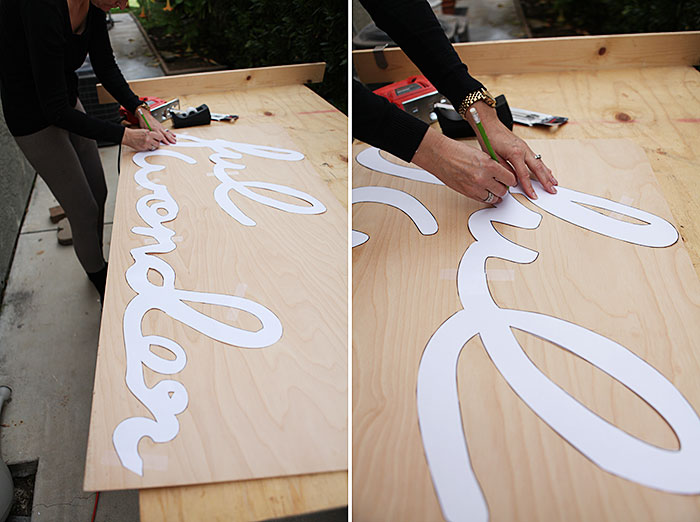
A tip: It is much easier if you cut out all the inner loops and holes first. Like the loop in the "l" and the holes in the "o" etc. Then cut out the word after that.
Another tip: The blade cuts a lot nicer when I went full speed with the saw. Your instinct might be to only press down halfway to have the saw go slower, but you can go full speed and just move the saw slowly then the cut will be cleaner.
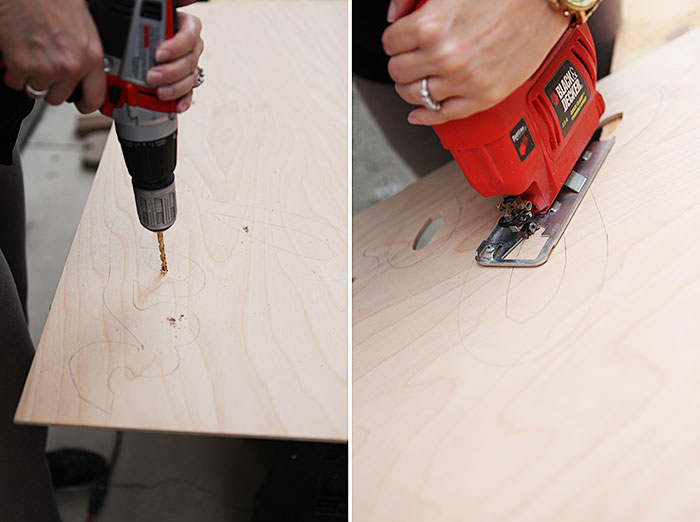
After drilling some holes, I used this T-Shank jigsaw blade to saw out the word and get a clean cut. It says that it will cut cleanly on both the front and the back, but after testing it, it cut a little nicer from the front.
I sanded the word and then hung it up using some wire nails with flat heads that keeps the wood to the wall. I placed the nails in the loops and holes of the word. In a couple of spots the word bent out - it is wood after all - so I added a nail here and there to make everything close to the wall.
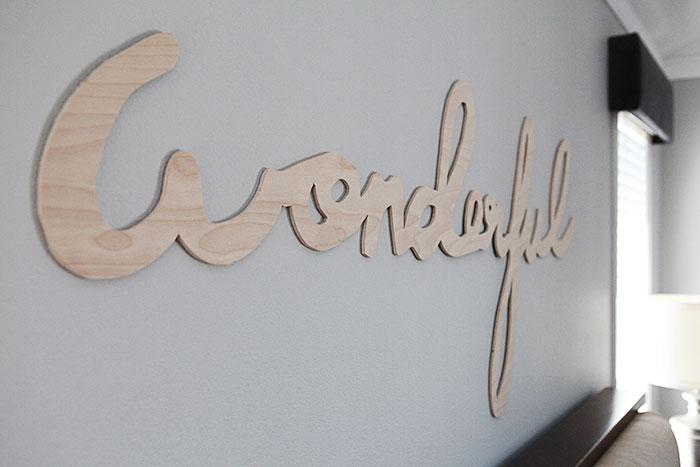
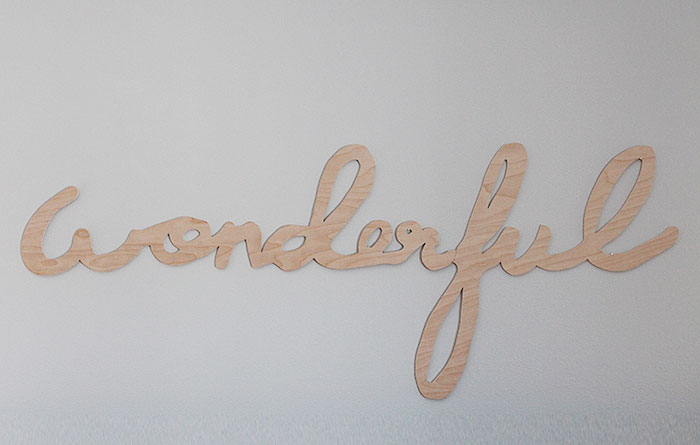
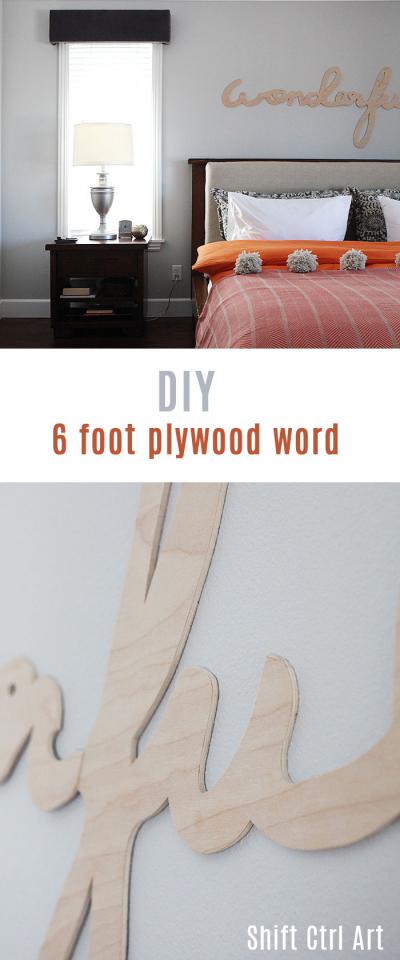
Here is a close-up and you can see where the "wonder" is connected to the "ful". It is pretty discreet and saved me some money and saved me from having to store all the leftover wood that would have come with a full sheet of plywood.
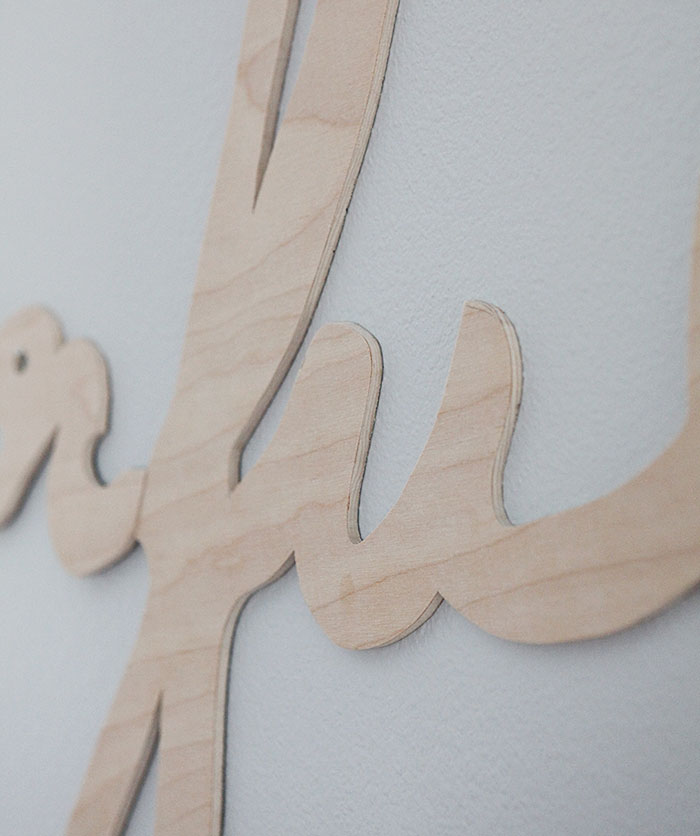
It took about 10 - 15 minutes to cut out the word. Frank held and guided the sheet while I sawed.
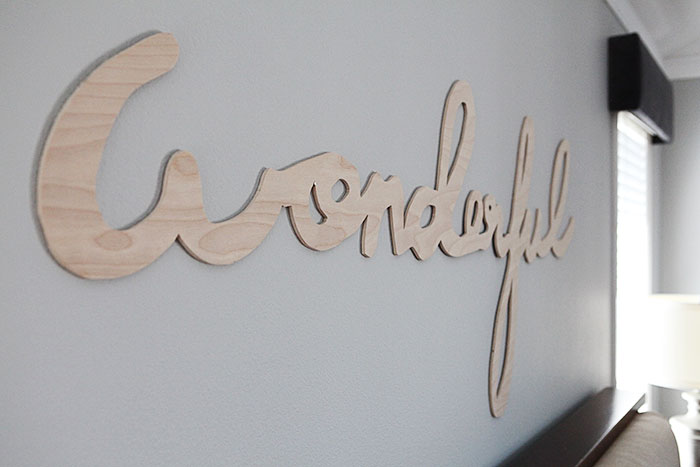
I left the plywood raw.

About Katja Kromann
I am a Danish American decorating life in Seattle. I love all things design and DIY.
I can’t think of anything more fun than coming up with project, making it, photographing it and sharing it with you on my websites.
Since 2018 I have been making Ceramics, nearly full time.
AHomeForCeramics.com AHomeForDesign.com AHomeForCrafts.com AHomeForFood.com My Portfolio
