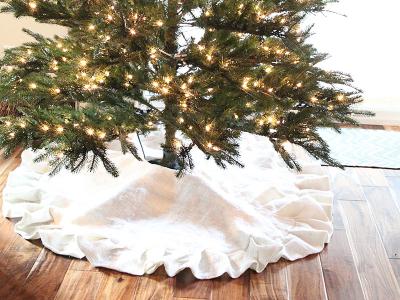
How to: make a ruffled table skirt
You have probably seen a ruffled table skirt before and even how to make one. Buuuuut just in case you haven't I wanted to share how I made mine.
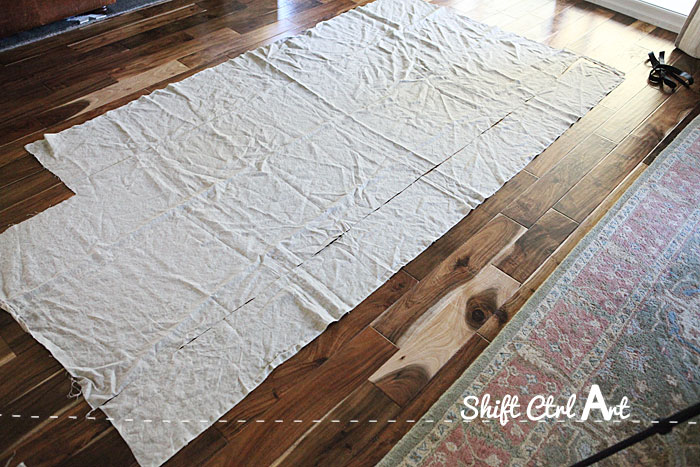
I used the long side of some linen that I got at Joann's a while back. Actually for some valances for our office that I never got around to making. Maybe I will now... I have enough for both.
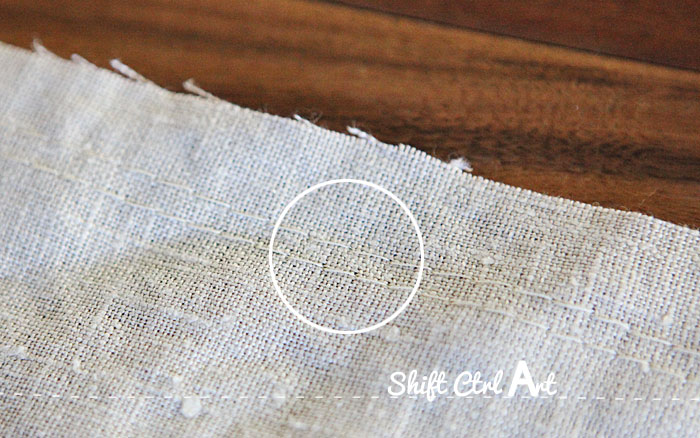
By cutting it this way I could use the factory edge as the bottom edge of my curtain thereby saving myself several minutes of sewing

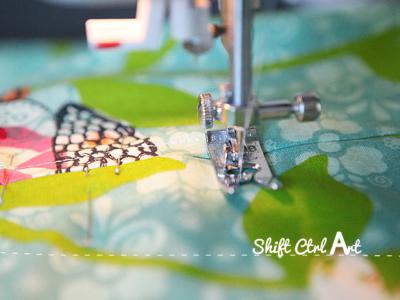
Next, to create the ruffles, I set my sewing machine to the longest stitches it makes and sewed two rows of stitches kind of close together. I make two rows because if one breaks you have some insurance with the other one. Maybe you feel adventurous and will only sew one row. I don't know.
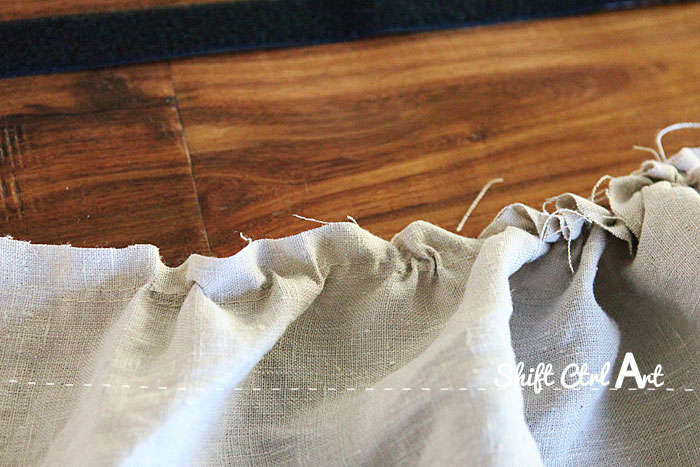
Then you grab one thread of each stitched row and pull. Grab the same one from each. I prefer the bobbin thread for pulling.
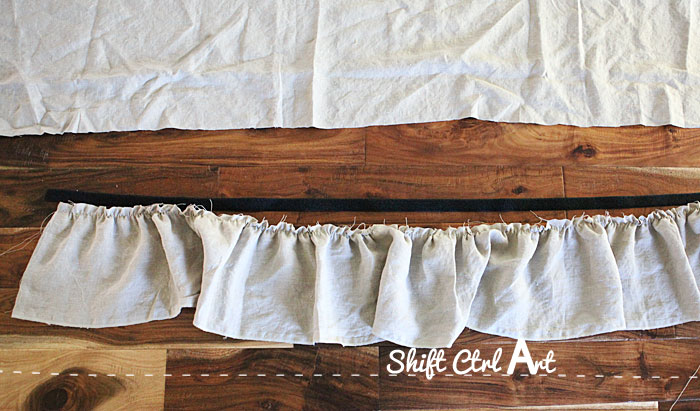
I laid out my length of Velcro and ruffled the table skirt until they were the same length.

At the time when the shelf was built we had had a piece of 1x1 cut and I attached Velcro to it with staples. You can see it under the shelf on the image above. It's the black line. I cut the other piece of Velcro for the fabric at the same time. Then I didn't have to measure later.
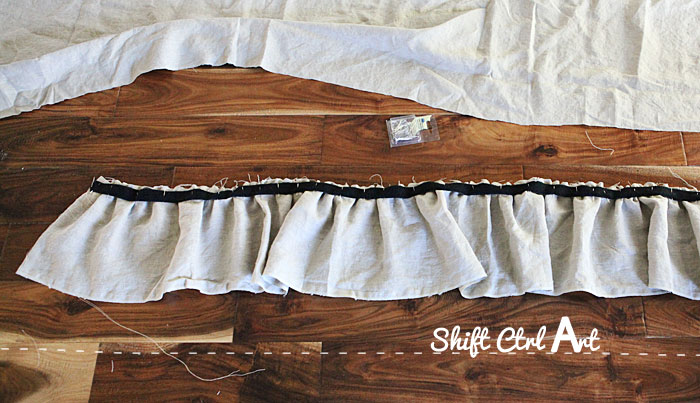
Next, I pinned the Velcro to the skit and stitched the lower edge of it on my machine.
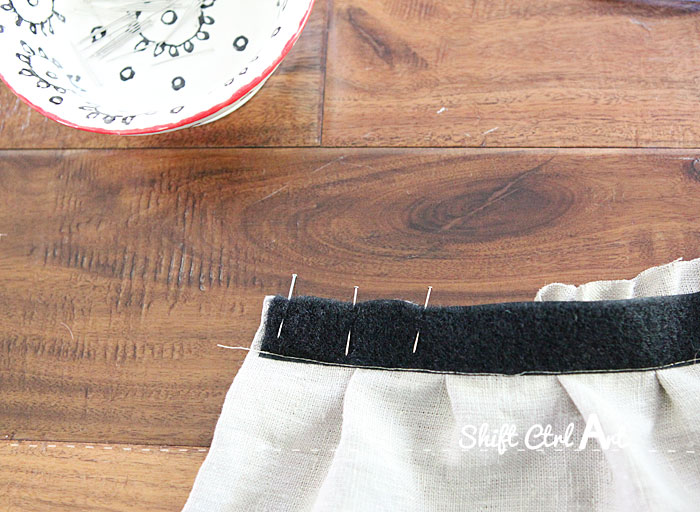
Then I came back and tucked in the frayed hem behind the Velcro and pinned it.
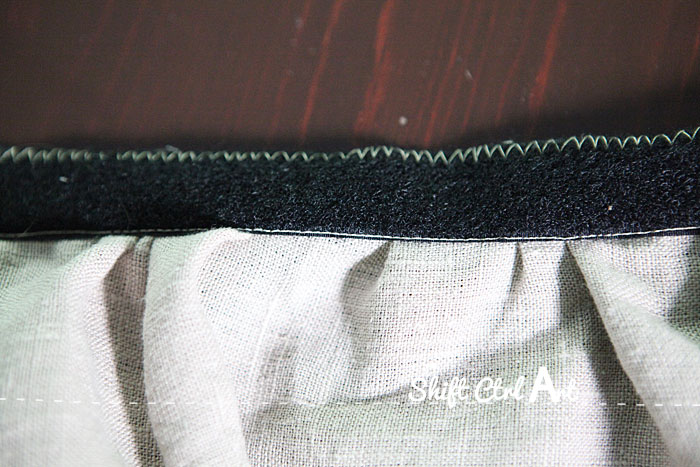
I zig-zagged it to catch all the fabric on the back. Then I ironed the skirt.
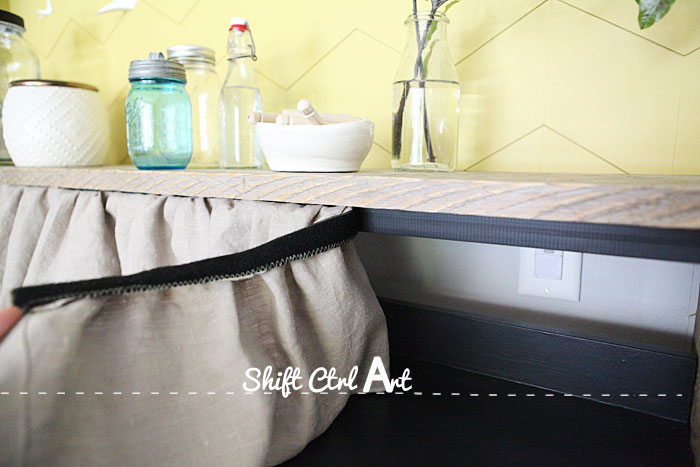
I attached the skirt with the velcro turned inward like this. That way I got a nice ruffle with no stitching visible from the front. It looks a bit more free flowing that way. And isn't that how you want your table skirts? Or shelf skirts as in this case.
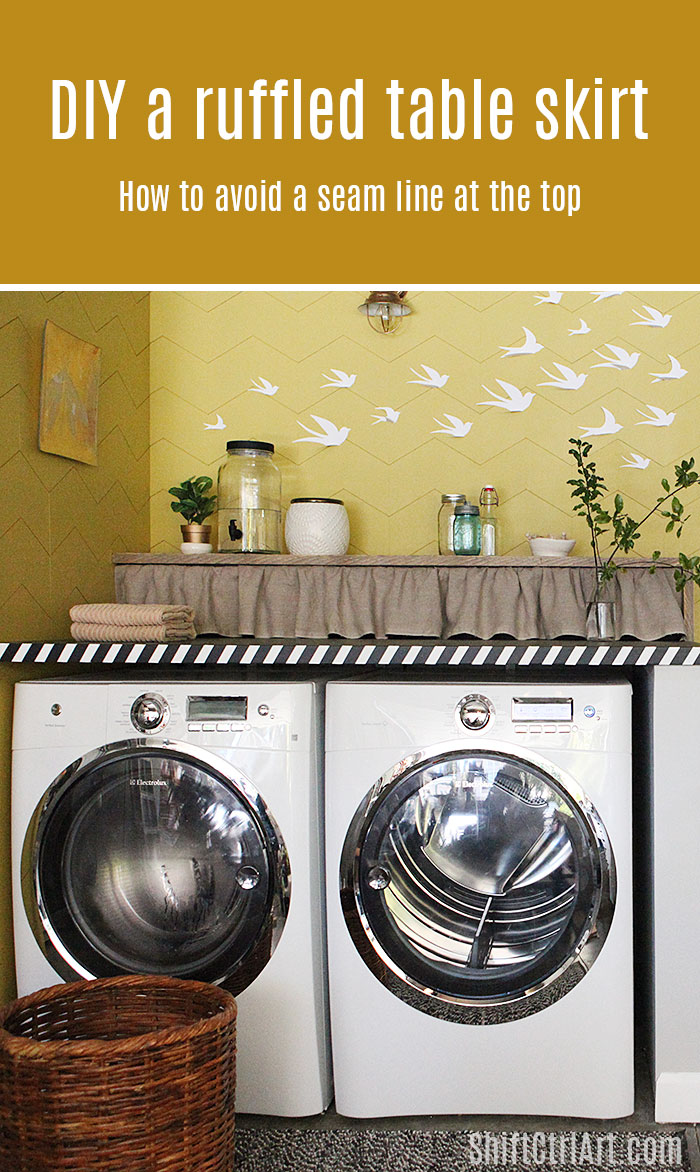
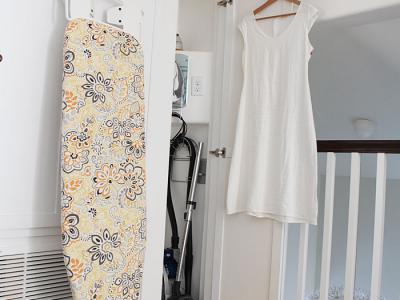
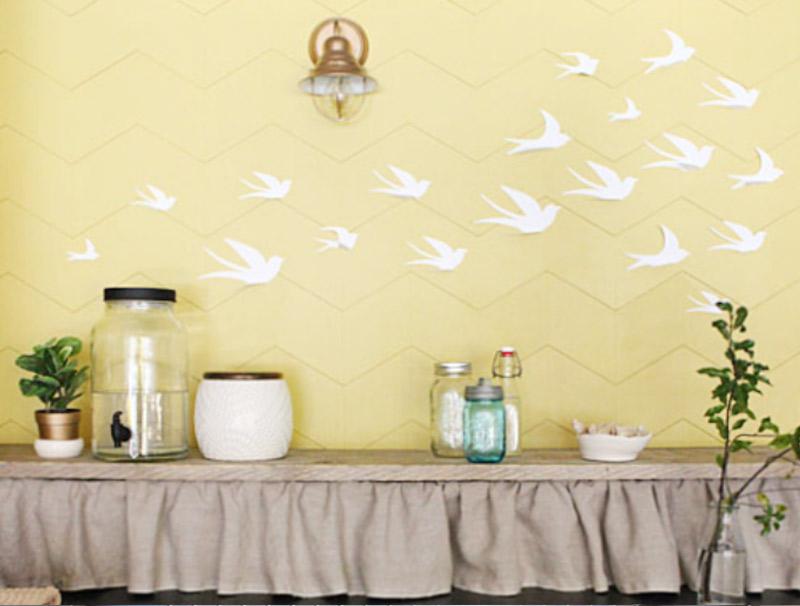
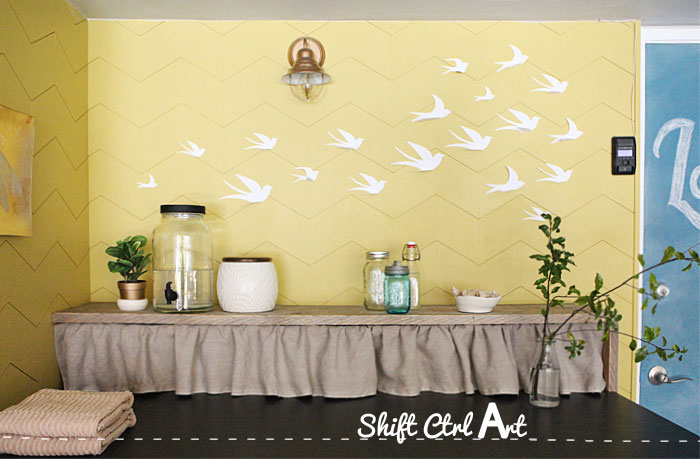
You can see the full reveal of the laundry nook here.
Next: 7 DIY ideas for a laundry room that I would do again - and 3 I wouldn't

About Katja Kromann
I am a Danish American decorating life in Seattle. I love all things design and DIY.
I can’t think of anything more fun than coming up with project, making it, photographing it and sharing it with you on my websites.
Since 2018 I have been making Ceramics, nearly full time.
AHomeForCeramics.com AHomeForDesign.com AHomeForCrafts.com AHomeForFood.com My Portfolio