How to make an envelope pillow - 3 tips you probably havn't heard before

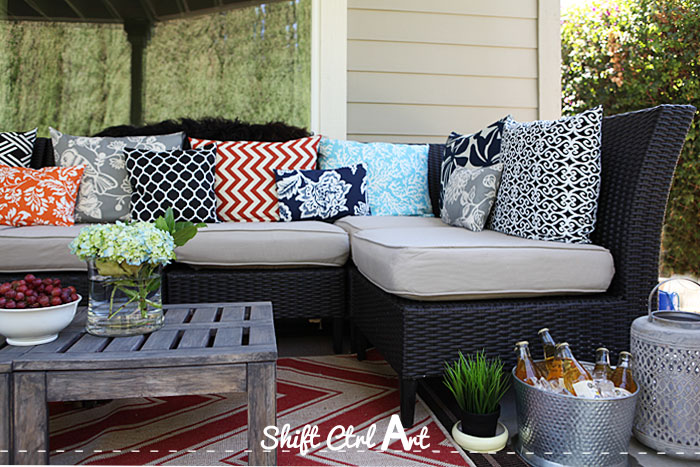
The large back pillows in my lounge area outside is made with an envelope closure. I used the inexpensive, synthetic pillow shams from Bed, Bath & Beyond. I know you are shocked right now, that they are not from IKEA.

I know that everyone and their brother has a tutorial on envelope pillow covers. Now everyone and their brother and *I* will have one. So special

Honestly, though, I do think I can bring a little something to it, that I have not seen else where.
I piqued your interest now, didn't I? Mmm mmm..
All the back pillows in my lounge area are 19x24 inches. I made the opening along the 24 inch side.
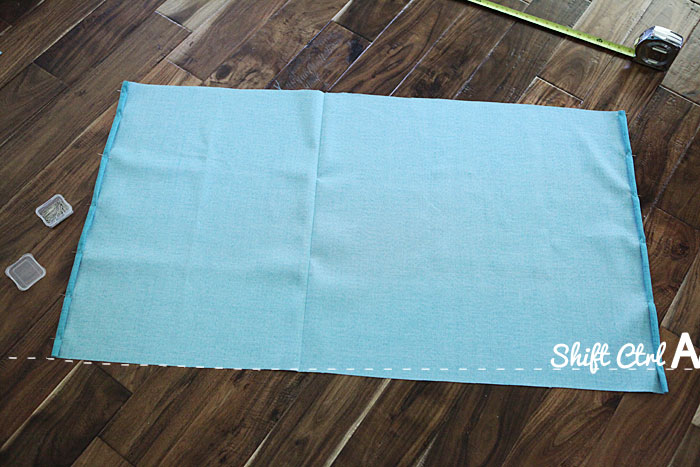
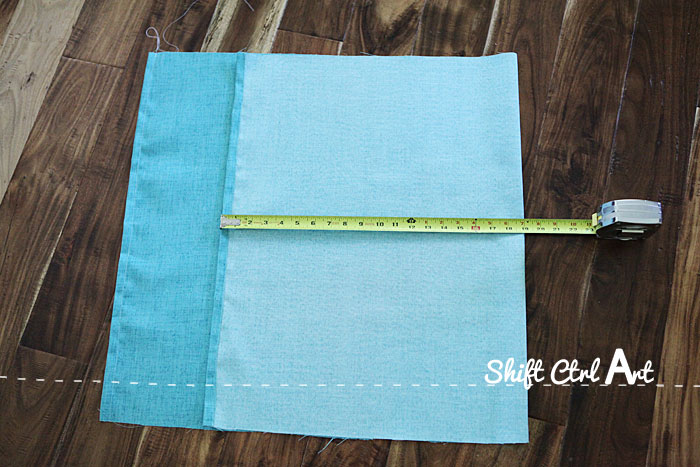
Tip #1: My formula to find the size of the fabric is height of the pillow x 2 + 8 inches. This gives you seam allowance to fold over fabric twice at each end and a 6 inch overlap. Then you take the width of the pillow + 1 inch. That gives you half an inch of seam allowance on both sides of the pillow.
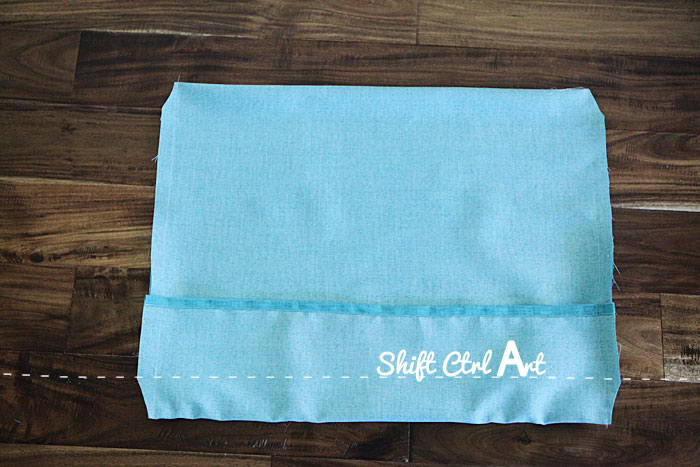
Tip #2: Instead of making your envelope overlap in the middle of the pillow, make it along the bottom. That way you can turn the pillow if you get a spill that doesn't wash out.
After you have hemmed both ends of the fabric, fold it - wrong side out, at the 19 inches mark - or whatever the height of your pillow is. Then fold up the smaller piece. This will put the overlap at the bottom of your pillow.

Tip #3: Pull on the hemmed edges as you pin the sides. This will give your pillow a more taught look. Otherwise the envelope closure does tend to flair out a little bit. If you look at the picture above you can see that my fabric does not lay perfectly flat. That is because I pulled at the hemmed edges as I was pinning.
After I sewed the sides, I cut the corner at an angle. This is to avoid bulk fabric inside the corners when you turn the pillow case around.
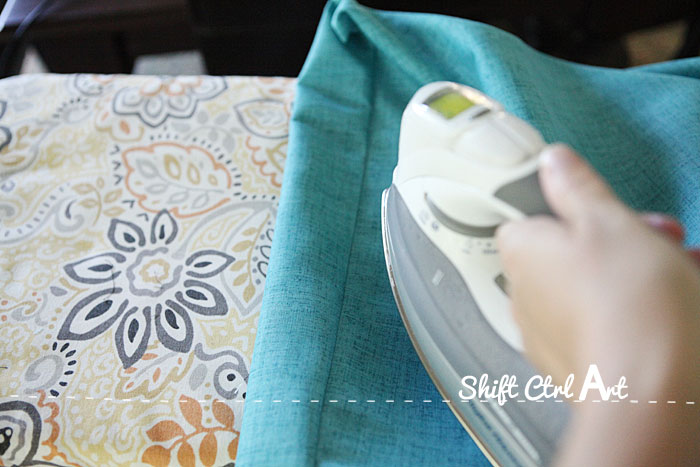
Turn inside out, then iron the hems.

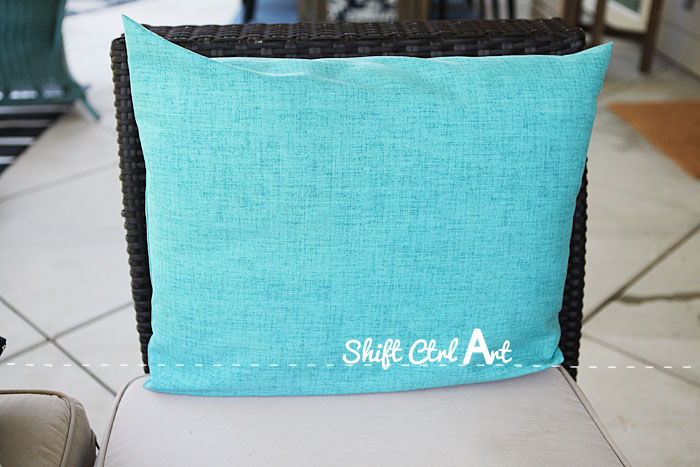
Here you see the pillow with the back side up.
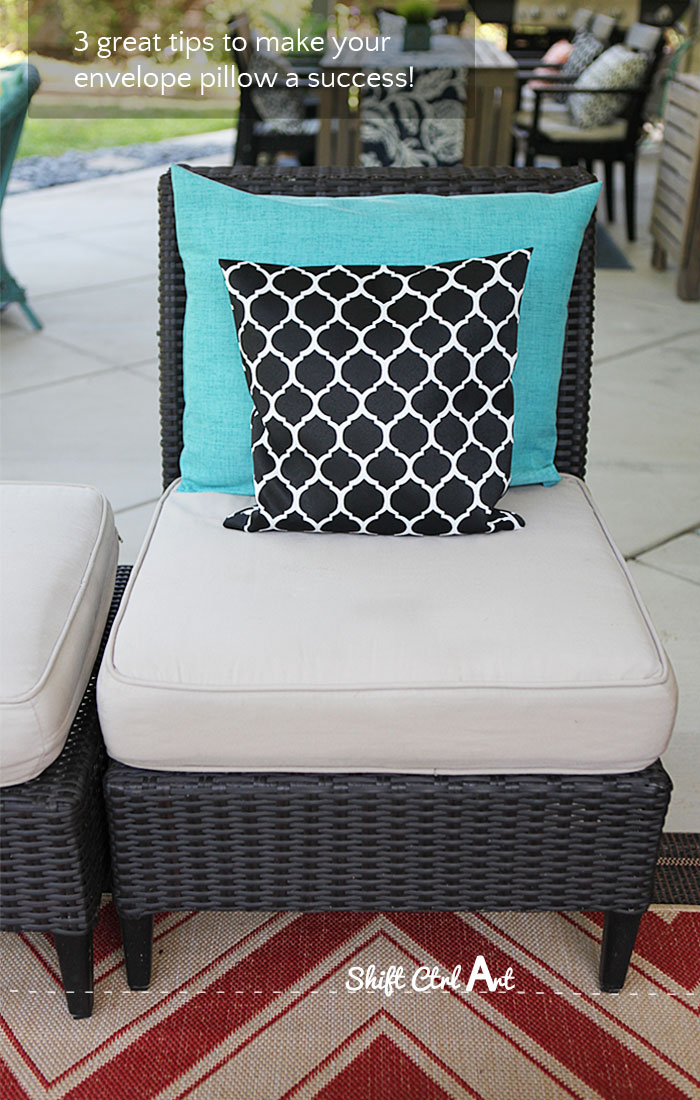
And here is is on the chair outside. Just to prove my point, I turned it the opening to the front and as you can see, you can't tell. Not so if you had put the closure in the middle of the pillow.
And there you have it. My three tips to improve on an envelope pillow.
Envelope pillows are super fast to make and they of course eliminate the daring task of sewing a zipper. The only downside I can see is that you use a bit more fabric for an envelope closure, but that's it.
Read more about the lounge area, the patio dining area and the three outdoor rugs I have out there.
So .... zipper or envelope pillow?

About Katja Kromann
I am a Danish American decorating life in Seattle. I love all things design and DIY.
I can’t think of anything more fun than coming up with project, making it, photographing it and sharing it with you on my websites.
Since 2018 I have been making Ceramics, nearly full time.
AHomeForCeramics.com AHomeForDesign.com AHomeForCrafts.com AHomeForFood.com My Portfolio
Categories
How to make an envelope pillow - 3 tips you probably havn't heard before is posted in the category


