Is sewing a pillow cover with a zipper easier than you think?
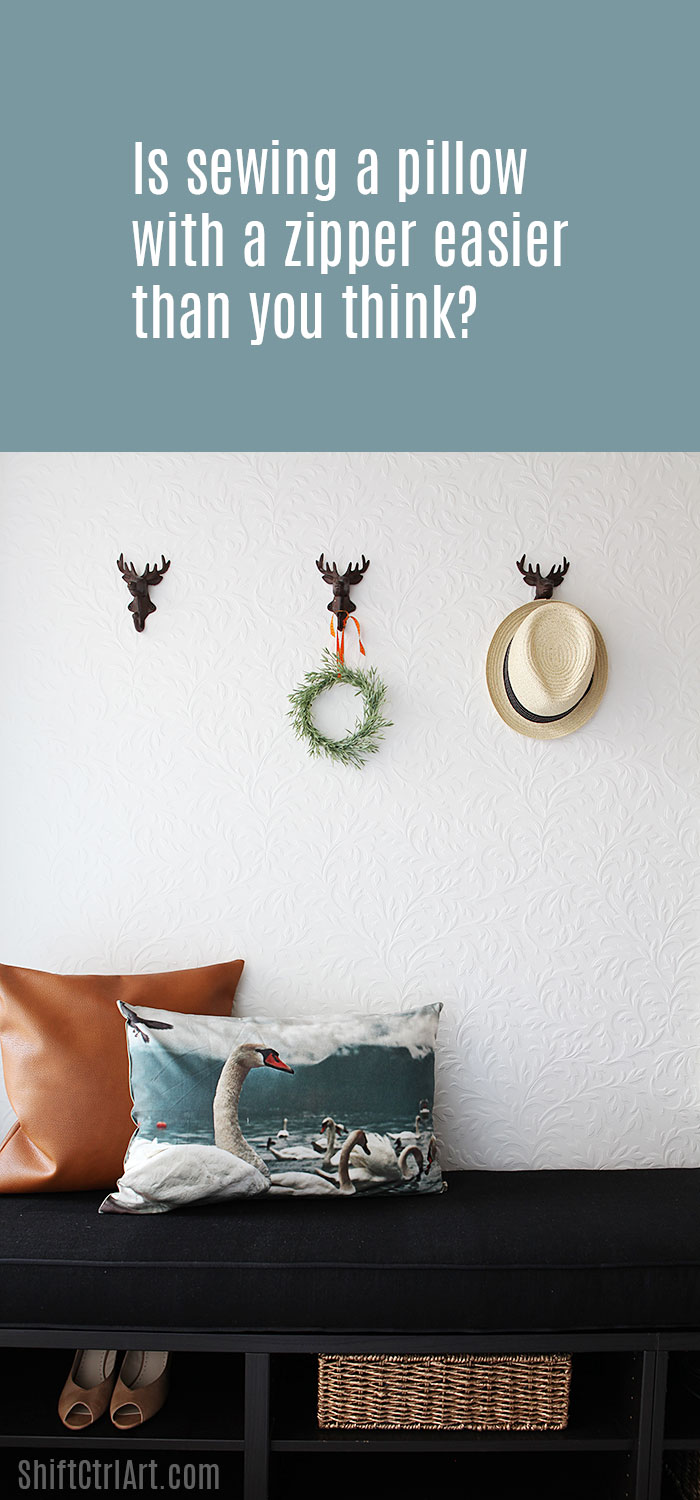
The first thing I did when designing our entry hall was to come up with the color and fabric scheme. This was the scheme I used the first time I designed the entry hall. The picture above is from the second time around. Link at the bottom of the post.
I pulled these fabrics from fabric.com - except for the owl fabric which I bought a couple of years ago in Denmark, so I already had that.
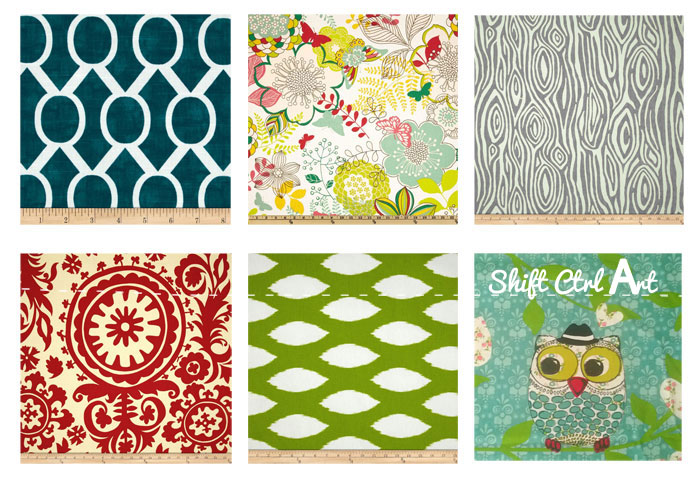
Left to right, top to bottom:
1, 2, 3, 4, 5 (not available at the moment it seems), 6 (Not the exact one, but similar)
First, I cut my two squares of fabric. I used the old pillow covers to measure the size. Measure around the middle of the pillow instead of by the corners as the fabric is most likely to be stretched there.
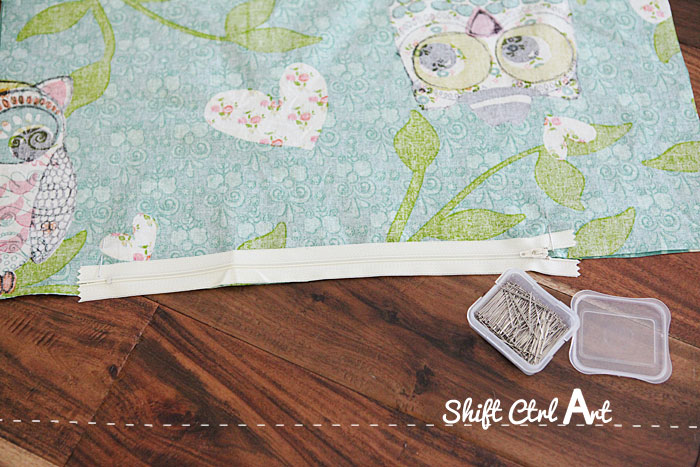
Put the two squares together right side against right side. At the bottom of the pillow cover lay out your zipper in the middle. Mark inside the length of the zipper - you can see I put pins to mark mine. Sew from each of the two corners to the pin.
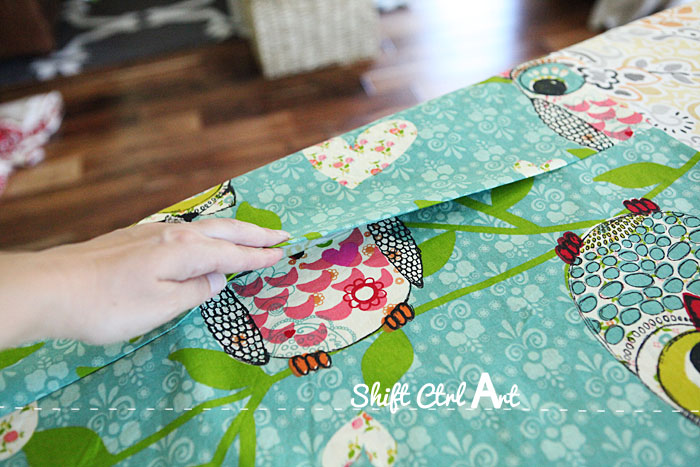
On your ironing board, iron the hem to one side while making the line as straight as possible between the two lines of stitches.
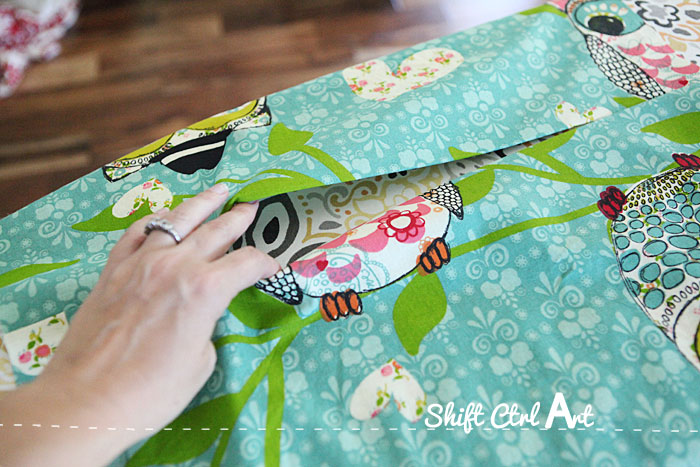
Flip the hem to the other side of your stiches and press on the seams again. You now have a nice straight opening for the zipper.
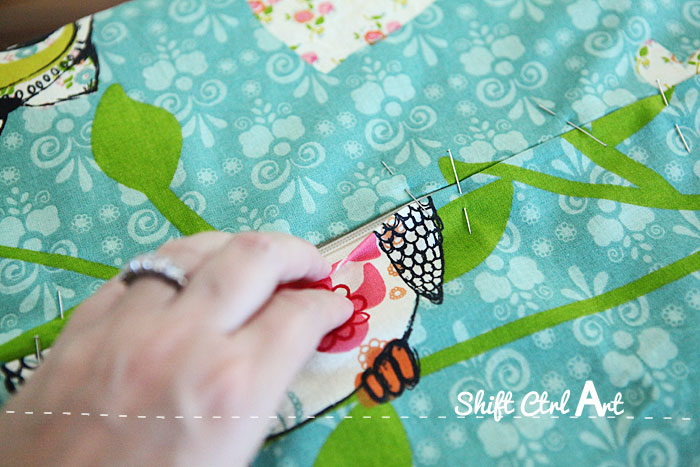
Line up the teeth of the zipper so it is right in the center of the opening. Pin. Here I am pulling back on the opening so you can see that the zipper is sitting right there behind the opening.
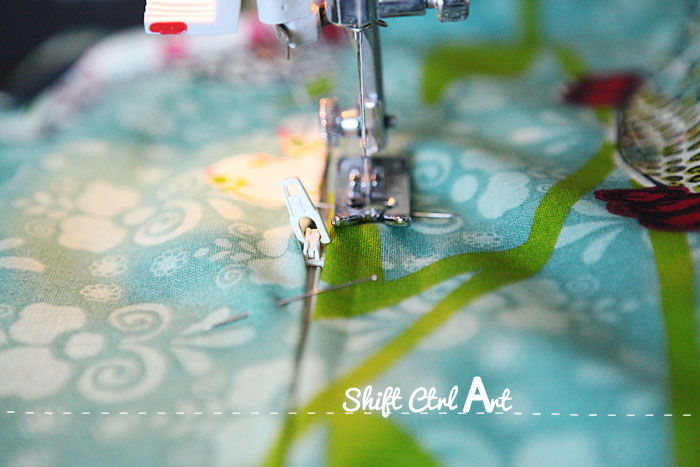
Next, decide if you want to switch to a zipper foot. With this method you don't have to, but you can if you really want to. As you see, I didn't.
Sew from the top so that you sew through the folded fabric and the fabric of the zipper (obviously). When you get to the sliding tab, stop sewing, lift the foot with the needle stuck in the fabric, then pull back on the tab so it gets moved out of the way, then lower your foot and continue sewing.
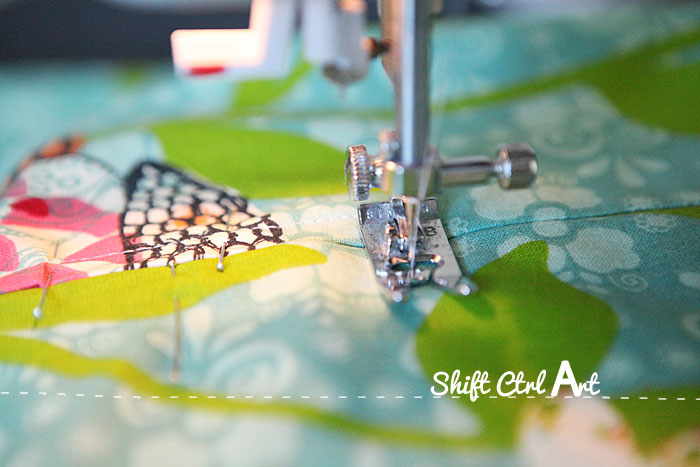
When you reach the end of the zipper, leave the needle in the fabric, lift the foot, turn the fabric 90 degrees sew until you reach the other side of the zipper, make another 90 degree turn.
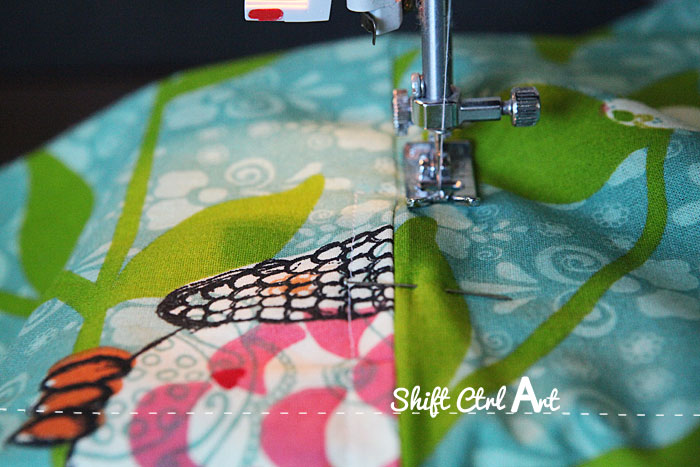
Then sew down the other side of the zipper, moving the tab out of the way again like before.
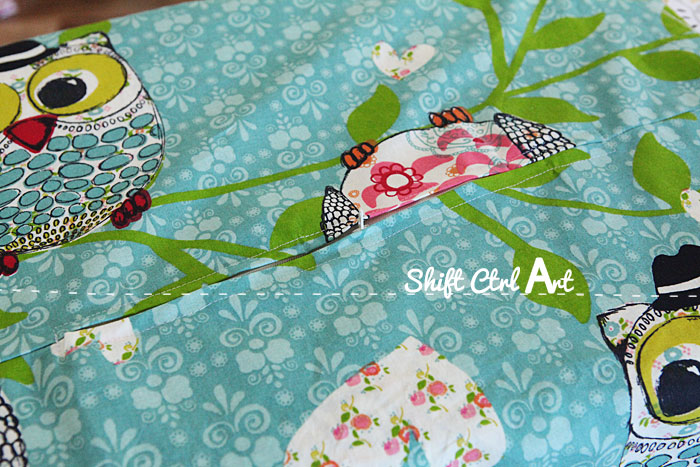
Here you see the finished zipper in the pillow. Next sew together the other three sides of the pillow.
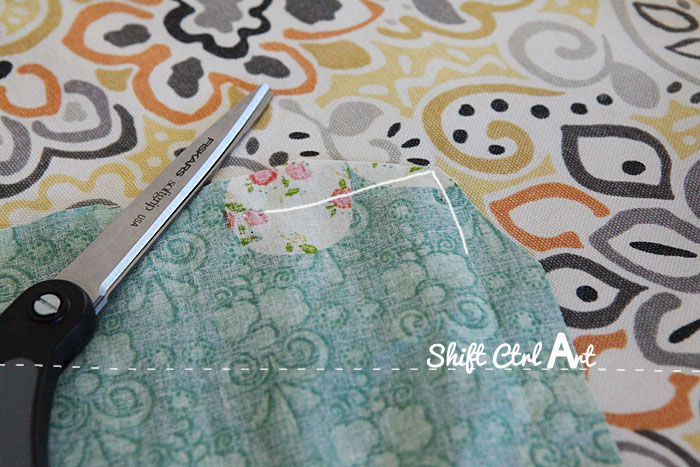
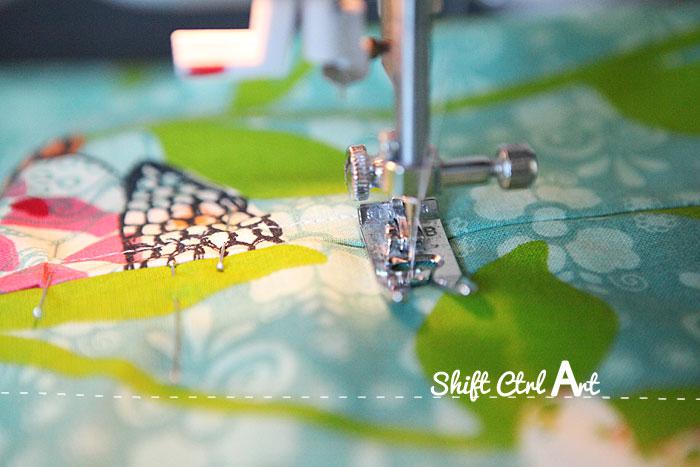
I drew a white line on top of the photo so you could better see my stitches. Here you see how close I cut the fabric in the corners so that I can get nice un-bulky sharp corners when I turn the cover around. I use my scissors to poke out the corners after I turn the cover. Don't poke too hard or you might go through.
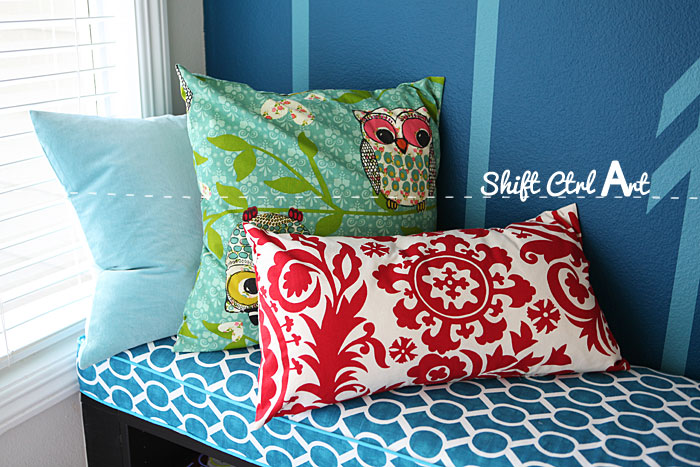
Here are the finished covers.
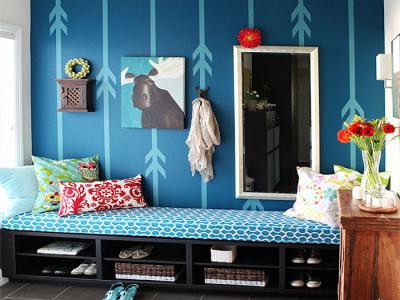
Later I re-vamped this space and it now looks like this. I used this tutorial again when I made the new pillows.

And the other side - two more cushions.
How long did they take to sew? 2-3 days of procrastination, then about 2 hours to sew and iron four pillows. Not bad right?
Now for the pillow covers, I am sewing for outside, I am in major procrastination mode. Weeks, it's been, so to paraphrase Pippi Longstocking, in the comments, could you kindly, in a VERY stern voice, tell me to get on those so I can reveal the lounge area outside already? You will have to be very firm and look all frowny while you tell me. No, even more frowny. Ok, go ahead!

About Katja Kromann
I am a Danish American decorating life in Seattle. I love all things design and DIY.
I can’t think of anything more fun than coming up with project, making it, photographing it and sharing it with you on my websites.
Since 2018 I have been making Ceramics, nearly full time.
AHomeForCeramics.com AHomeForDesign.com AHomeForCrafts.com AHomeForFood.com My Portfolio
