How to re-cover your ironing board in a few easy steps
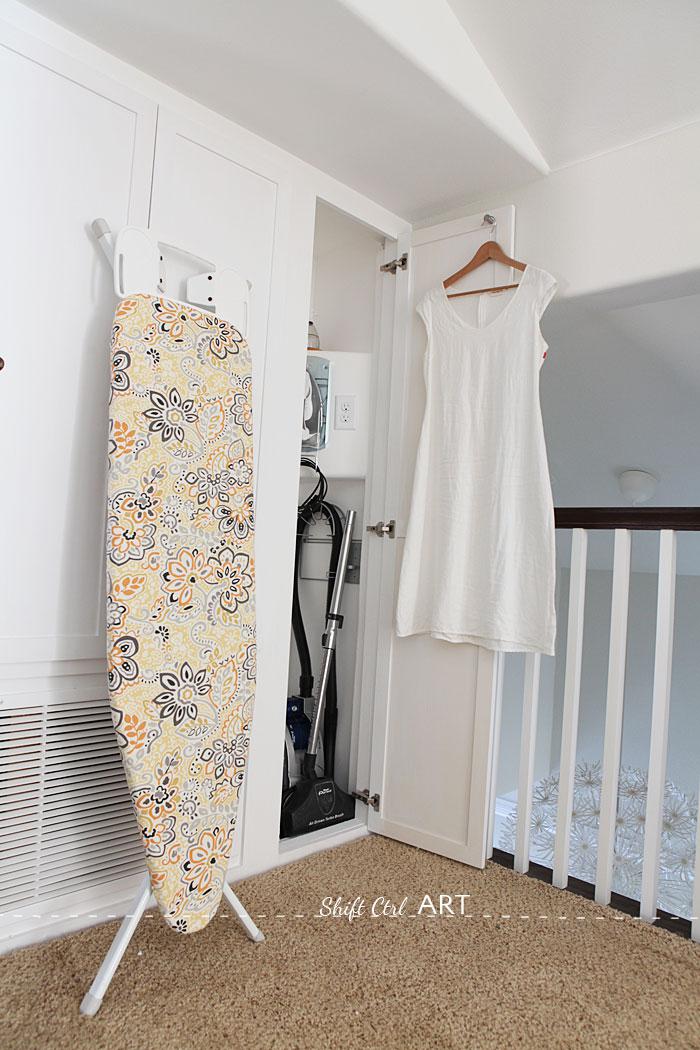
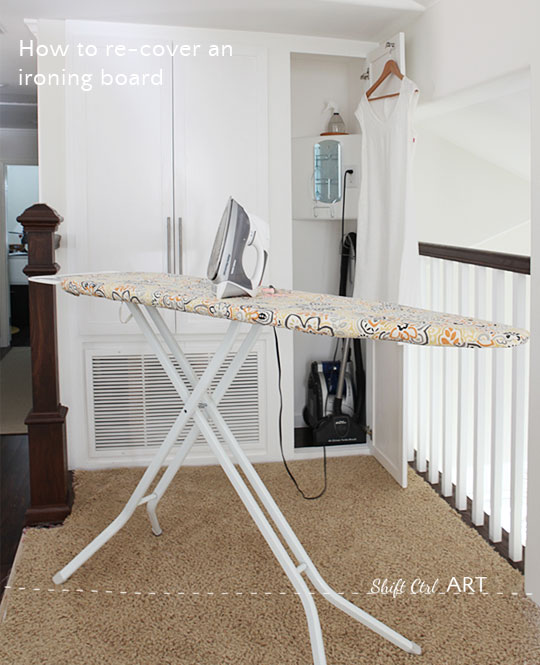
Last Friday I showed you how we tricked out our ironing closet. Today, I want to share how I made the new cover for our ironing board.
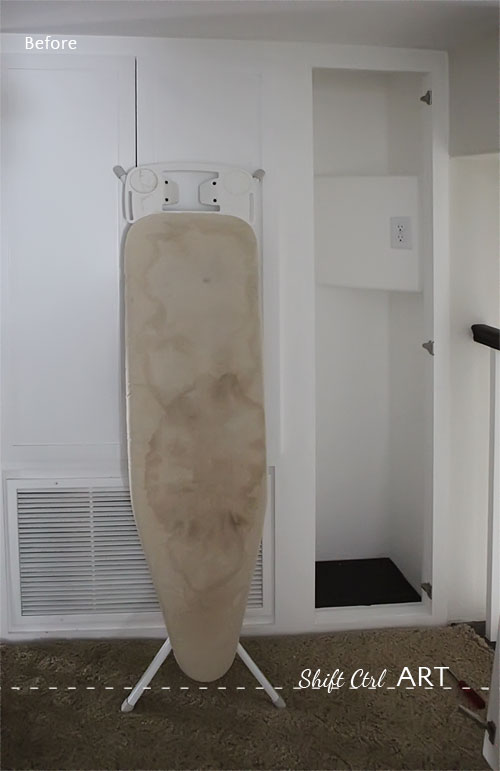
As you can see, the old cover had seen better days. It has quite a few water stains. The cover is fused to some padding, which was still holding together nicely, but would probably not make it through a washing cycle, so I chose to just recover it.
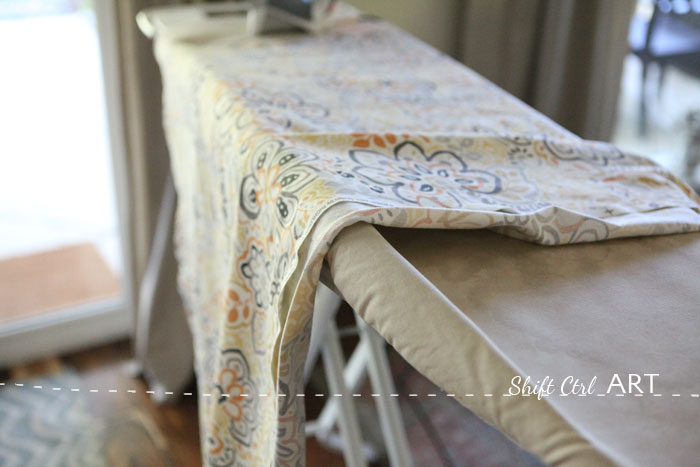
I also wanted to remedy a problem that I tried to illustrate here. The old cover only had an elastic band around the edge, so when I would pull large fabrics such as a table cloth over the edge, the edge would lift and create a fold under the fabric I was trying to iron.
For the new fabric I chose this one which has lots of yellow in it and quite a busy pattern. I hope this will help disguise any future water spots. I washed the new fabric before I cut it. I added half a cup of vinegar to the wash cycle to set the color so that it will not transfer to anything I am ironing.
This is one of the items I am doing for my Pattern challenge this month.

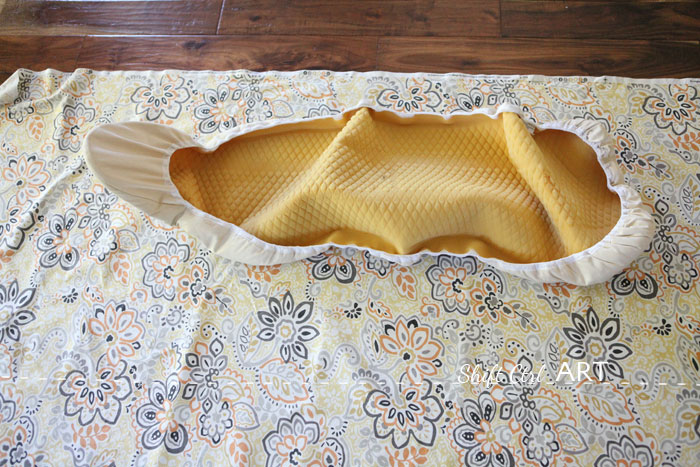
First I removed the cover from the ironing board. Here you can see the elastic band was making it all wrinkled up.
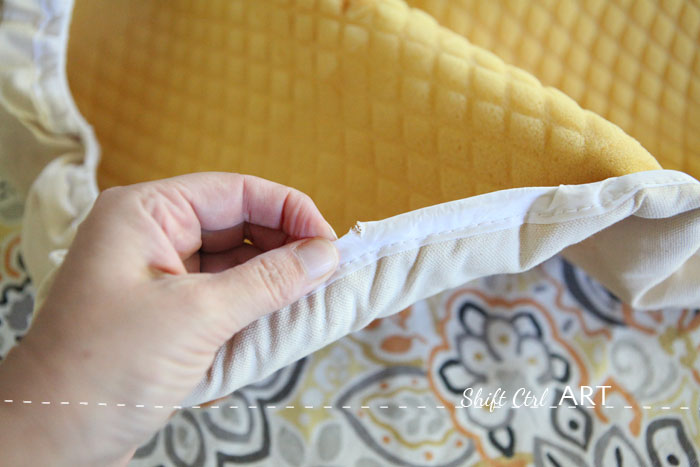
So I removed the elastic band around the edge. You can do this several different ways. I chose the easy route and just cut through the bias tape and cut the elastic band inside of it in a few places around the perimeter of the cover.
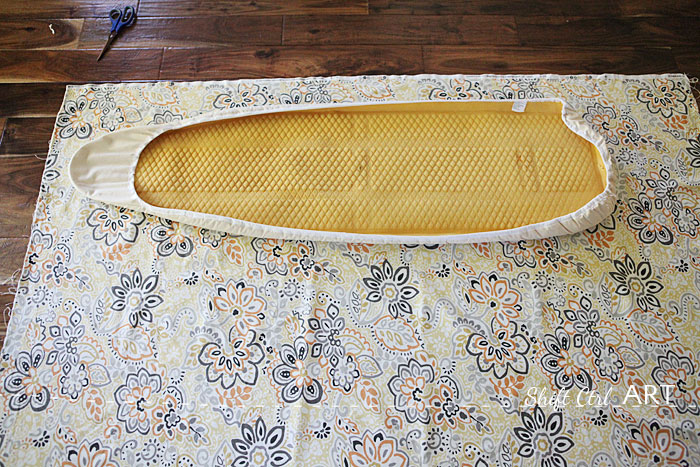
Then it lay more flat and nice.
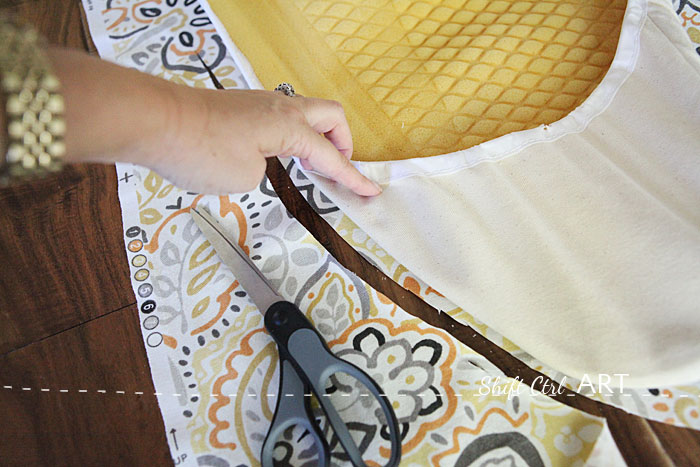
Then I cut around the old cover to get the same size of new fabric.
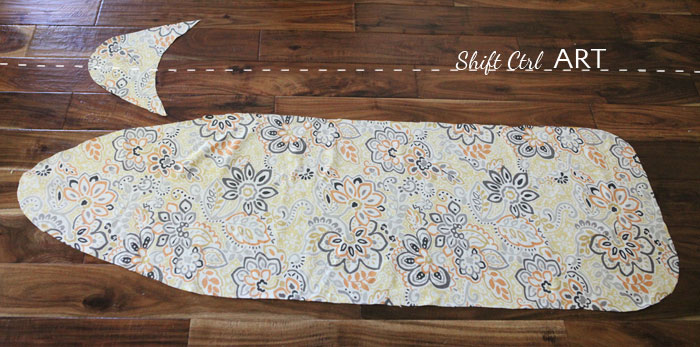
And I cut the little piece that goes on the end of the cover.
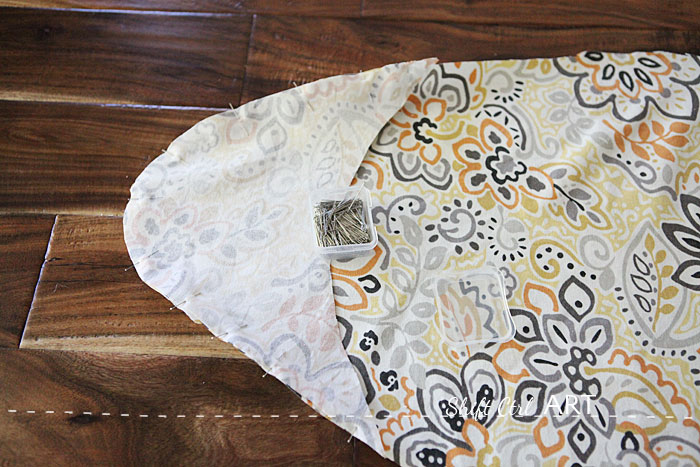
I cut a seam allowance for this small piece, but for the rest of the cover, I did not. Then I fastened the small piece with pins to the big piece.
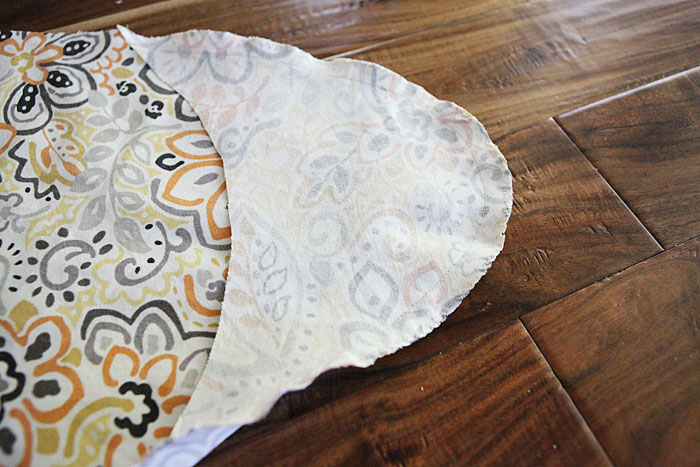
I sewed it and did a zig zag along the edge.
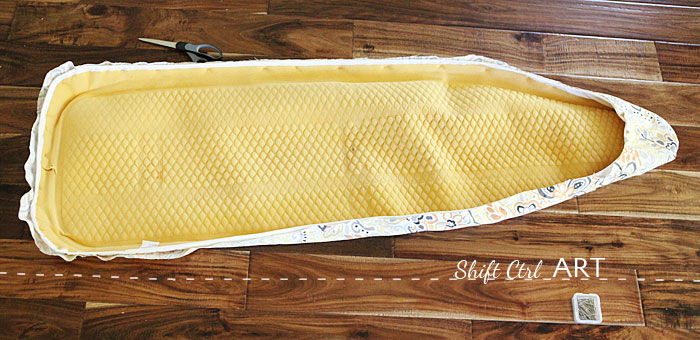
Then I fit the new cover around the old one. I also "dry fitted" it to the ironing board to make sure it fit. It did. Phew!
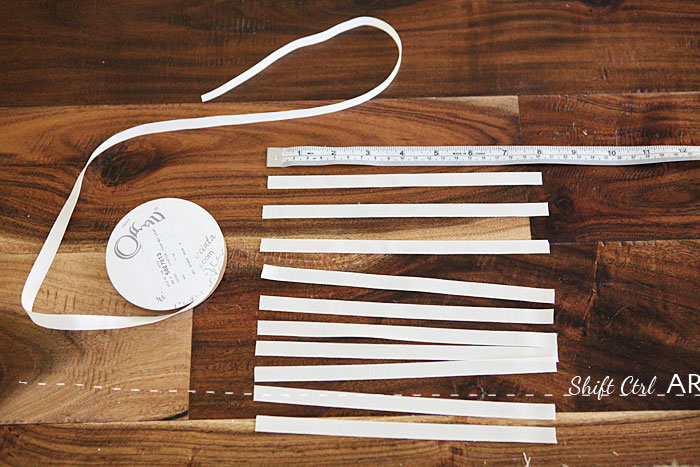
Then I cut 10 pieces of 8 inch ribbon for my loops.
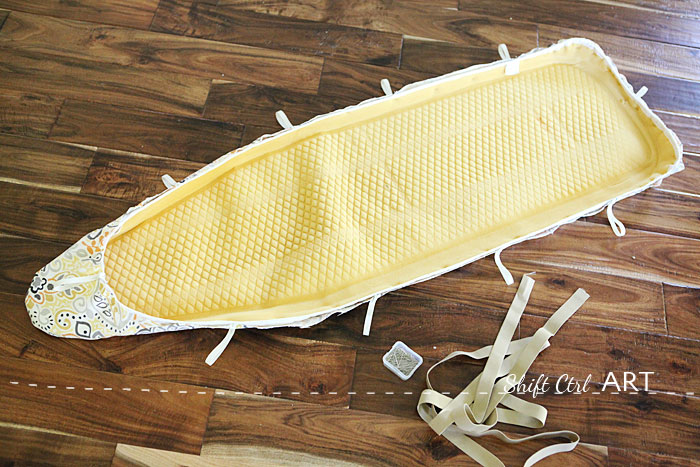
I added them evenly around the perimeter of the new cover like this. I used some tan colored, 1 inch wide elastic band as my new band around the seam.
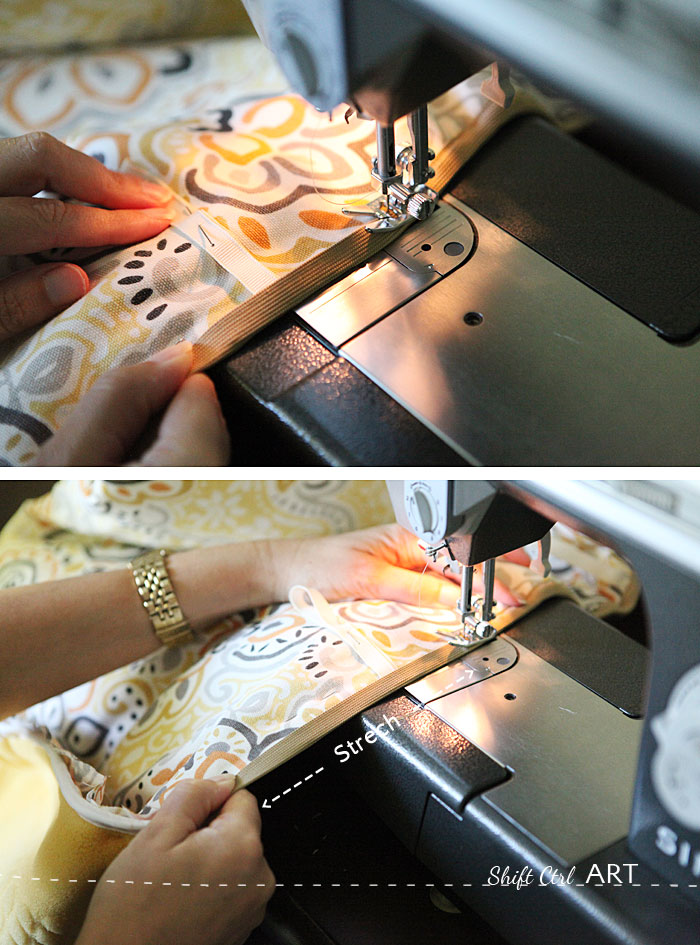
I bent in half to use kind of like a bias tape, only I stretched it to twice the length before stitching it on. As I was doing this I held on to the fabric both behind and in front of the needle to not give any stress to the needle.
The elastic band went from the front on the new fabric all the way around to the back of the old cover with batting.
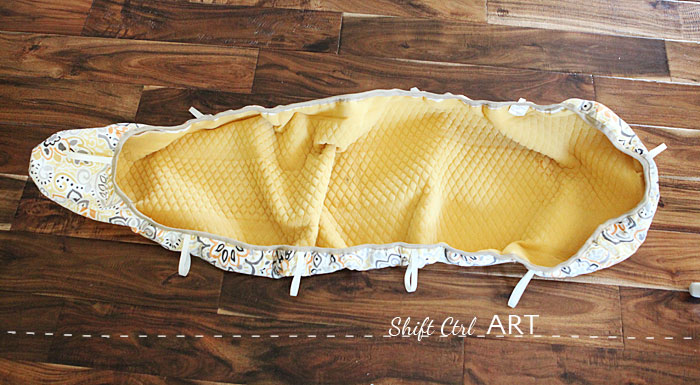
This is what the cover looked like after I had stitched the elastic band all the way around the cover.
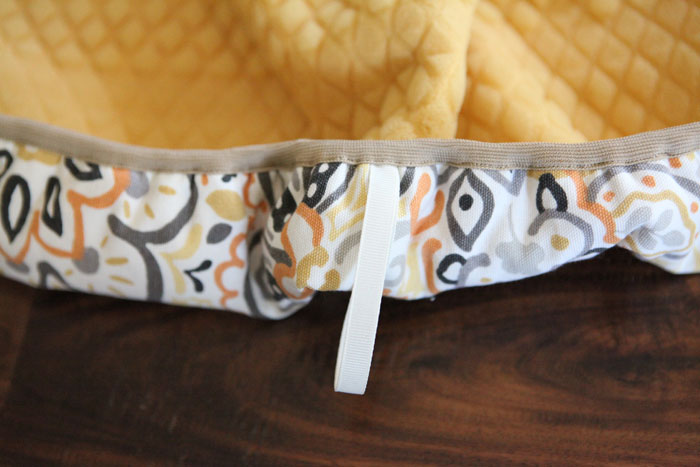
Here is a closeup of how the loops are attacked.
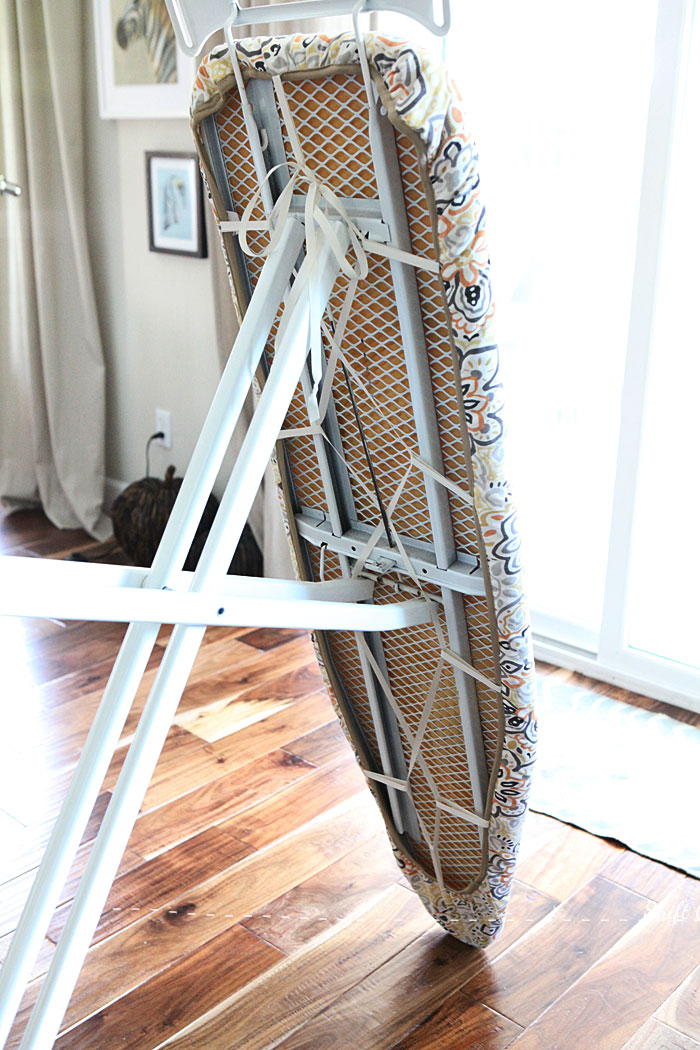
Then I mounted the cover onto the board again and used the rest of the ribbon from the roll to zig zag tie the cover to the board through the new loops. Now the cover does not come off when i iron heavy lengths of fabric anymore.
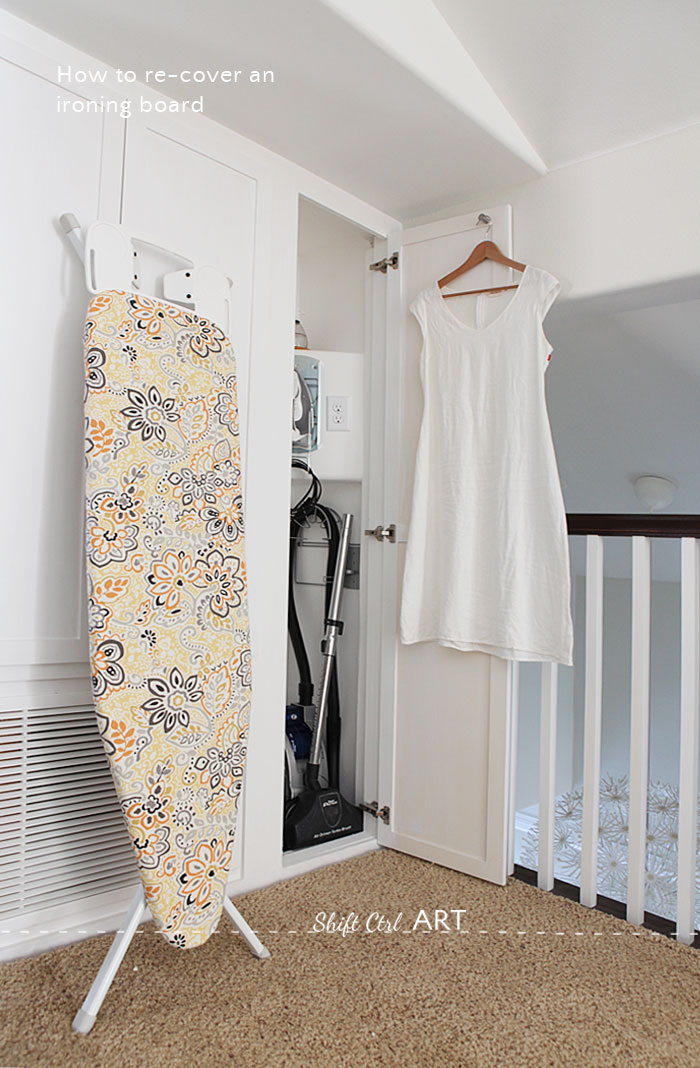
And here is the finished board with the new cover on it.
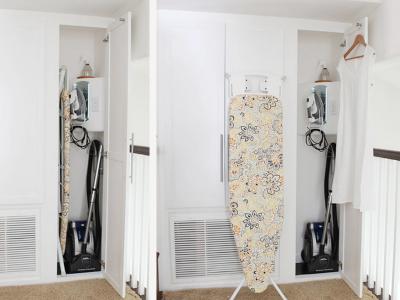
Read more about the tricked out ironing closet here. And the upstairs hall remodel here, with the reveal here.
On a scale of 1 to not at all, how much do you like to iron?
For more sewing projects see DIY - Do-It-Yourself Projects - scroll down to the sewing section

About Katja Kromann
I am a Danish American decorating life in Seattle. I love all things design and DIY.
I can’t think of anything more fun than coming up with project, making it, photographing it and sharing it with you on my websites.
Since 2018 I have been making Ceramics, nearly full time.
AHomeForCeramics.com AHomeForDesign.com AHomeForCrafts.com AHomeForFood.com My Portfolio
Categories
How to re-cover your ironing board in a few easy steps is posted in the category Before & After | Organization | Sewing
