Tricked out ironing closet - how to maximize a small space
Remember at the upstairs hall closet reveal when I said that the upstairs hall was done except for flooring? I remember. I had just shown you what was behind doors 1 through 6. Then a couple of days later I opened doors 7 through 9... Oh .... Mmmm... So here we are
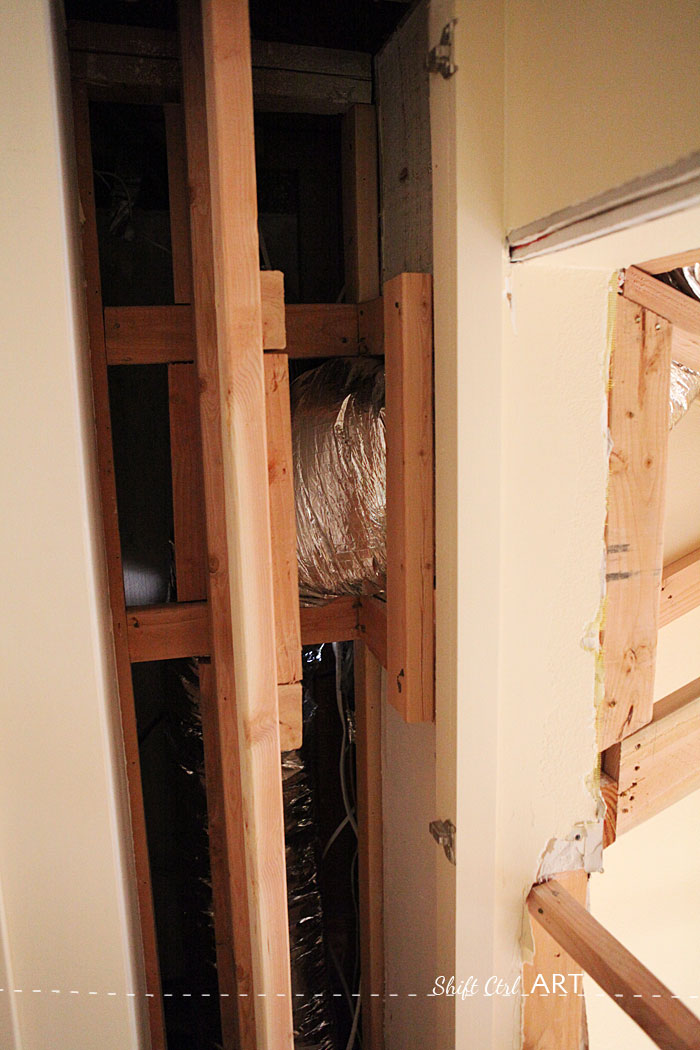
Let's first back up a bit to 2011. The large part of our remodel was done by then and some of the duct work had been re-routed through one of the cabinet upstairs. In the heat of the moment
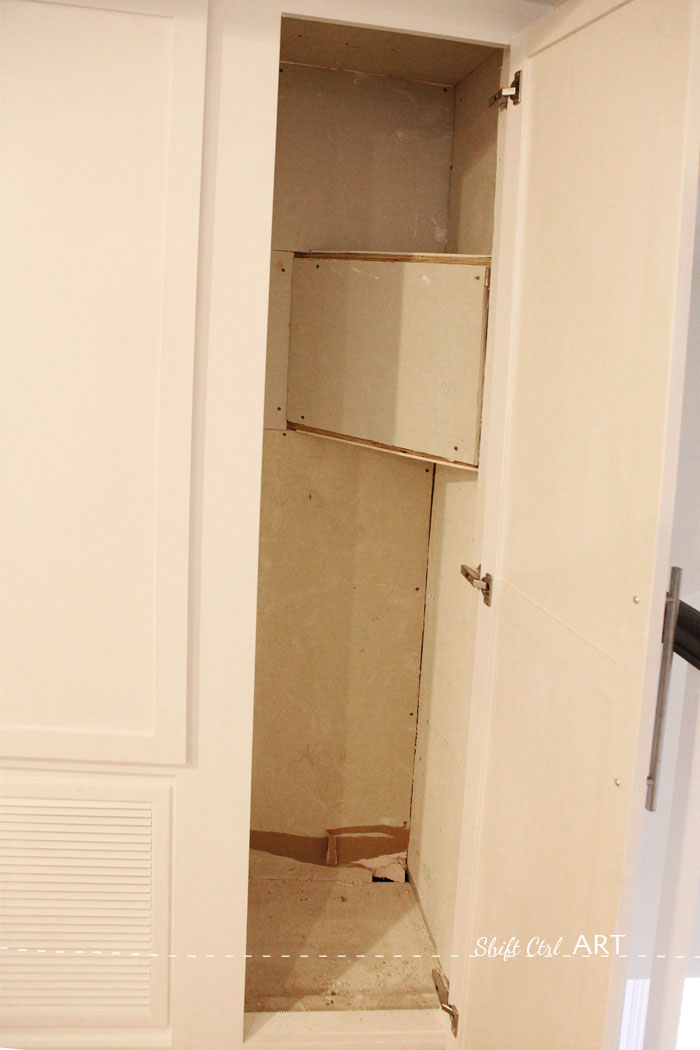
Dh quickly sprang into action and made this much better solution and framed around just the duct work before they came back and dry-walled. This left most of the closet still in a usable condition. And this is what it still looked like when I looked at it again a couple of weeks ago.
Then I thought: How can this be better? How can that odd triangle be turned into a feature instead of an obstacle.
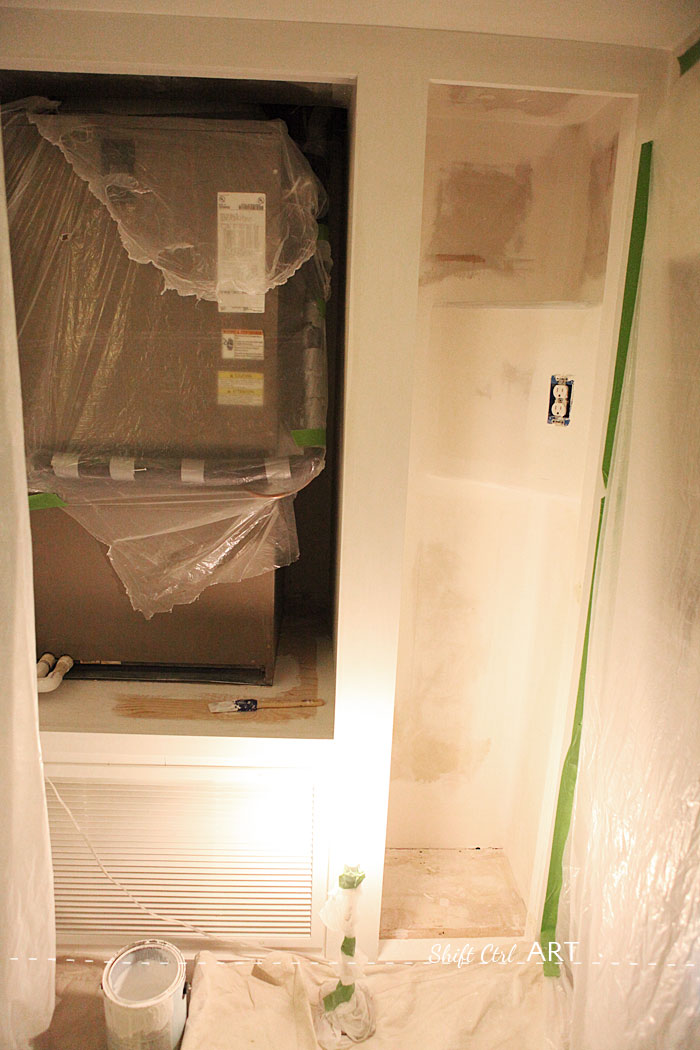
So while our handyman was putting up some trim in our master bath, I also had him mud and paint our little hallway cabinet. Here in progress.
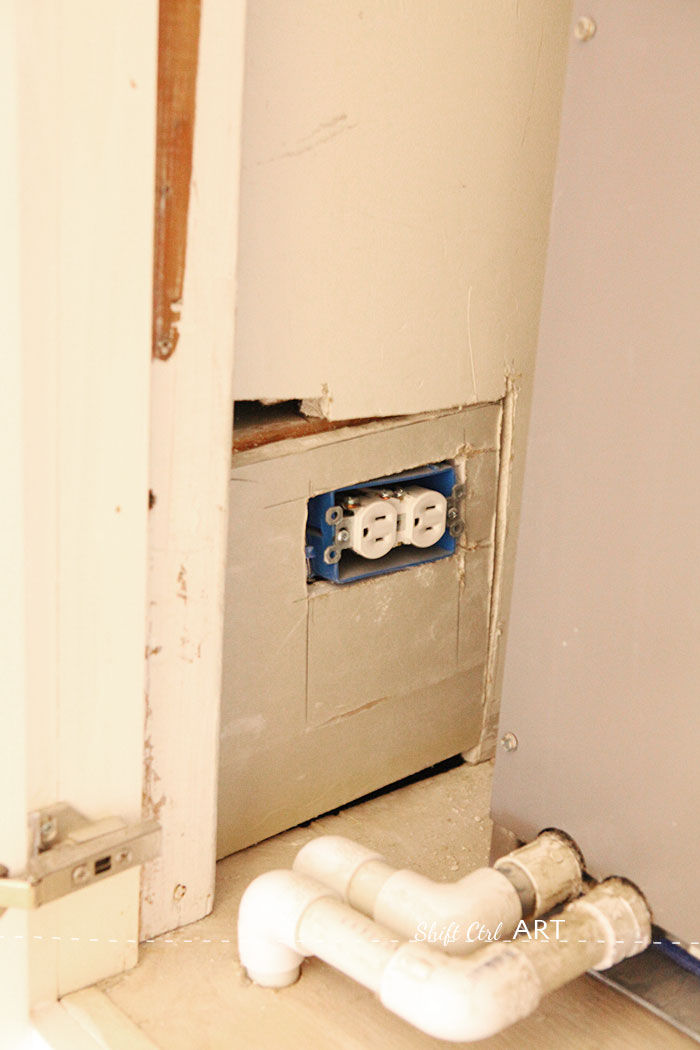
Oh and here you see a little mmmm issue left behind by the previous owners in the other cabinet to the left. This was noted in our move-in report as well. The drywall needs to come all the way to the box so the cover plate covers everything. We had this fixed at the same time. Better late than never.
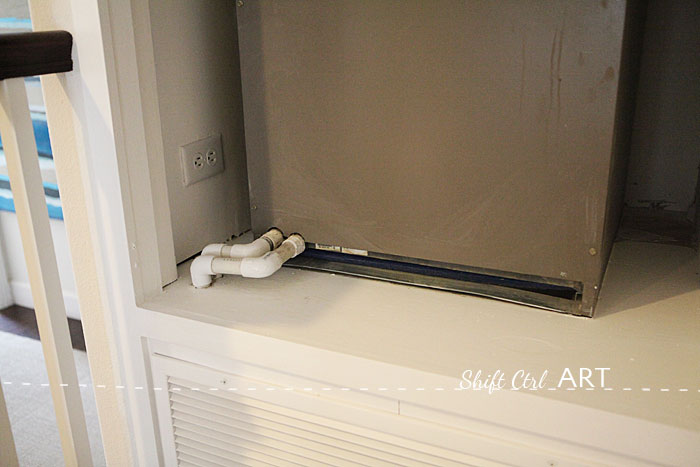
Here it is all fixed and nice. Ahhh. The big gray box is the heating unit for the upstairs. The previous owners separated it out when they built the addition to our house. Really a smart move because it is almost always a different temperature downstairs than upstairs. They also separated the air conditioning. So we could heat the downstairs while we cooled the upstairs, or the other way around, if we wanted to. Not that we want to... but options are nice
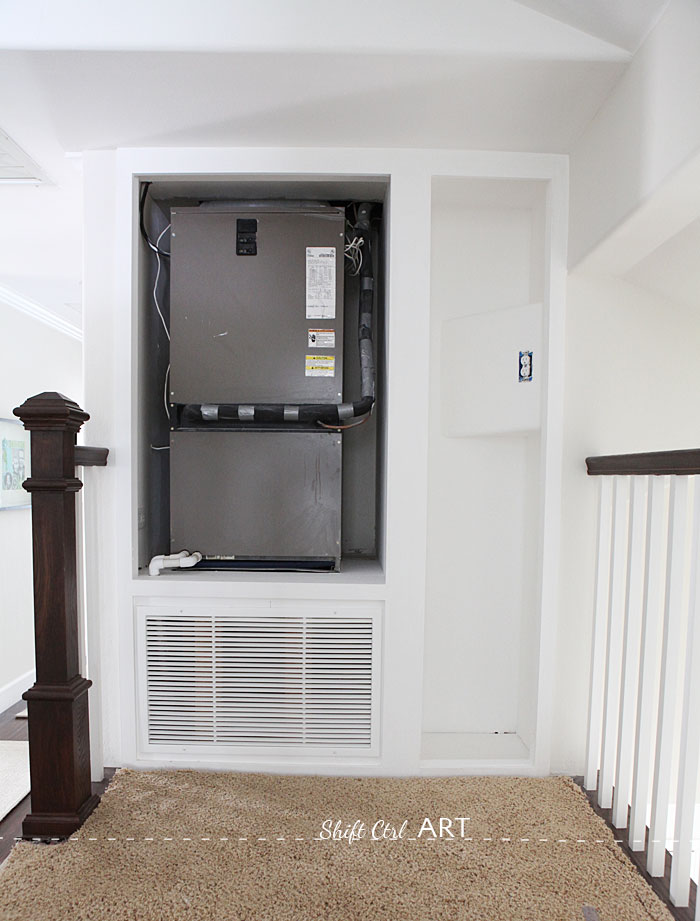
As you can see above we also used this opportunity to wire for an outlet in our new ironing closet to really make it functional.
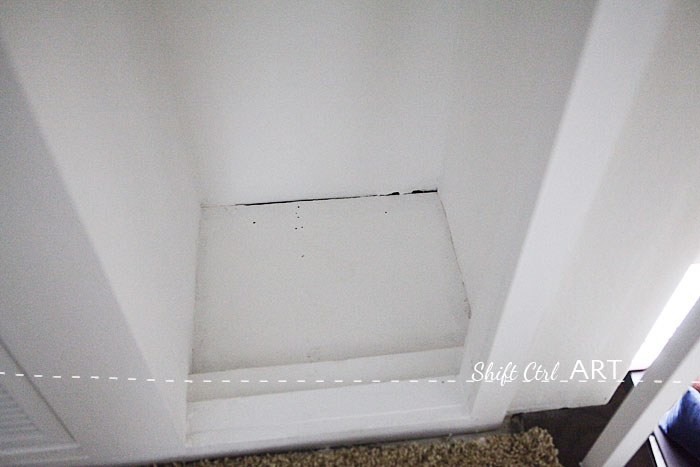
After our handy man was done painting, dh and I sprang into action to trick it out the rest of the way. Here is what the floor looked like.
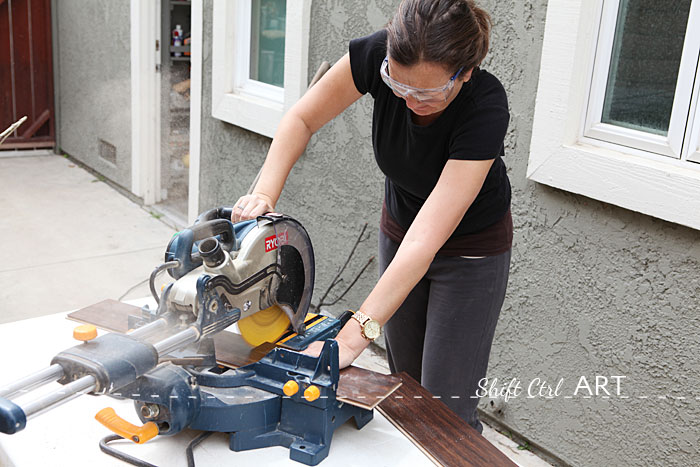
We had some boards left over from our upstairs re-flooring project in B's room and the office.
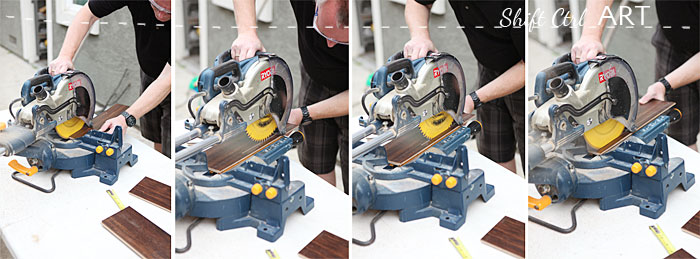
Three pieces cut from two boards was all that was needed. The last board had to be cut length wise and here you see how dh did that. Note to self: we really want a table saw.
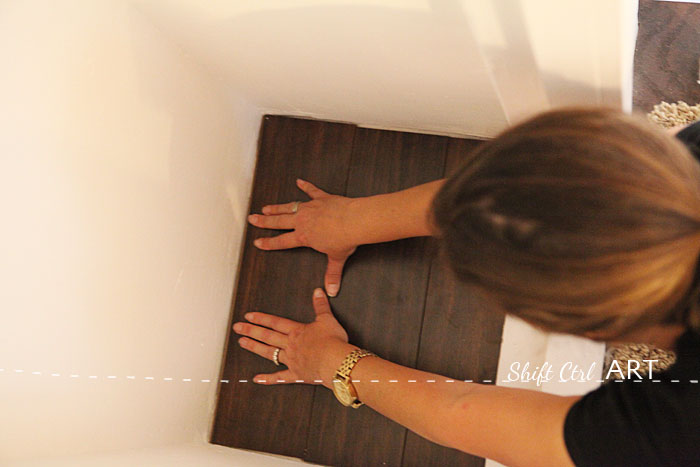
Then I clicked it into place in our little cabinet.
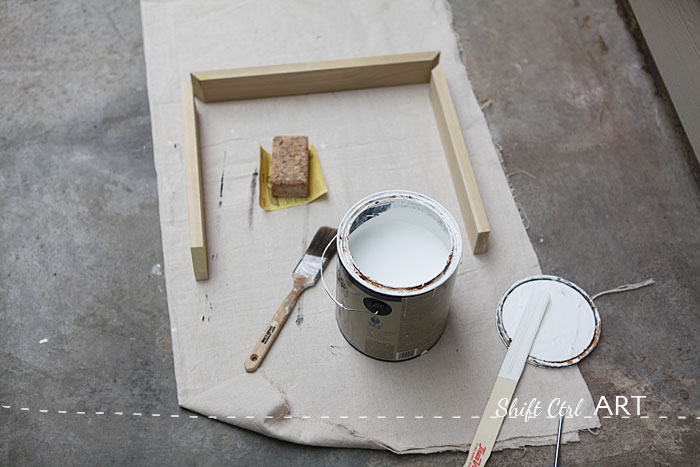
We did not have any regular baseboard left, but we did have a couple of 1x3s left over from B's desk project, so we cut that to size and I painted it.
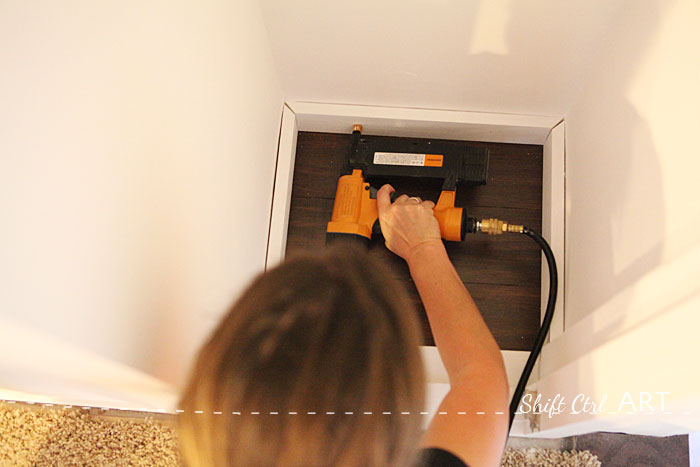
Then nailed it in place with our nail gun.
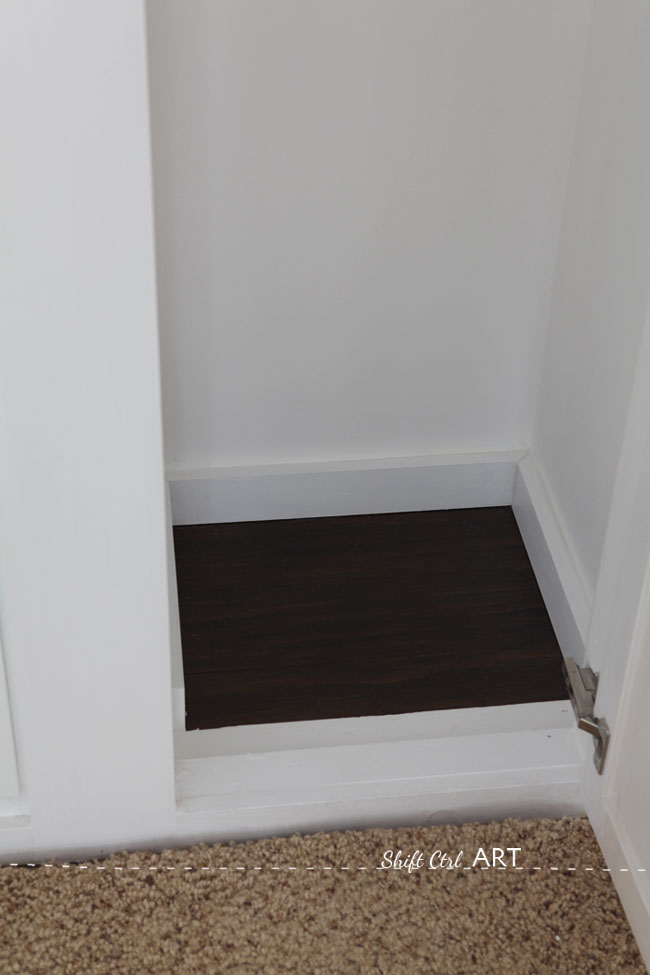
Here it is after I caulked it. (fuge-masse)
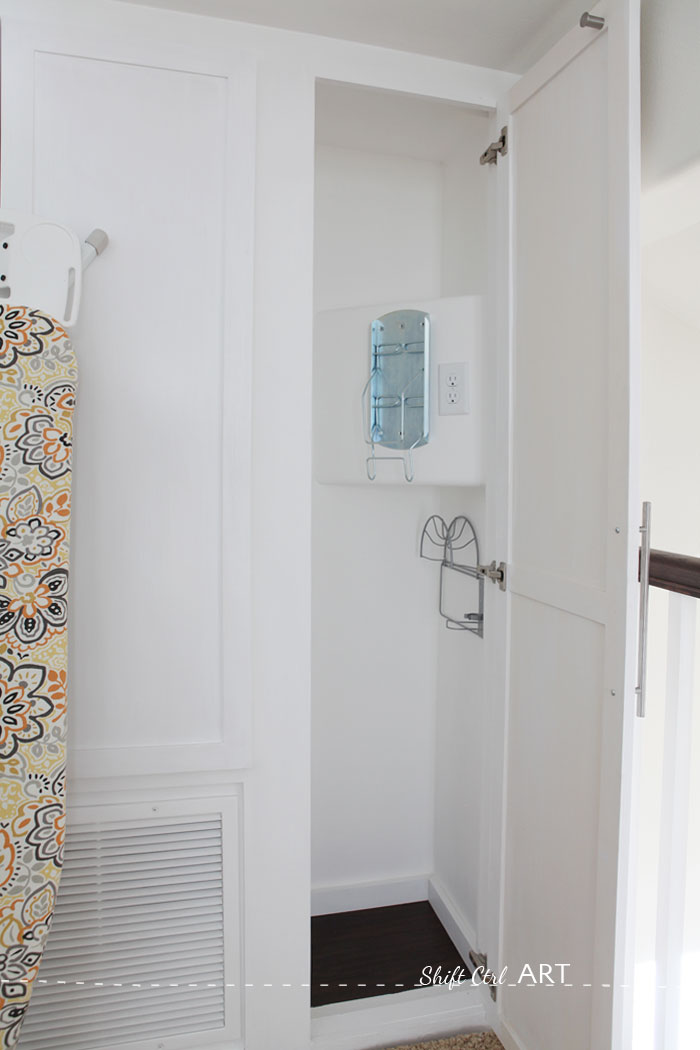
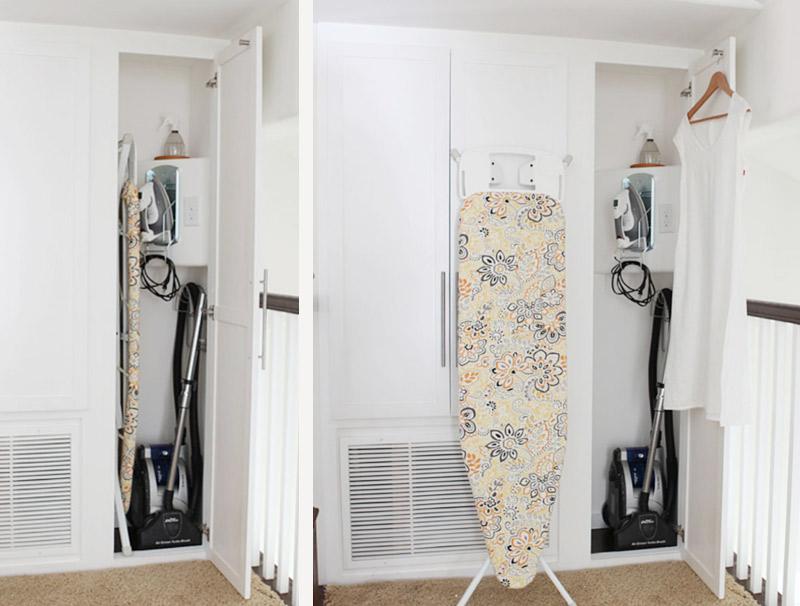
Then we added an iron holder and a vacuum hose holder - both from IKEA - to the cabinet. The iron board also got a make-over - more on that next week.
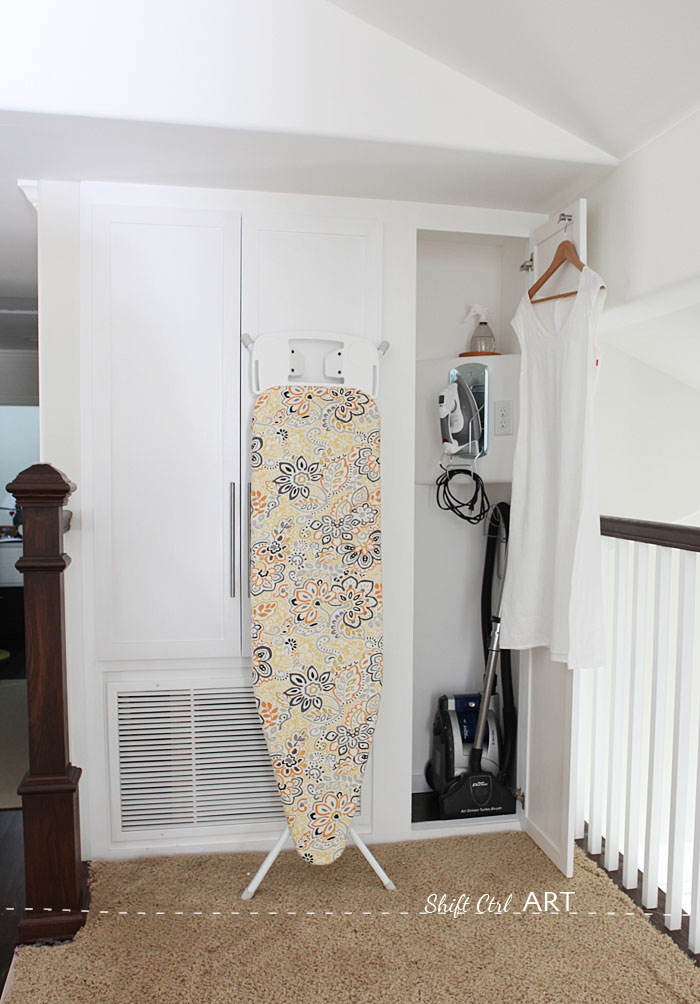
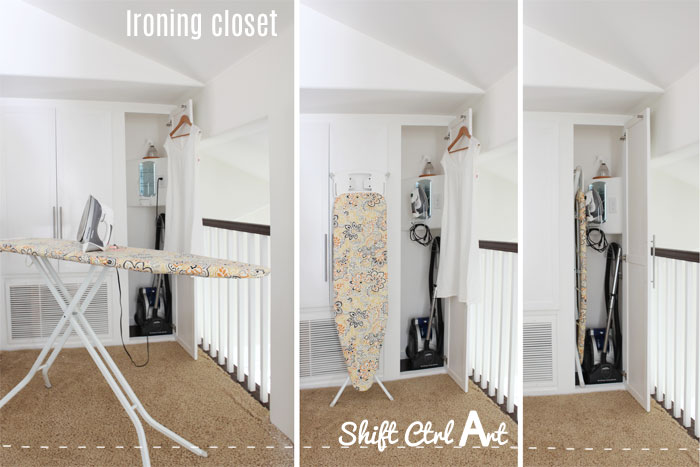
The little triangle shelf serves as both a really great spot to hold the iron and house the outlet for it, but also as a place to put my water mister. It actually worked out to our advantage to have that duct going through this cabinet.
We also added a little hook - also by IKEA - to the door, so you can hang a couple of pieces here while you are ironing.
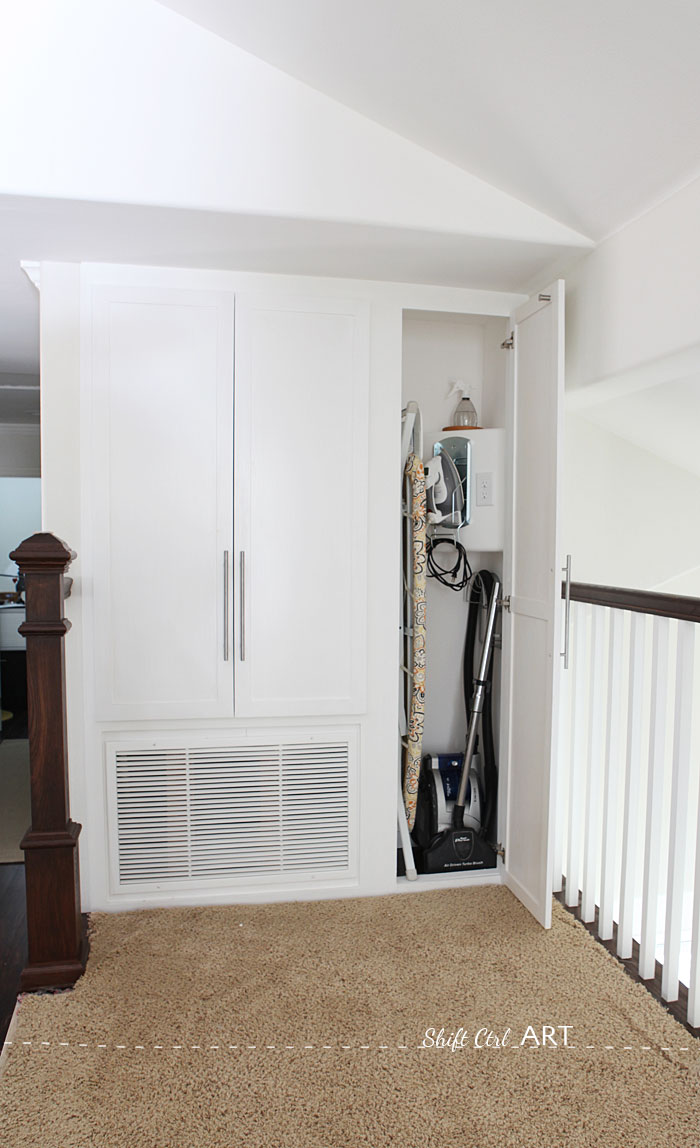
Here you see how everything packs away nicely. Everything just fits. I love how functional it is.
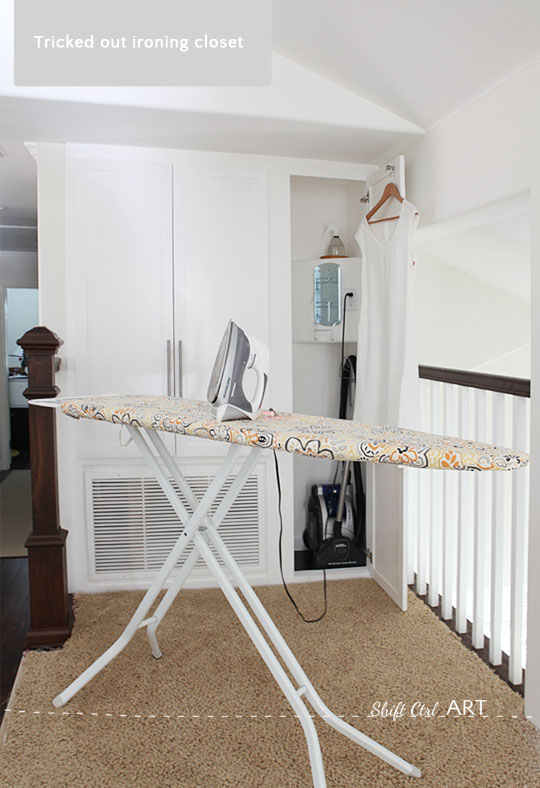
NOW - the upstairs hallway is done except for the flooring
Sharing at It's overflowing
Where do you house your ironing board? I have to admit I don't iron a hole lot except for when I sew. Do you use an iron a lot?

Next: How to re-cover your ironing board in a few easy steps

About Katja Kromann
I am a Danish American decorating life in Seattle. I love all things design and DIY.
I can’t think of anything more fun than coming up with project, making it, photographing it and sharing it with you on my websites.
Since 2018 I have been making Ceramics, nearly full time.
AHomeForCeramics.com AHomeForDesign.com AHomeForCrafts.com AHomeForFood.com My Portfolio
Categories
Tricked out ironing closet - how to maximize a small space is posted in the category Before & After | Decor
