We caved and got a spray gun - again - So. Much. Fun - with video
Two quick things:
- Thank you so much for all your fantastic comments on our post: Kitchen reveal: before and after pictures of our kitchen remodel - how it all came together. We so appreciate each and every one! Thanks!
- We are testing out a new feature in the comments section. You will now have the ability to be automatically notified of a reply to your comments (but you can unsubscribe at any time). We are still in beta mode, so some glitches may occur over the next couple of days. Please let me know if you are having any issues and we will fix them lickity split! Thanks!
--------------------
This weekend was all about painting. I shared one project that we started over on Instagram (I'm baaaaack - due to the new Itsdagram app. Yeah!! ), you can go look. I'll wait... but that project is for a later post...
This post is all about spray painting with our brand. new. spray. paint. gun! Yeah baby!!
Let's get to the video first, then we'll talk...
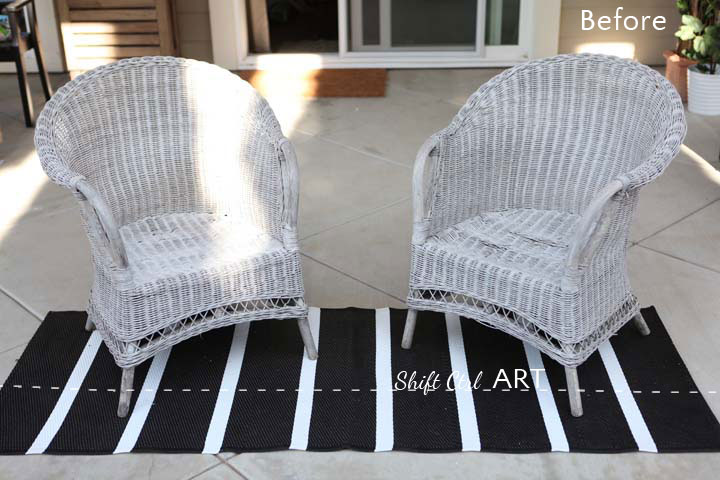
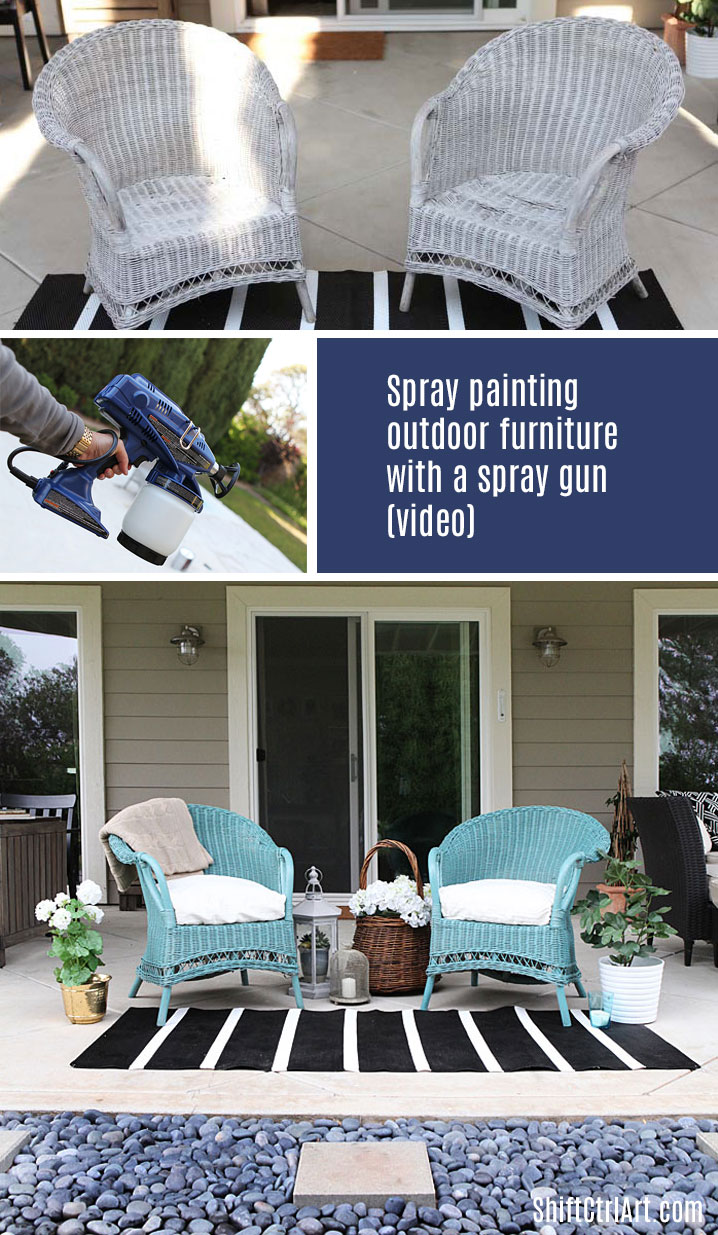
Here are the chairs before again.
My spray gun adventure started for me back in 2010. I did as much research as I could, then got this one.
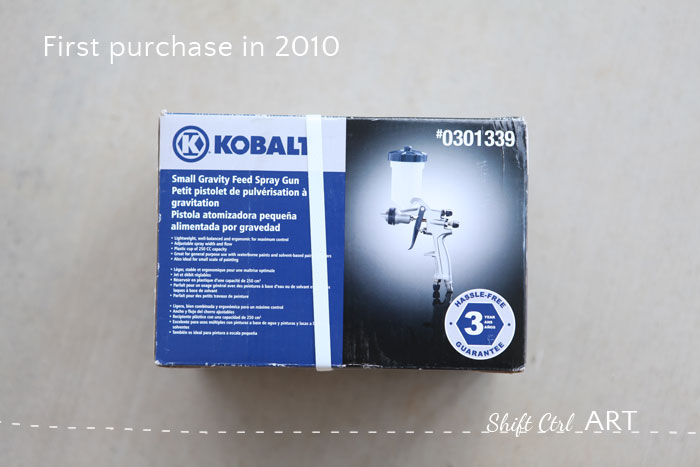
Then quickly proceeded to never using it...
Fast forward to a couple of months ago, when Bower Power blew me away with their kitchen remodel and I saw their paint gun in action.
The thought of a spray paint gun crept back on my mind. Then last week Young House Love got the same gun and started painting all over the place in their new house.
Herd mentality totally kicked in over the weekend and we got that spray gun - it's the Graco True Coat II.
The reason we gotsuckered in rationally arrived at getting this one over using the other one, was that I really liked that you don't have to thin the paint and you don't need a compressor - even though we have one, but that makes the set-up so much easier.
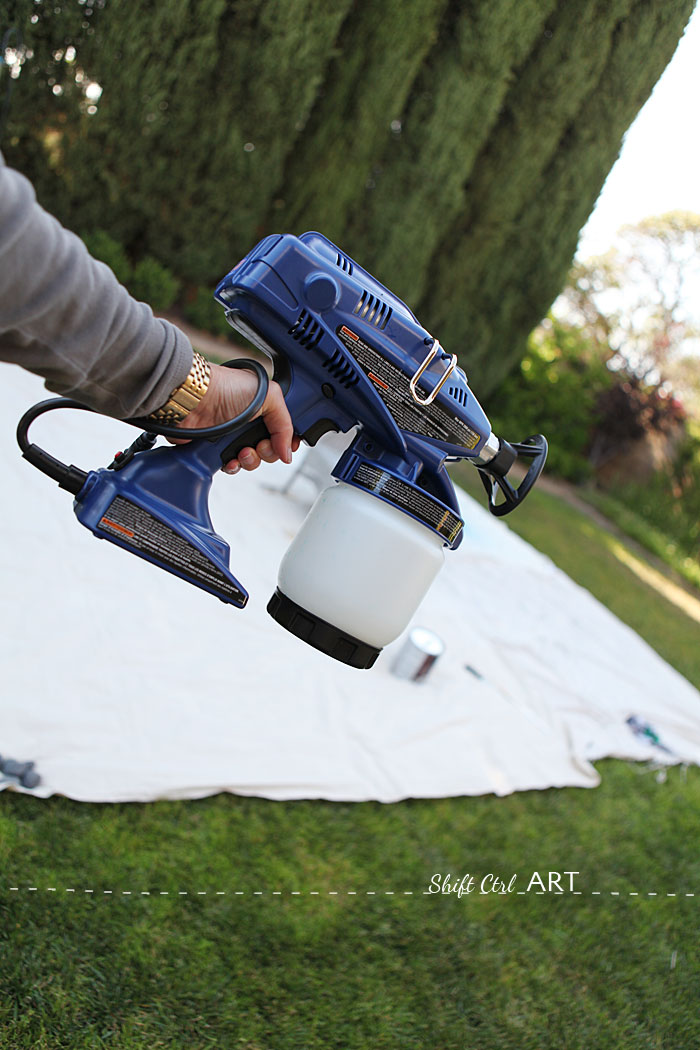
Here is the new beast.
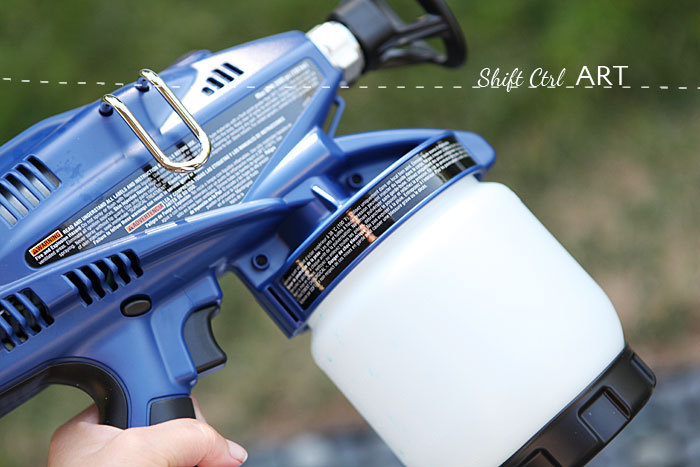
BAM! It's never going to look this clean again....
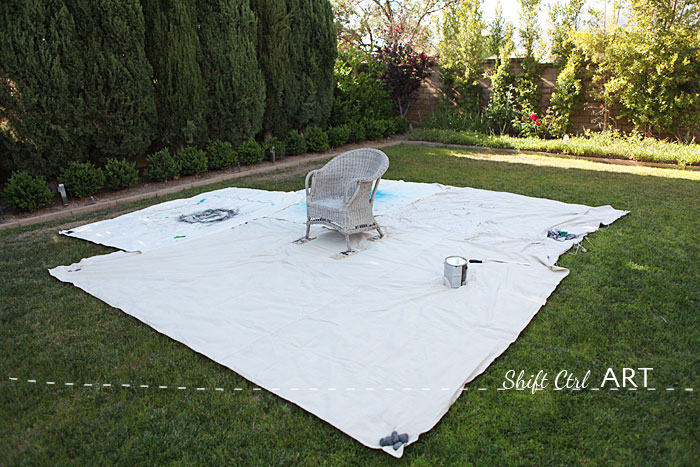
Here is my set-up. It was a tiny, tiny, tiny bit windy. In retrospect I should have placed the chair further in front on my tarps. Noted. The good thing about this sprayer is that there seems to be hardly any spray fly-aways. I examined all our plants afterwards, my own clothes, my face. I could not find a single droplet outside the narrow perimeter of my spray zone. So I am not sure what you see in the wind on the video. I assume it must be some paint, but my shirt for instance, was totally clean after. Not a single drop of paint on it.
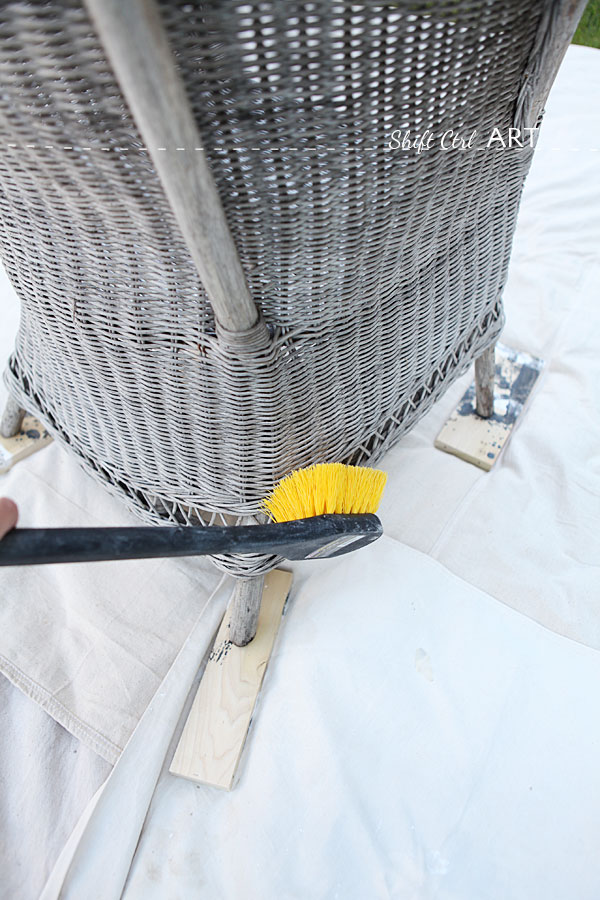
I started by giving the chairs a good scrubbing.
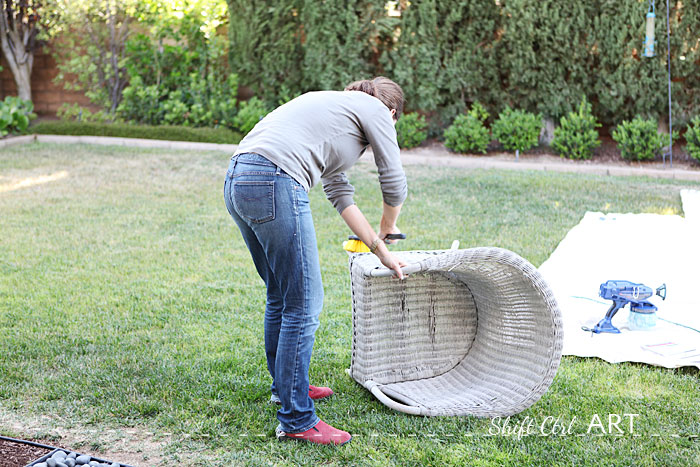
Now tell me: Is your painter's outfit as snazzy as mine? Does it include red shoes? It's all the rage, I'm telling you...
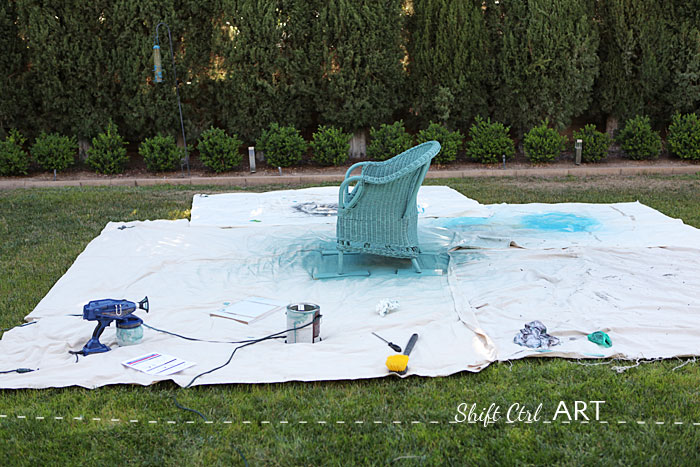
Each chair took about 5 minutes to spray paint. Maybe even less...
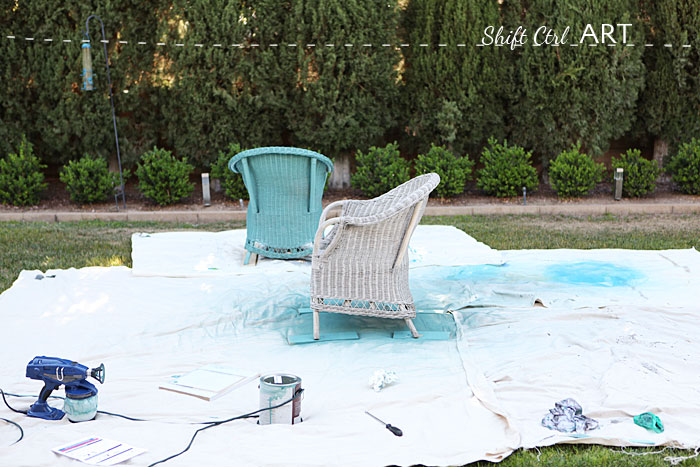
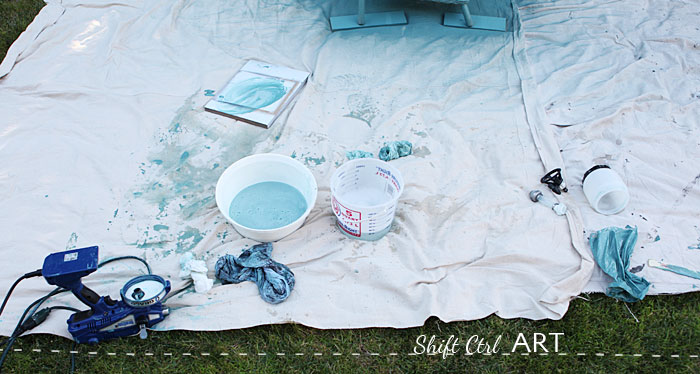
And here is a picture mid clean up. By far the most tedious part of it. And not nearly as glamorous as they make it look on the accompanying DVD. I think it took me a good 30 minutes to go through the cleaning steps.
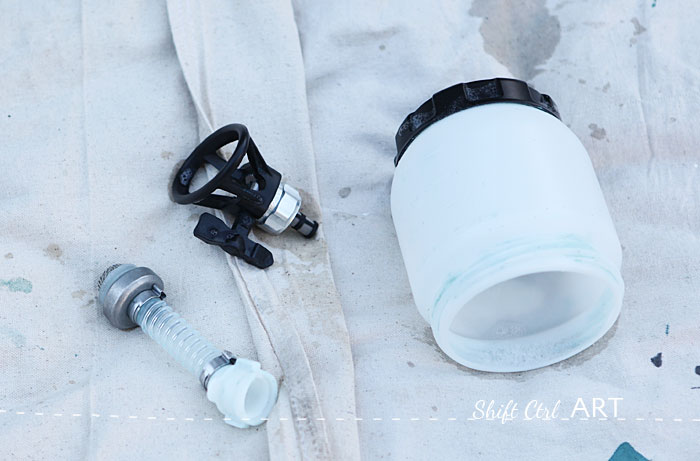
There are not a lot of parts to clean. These are the only parts that detach. The suction hose, the nozzle and the paint cup.
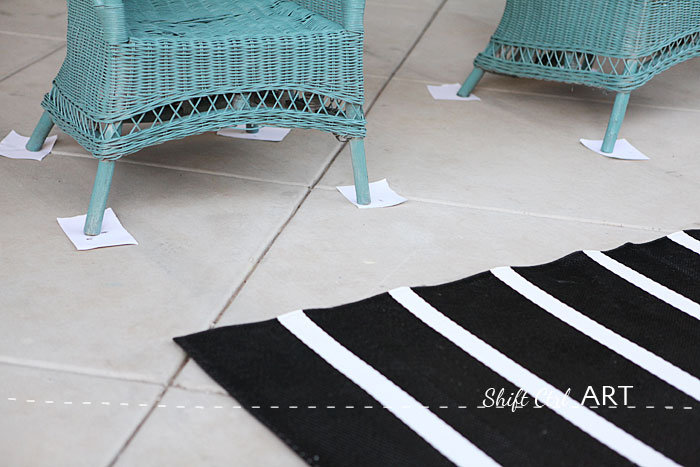
By the time I was done cleaning up, the paint was dry and I moved the chairs onto the patio.
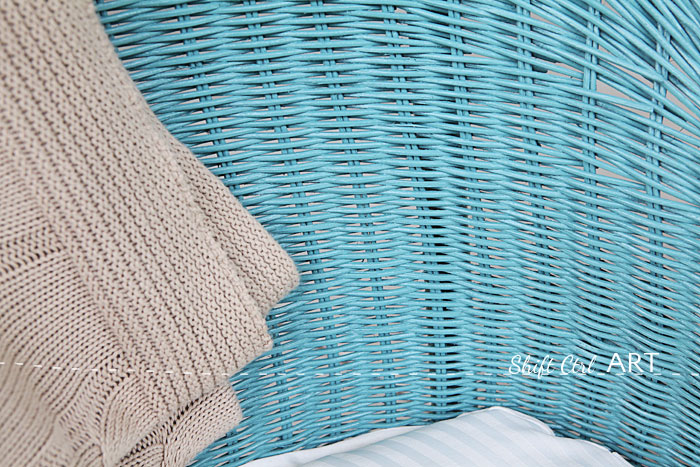
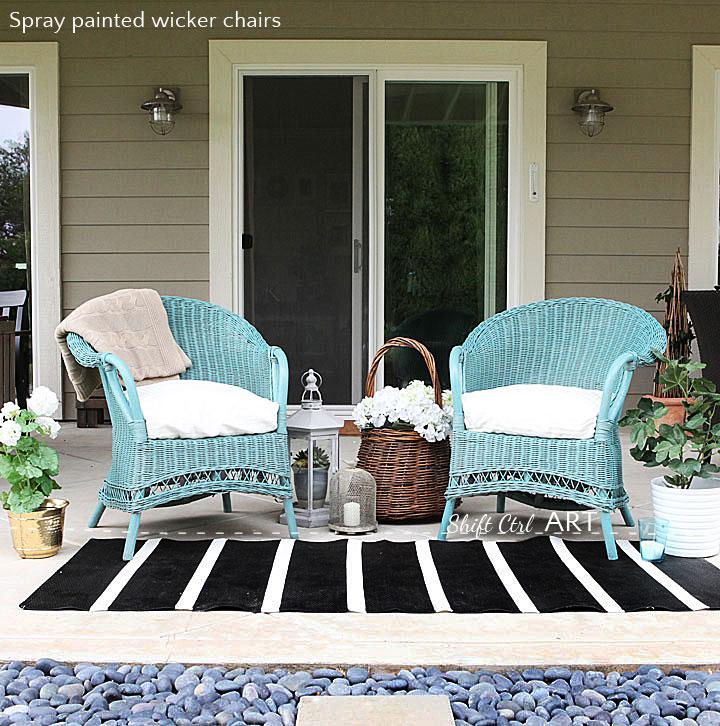
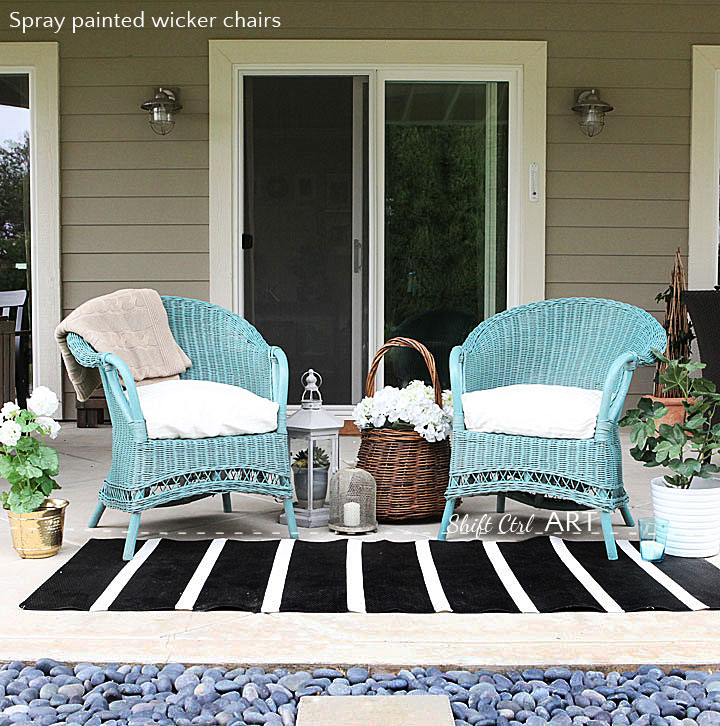
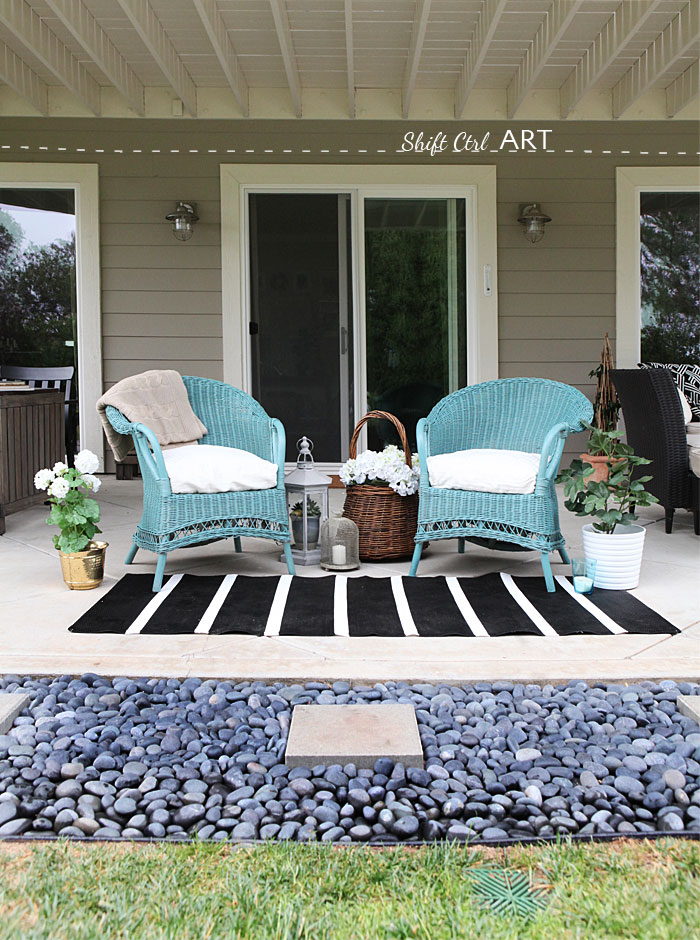
Here is a close up of the paint job. I am so happy with how this came out. I used a Valspar Duramax semi-gloss paint and primer in one for exterior use. The color is Valspar Lost Atlantis.
Now I am thinking of those 6-9 yellow-ish doors I still have upstairs that really need to become white. I think I will clean out the garage first, then move my spray painting in there.
Next: Outdoor patio dining area - the reveal
Share
- Thank you so much for all your fantastic comments on our post: Kitchen reveal: before and after pictures of our kitchen remodel - how it all came together. We so appreciate each and every one! Thanks!
- We are testing out a new feature in the comments section. You will now have the ability to be automatically notified of a reply to your comments (but you can unsubscribe at any time). We are still in beta mode, so some glitches may occur over the next couple of days. Please let me know if you are having any issues and we will fix them lickity split! Thanks!
--------------------

This weekend was all about painting. I shared one project that we started over on Instagram (I'm baaaaack - due to the new Itsdagram app. Yeah!! ), you can go look. I'll wait...
This post is all about spray painting with our brand. new. spray. paint. gun! Yeah baby!!
Let's get to the video first, then we'll talk...
Here are the chairs before again.

My spray gun adventure started for me back in 2010. I did as much research as I could, then got this one.

Then quickly proceeded to never using it...
Fast forward to a couple of months ago, when Bower Power blew me away with their kitchen remodel and I saw their paint gun in action.
The thought of a spray paint gun crept back on my mind. Then last week Young House Love got the same gun and started painting all over the place in their new house.
Herd mentality totally kicked in over the weekend and we got that spray gun - it's the Graco True Coat II.
The reason we got

Here is the new beast.

BAM! It's never going to look this clean again....

Here is my set-up. It was a tiny, tiny, tiny bit windy. In retrospect I should have placed the chair further in front on my tarps. Noted. The good thing about this sprayer is that there seems to be hardly any spray fly-aways. I examined all our plants afterwards, my own clothes, my face. I could not find a single droplet outside the narrow perimeter of my spray zone. So I am not sure what you see in the wind on the video. I assume it must be some paint, but my shirt for instance, was totally clean after. Not a single drop of paint on it.

I started by giving the chairs a good scrubbing.

Now tell me: Is your painter's outfit as snazzy as mine? Does it include red shoes? It's all the rage, I'm telling you...

Each chair took about 5 minutes to spray paint. Maybe even less...


And here is a picture mid clean up. By far the most tedious part of it. And not nearly as glamorous as they make it look on the accompanying DVD. I think it took me a good 30 minutes to go through the cleaning steps.

There are not a lot of parts to clean. These are the only parts that detach. The suction hose, the nozzle and the paint cup.

By the time I was done cleaning up, the paint was dry and I moved the chairs onto the patio.

Here is a close up of the paint job. I am so happy with how this came out. I used a Valspar Duramax semi-gloss paint and primer in one for exterior use. The color is Valspar Lost Atlantis.

Now I am thinking of those 6-9 yellow-ish doors I still have upstairs that really need to become white. I think I will clean out the garage first, then move my spray painting in there.

Next: Outdoor patio dining area - the reveal

About Katja Kromann
I am a Danish American decorating life in Seattle. I love all things design and DIY.
I can’t think of anything more fun than coming up with project, making it, photographing it and sharing it with you on my websites.
Since 2018 I have been making Ceramics, nearly full time.
AHomeForCeramics.com AHomeForDesign.com AHomeForCrafts.com AHomeForFood.com My Portfolio
Categories
We caved and got a spray gun - again - So. Much. Fun - with video is posted in the category Before & After | Furniture | How To | Outdoor Living
