Use what you have: build a bed side cubby and 7 other DIY projects for a tween room
Fair warning: long post alert.

Remember when we Installed the new hand rail on the deck off the master? And we got the wrong width at first? Then we bought some more wood and finished that project leaving us with a bunch of 2x6 cedar all planed and nice.
Since I love to use or repurpose what I already have, I had the thought (the propeller was spinning the whole time) to build a wall cubby for B's room using some of this nice wood we have on hand.
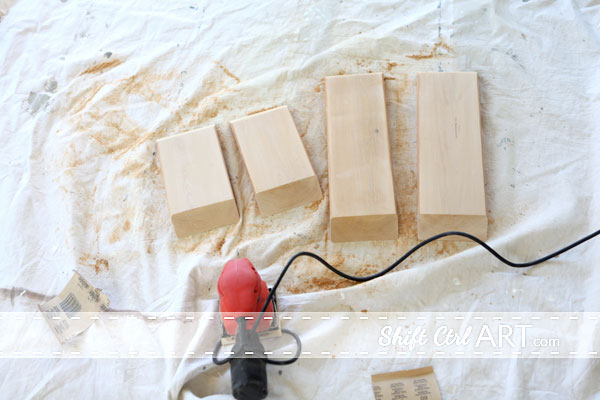
Here is how I built it. First I asked our handy dandy guy who was installing the railing and who already had his miter saw set up to make me four pieces of wood with 45 degree angles. The long pieces are 18 inches and the short pieces are 11 inches.

The wood splintered a bit when it was cut.
So I gave the wood that was going to be on the inside of the cubby a good sanding with 60 grit, then 150 grit, then 220 grit.

Then I added wood glue to the 45 degree angles and used our finish nailer to attach the four pieces together using great care that the corners lined up.

Hi is how much glue I added to both 45 degrees before gluing them together.

Then I gave the outside a good sanding as well.

Next I had bought some keyhole fasteners at Lowe's so that I could flush mount the cubby to the wall.
Do you have a router and know how to use it? Great! Go ahead and use that.
We have one, but I don't know how to use it, so I used what I had (tools I could figure out) instead and it worked quite well.
Here is how I countersunk the key hole fasteners - picture tutorial 

The reason I drilled the bigger whole in the middle was so that there was room for the screw head to go in under the keyhole fasteners.

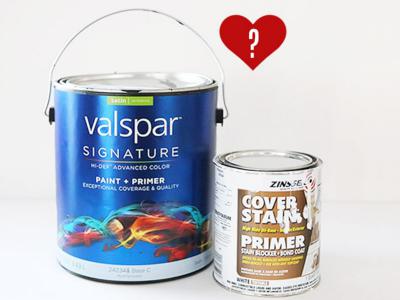
Then I sanded some more and got to painting. I love the new stain I got for the hand-rail and since I already had quite a bit, I decided to use what I have and used that.

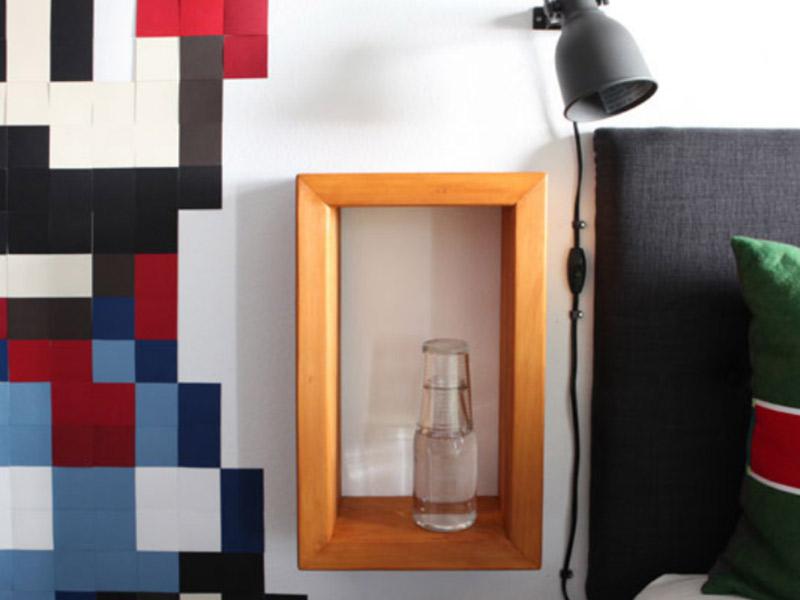
Then I let it dry and hung it on the wall next to B's bed.


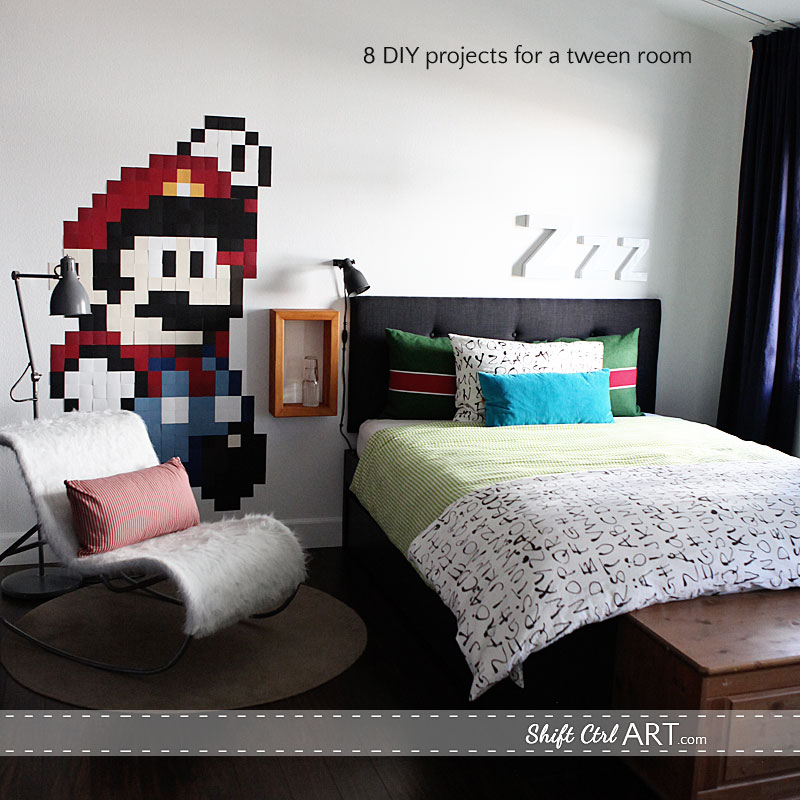
For those keeping score at home - this room has 8 DIY projects of varying degree of difficulty.

Left to right, top to bottom. Linking to the blog posts with each project.
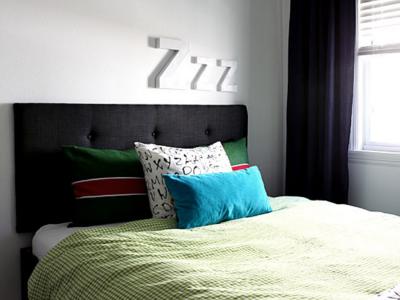
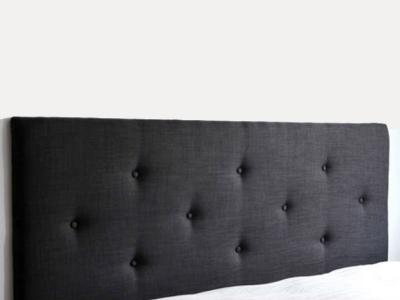
- Make a tufted headboard
- Build a bedside cubby - this post
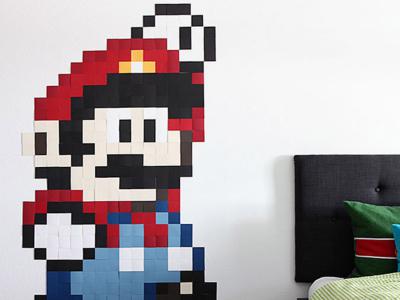
- Make super sized pixel wall art
- Dye and hem curtains
- Spraypainting craft letters white
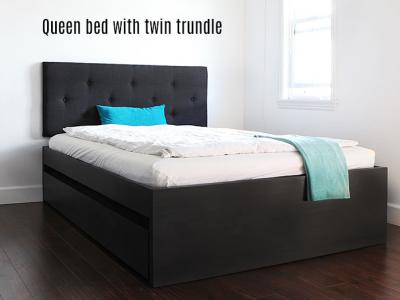
- Build a queen bed with trundle
- Make a reversible pillow cover
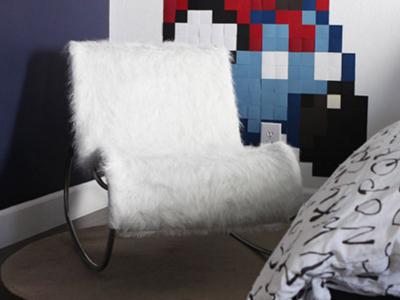
- Recover a chair with white faux fur
The bedside lamp is the new Hektar from IKEA - $14.99. It can be fastened with a clamp or with a bracket. I used a bracket here.
We also got a reading lamp for the chair. I wanted the Format but B was not having that lamp. He was set on the Aröd floor lamp. The client gets what the client wants - within reason. This was within reason.
The pillow in the fur chair is an outdoor pillow I bought at IKEA a couple of years ago. It is striped tan and red.
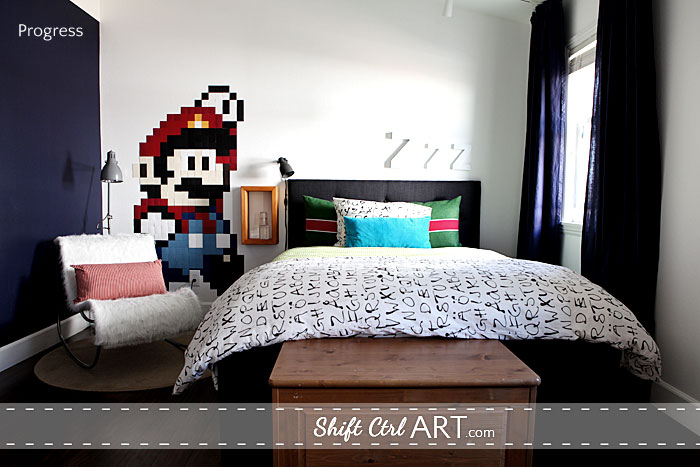
Let's take a quick look at the progress for the room so far.
Paint the walls white.
Dye curtains - How to dye curtains.
Hemming the curtains - How to hem curtains.
Paint three coats of navy on a wall. How to get a crisp line on textured walls.
Fix some wiggly outlets - How to fix a wiggly outlet
Fix bed - IKEA Hack - queen bed with twin trundle,
Re-upolster headboard - How to make a tufted head board
Paint the bed - Oil based primer and latex paint - a match made in heaven?
Track lights, bedding, Zzz - Lights, curtains, action - bedding and a rug
Sew decorative pillow.Reversible long pillow - green with red stripe/gray with blue stripe.
Re-upolster chair - recover a chair in white faux fur
Art project. Or two. - B and I made a huge 5 ft Mario Wall art feature.
Got a reading lamp - This post
Make night stand cubby - This post
Install bed lamp - This post
Improve on a rug
Install shelves
Install magnetic boards
Install wooden cubbies.
Make desk
Improve on trunk
Frame Mario art.
Get a new dresser or shelving unit - haven't decided yet.
Linking up to Emily A Clark - use what you have challenge.
Linking up to:C.R.A.F.T. // Lines Across // Uncommon Designs // That’s What Che Said // Creatively Living//View Along the Way
Getting close now. I almost don't want this project to end. I am having so much fun! Do you ever feel like that with a project? Never wanting it to end, or can't you wait to begin the next one?
Next:
Pinterest Challenge: B's blue wall reveal - we built a desk and some shelves and made a gallery wall

I am a Danish American decorating life in Seattle. I love all things design and DIY.
I can’t think of anything more fun than coming up with project, making it, photographing it and sharing it with you on my websites.
Since 2018 I have been making Ceramics, nearly full time.
AHomeForCeramics.com AHomeForDesign.com AHomeForCrafts.com AHomeForFood.com My Portfolio