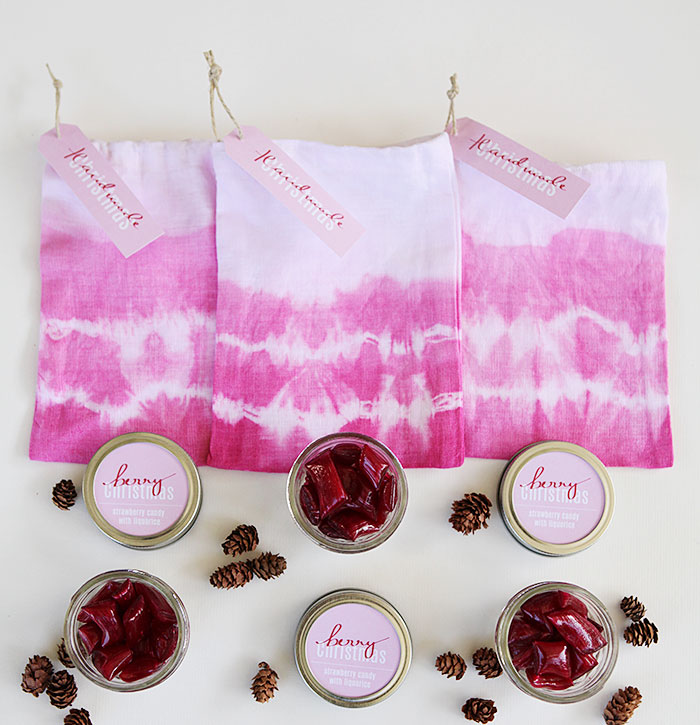
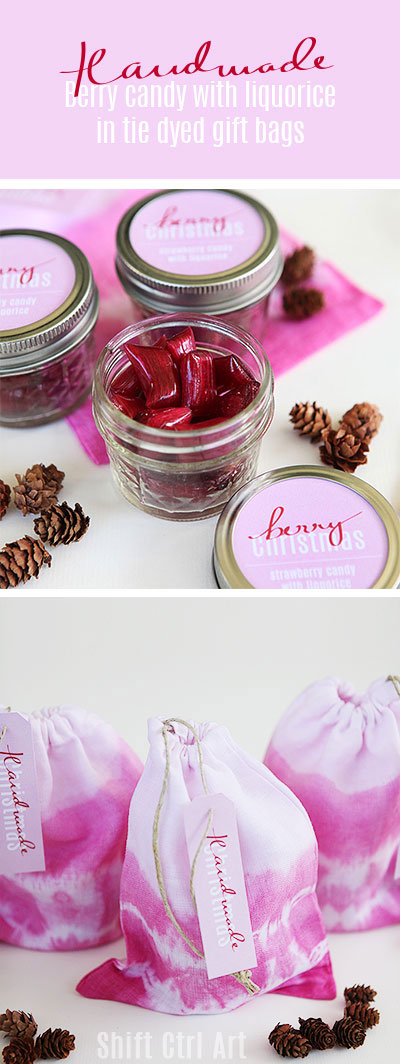
handmade berry candy with liquorice in tie dyed gift bags
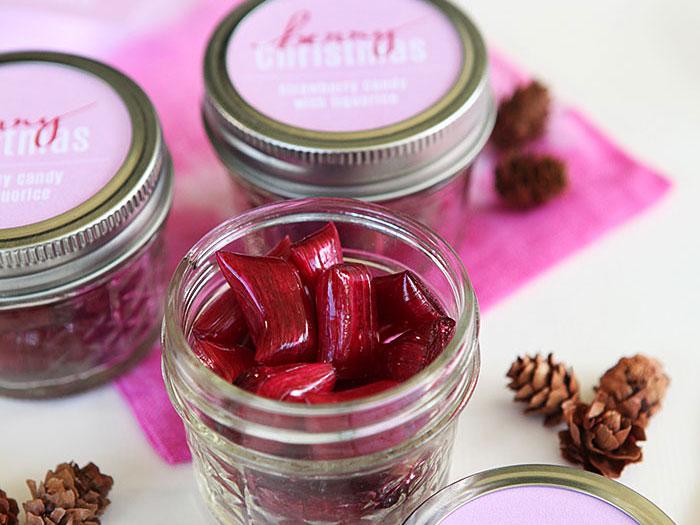
Let's get some presents under that tree. And why not make them handmade. I love to give edible gifts and then do a craft around the gift wrapping. I made a 'berry Christmas' strawberry candy with liquorice in the center. Then I put them in little mason jars and made some tie dyed gift bags for them. Tutorials below.
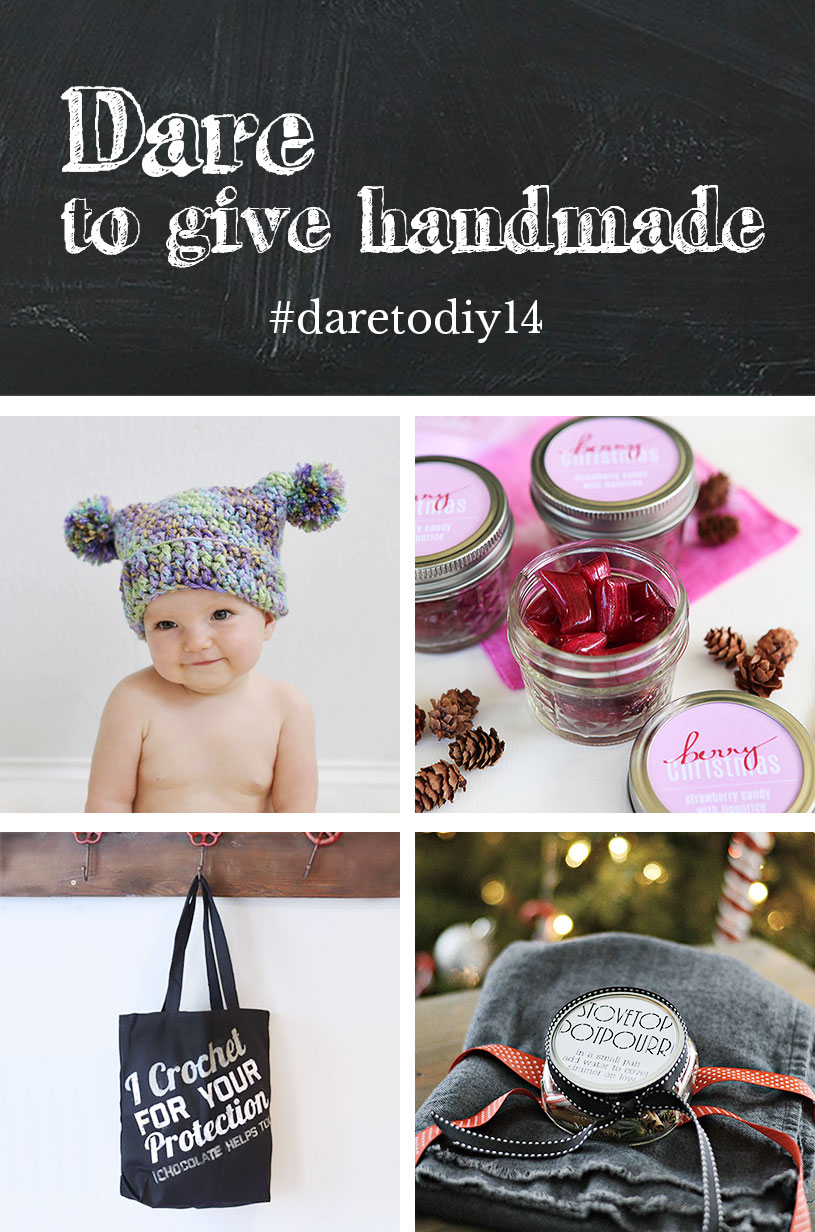
Be sure to also check out my fantastic co hosts' projects. This week Rachel from Maybe Matilda is hosting our link party and she made the most adorable double pom pom hat, Kim from Newly Woodwards made an awesome tote bag and Michelle from Decor and the Dog made some fabulous stove top potpourri. Head over to their blog to check out their projects!

I will be the first to admit that my project this week is a little bit ambitious. Tiny bit. I was especially nervous about the candy turning out. It's been so long since I made some, but I am happy to tell you that there were no problems and I can't wait to make some more.
Before making the candy, however, I sewed the gift bags.
Next, I made some hard candy to put into those mason jars. I once took a class on how to make hard candy. Then I made pounds and pounds for friends, family and colleges. This was a long time ago. Since then I have sporadically made a batch here and there. Now that B is old enough to participate (13), I thought it would be a great idea to revisit making some candy. BTW this is definitely not a (little) kid's activity. The sugar, when heated up for candy making is insanely hot. 325 F to be exact. Use extreme caution and also read my disclaimer. (The disclaimer may only be available directly from the website).
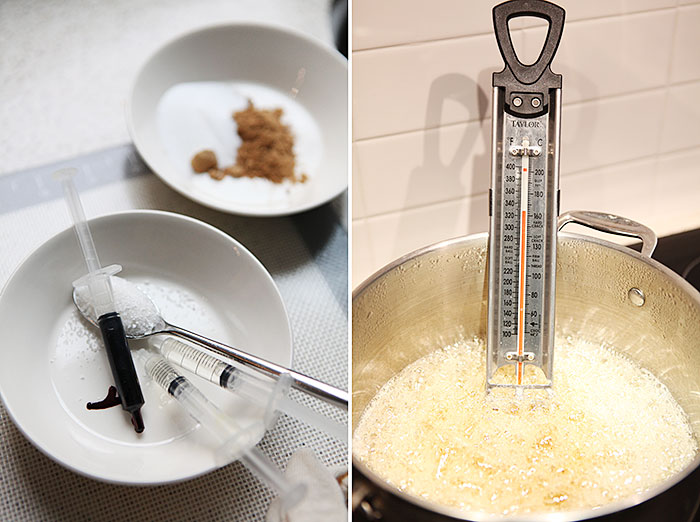
On the left are the ingredients to give flavor and color to the candy. Strawberry oil, citric acid (food grade specifically for candy making), red dye I would inquire what the ingredient is here. The one I have is made from beets. There are some really horrible red dyes out there, so beware when you choose.
Powder for inside: 1 part liquorice to 2 parts ammonium chloride - again food grade, not cleaning powder. this may or may not freak you out depending on how familiar you are with Scandinavian culture. Read more here: Scandinavian history of 'salmiak' liquorice - you can leave this out and I could not find it anywhere over here either. So there is that. If you want to have it shipped over the pond, you can buy it here and here.
In a big pot I mixed 5 dl sugar with 1.6 dl Karo and 1.5 dl water. Make sure everything you use is very clean or you run the risk of the whole batch crystallizing and it will become unusable. Insert a candy thermometer and turn on the stove to FULL heat and don't stir. Watch the temperature closely. In the beginning it goes up slowly, but towards the end it goes rather quickly. You have to remove the post at 325F (163C). If you remove it at a lower temperature the candy gets more chewy and if you let it get higher the sugar burns.
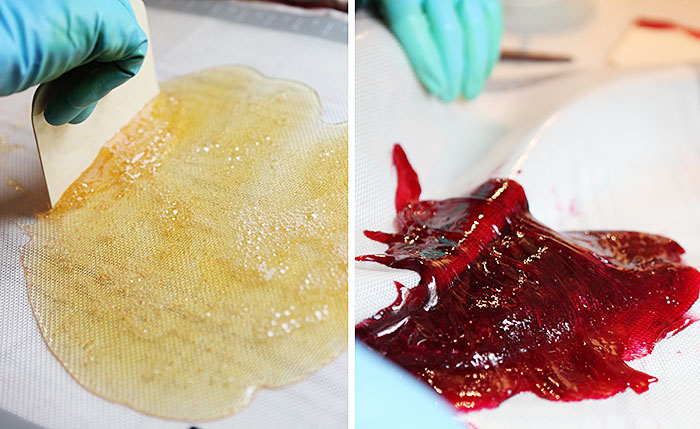
On the left I poured the sugar out onto a silicone mat with two towels under it. On the right, I added the citric acid, red dye and the strawberry oil (in that order) and started kneading the mass.
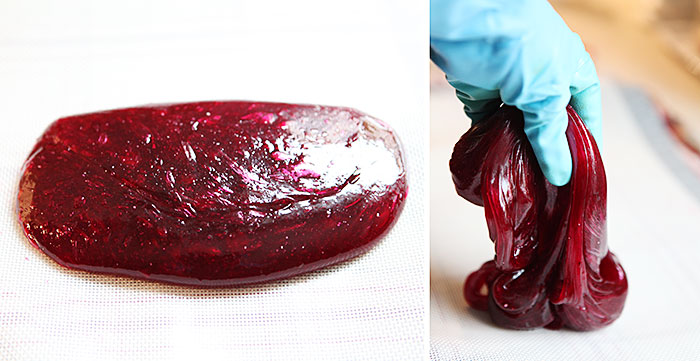
Is it cools down more, the mass becomes easier to work with. We stretched the sugar a bit. Also I realize the gloves I am wearing look like dish washer gloves, but I assure you they are not. They are a two layer system with a knitted cotton glove inside and a food grade silicone glove - again specifically for heat and candy making. I got mine here and here.
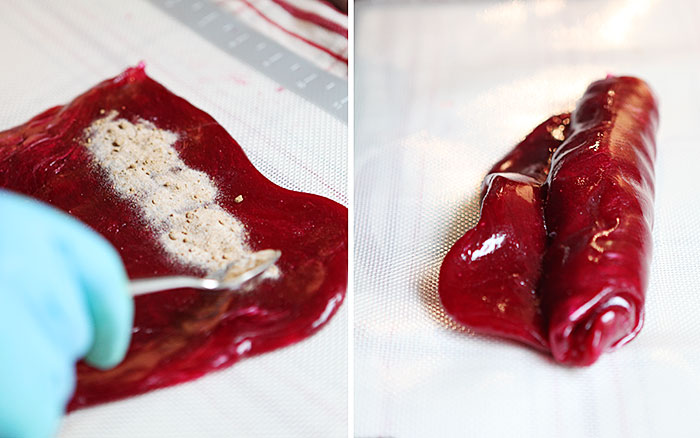
After working with the mass some more, I spread it into a rectangle, then B spread a line of the liquorice and ammonium chloride toward one end. Then he rolled up the rectangle making sure the ends were sealed.
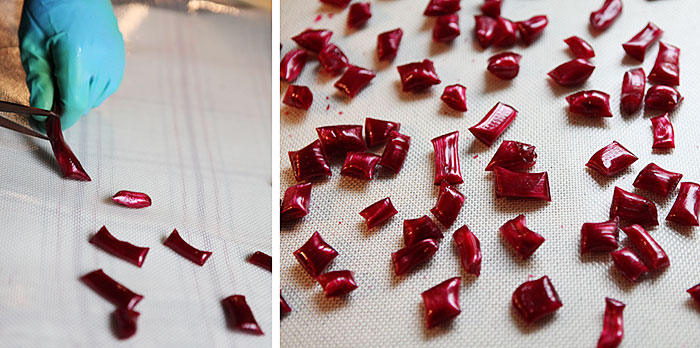
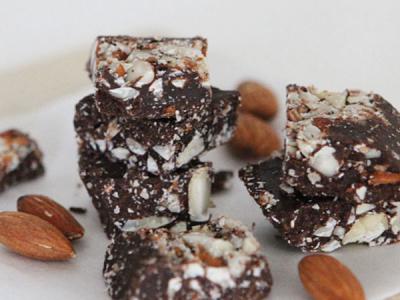
Last, we pulled on the roll to make it skinnier and then started cutting off candy pieces. I let the candy cool off completely. From the time you pour the sugar onto the silicone mat, until you have the finished candy is only about 10 minutes, so you have to work at a fairly brisk speed, or you will end up with one really big piece of candy at the end.
Here is a great video that B and I watched before beginning. It shows you the whole process (It is in Danish, but will give you a great sense of the process).
Ok. Hammer picture time.

Here is how I made the bags
Now it is your turn. Link your post to any or all of the co-hosts, then go to Maybe Matilda and link up your project. Also be sure to visit a couple of the other links. It is a party after all! And that is the fun part, right!
I am a Danish American decorating life in Seattle. I love all things design and DIY.
I can’t think of anything more fun than coming up with project, making it, photographing it and sharing it with you on my websites.
I am a Graphic Artist, a remodeller and home maker by day.
AHomeForDesign.com AHomeForCrafts.com AHomeForFood.com My Portfolio