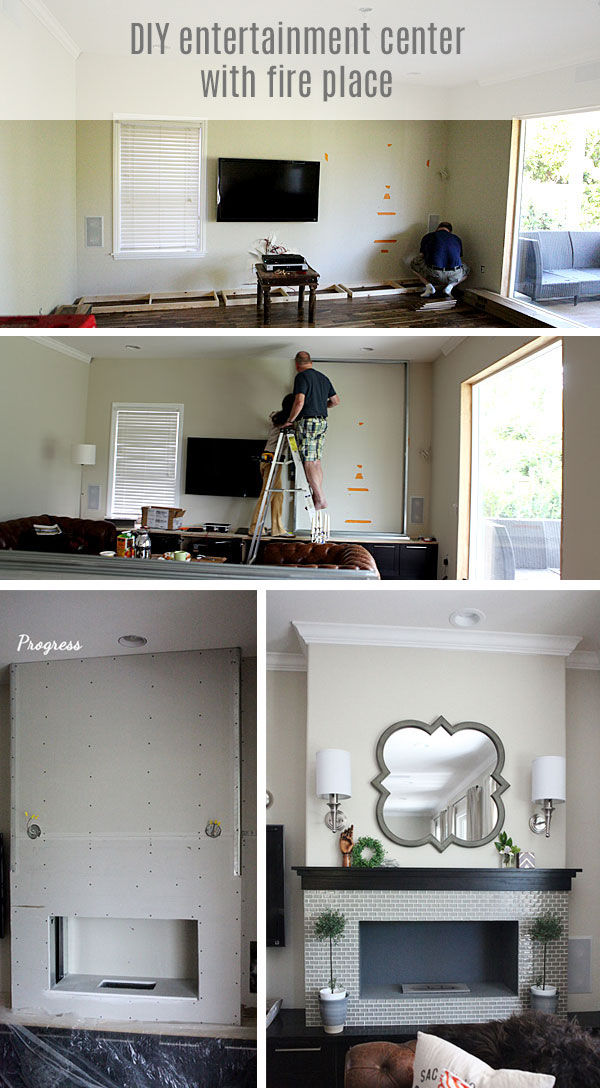
Living room remodel - the entertainment center

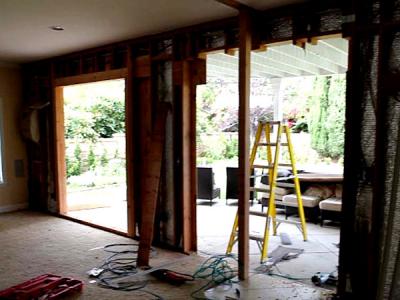
So yesterday, I showed how we added two big picture windows, a taller slider, took out a room dividing beam and dealt with some strange looking duct work.

Next up, the floor was layed and we built an entertainment center with a fireplace.
First we built the toe kick for the cabinets out of 1x3 fir.
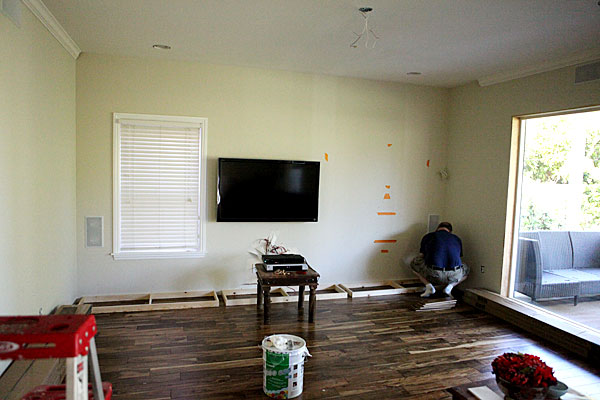
We used IKEA cabinets. The kind that are 30x15x24. We only wanted the finished cabinets to be about 18-20 inches deep, so we cut off about 2-3 inches off the backs of the cabinets after they were assembled. Then we set them onto the toe kick and secured everything
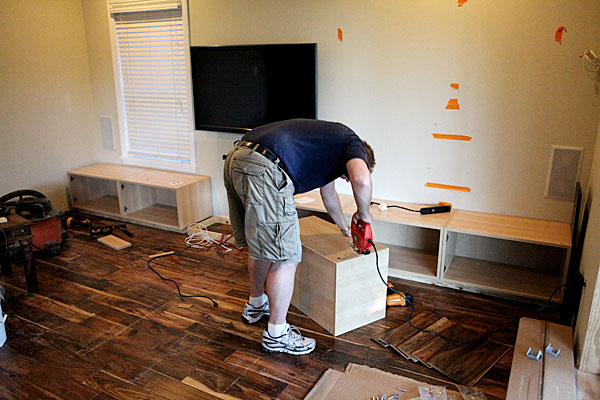
We installed fans in the cabinets to avoid overheating. They work great. They are completely silent and do a great job.
We also installed a remote control repeater between the TV components and the TV so that we can switch channels with the cabinet doors closed.
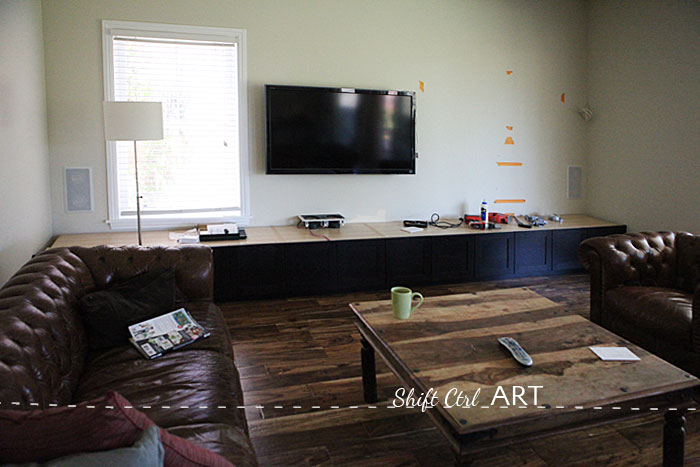
Here the cabinets are installed and the toe-kick has been covered in the same material as the drawer fronts for a truly custom look.
Next we built a bump-out out of metal studs that would house our ethanol fireplace insert.
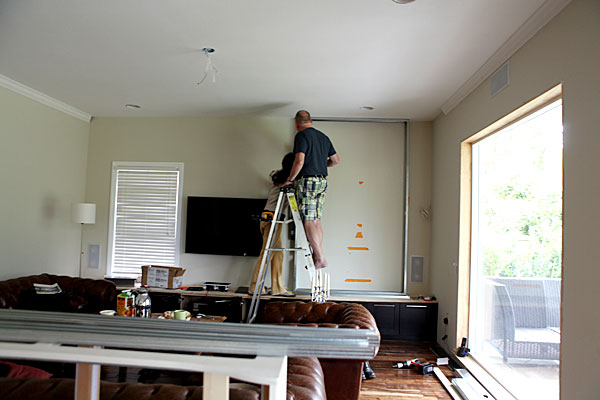
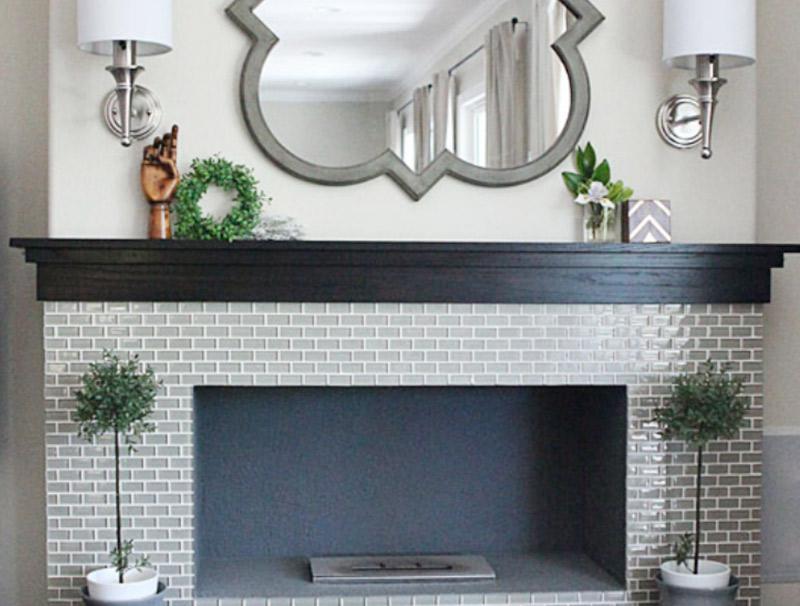
We were going to clad the fireplace in glass tile, so we spent quite a bit of time calculating where the studs should sit so that after drywall the width and height would add up to the exact with of our 1x2 inch glass tile with 1x1 inch glass tile that would fill in the end of each row.
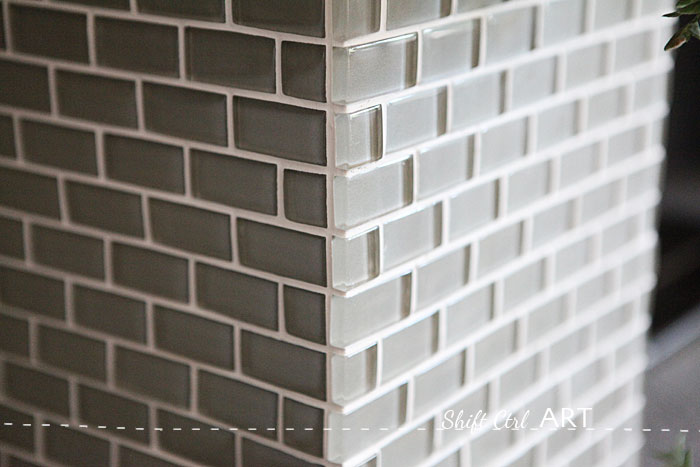
This way we ended up not having any cut glass tile.
I think that color glass tile is called Moonstone. I got it on sale at a store that since became Marazzi tile, and they don't carry it anymore, but you can get 1x2 glass tile many places.
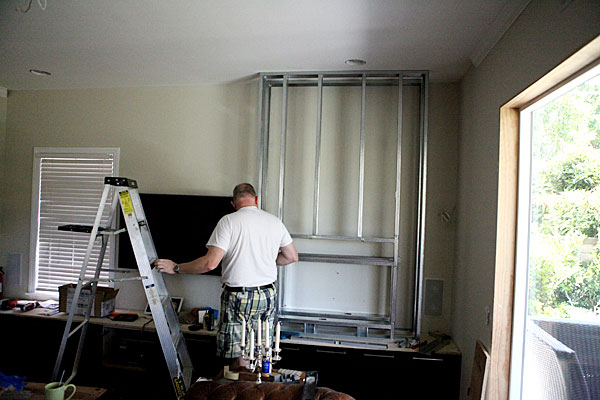
Here is the finished metal framing.
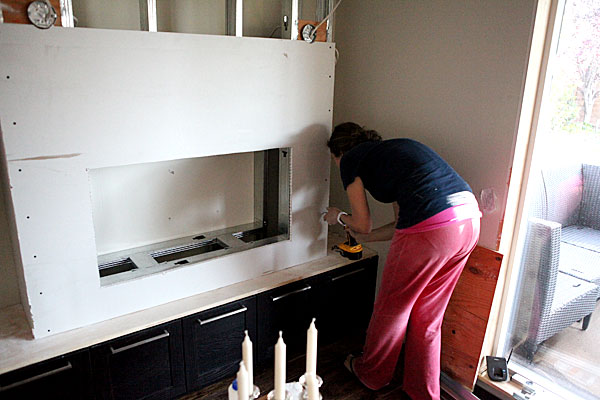
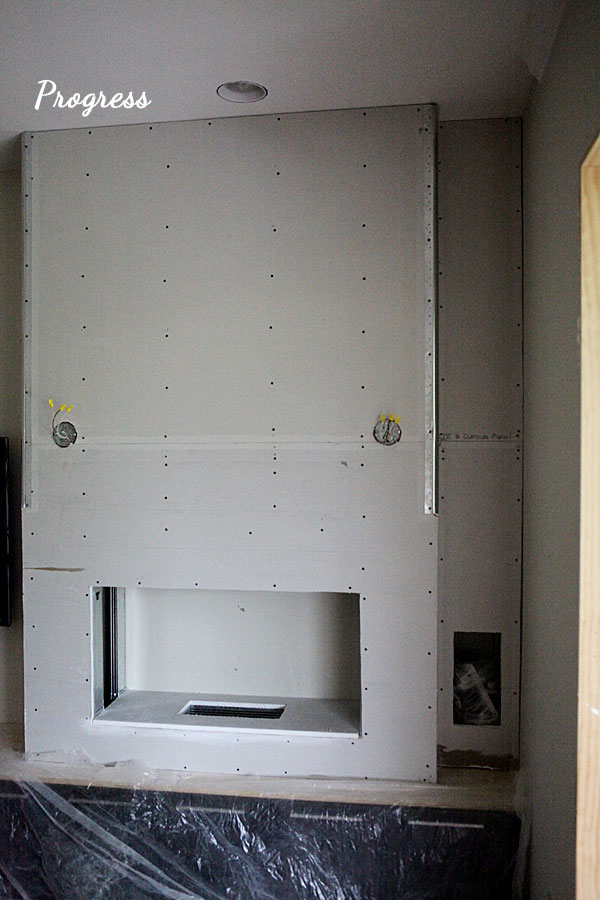
Then we added drywall to the whole thing.
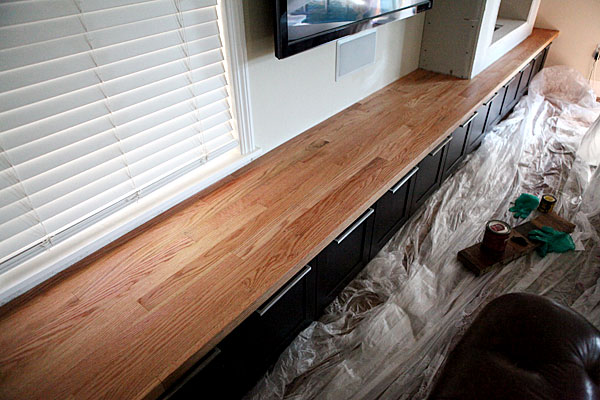
For a table top we used 3/4 inch solid oak flooring planks on top of sheet of 3/4 inch plywood, then finished the edge with a 1x2 oak piece which makes the table top look extra thick.
We got the Tidaholm cabinet doors when they were being cleared out at 20% off. Too bad they discontinued that door style. It was by far one of my favorites. It had real craftsman-style to it.
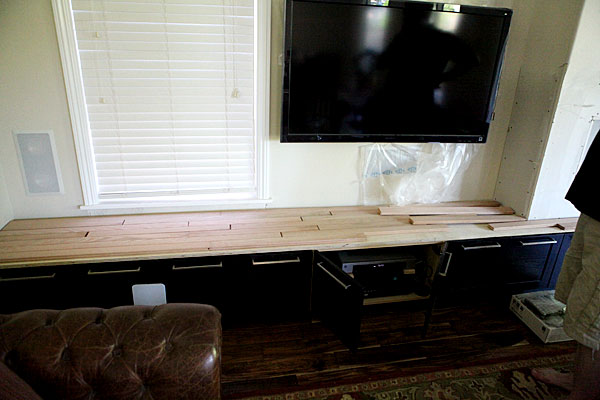
Here the boards were dry-fitted first.
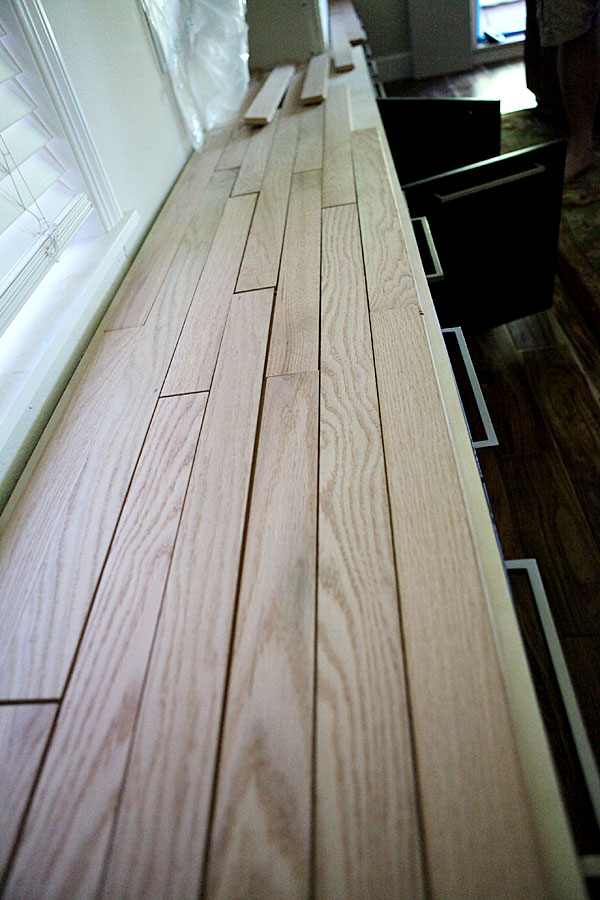
Then glued and secured.
Here we had finished dry-walling the fireplace. We added bull-nose to the top half of it where you would see the wall, but left the corners square where the tile would go.
Then we had someone come tile it and build a mantel out of a couple of pieces of 1x2 and 1x3 oak. Then I stained the table top and mantel. I used Minwax Ebony stain - 4 layers before it matched the Tidaholm finsh. Then two coats of satin poly, For the inside of the fireplace, I mixed drywall mud, fine sand and dark gray paint and troweled it on.
By the way, our remodel was permitted and inspected by the city. Disclaimer: I am not responsible for any results you get by following these ideas. Please do your own research. I recommend using flame-less LED candles as a great alternative to an ethanol fire insert.
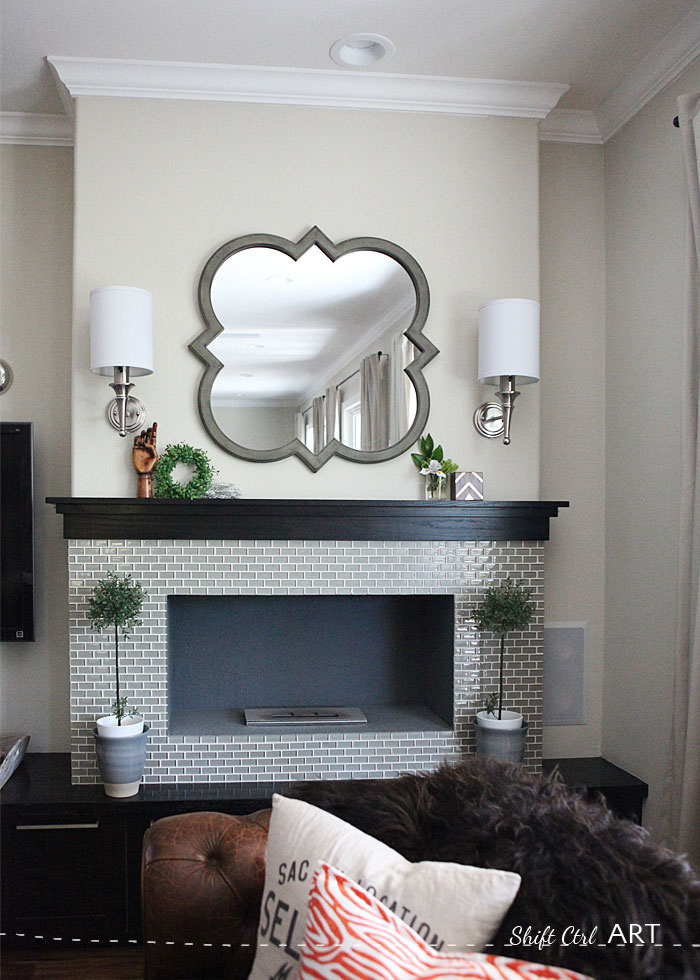
The paint color on the wall was custom tinted to match the curtains, which I scored at IKEA on sale for 10 dollars per pair (I have 4 pairs in the living, dining room). The color is very close to Valspar's "Bay Sands". People who love me have agreed to call it "warm gray". Other people have called it beige. They obviously don't get invited back
Take a look at the reveal of the living room here

About Katja Kromann
I am a Danish American decorating life in Seattle. I love all things design and DIY.
I can’t think of anything more fun than coming up with project, making it, photographing it and sharing it with you on my websites.
Since 2018 I have been making Ceramics, nearly full time.
AHomeForCeramics.com AHomeForDesign.com AHomeForCrafts.com AHomeForFood.com My Portfolio
Categories
Living room remodel - the entertainment center is posted in the category Before & After | Furniture | How To | Living room
